Vue实现路由的三大步骤
本例是使用$ vue init webpack projectname 命令创建的项目
一、创建备用组件
在项目根目录vue下有一个src目录,src下有一个components文件夹,创建组件默认放在这个文件下,我创建了三个组件:home.vue,film.vue,card.vue
代码如下:
1、home.vue
<template> <div> <h2>我是home组件</h2> </div></template><script> export default { name: "home" }</script><style scoped></style>
2、film.vue
<template> <div> <h2>我是film组件</h2> </div> </template> <script> export default { name: "film" } </script> <style scoped> </style>
3、card.vue
<template> <div> <h2>我是card组件</h2> </div></template><script> export default { name: "card" }</script><style scoped></style>
二、在指定App中添加组件路由标签<router-view></router-view>
1、查找指定App
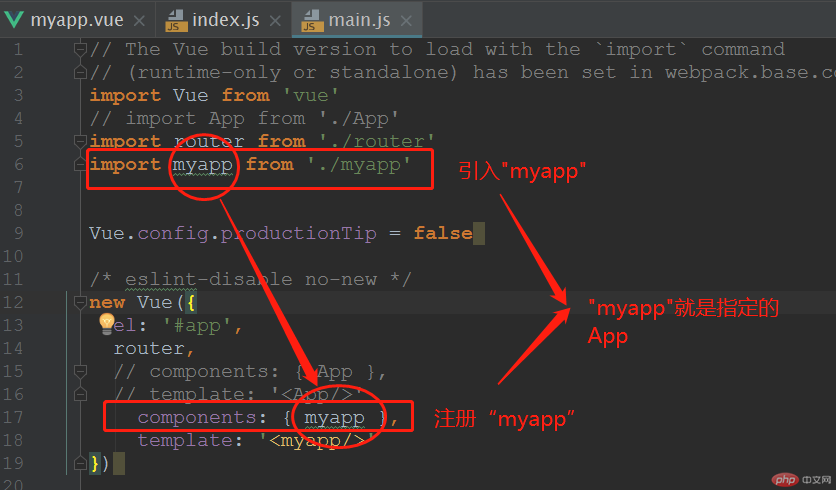
本框架入口文件是main.js,打开文件查找指定App,如图
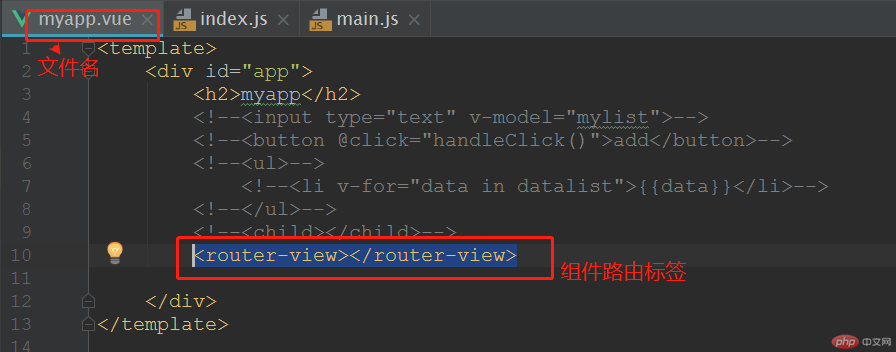
2、添加组件路由标签<router-view></router-view>
这里指定的App就是“myapp”,打开myapp,引入组件,如图
三、在router文件夹下index.js文件中配置路由
1、导入组件
import home from '@/components/home'import film from '@/components/film'import card from '@/components/card'
2、配置路由
routes: [ { path: '/home', component: home }, { path: '/film', component: film }, { path: '/card', component: card } ]
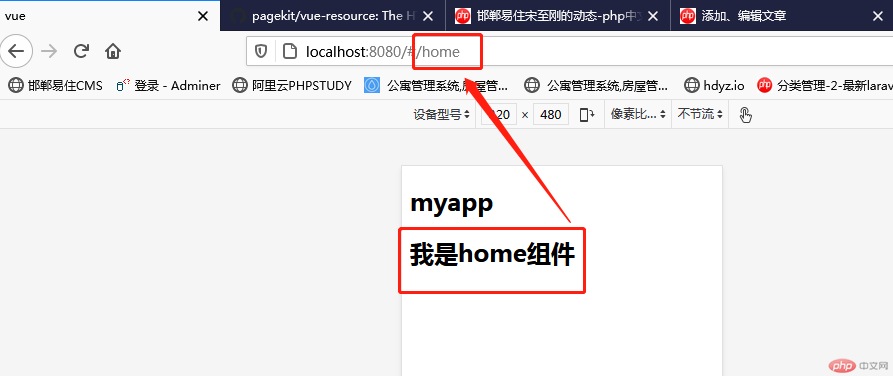
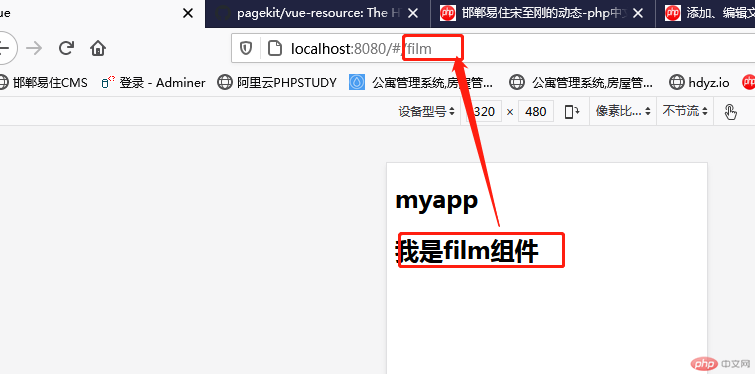
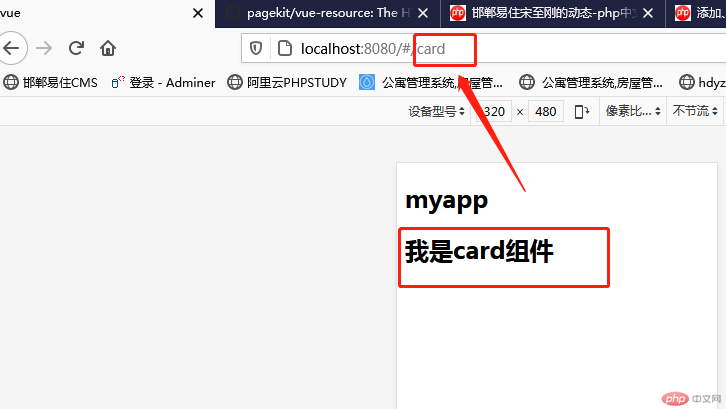
四、结果如图
Statement of this Website
The copyright of this blog article belongs to the blogger. Please specify the address when reprinting! If there is any infringement or violation of the law, please contact admin@php.cn Report processing!


