Correction status:qualified
Teacher's comments:


<!DOCTYPE html><html lang="zh-CN"><head><meta charset="UTF-8" /><meta http-equiv="X-UA-Compatible" content="IE=edge" /><meta name="viewport" content="width=device-width, initial-scale=1.0" /><title>用户注册信息</title><style>/* 简单限制一下边框大小 */fieldset {width: 400px;}</style></head><body><div class="user"><h1>用户信息注册表</h1><form action="" method="POST"><!-- 将表单分为基本信息,额外信息,提交按钮三部分 --><!-- 基本信息部分 --><div class="basic_information"><!-- 用fieldset将基本信息单独分组框起来 --><fieldset class="basic"><!-- 设置一个标题 --><legend>必填项</legend><!-- 配置用户名输入 --><div class="uname"><!-- 设置用户名,将input的id属性的值,填到label标签的for属性中,用label标签将用户名的提示文字与用户名绑定,实现点击提示文字即可获得用户名输入框焦点 --><label for="username">账号:</label><!-- 给用户名输入标签设置placeholder属性,提示输入规则,设置required属性设置该内容为必填项设置autofocus属性设置进入到页面自动聚焦到该输入框 --><input type="text" name="username" id="username" placeholder="请输入最少8个字符" required autofocus /></div><!-- 配置密码输入 --><div class="pwd"><!-- 设置密码,绑定操作同上 --><label for="pwd">密码:</label><!-- 给密码输入标签设置placeholder属性,提示输入规则,设置required属性设置该内容为必填项,type属性改为password,将内容加密显示 --><input type="password" name="pwd" id="pwd" placeholder="请输入最少6个字符" required /></div><!-- 配置邮箱输入 --><div class="email"><!-- 设置邮箱,绑定操作同上 --><label for="email">邮箱:</label><!-- 给邮箱输入标签设置placeholder属性,提示输入规则,type类型改为email,对内容做email相关规则限制 --><input type="email" name="email" id="email" placeholder="admin@php.cn" /></div></fieldset><!-- 额外信息部分 --><fieldset class="additional"><!-- 设置补充项标题 --><legend>补充项</legend><!-- 配置性别选择 --><div class="gender"><!-- 配置性别默认选择是保密 --><label for="secret">性别:</label><!-- 使用radio类型配置三个单选项,需要注意单选项中,name的值必须一致 --><input type="radio" name="gender" id="male" value="male" /><!-- 绑定男性性别 --><label for="male">男</label><input type="radio" name="gender" id="female" value="female" /><!-- 绑定女性性别 --><label for="female">女</label><input type="radio" name="gender" id="secret" value="secret" /><!-- 绑定性别保密 --><label for="secret">保密</label></div><!-- 配置兴趣爱好选择 --><div class="hobby"><!-- 由于多选是点击一次选中,再次点击取消,无法设置默认项,这里爱好的label就先不放for属性 --><label>爱好:</label><!-- 使用checkbox类型配置四个多选选项,name的值后面加[],代表返回的内容是数组,name的值必须保持一致 --><input type="checkbox" name="hobby[]" id="pcgames" value="pcgames" /><label for="pcgames">电脑游戏</label><input type="checkbox" name="hobby[]" id="travel" value="travel" /><label for="travel">旅游</label><input type="checkbox" name="hobby[]" id="shooting" value="shooting" /><label for="shooting">摄影</label><input type="checkbox" name="hobby[]" id="football" value="football" /><label for="football">足球</label></div><!-- 配置会员级别 --><div class="members"><!-- 会员这里用的是下拉选项,由于下拉表单的标签跟值的标签是分开的,也无法设置默认项,这里也先不放for属性 --><label>会员:</label><!-- 下拉表单用select+option组合 --><select name="members" id="members"><option value="normal">普通会员</option><option value="bronze">铜牌会员</option><option value="silver">银牌会员</option><option value="gold">金牌会员</option><option value="diamond">钻石会员</option></select><!-- 配置查询搜索框 --><div class="search"><!-- 查询也不配备默认值,这里也先不放for属性 --><label>查询:</label><!-- 使用search类型实现搜索框效果 设置list属性的值与datalist的id一致,实现搜索内容的绑定 --><input type="search" name="search" id="search" list="keywords" /><!-- 设置下拉选择项 --><datalist id="keywords"><option value="css">css</option><option value="html">html</option><option value="js">js</option><option value="php">php</option><option value="python">python</option><option value="java">java</option><option value="c++">c++</option><option value="excel">excel</option></datalist></div></div></fieldset><!-- 配置按钮栏 --><div class="btn"><!-- button默认type是submit提交 --><button>提交</button><!-- 配置一个恢复初始化的按钮 --><button type="reset">重置</button></div></div></form></div></body></html>
css 选择器中,优先级以样式后面加!important 为最高级别,其次是行内样式,在后面是 id 选择器、class 选择器、标签选择器。
除去!important 跟行内样式两种特殊级别,id 选择器、class 选择器、标签选择器的运算级别,可以看做以下形式
| id 选择器 | class 选择器 | tag(标签)选择器 |
|---|---|---|
| 百 | 十 | 个 |
| 0 | 0 | 0 |
如:
<!DOCTYPE html><html lang="zh-CN"><head><meta charset="UTF-8" /><meta http-equiv="X-UA-Compatible" content="IE=edge" /><meta name="viewport" content="width=device-width, initial-scale=1.0" /><title>css选择器演示</title><style></style></head><body><div><ul><li>超超多喝水1</li><li><p id="drinking" class="drink">超超多喝水2</p></li><li>超超多喝水3</li></ul></div></body></html>
默认情况下是这样:
在 style 里使用标签选择器
<style>p {color: blue;}</style>
此时只有一个标签选择器 id=0,class=0,tag=1,总数为 001,则 p 标签的标签选择器生效
如果使用多个标签选择器ps:后面为了防止有重叠样式覆盖,后面加的代码都会往前放
<style>li p {color: red;}p {color: blue;}</style>
此时新增的有两个标签选择器 id=0,class=0,tag=2,总数为 002,002 > 001,则单个 p 标签失效,li p 生效
class 选择器与 id 选择器同理
如:
<style>.drink {color: cyan;}li p {color: red;}p {color: blue;}</style>
此时新增的有一个类选择器,id=0,class=1,tag=0,总数为 010,010>002,则 li p 失效,class 选择器生效
<style>#drinking {color: hotpink;}.drink {color: cyan;}li p {color: red;}p {color: blue;}</style>
此时新增的有一个 id 选择器,id=1,class=0,tag=0,总数为 100,100>010,则 class 选择器失效,id 选择器生效
上下文选择器中可以:
如:
<!DOCTYPE html><html lang="zh-CN"><head><meta charset="UTF-8" /><meta http-equiv="X-UA-Compatible" content="IE=edge" /><meta name="viewport" content="width=device-width, initial-scale=1.0" /><title>css选择器演示</title><style></style></head><body><div><ul class="list"><li>超超多喝水1</li><li id="second">超超多喝水2</li><li>超超多喝水3<ul><li>超超多喝水3-1</li><li>超超多喝水3-2</li><li>超超多喝水3-3</li></ul></li><li>超超多喝水4</li><li>超超多喝水5</li><li>超超多喝水6</li><p>这是一个违规的p元素</p></ul></div></body></html>
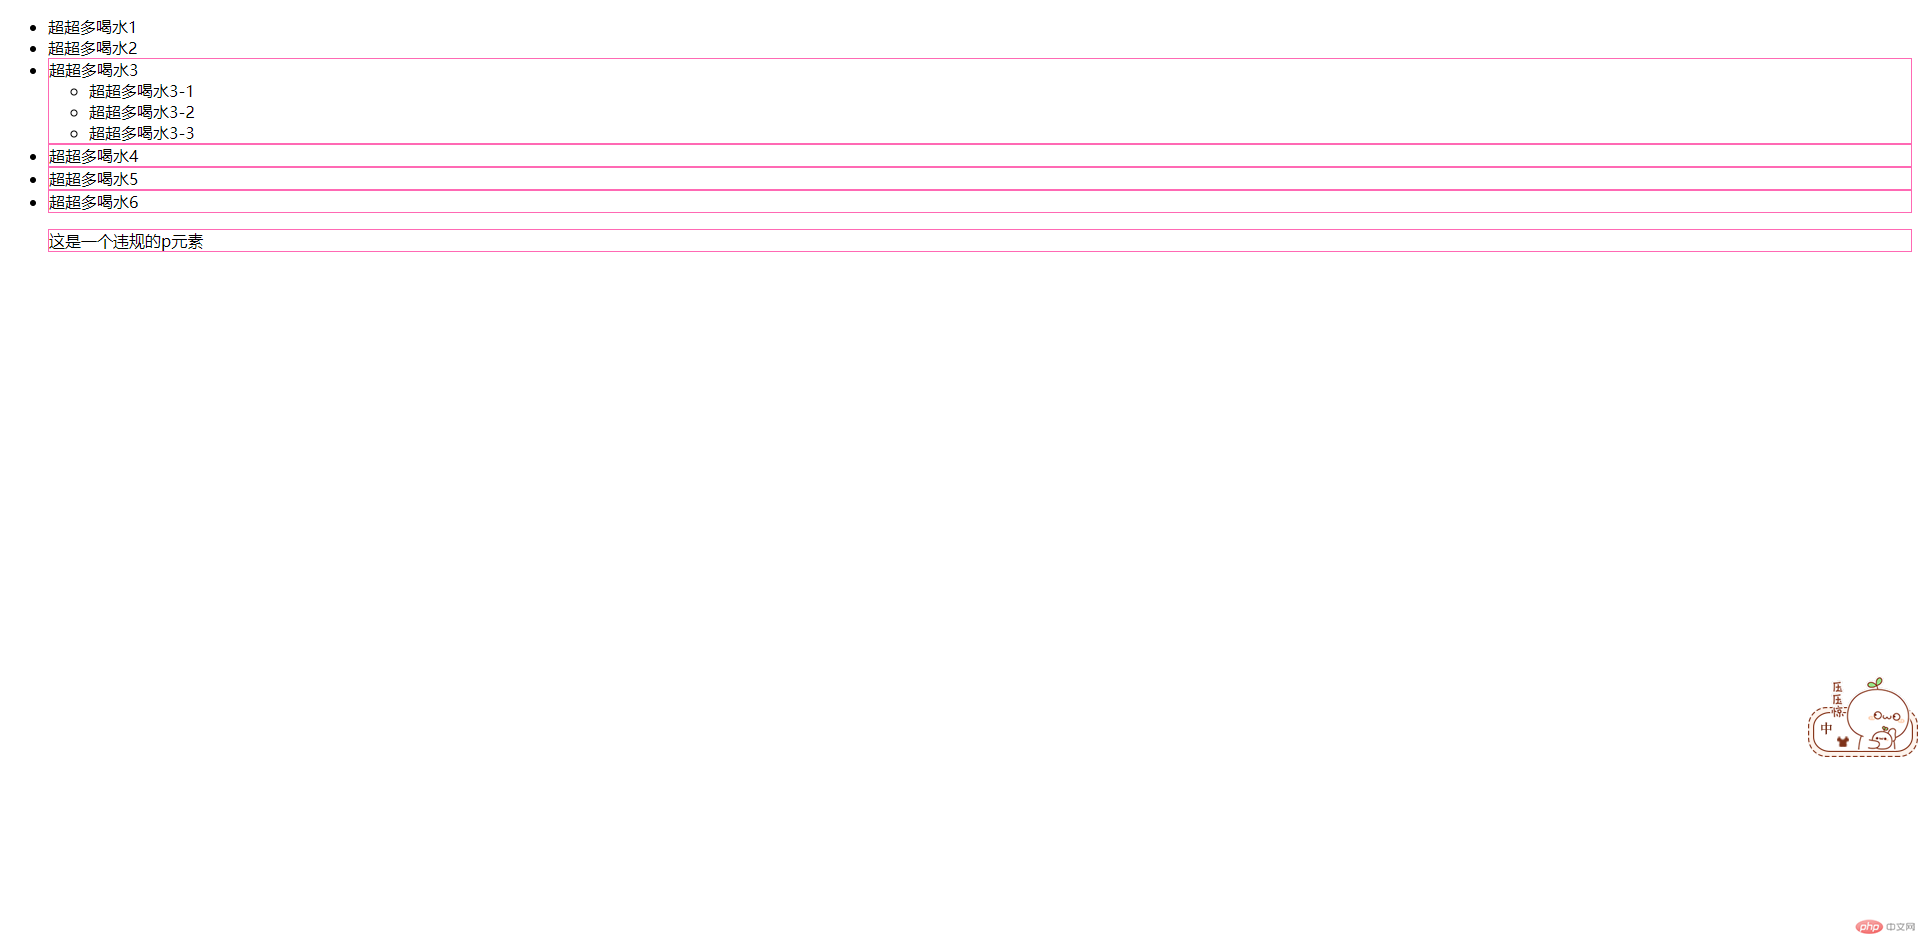
默认样式为:
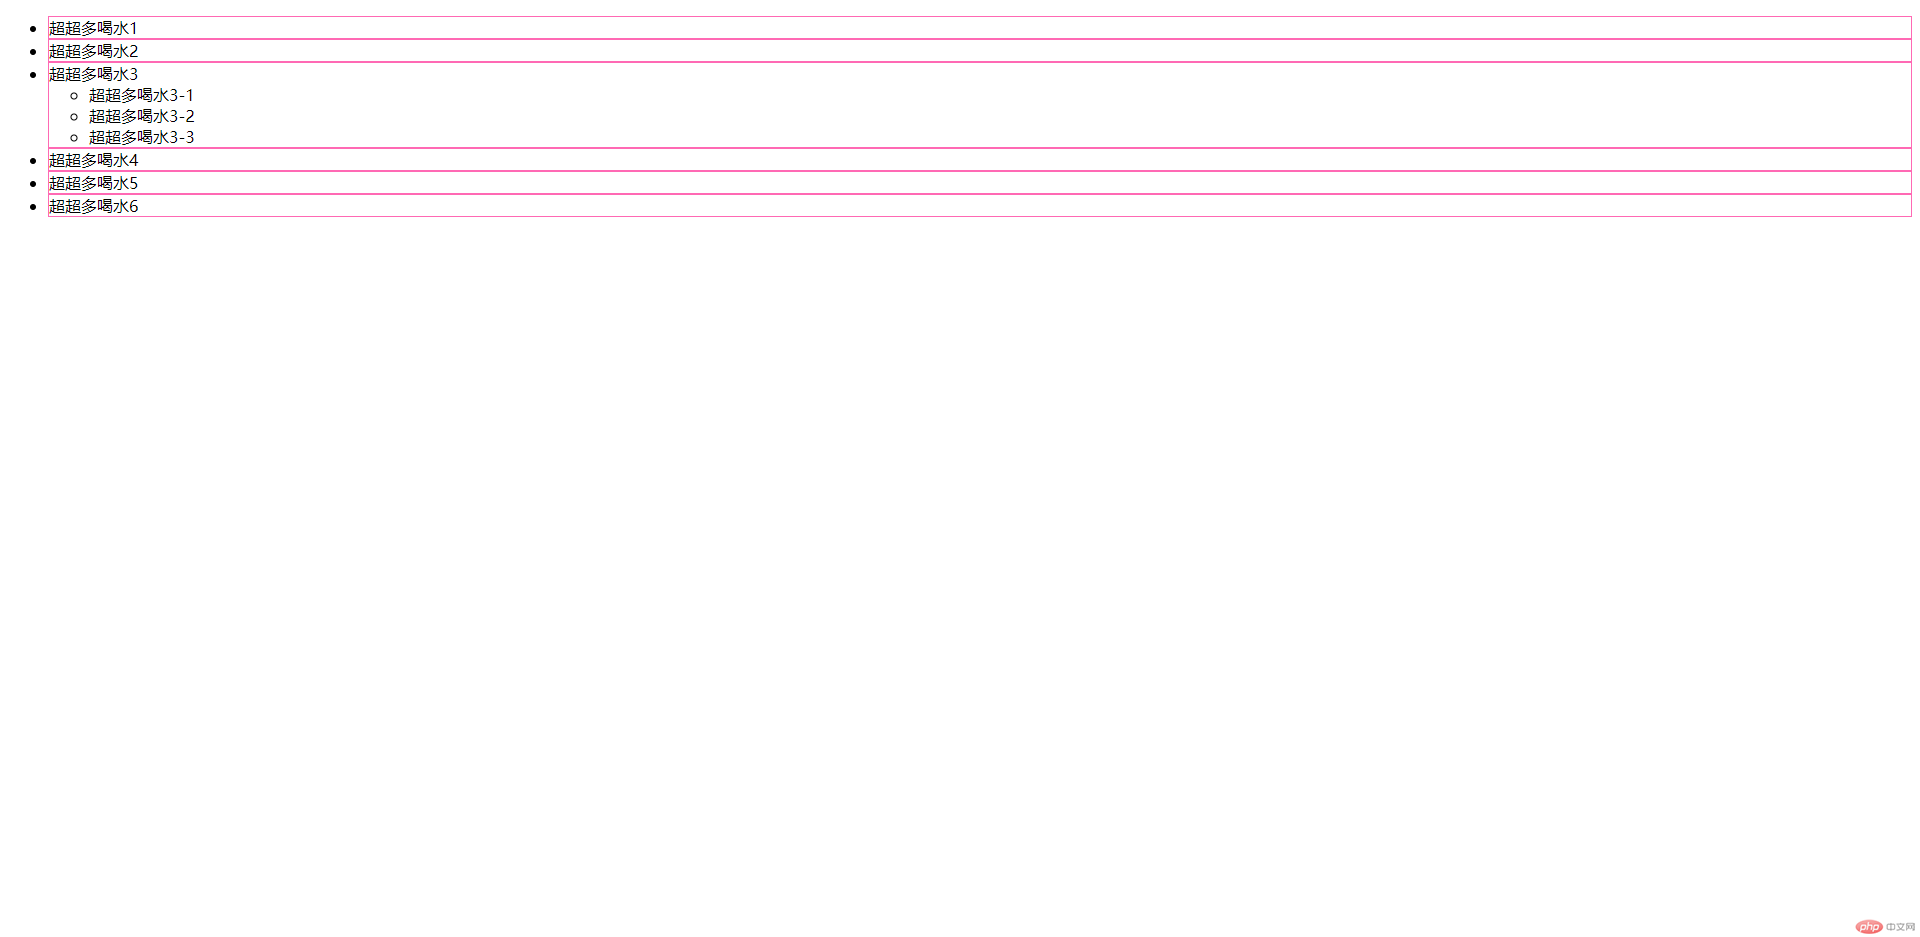
<style>.list > li {border: 1px solid hotpink;}</style>
可以看到 list 类下面的 li 元素全部都加上了边框样式,但是孙元素仍旧保持原样。ps:这里需要注意,如果是使用 color 等样式时,该样式是会自动往孙元素继承的,这种情况下限制孙元素会不生效!!!
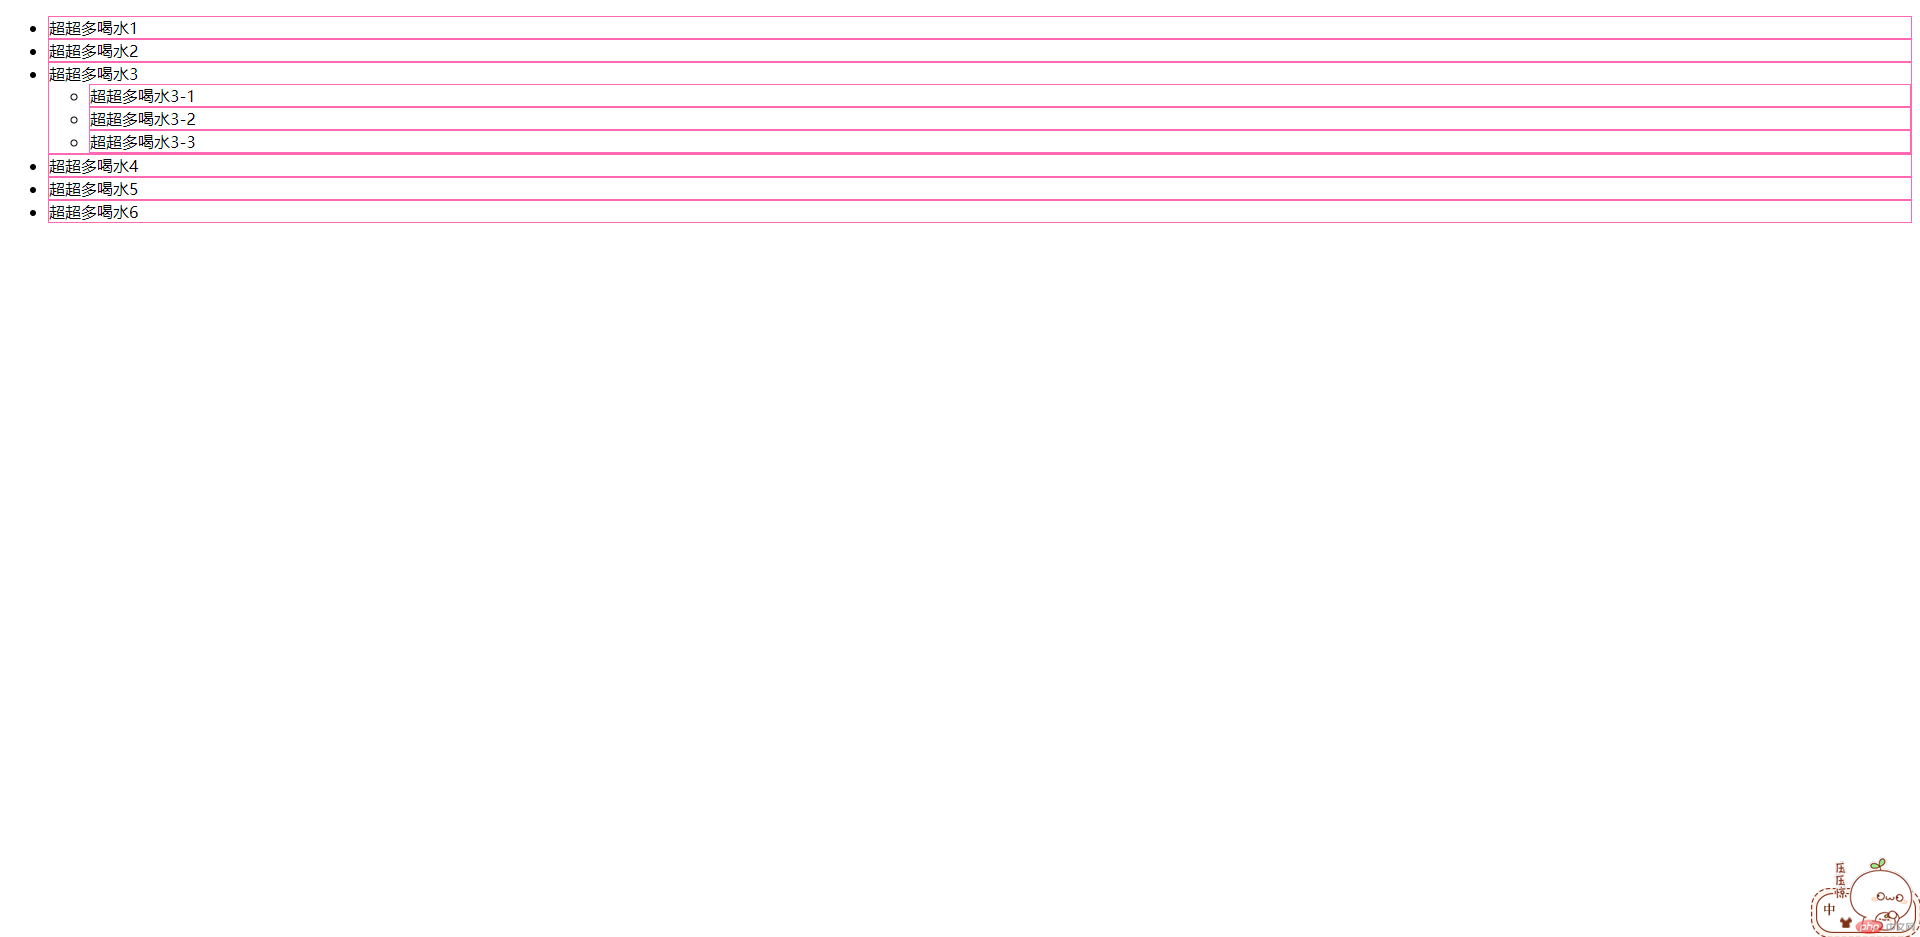
<style>.list li {border: 1px solid hotpink;}</style>
可以看到 list 类下面所有的 li 元素全部都加上了边框样式,包括子元素跟孙元素
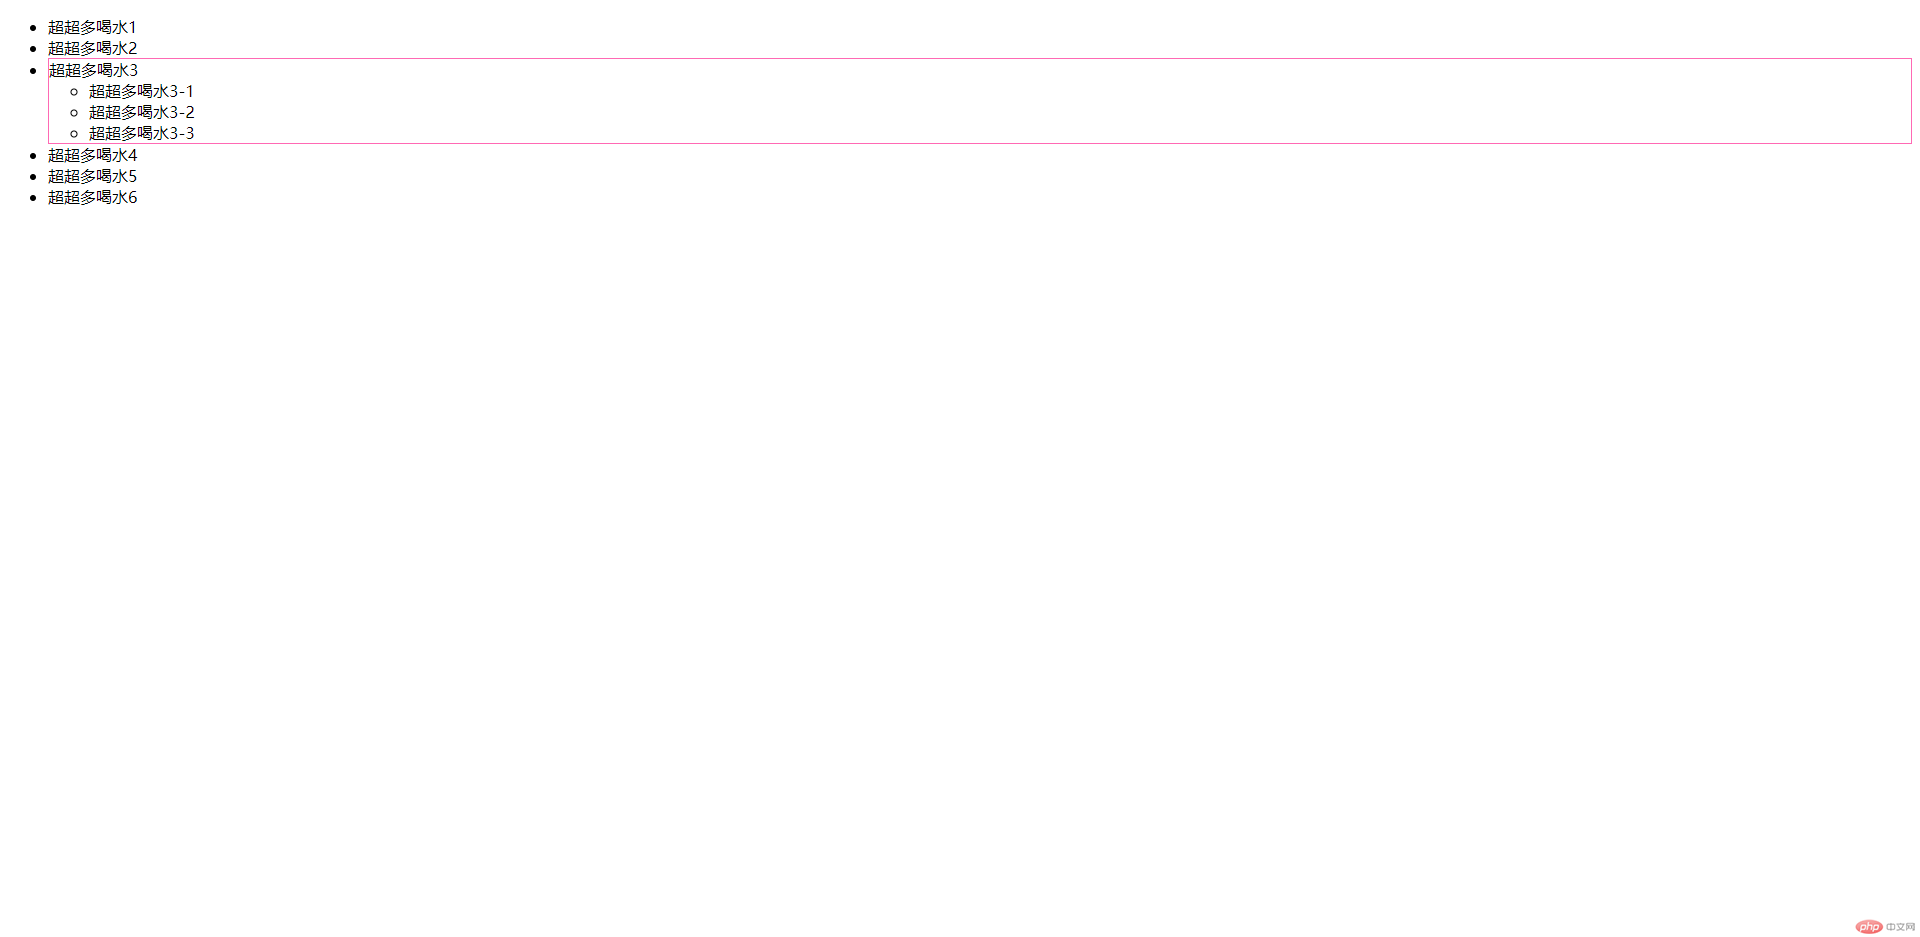
<style>#second + li {border: 1px solid hotpink;}</style>
可以看到 id 为 second 的 li 后面的第一个 li 元素被加了边框样式
<style>#second ~ * {border: 1px solid hotpink;}</style>
可以看到后面所有的兄弟元素都被选中并加了样式,ps:ul 里加 p 元素并不符合规范,这里只是展示使用,实际使用不建议
