Correction status:qualified
Teacher's comments:


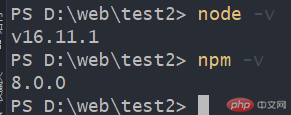
windows 下载Node: http://nodejs.cn 安装即可

npm -v //通过查看版本,看npm是否安装成功npm install <Module Name> //使用 npm 命令安装模块 install可以简写i//比如 npm i vuenpm list -g //查看所有全局安装的模块npm list vue //查看某个模块的版本号npm -g install npm@5.9.1 //(@后跟版本号)这样我们就可以更新npm版本npm install -save moduleName // # -save 在package文件的dependencies节点写入依赖。npm install -save-dev moduleName //# -save-dev 在package文件的devDependencies节点写入依赖//dependencies:运行时的依赖,发布后,即生产环境下还需要用的模块//devDependencies:开发时的依赖。里面的模块是开发时用的,发布时用不到它,比如项目中使用的 gulp ,压缩css、js的模块。这些模块在我们的项目部署后是不需要的//简写i 是 install的简写-S 是--save的简写-D 是--save-dev 的简写-g 是--global的简写
npm install webpack webpack-cli webpack-dev-server -D //安装控制台运行命令:webpack --mode development (开发环境)控制台运行命令:webpack --mode production (生产环境)node dist/main.js 执行打包后jsctrl + alt + l 格式化代码

网上解决方案
1、以管理员权限打开PowerShell2、输入Set-ExecutionPolicy RemoteSigned命令 将脚本执行权限修改为RemoteSigned3、输入Y以确认
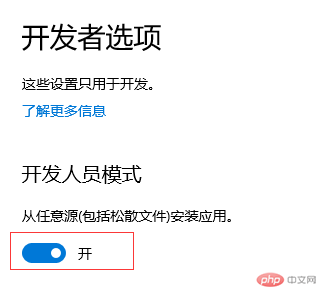
对我没用,于是在设置中搜索 PowerShell


// resolve 用来拼接绝对路径的方法const {resolve} = require('path');//引入html文件处理插件const HtmlWebpackPlugin = require('html-webpack-plugin');const MiniCssExtractPlugin = require('mini-css-extract-plugin');module.exports ={// entry: './src/index.js',entry: {vendor: ['./src/jquery.js','./src/common.js'],index: ["./src/index.js","./src/wto.js"],cart:'./src/cart.js'},// output: {// /* 输出文件名 */// filename: "build.js",// /* 输出路径 一般采用绝对路径 */// path: resolve(__dirname, 'build')// },output: {filename: "[name].js",path:resolve(__dirname, 'build')},module: {rules: [{test:/\.css$/,use: ['style-loader','css-loader']},// {// test:/\.lcss$/,// use: [// 'style-loader',//// 'css-loader',// 'less-loader'// ]// },{test:/\.scss$/,use: ['style-loader','css-loader','sass-loader']}]},plugins: [// new HtmlWebpackPlugin()new HtmlWebpackPlugin({// 复制 './src/index.html'文件, 并自动引入打包输出的所有资源(JS/CSS)template: "./src/index.html",// 默认是index.html名称,通过filename设置输出文件名称chunks: ["index","vendor"],minify:{// 移除空格collapseWhitespace:true,// 移除注释removeComments:true}}),new HtmlWebpackPlugin({filename: "cart.html",template: "./src/cart.html",chunks: ["cart","vendor"]}),new MiniCssExtractPlugin()],mode: "development" // development || production}