

镜像下载、域名解析、时间同步请点击 阿里云开源镜像站
分布式监控的作用:

bsystemctl disable --now firewalldsetenforce 0hostnamectl set-hostname zbx-proxy


rpm -ivh https://mirrors.aliyun.com/zabbix/zabbix/5.0/rhel/7/x86_64/zabbix-release-5.0-1.el7.noarch.rpmcd /etc/yum.repos.dsed -i 's#http://repo.zabbix.com#https://mirrors.aliyun.com/zabbix#' /etc/yum.repos.d/zabbix.repoyum install -y zabbix-proxy-mysql zabbix-get


yum install -y mariadb-server mariadbsystemctl enable --now mariadbmysql_secure_installation #初始化数据库,并设置密码,如 abc123


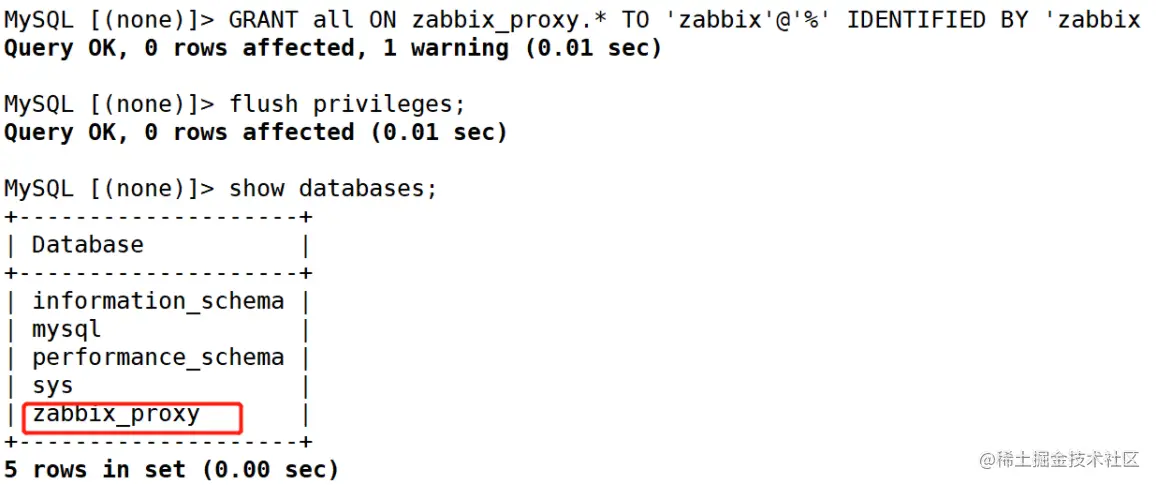
mysql -u root -pabc123CREATE DATABASE zabbix_proxy character set utf8 collate utf8_bin;GRANT all ON zabbix_proxy.* TO 'zabbix'@'%' IDENTIFIED BY 'zabbix';flush privileges;
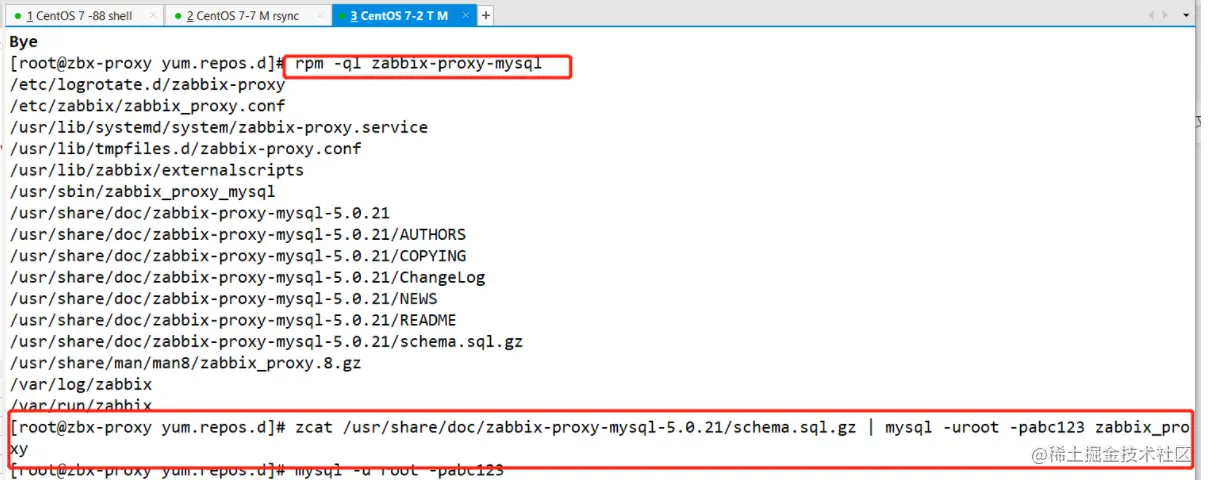
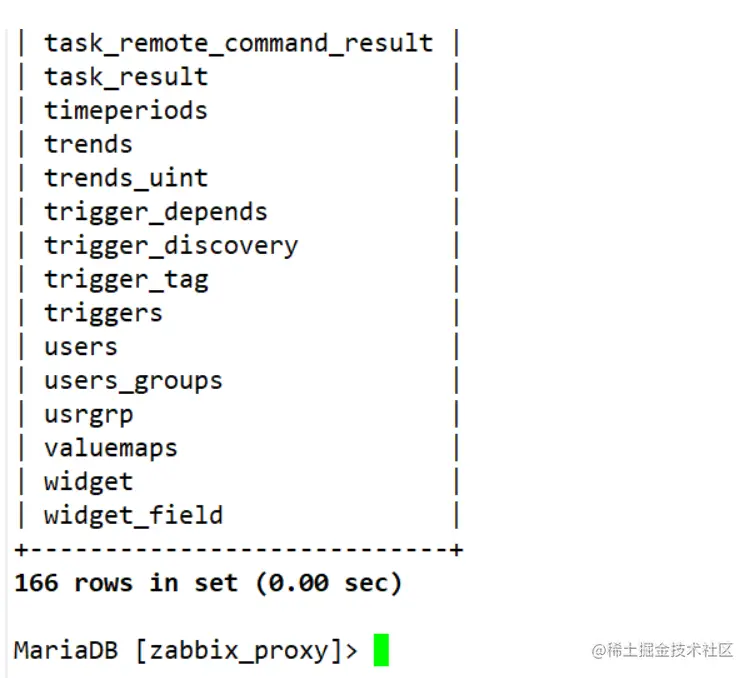
rpm -ql zabbix-proxy-mysql #查询 sql 文件的位置zcat /usr/share/doc/zabbix-proxy-mysql-5.0.15/schema.sql.gz | mysql -uroot -pabc123 zabbix_proxy
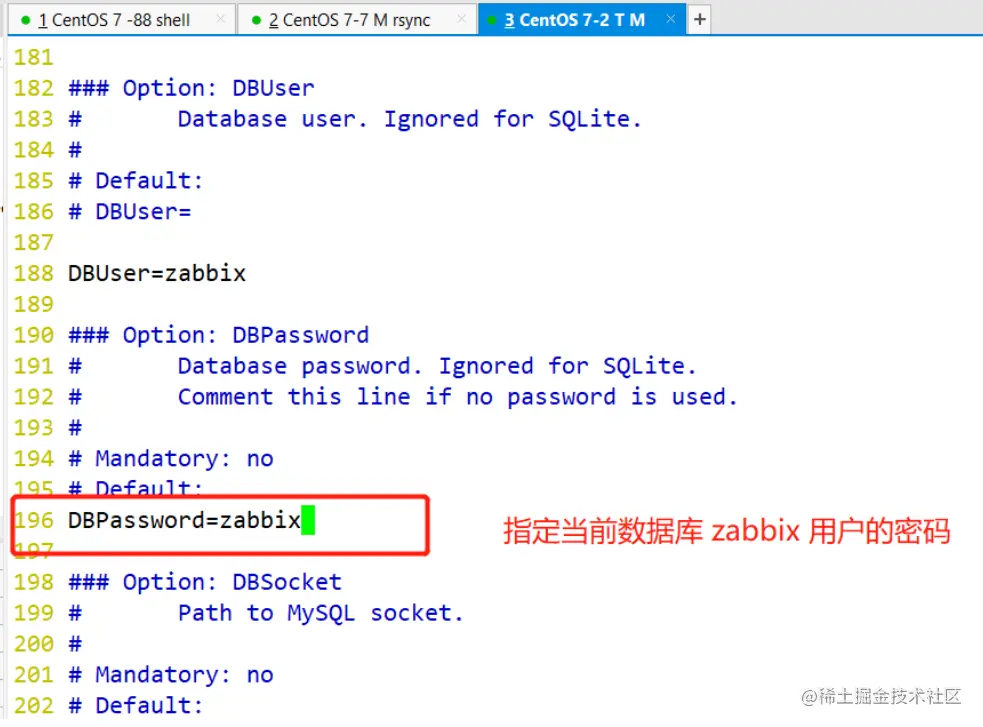
vim /etc/zabbix/zabbix_proxy.confServer=192.168.80.20 #30行,指定 zabbix 服务端的 IP 地址Hostname=zbx-proxy #49行,指定当前 zabbix 代理服务器的主机名DBPassword=zabbix #196行,指定当前数据库 zabbix 用户的密码


systemctl start zabbix-proxysystemctl enable zabbix-proxy
vim /etc/hosts192.168.80.20 zbx-server192.168.80.30 zbx-agent01192.168.80.13 zbx-proxy

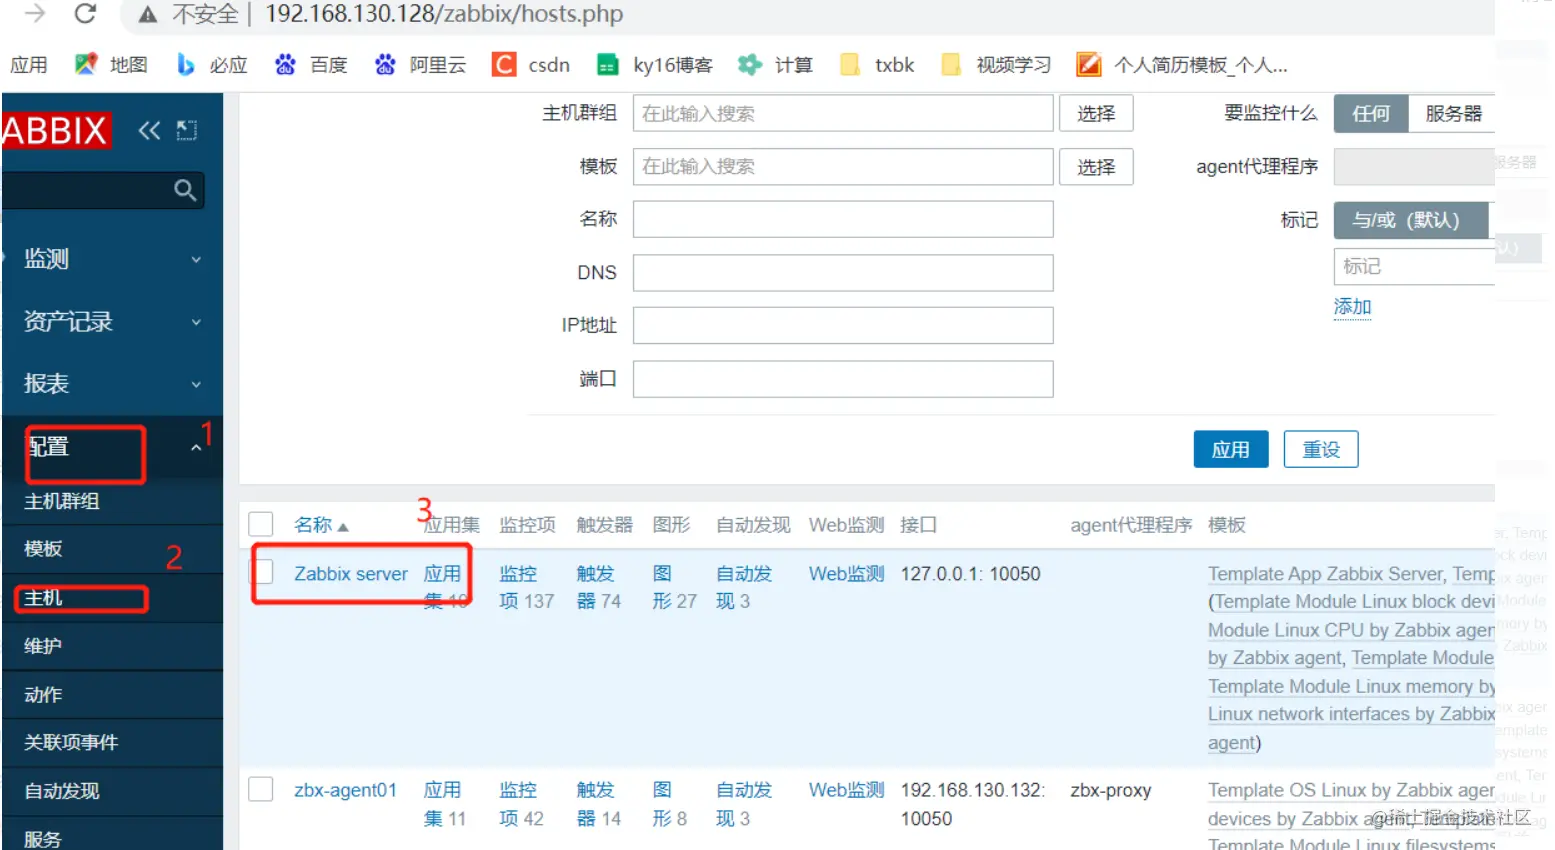
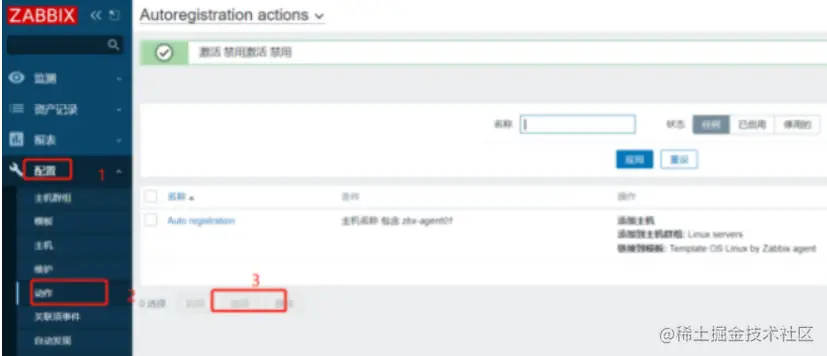
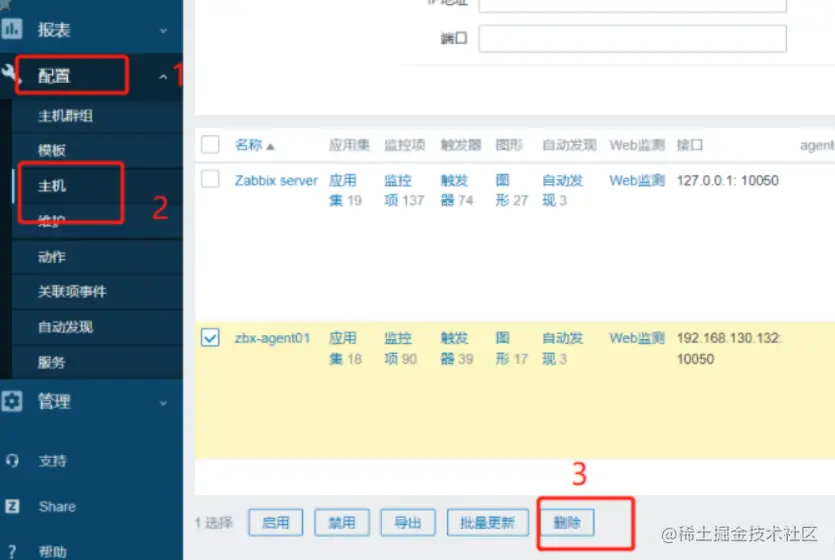
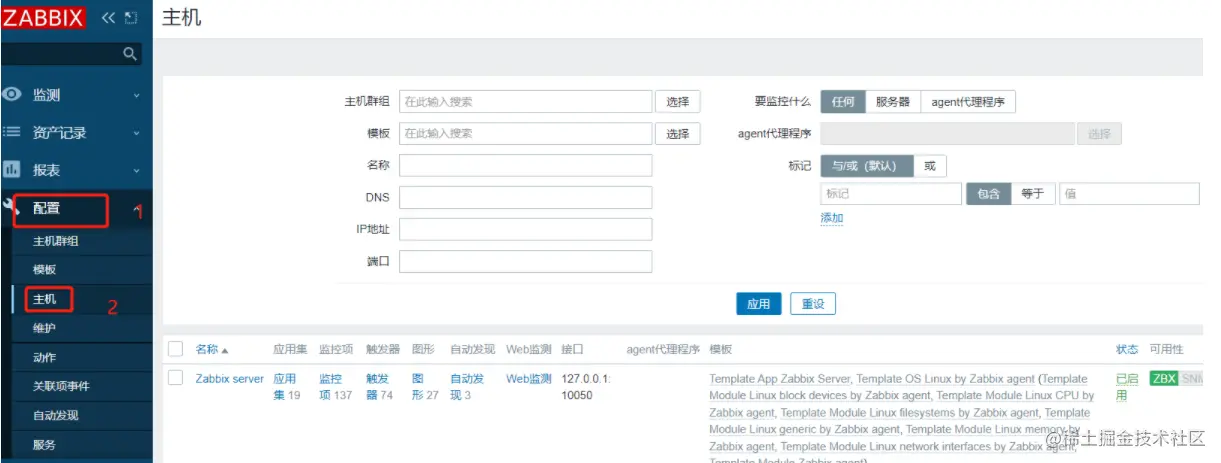
点击左边菜单栏【配置】中的【动作】,勾选自动注册规则,点击 禁用点击左边菜单栏【配置】中的【主机】,勾选原有的客户端主机,点击 删除
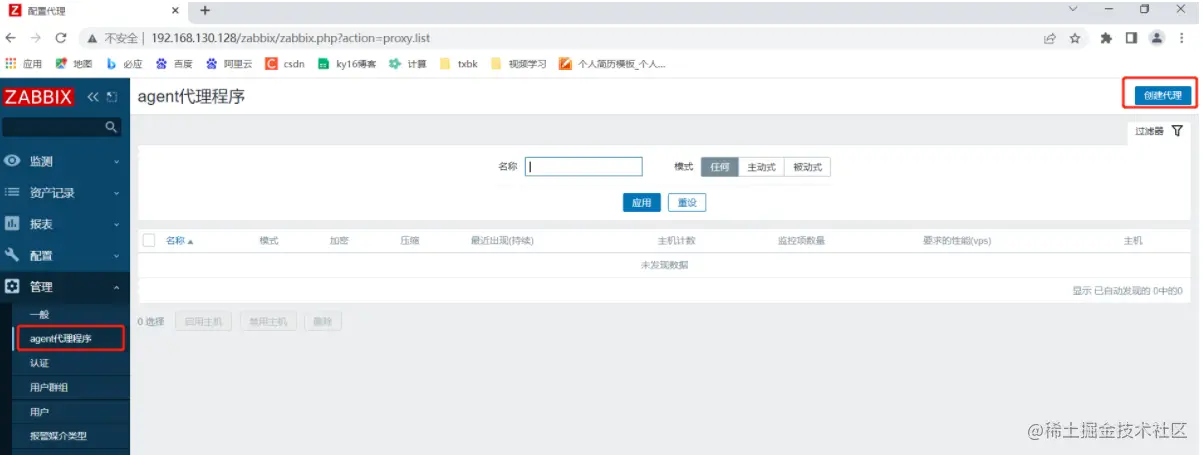
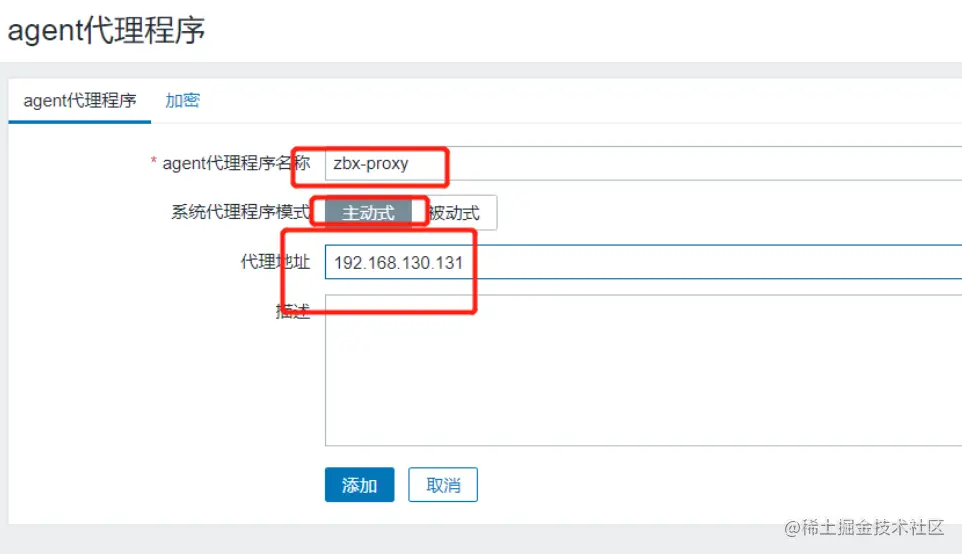
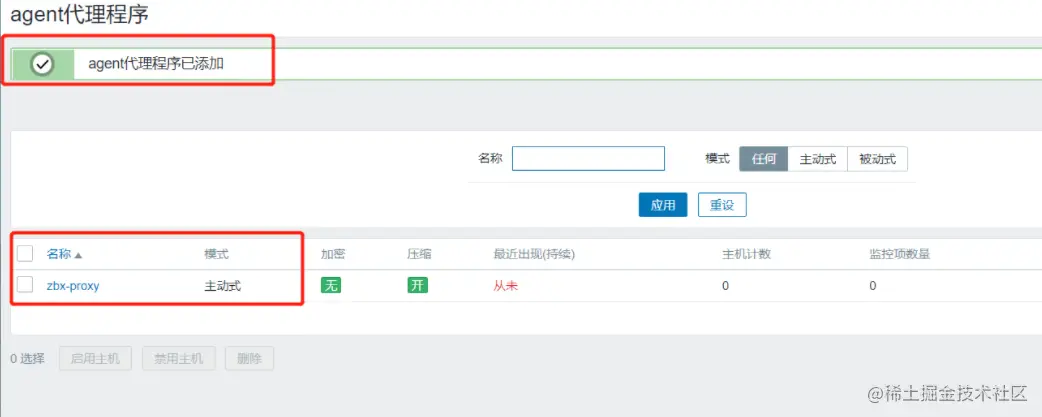
点击左边菜单栏【管理】中的【agent代理程序】,点击【创建代理】【agent代理程序名称】设置为 zbx-proxy【系统代理程序模式】选择 主动式【代理地址】设置为 192.168.130.131点击 【添加】
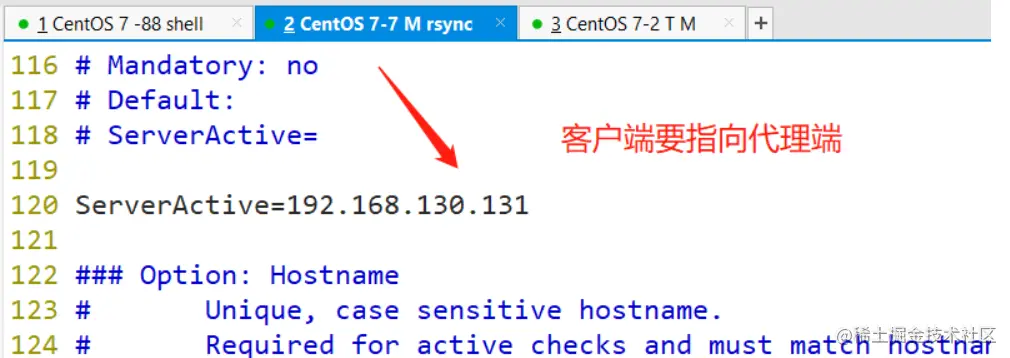
vim /etc/zabbix/zabbix_agent2.conf......Server=192.168.80.13 #80行,指定 zabbix 代理服务器的 IP 地址ServerActive=192.168.80.13 #120行,指定 zabbix 代理服务器的 IP 地址

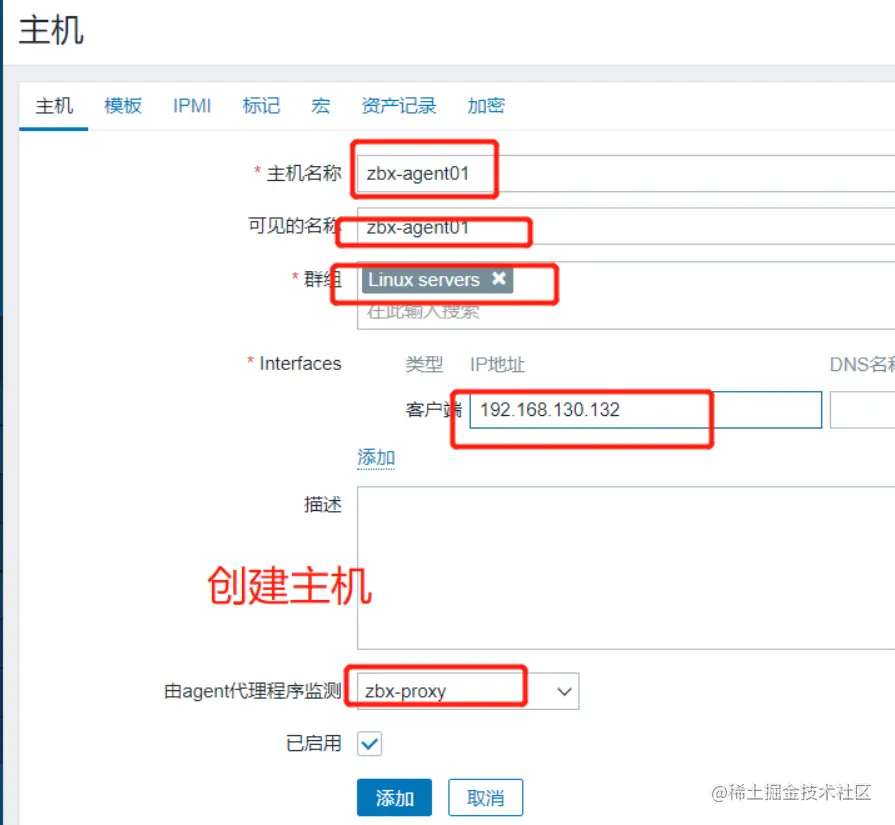
点击左边菜单栏【配置】中的【主机】,点击【创建主机】【主机名称】设置成 zbx-agent01【可见的名称】设置成 zbx-agent01【群组】选择 Linux server【Interfaces】的【IP地址】设置成 192.168.80.30【由agent代理程序监测】选择 zbx-proxy再点击上方菜单栏【模板】【Link new tamplates】搜索 Linux ,选择 Template OS Linux by Zabbix agent点击 【添加】
systemctl restart zabbix-agent2systemctl restart zabbix-proxy点击左边菜单栏【配置】中的【主机】刷新,查看客户端主机监控状态正常在服务端查看日志tail -f /var/log/zabbix/zabbix_proxy.log

SNMP,简单网络管理协议
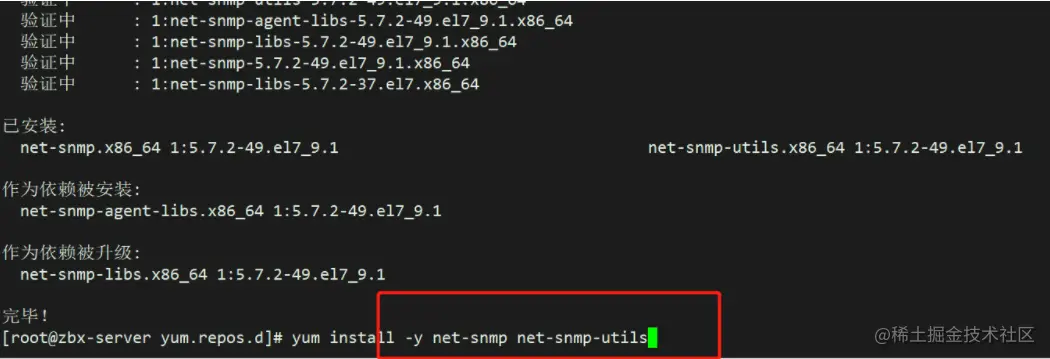
yum install -y net-snmp net-snmp-utils
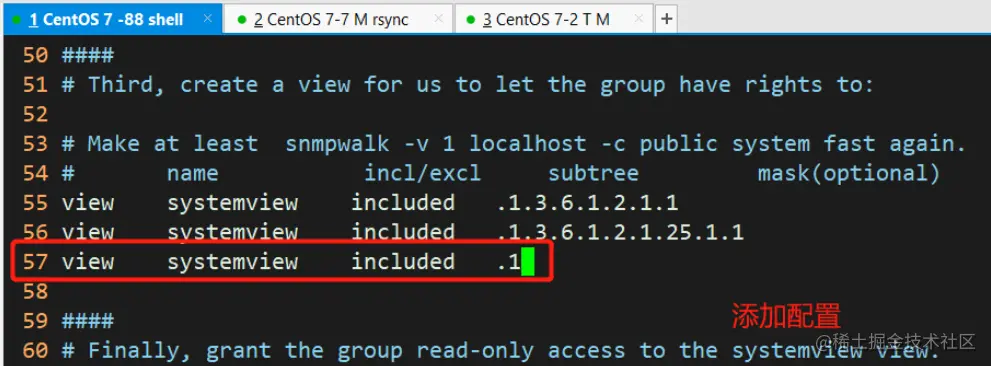
vim /etc/snmp/snmpd.conf......view systemview included .1 #57行,添加此配置systemctl start snmpd


snmpwalk -v 2c -c public 127.0.0.1 sysnameSNMPv2-MIB::sysName.0 = STRING: zbx-server-------------------------------------------------------–v 1|2c|3:指定SNMP协议版本–c:指定共同体字符串sysname:为 snmp 的 key-------------------------------------------------------
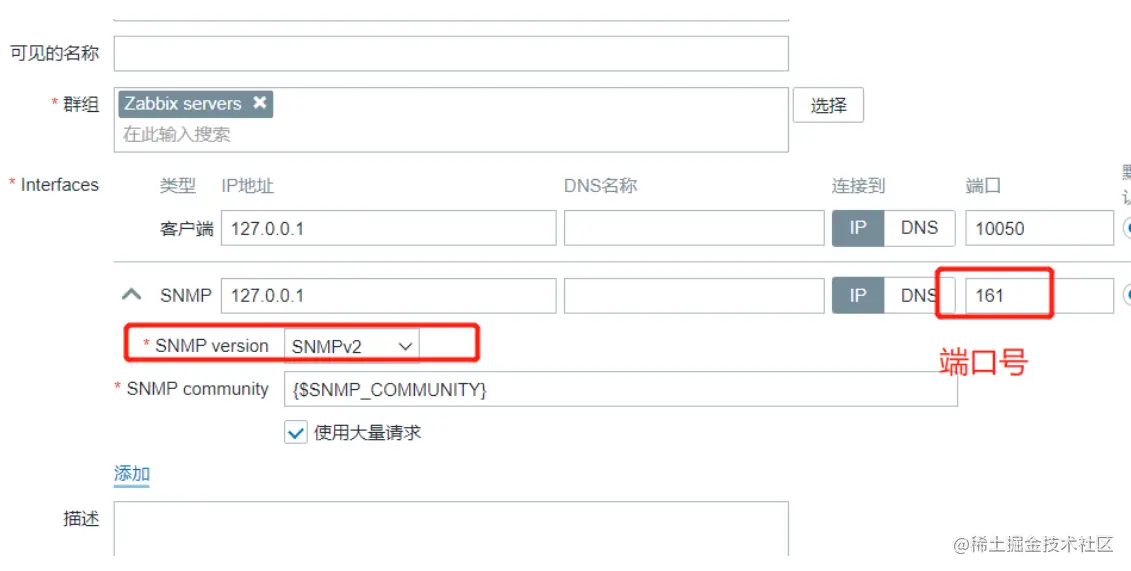
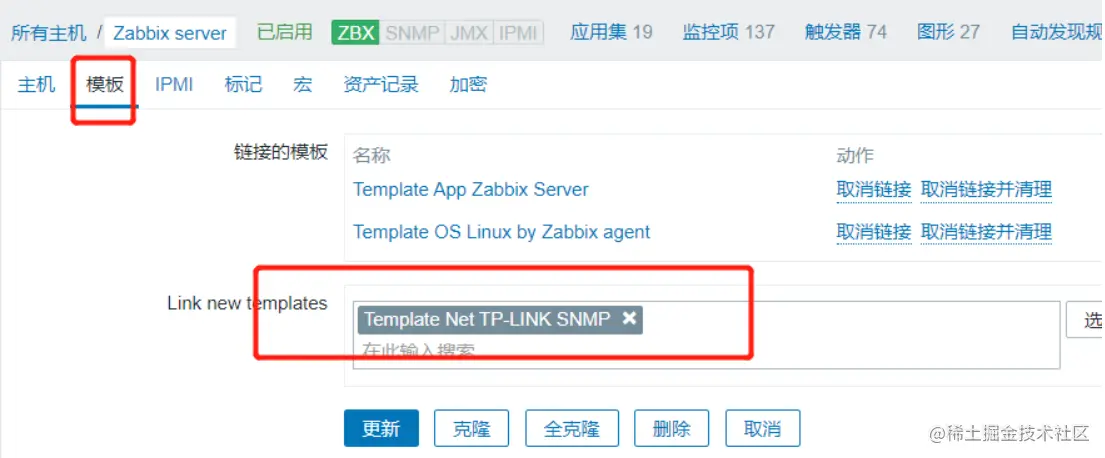
点击左边菜单栏【配置】中的【主机】,点击 Zabbix server【Interfaces】点击【添加】选择 SNMP ,端口设置成 161点击上方菜单栏【模板】,【链接的模板】中的所有 agent 模板选择取消链接并清理再在【Link new templates】中搜索 Linux SNMP,选择 Template OS Linux SNMP点击 【更新】,等待一段时间后 Zabbix server 的可用性就变成了 SNMP 监控方式。
