Correction status:qualified
Teacher's comments:


HTML样式分为浏览器默认样式、外部样式和内部样式以及内联样式,优先级也逐渐增高,即外部样式和内部样式可覆盖浏览器默认样式,内联样式又可覆盖外部样式和内部样式。外部样式和内部样式的优先级取决于书写书序,后面的样式覆盖前面的样式。
自定义样式是相对于浏览器默认样式而言,
如下代码展示浏览器默认样式下的p元素:
<!DOCTYPE html><html lang="en"><head><meta charset="UTF-8"><meta http-equiv="X-UA-Compatible" content="IE=edge"><meta name="viewport" content="width=device-width, initial-scale=1.0"><title></title></head><body><p>css优先级实例</p></body></html>
效果如下:
外部样式test.css文件中的代码:p {background-color: red;}html中的代码:<!DOCTYPE html><html lang="en"><head><meta charset="UTF-8"><meta http-equiv="X-UA-Compatible" content="IE=edge"><meta name="viewport" content="width=device-width, initial-scale=1.0"><title></title><link rel="stylesheet" href="test.css"></head><body><p>css优先级实例</p></body></html>
效果如下图:
可见,外部样式已经覆盖了浏览器的默认样式。
内部样式位置先于外部样式引入,则内部样式会被外部样式覆盖。
代码如下:
<!DOCTYPE html><html lang="en"><head><meta charset="UTF-8"><meta http-equiv="X-UA-Compatible" content="IE=edge"><meta name="viewport" content="width=device-width, initial-scale=1.0"><title></title><style>p{background-color: aqua;}</style><link rel="stylesheet" href="test.css"></head><body><p>css优先级实例</p></body></html>
效果如下: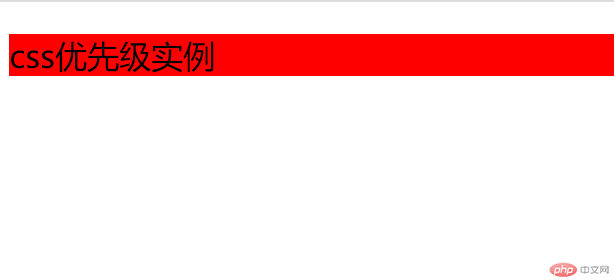
内部样式引入位置后于外部样式,则内部样式覆盖外部样式。
代码如下:
<!DOCTYPE html><html lang="en"><head><meta charset="UTF-8"><meta http-equiv="X-UA-Compatible" content="IE=edge"><meta name="viewport" content="width=device-width, initial-scale=1.0"><title></title><link rel="stylesheet" href="test.css"><style>p{background-color: aqua;}</style></head><body><p>css优先级实例</p></body></html>
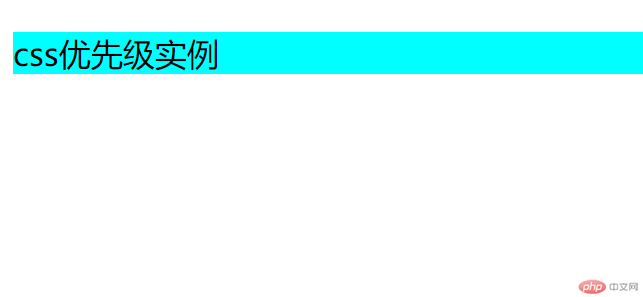
内联样式的引入将覆盖内部样式和外部样式,自然也会覆盖浏览器默认样式。
代码如下:
<!DOCTYPE html><html lang="en"><head><meta charset="UTF-8"><meta http-equiv="X-UA-Compatible" content="IE=edge"><meta name="viewport" content="width=device-width, initial-scale=1.0"><title></title><link rel="stylesheet" href="test.css"><style>p{background-color: aqua;}</style></head><body><p style="background-color: violet;">css优先级实例</p></body></html>
效果如下: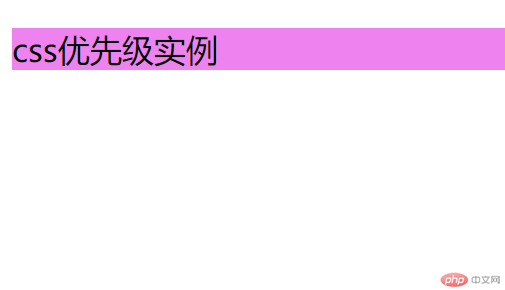
[========]
直接使用标签来选择
h1 {background-color: aliceblue;}
语法:
[属性]{样式:值}
代码如下:
<!DOCTYPE html><html lang="en"><head><meta charset="UTF-8"><meta http-equiv="X-UA-Compatible" content="IE=edge"><meta name="viewport" content="width=device-width, initial-scale=1.0"><title></title><style type="text/css">a[href]{color:red;}</style></head><body><a href="www.baidu.com">百度</a></body></html>
效果如下: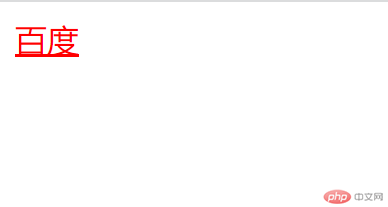
语法:
.类名字{样式:值;}
代码如下:
<!DOCTYPE html><html lang="en"><head><meta charset="UTF-8"><meta http-equiv="X-UA-Compatible" content="IE=edge"><meta name="viewport" content="width=device-width, initial-scale=1.0"><title></title><style type="text/css">.baidu {color:red;}</style></head><body><a class="baidu" href="www.baidu.com">百度</a></body></html>
效果如下: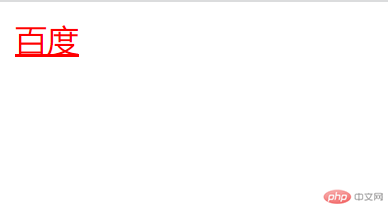
语法:
.元素ID{样式:值;}
代码如下:
<!DOCTYPE html><html lang="en"><head><meta charset="UTF-8"><meta http-equiv="X-UA-Compatible" content="IE=edge"><meta name="viewport" content="width=device-width, initial-scale=1.0"><title></title><style type="text/css">#baidu {color:red;}</style></head><body><a id="baidu" href="www.baidu.com">百度</a></body></html>
效果如下: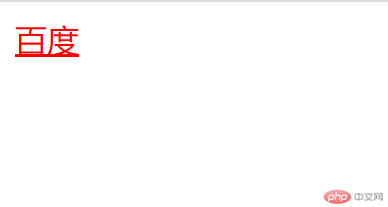
语法:
* {样式:值;}
代码如下:
<!DOCTYPE html><html lang="en"><head><meta charset="UTF-8"><meta http-equiv="X-UA-Compatible" content="IE=edge"><meta name="viewport" content="width=device-width, initial-scale=1.0"><title></title><style type="text/css">* {color:red;}</style></head><body><a id="baidu" href="www.baidu.com">超链接受影响</a><h1>h1受影响</h1><p>p受影响1。</p><p id="para1">p受影响2</p><p>p受影响3</p></body></html>
效果如下: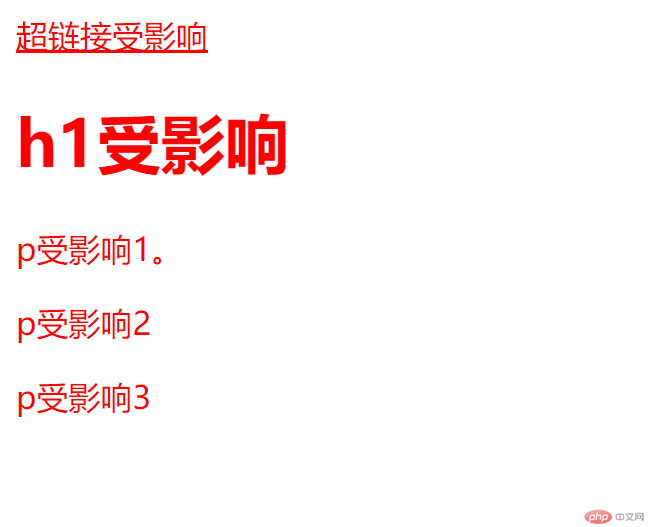
选择器权重被称为选择器特征(Selector Specificity),表示为三组数字,三组数字依次代表了ID选择器权重,类选择器权重,标签选择器权重,表现形式为(x,x,x),每组有一个相应类型选择器匹配时,数值会增加1。
例如,
一个p标签选择器的权重表示为(0,0,1),对应css代码为:
p {background-color: red;}
一个类选择器加上一个p标签选择器的权重表示为(0,1,1),对应css代码为:
.classname p {background-color: red;}
一个ID选择器加上一个类选择器再加上一个p标签选择器的权重表示为(1,1,1),对应css代码为:
#id .classname p {background-color: red;}
两个ID选择器加上一个类选择器再加上一个p标签选择器的权重表示为(2,1,1),对应css代码为:
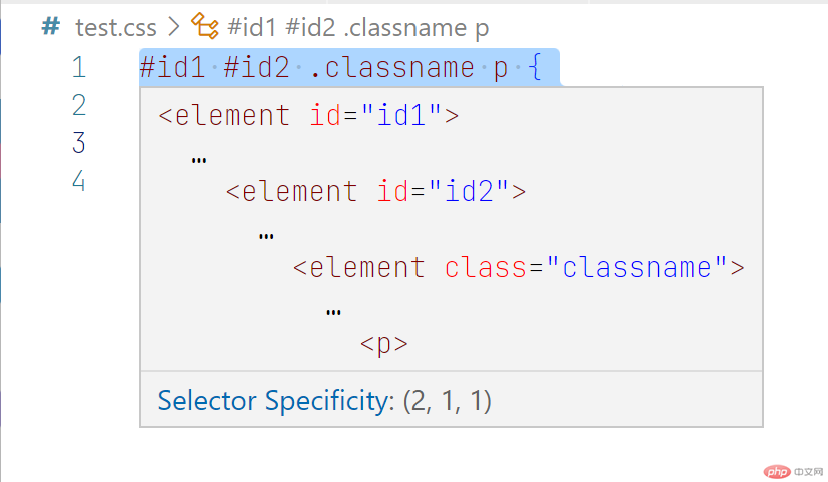
#id1 #id2 .classname p {background-color: red;}
不过除非特别需要,我们不建议将权重提升到ID选择器这个权重级别,因为已经达到了最高权重,调节样式匹配就不是很灵活了。
查看选择器的权重,可以在vscode中的css文件中,将鼠标悬停到选择器上,会自动出现选择器特征,即选择器权重。效果如下图所示: