![[Web front-end] Node.js quick start](https://img.php.cn/upload/course/000/000/067/662b5d34ba7c0227.png)


 PHPz
PHPzCorrection status:qualified
Teacher's comments:


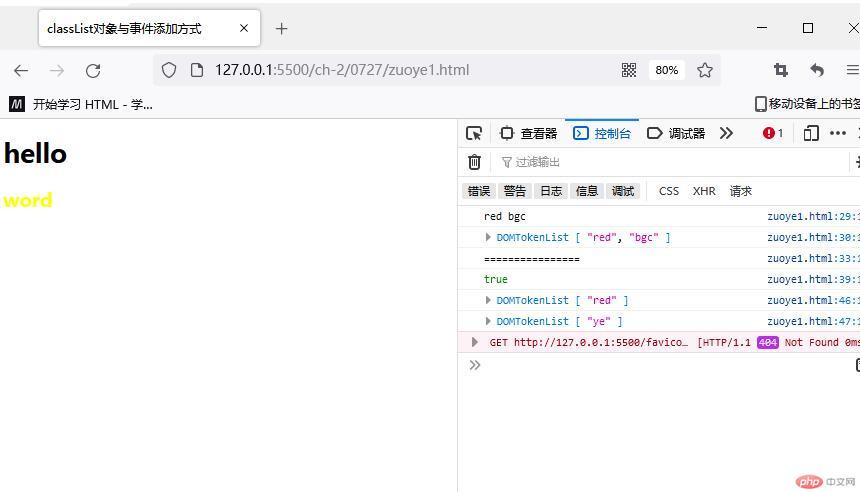
<!DOCTYPE html><html lang="zh-CN"><head><meta charset="UTF-8"><meta http-equiv="X-UA-Compatible" content="IE=edge"><meta name="viewport" content="width=device-width, initial-scale=1.0"><title>classList对象与事件添加方式</title><style>.red{color: red;}.bgc {background-color: blue ;}.ye{color: yellow;}</style></head><body><h1 class="red bgc ">hello</h1><h2>word</h2><script>// 1、style 属性:标签的行内样式// 2、getComputerStyle 计算样式// 3、classList 来操作 class 属性const h1 = document.querySelector('h1');console.log(h1.className);console.log(h1.classList);const h2 =document.querySelector('h2');console.log('================');// classList 的添加、 判断 替换 删除、切换// 1、add(); 添加h2.classList.add('red');// 2、contains 判断 输出布尔console.log( h2.classList.contains('red'));// 3、replace 替换h1.classList.replace('red','ye');// 4、remove 删除 'h1.classList.remove('bgc');// 5、切换// 如果有这个类就去掉,没有就加上console.log(h2.classList);console.log(h1.classList);// 有去掉h1.classList.toggle('ye');// 没有加上替换h2.classList.toggle('ye');</script></body></html>
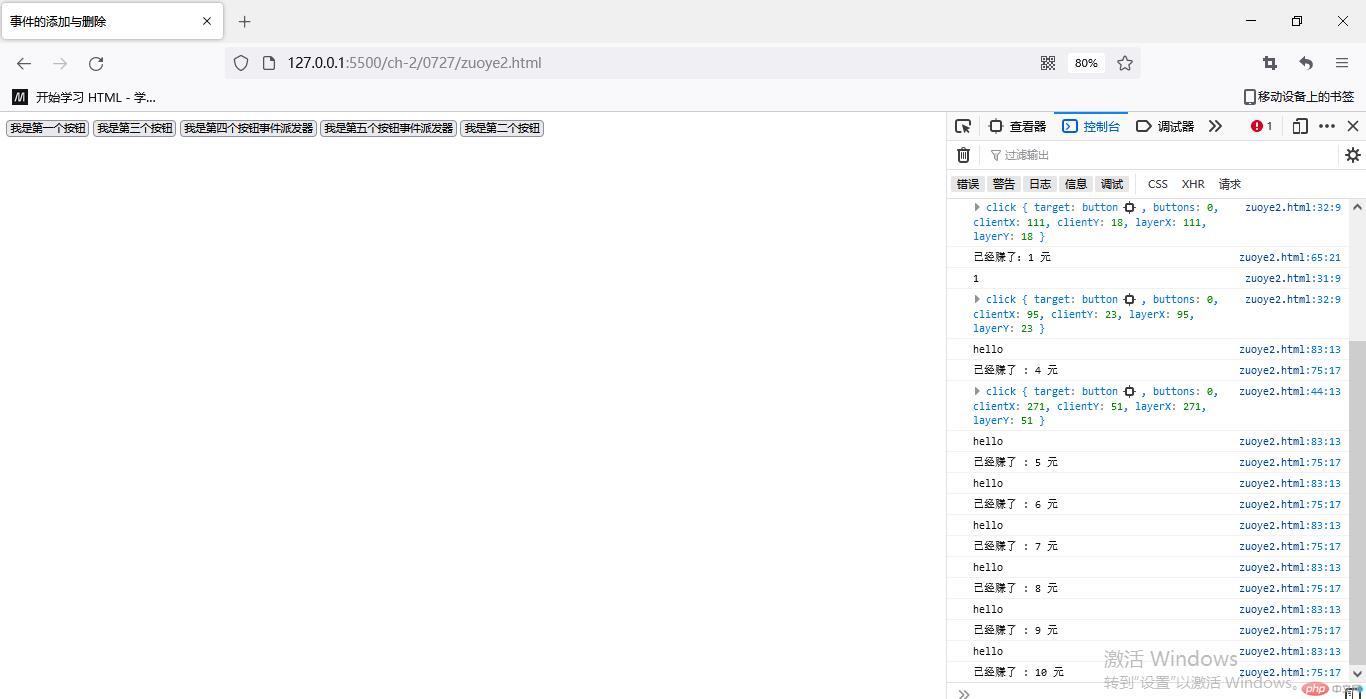
<!DOCTYPE html><html lang="zh-CN"><head><meta charset="UTF-8"><meta http-equiv="X-UA-Compatible" content="IE=edge"><meta name="viewport" content="width=device-width, initial-scale=1.0"><title>事件的添加与删除</title></head><body><!-- <button onclick="alert(this.texcontent)">元素对象</button>--><button>我是第一个按钮</button><button>我是第三个按钮</button><button>我是第四个按钮事件派发器</button><button>我是第五个按钮事件派发器</button><button>我是第二个按钮</button><script>// 事件三要素// 1、事件名称 :字符串 click keydown scroll// 2、事件主体: 元素 button div p// 3、事件方法 ==事件侦听器 ==函数 function(){。。。。。。}const btn1 = document.querySelector('button:first-of-type');// 1、事件添加 的方法。事件监听// on +事件类型 type = callback 回调btn1.onclick = function () {// event:预定义对象。保存了绑定到当前事件主体上的事件对象详情 事件对象// event 官方已不建议使用 此方法 。事件对象。保存事件细节。不需要定义console.log('1');console.log(event);};// 简化 箭头函数// btn1.onclick = () => console.log(event);// 事件取消// btn1.onclick = null;// 2、事件监听 addEventListener()const btn2 = document.querySelector('button:last-of-type') ;// addEventListener() 事件名称.事件回调方法,触发阶段btn2.addEventListener('click',function(){console.log(event);},false);// 事件取消 当使用了事件监听器时,如果需要取消事件,就不能用回调来声明事件方法// btn2.removeEventListener('click',show,false);console.log('=======');const show =function(){console.log(event);}const btn3 = document.querySelector('button:nth-of-type(2)') ;// addEventListener() 事件名称.事件回调方法,触发阶段btn3.addEventListener('click',show,false);// 事件取消 当使用了事件监听器时,如果需要取消事件,就不能用回调来声明事件方法btn3.removeEventListener('click',show,false);// 3、事件派发// 第一步 :先创建一个自定义事件const btn4 = document.querySelector('button:nth-of-type(3)') ;let i = 0;btn4.addEventListener('click',function(){i=i+1;// console.log('已经赚了:'+ i + ' 元');// while(i > 10) return console.log('hello');;(i <10 )? (console.log('已经赚了:'+ i + ' 元')) :false;// if(i>= 100) return false;});console.log('--------');// 创建一个自定义事件const btn5 = document.querySelector('button:nth-of-type(4)') ;let h = 0;btn5.addEventListener('click', function () {h+= 1;console.log('已经赚了 : ' + h + ' 元');});const myEvent =new Event('click');// 事件派发// dispatchEventbtn5.dispatchEvent(myEvent);// 第二步:将事件自动派发给 指定元素,并触发// 添加定时器,自动派发setTimeout 单次执行,每个一段时间,执行一次,一次性的let timer= setInterval(function(){console.log('hello');btn5.dispatchEvent(myEvent);// 关闭定时器// h =1 ;if (h >= 10) clearInterval(timer);},2000);// setInterval 间歇性的,不间断的</script></body></html>
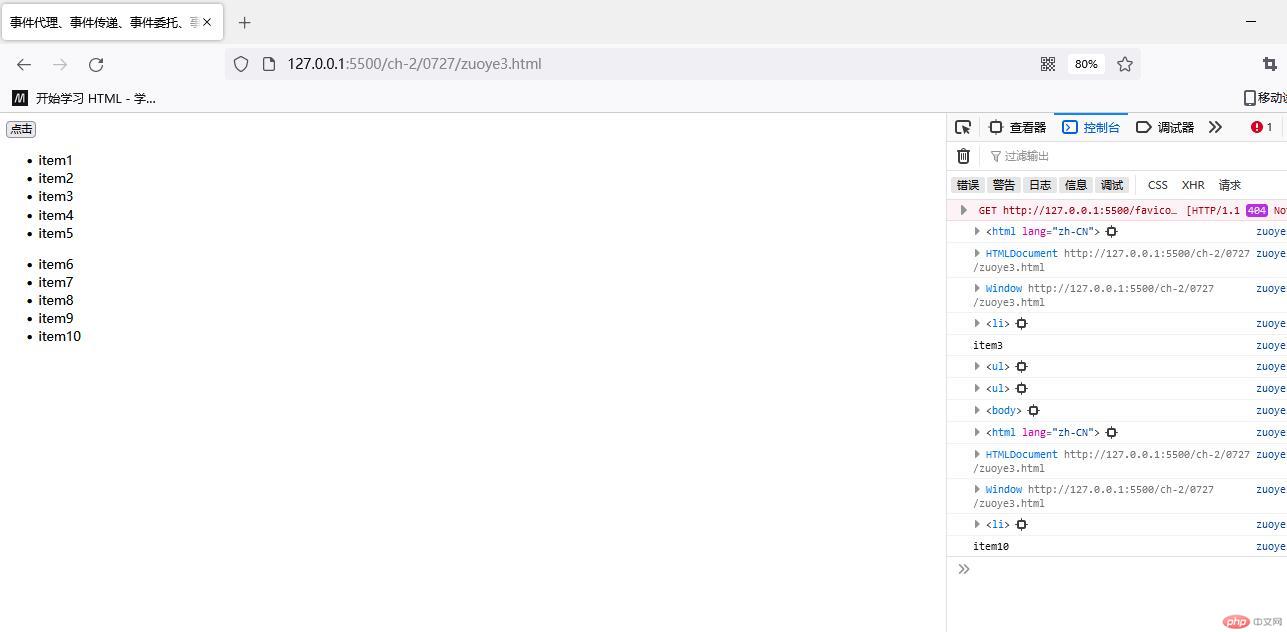
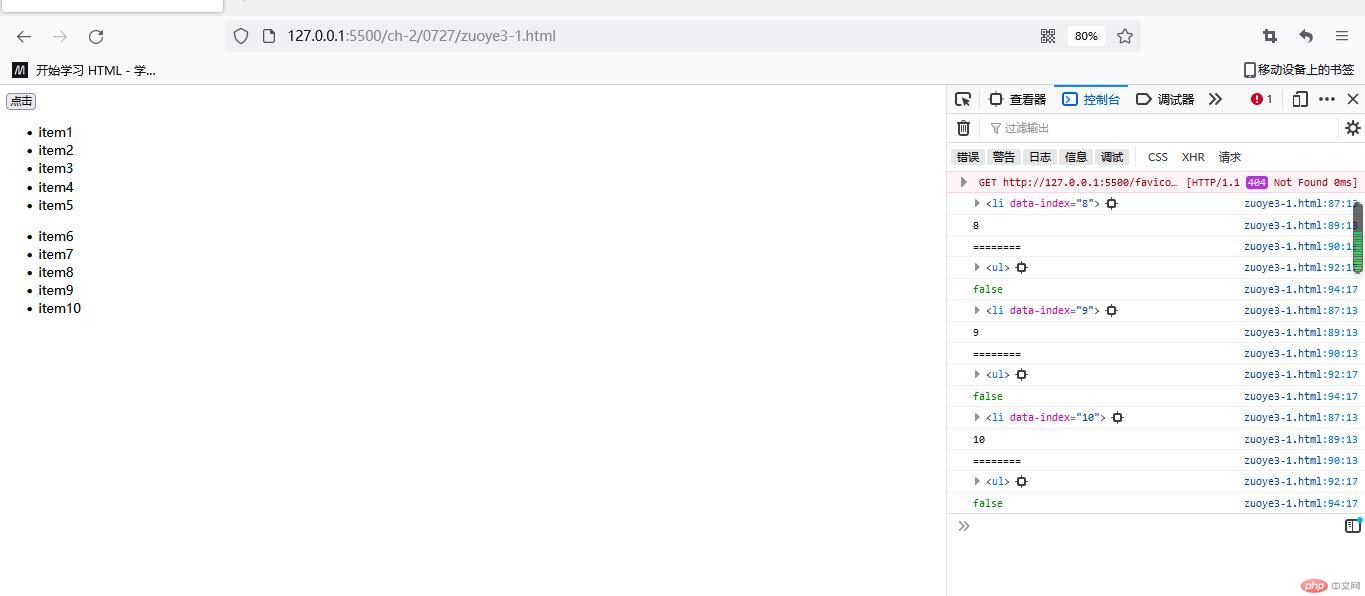
<!DOCTYPE html><html lang="zh-CN"><head><meta charset="UTF-8"><meta http-equiv="X-UA-Compatible" content="IE=edge"><meta name="viewport" content="width=device-width, initial-scale=1.0"><title>事件代理、事件传递、事件委托、事件传递机制与事件冒泡</title></head><body><button onclick="show()"> 点击</button><ul><li >item1</li><li>item2</li><li>item3</li><li>item4</li><li>item5</li></ul><ul><li data-index="6" >item6</li><li data-index="7" >item7</li><li data-index="8" >item8</li><li data-index="9" >item9</li><li data-index="10" >item10</li></ul><script>// function show (){// // 事件独享:总是可用// console.log(event);// // 1、事件主体、触发者 代表当前事件触发的 button// console.log('事件主体:',event.currentTarget);// console.log(typeof event);// // console.log(typeof event.bubbles);// // 事件目标、// console.log('事件目标:',event.target);// 没有事件委托 时 事件主体= 事件目标 true 有事件委托是 就是fasle// console.log(event.currentTarget==event.target);// }// // 获取所有的li// const items =document.querySelectorAll('li');// // items.forEach((items) =>(items.onclick = ()=>console.log(event.currentTarget)));// items.forEach(function(items){// items.onclick = function(){// // 事件主体// console.log(event.currentTarget);// // 事件主体的内容// console.log(event.currentTarget.textContent);// // 阻止冒泡// event.stopPropagation();// }// });// // 1、每个li 的父级都是同一个,是ul// // 2| ul 的父级是body// // body的父级是 html// // 事件冒泡,1、当前元素的事件会向上传递,往父级上冒泡 2、// // 2、当父级的同名事件时会自动触发// // 关键词 :父级 、同名(事件名称)// // 点击li 触发ul 的点击事件// document.querySelector('ul').onclick = ( ) =>console.log(event.currentTarget);// // 触发ul 的点击事件 触发,引起ul 父级触发// document.querySelector('body').onclick = ( ) =>console.log(event.currentTarget);// // 触发body 的点击事件 触发,引起html 父级触发// document.querySelector('html').onclick = ( ) =>console.log(event.currentTarget);// // 触发html 的点击事件 触发,引起document 父级触发// document.onclick = ( ) =>console.log(event.currentTarget);// // 触发document 的点击事件 触发,引起windows 父级触发// window.onclick = ( ) =>console.log(event.currentTarget);// 简化版// 根据冒泡原理,当前元素上的同名事件,会向上传递到它的父级// 如果当前是一个列表,或者当前是一组集合,那么添加事件会非常麻烦// 不管当前有多少个元素,根据dom树的特点,都会有一个父级// 所以可将这个事件,直接添加到它的父级上即可,可以简化代码。但是// 需要通过一些手段判断哪个子元素触发了事件、// 事件委托、事件代理 :将子元素的事件委托到父元素上触发,以简略代码// 1、先获取到 所有 li的父级 ulconst ul = document.querySelector('ul:last-of-type') ;// 1、给ul 添加事件ul.onclick = function(){// 事件目标 点击事件的触发者 li 子元素console.log(event.target);// 找到当前事件的触发者 可以为他添加自定义属性 data-indexconsole.log(event.target.dataset.index);console.log('========');// 事件主体 onclick 父元素console.log(event.currentTarget);// 在事件代理的场景下,事件目标与事件主体是不一致: 父子关系console.log(event.target === event.currentTarget);}</script></body></html>
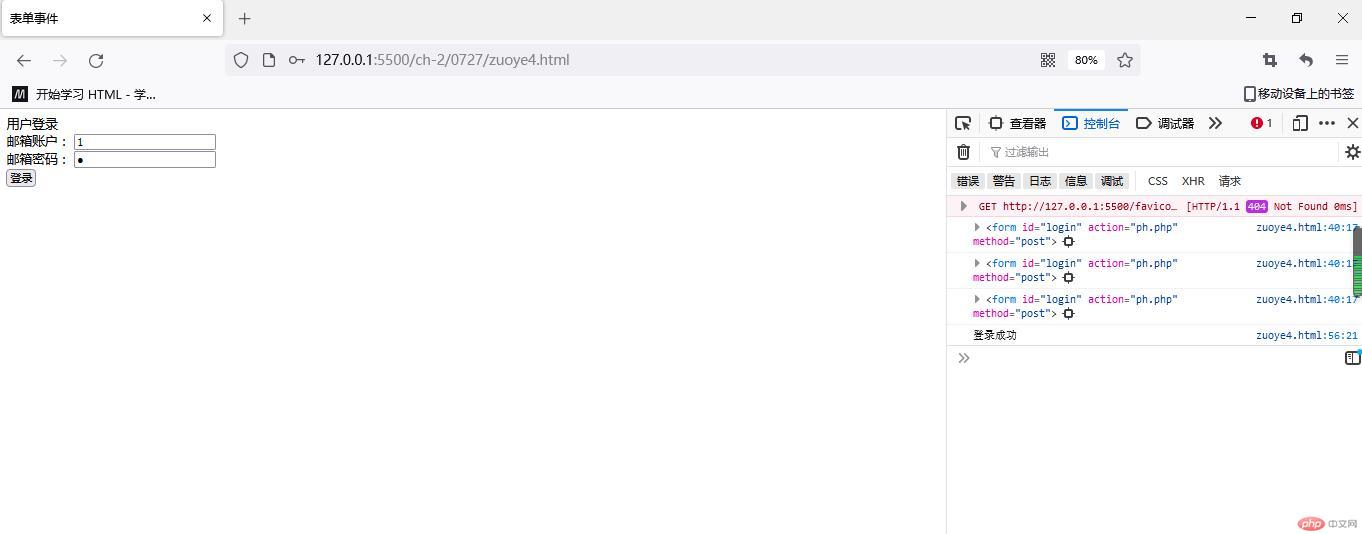
<!DOCTYPE html><html lang="zh-CN"><head><meta charset="UTF-8"><meta http-equiv="X-UA-Compatible" content="IE=edge"><meta name="viewport" content="width=device-width, initial-scale=1.0"><title>表单事件</title></head><body><!-- 1、添加 onsubmit="alert('hello') 事件,当提交时,跳转弹框 --><!-- <form action="ph.php" method="post" id="login" onsubmit="alert('hello')"> --><!-- 方式二 取消form表单元素的默认提交行为 --><!-- <form action="ph.php" method="post" id="login" onsubmit="return false"> --><form action="ph.php" method="post" id="login" ><label class="title">用户登录</label><br><label for="email">邮箱账户:</label><input type="email" id="email" name="email" value="" autofocus /><br><label for="password">邮箱密码:</label><input type="password" name="password" id="password" autofocus /><br><!-- 如果把<button 放到表单 form 里面默认就是提交行为 ,需要禁用掉 --><!-- 1、修改 <button 类型 改为 button 不会跳转 页面--><!-- <button type="button" name="submit" onclick="check(this)">登录</button> --><button name="submit" onclick="check(this)">登录</button></form><script>function check(e) {// 方式三、禁用提交按键的 默认行为 ,增加用户提交信息验证 推荐event.preventDefault();// 防止 冒泡event.stopPropagation();// 进行非空验证// 每一个表单控件 input button select 都有一个属性 form 是当前表单的引用对象console.log(e.form);let email = e.form.email;let password = e.form.password;// 开始判断if (email.value.length ==0){alert('邮箱不能为空')// 焦点重置email.focus();return false;} else if (password.value.length ==0){alert('密码不能为空')password.focus();return false;} else {// document.textContent('登录成功');console.log('登录成功');}}// 1. submit: 提交// 2. focus: 焦点// 3. blur: 失去焦点// 4. change: 值改变,且失去焦点时// 5. input: 值一旦改变就触发, 不等失去焦点</script></body></html>
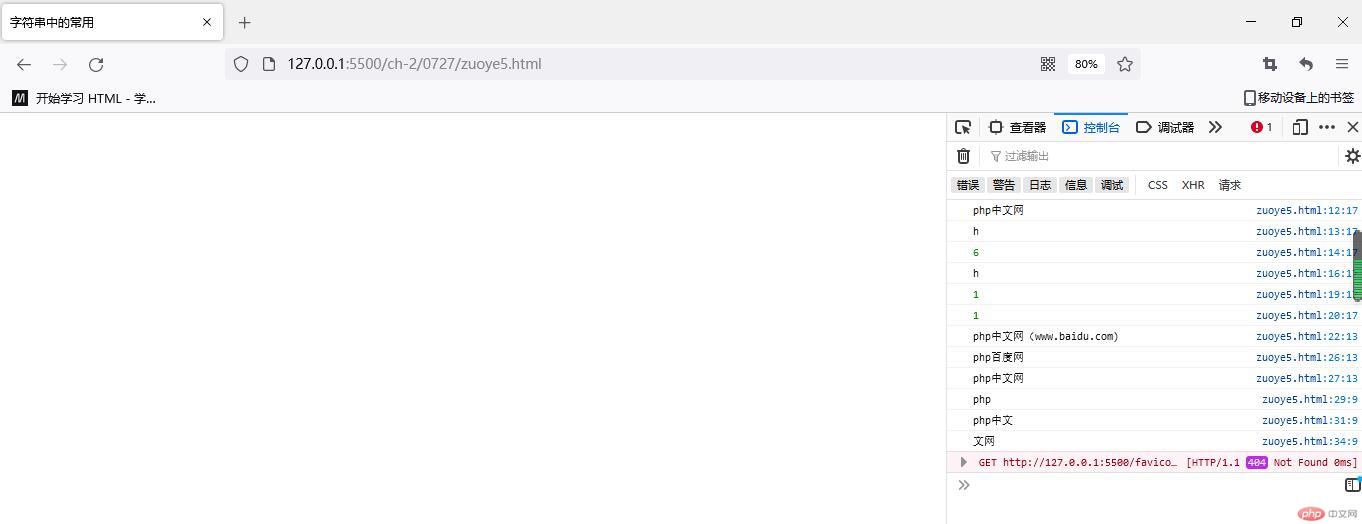
<!DOCTYPE html><html lang="zh-CN"><head><meta charset="UTF-8"><meta http-equiv="X-UA-Compatible" content="IE=edge"><meta name="viewport" content="width=device-width, initial-scale=1.0"><title>字符串中的常用</title></head><body><script>let str = 'php中文网';console.log(str);console.log(str[1]);console.log(str.length);// charAt(1) 注意是小括号 根据索引拿到值console.log(str.charAt(1));// 根据值拿到索引 indexOf()console.log(str.indexOf('h'));console.log(str.search('h'));// 字符串拼装console.log(str.concat('('+'www.baidu.com'+')'));// 模板字面量 拼装 用反引号 括起来// 字符串替换 临时替换输出 不是最终的 ,但是可以保存到变量中console.log(str.replace('中文','百度'));console.log(str);// 输出 结果从 索引 0到 3 但是 不包括 3console.log(str.slice(0,3));// 第二个参数 是获取的数量console.log(str.substr(0,5));// 支持负数 从左到右 分别是 -1 -2 -3console.log(str.substr(-2,5));// -2 是从右边开始 的起始索引// 5是获取的数量,向右</script></body></html>