Correction status:qualified
Teacher's comments:


createElement 创建新元素 在document上面调用
const ul = document.createElement("ul");
append(string/ele) 追加到父级的最后子节点后,在父节点上调用
document.body.append(ul);
before 在某元素之前插入 在当前元素调用
注释:首先创建一个新元素Li,然后调用append方法,因为这个方法不光可以追加新节点还可以追加内容,通过append给新元素li添加内容,然后通过querySelectorAll 获取到li的类数组,以此拿到需要节点位置,然后在节点上调用before方法
const li = document.createElement("li");li.append('new itme');li.style.color='red';// 拿到列表的第三个const a =document.querySelectorAll('.list li');a[2].before(li);
after 在某元素之后插入 在当前元素调用
const li = document.createElement("li");li.append('new itme');li.style.color='red';// 拿到列表的第三个const a =document.querySelectorAll('.list li');a[2].after(li);
cloneNode(true) 克隆节点(输入true 表示包含子节点,不输入表示不包含) 在被克隆节点调用
注释:创建一个新变量,用来装克隆好的新元素,然后调用前面的方法,可以将克隆好的元素添加到节点的指定位置
let newli =li.cloneNode(true);a[3].before(newli);
replaceChild(ele/pos) 替换子节点 在父节点调用
在父节点上调用,替换掉子节点,需要两个参数,一个是新节点,一个是被替换的节点
ul.replaceChild(li,li);
remove(ele) 删除子元素 在父节点调用
注释:先获取到ul,然后在ul上调用,删除掉UL的子元素
例如下面的例子就是,删掉了ul的最后一个子元素,lastElementChild 是获取当前节点的最后一个子元素。然后调用remove().
const ul =document.querySelector('.list');ul.lastElementChild.remove();
insertAdjacentElement(‘插入位置’,元素);
下面是插入的位置 一共有四个
afterBegin 开始标签之后,第一个子元素
beforeBegin 开始标签之前,是他的前一个兄弟元素
afterEnd 结束标签之后 是他的下一个兄弟元素
beforeEnd 结束标签之前 是他的最后一个子元素
const li = document.createElement("li");li.style.color = "red";li.append('一个新节点');const ul =document.querySelector('.list');ul.insertAdjacentElement('beforeend', li);
<div class="box"><style>h2{color: red;}</style><h2>通知</h2><span style="display: none;"">试用期员工不参加</span><p>今天下午加班</p></div>
span中的样式 dispale:none 表示隐藏,添加的标签所有内容将会被删除
接下来演示JS操作页面元素的方法
textContent 返回所有内容 不包含标签
const box = document.querySelector('.box');console.log(box.textContent);
innerText 返回文本内容
console.log(box.innerText);
innerHTML 返回所有内容加上所有标签
console.log(box.innerHTML);
outerHTML 返回当前元素的源代码
比如下方就返回box这个div里面的所有源代码
console.log(box.outerHTML);
自定义属性以data- 为前缀
我们为这个按钮 添加了一个自定义属性 1 用的就是data-
dataset :自定义属性操作对象(在引用时省去前缀data- 直接引用后缀)
data-xxxx 后缀是自己为这个属性命名
具体操作如下
<button data-index="1" onclick="console.log(this.dataset.index);"> </button>
获取元素的行内样式 通过style属性
<div style="color: red;">wode</div><script>const div = document.querySelector('div');console.log(div.style.color);// </script>
一个元素的样式由外部内部行内等多种来源决定,叫做计算样式
通过getComputedStyle 来获取元素计算样式
console.log(window.getComputedStyle(div).color);
因为getComputedStyle 获得的结果是只读 所以要通过parseInt来进行转换 然后通过行内样式来进行更新
let width=window.getComputedStyle(div).width;width = parseInt(width);div.style.width = width + 200+'px';
JS代码
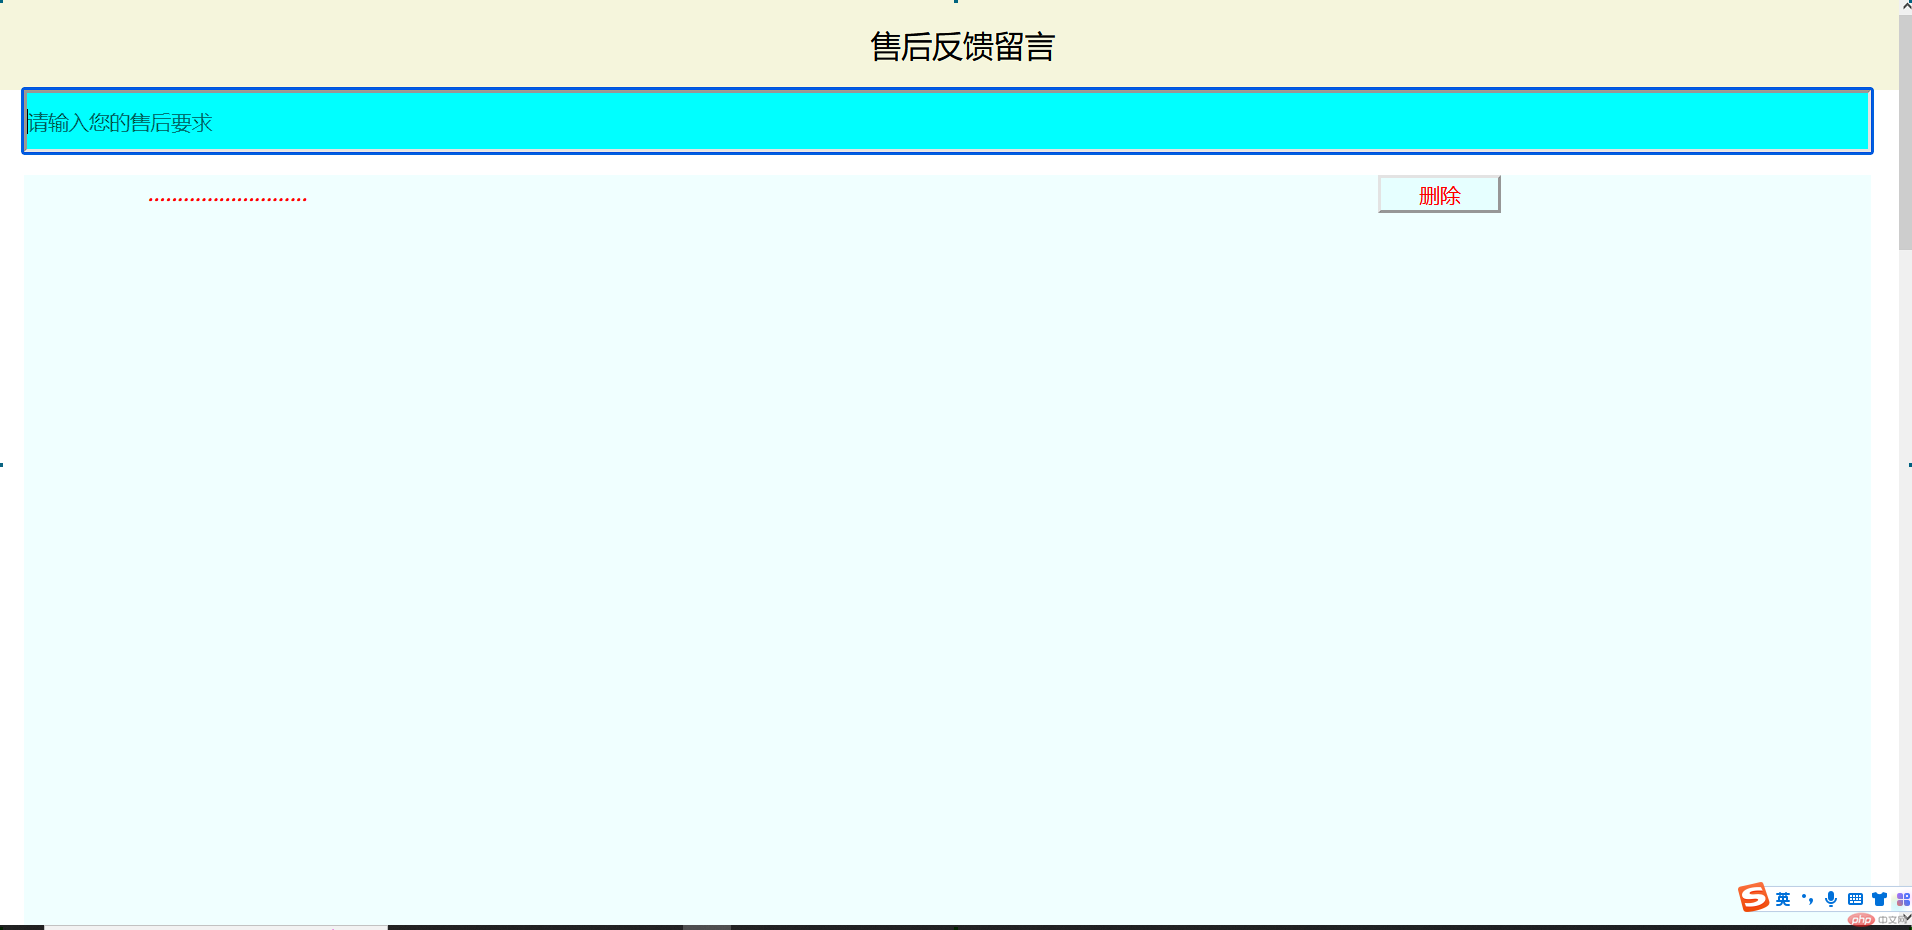
function neir(ele){// 如果按下了回车键if (event.key==='Enter'){// 留言非空认证if (ele.value.length===0){alert('留言不能为空');// 重置焦点ele.focus();return false;}// 添加留言const ul=document.querySelector('.text1');// 为每一条留言添加一个删除按钮ele.value = ele.value +'<button onclick="del(this.parentNode)">删除</button>';ul.insertAdjacentHTML('afterbegin', `<li>${ele.value}</li>`);// 清空当前输入框ele.value=null; //当前输入框为空}}function del(ele) {// confirm 是弹框 让用户进行选择return confirm('是否删除?') ? ele.remove() : false;}
HTML和css代码
<!-- 引入外部样式表 --><link rel="stylesheet" href="css/demo.css"><!-- 引入外部脚本 --><script src="js/demo.js"></script></head><body><!-- --------头部---------- --><header><div class="top"><a href="">售后反馈留言</a></div></header><!-- --------主题----------- --><main><div class="text"><input type="text" onkeydown="neir(this)" placeholder="请输入您的售后要求" autofocus></div><div class="wenben"><ul class="text1"></ul></div>/* --------------默认样式-------------- */*{margin: 0;padding: 0;box-sizing: border-box;color: #000;}/* 移除下划线 */body a{text-decoration: none;}/* 移除li前面的小点 */li {list-style: none;}/* -----------头部区域----------- */body .top{height: 60px;background-color: beige;display: flex;place-content: center;place-items: center;}body .top a{font-size: 20px;text-indent: 20px;}/* -----------主体------------ */body main {margin: auto;width: 1200px;}/* 定义一个输入框 并给相关样式 */body main .text input{width:1200px;height: 40px;background-color: aqua;}/* 定义一个接收框展示 */body main .wenben{width: 1200px;background-color: azure;height: 2000px;}body main .wenben .text{margin: 50px 80px;}body main .wenben .text1 li {display: grid;grid-template-columns: 800px 50px;margin: 15px 80px;color: red;font-style: italic;}body main .wenben .text1 li button{color: red;background-color: rgb(230, 255, 255);width: 80px;height: 25px;}
运行展示
