Correction status:qualified
Teacher's comments:


圣杯布局:
<!DOCTYPE html>
<html lang="en">
<head>
	<meta charset="UTF-8">
	<title>双飞翼布局</title>
	<style tpye="text/css">
/*	将头部和底部设置宽度为100%,占据整个屏幕*/

    .head,.footer{width: 100%;
    height: 60px;
    background-color: #d2d2d2;}
  /*  设置p标签水平居中和垂直居中*/
    .p1{text-align: center;line-height: 60px; margin:0px;}

   .content{width: 1000px;
           background-color: yellow;
           margin: auto;
            overflow: hidden; /*为了包住内容*/}


  .wrap{
 /* 	先设置宽度为100%;左边浮动*/

  width: 100%;
 float: left;


  }

  .main{

        background-color:#f4ddb3;
        min-height: 650px;
        margin: 0 200px;}


          .left{width:200px;
          min-height: 650px;
         margin-left:-100%;
        float: left;
        background-color:#87cdf9; }

          .right{width:200px;
          	 min-height: 650px;
        float: left;
        background-color:#8eed91;

       margin-left: -200px;}

        .footer{clear: both; }


</style>
</head>
<body>
	<div class="head"><p class="p1">头部内容</p></div>
	<div class="content">
     <div class="wrap">
			<div class="main">主体内容</div>
			</div>
			<div class="left">左边栏</div>
			<div class="right">右边栏</div>
	</div>
	<div class="footer" ><p class="p1">底部内容 版权部分</p></div>


</body>
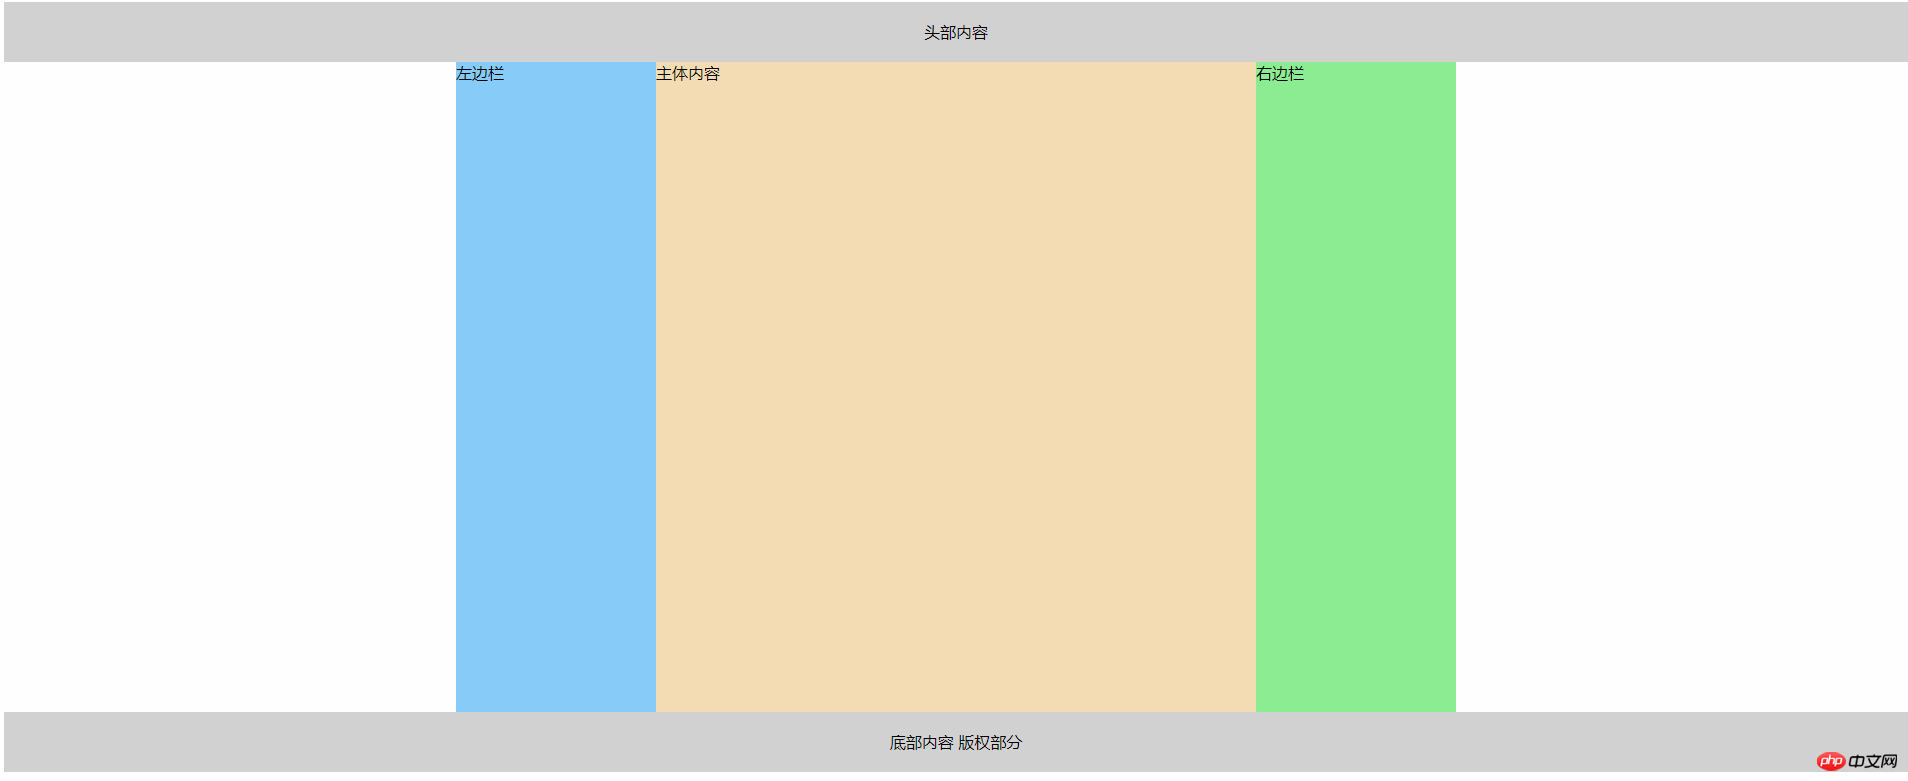
</html>运行结果

总结:
<!-- 总结 双飞翼设置的步骤, 中部一个大的容器,包住左边内容和右边栏和内容部分 记得让内容部分和大容器的宽度一样设置为100%
第二步设置好浮动 通过计算出左右两边的margin数值,将 三列集中到同一行,第三部设置 内容的外边距数值 挤压出真正的内容区域-->
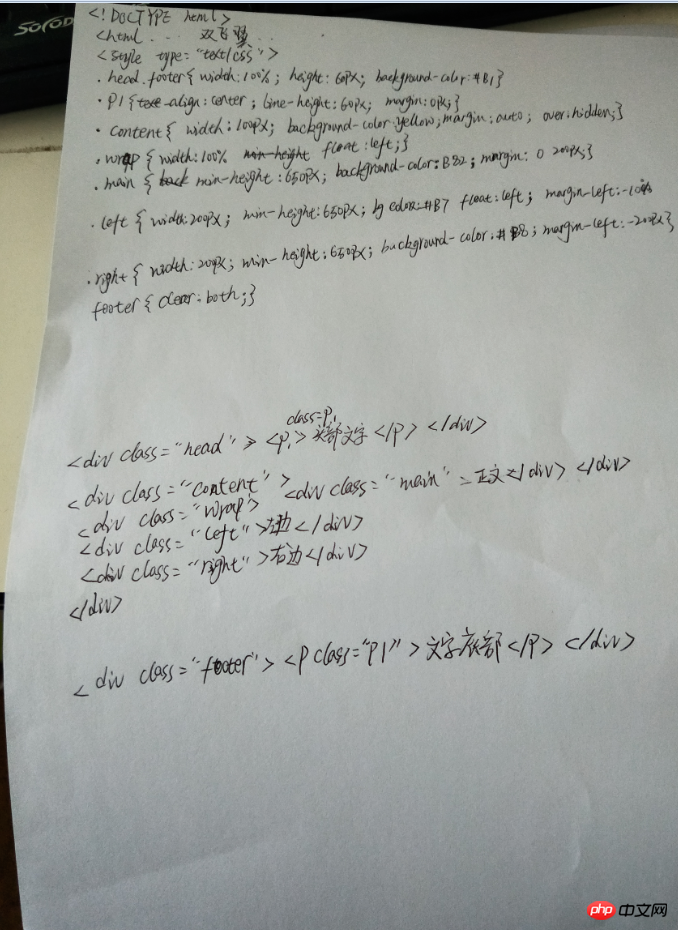
手写代码

圣杯布局
<!DOCTYPE html>
<html lang="en">
<head>
	<meta charset="UTF-8">
	<title>圣杯布局</title>
	<style tpye="text/css">
/*	将头部和底部设置宽度为100%,占据整个屏幕*/

    .head,.footer{width: 100%;
    height: 60px; /*设置头部和底部的高度*/
    background-color: #d2d2d2;}
  /*  设置p标签水平居中和垂直居中*/
    .p1{text-align: center;line-height: 60px; margin:0px;}

  /*  设置主体内容的宽度,背景颜色和居中对齐*/

   .content{

           width: 600px;
           background-color: yellow;
           margin: auto;
           overflow: hidden;/*为了包住内容*/
           padding: 0 200px;/*设置padding值 是为了把两边的位置挤出来,因为本身padding是透明的*/
         }

/*首先设置 中间部分的宽度为百分之一百,把下面的内容挤下去 并且设置浮动*/

  .main{


        width:100%;  /*设置宽度为100%*/
        min-height: 650px;   /*设置最小高度*/
        float: left;  /*靠左浮动*/
        background-color:#f4ddb3; /*设置背景颜色*/


       }

       /* 设置好宽度和浮动,然后通过marin-left 将这个div块浮动到上一行。最后通过绝对定位 让位置发生偏移*/
       .left{


            width:200px;
            min-height: 650px;
            float: left;
            background-color:#87cdf9;
            margin-left: -100%;
            position: relative;
            left: -200px;

     }


/*    设置好宽度和浮动,然后通过marin-left 将这个div块浮动到上一行。最后通过绝对定位 让位置发生偏移*/
          .right{

          width:200px;
          	 min-height: 650px;
            float: left;
            background-color:#8eed91;
            margin-left:-200px;
            position: relative;
            right: -200px;

          }

        .footer{clear: both; }


</style>
</head>
<body>
	<div class="head"><p class="p1">头部内容</p></div>
	<div class="content">

			<div class="main">主体内容</div>

			<div class="left">左边栏</div>
			<div class="right">右边栏</div>
	</div>
	<div class="footer" ><p class="p1">底部内容 版权部分</p></div>


</body>
</html>点击 "运行实例" 按钮查看在线实例
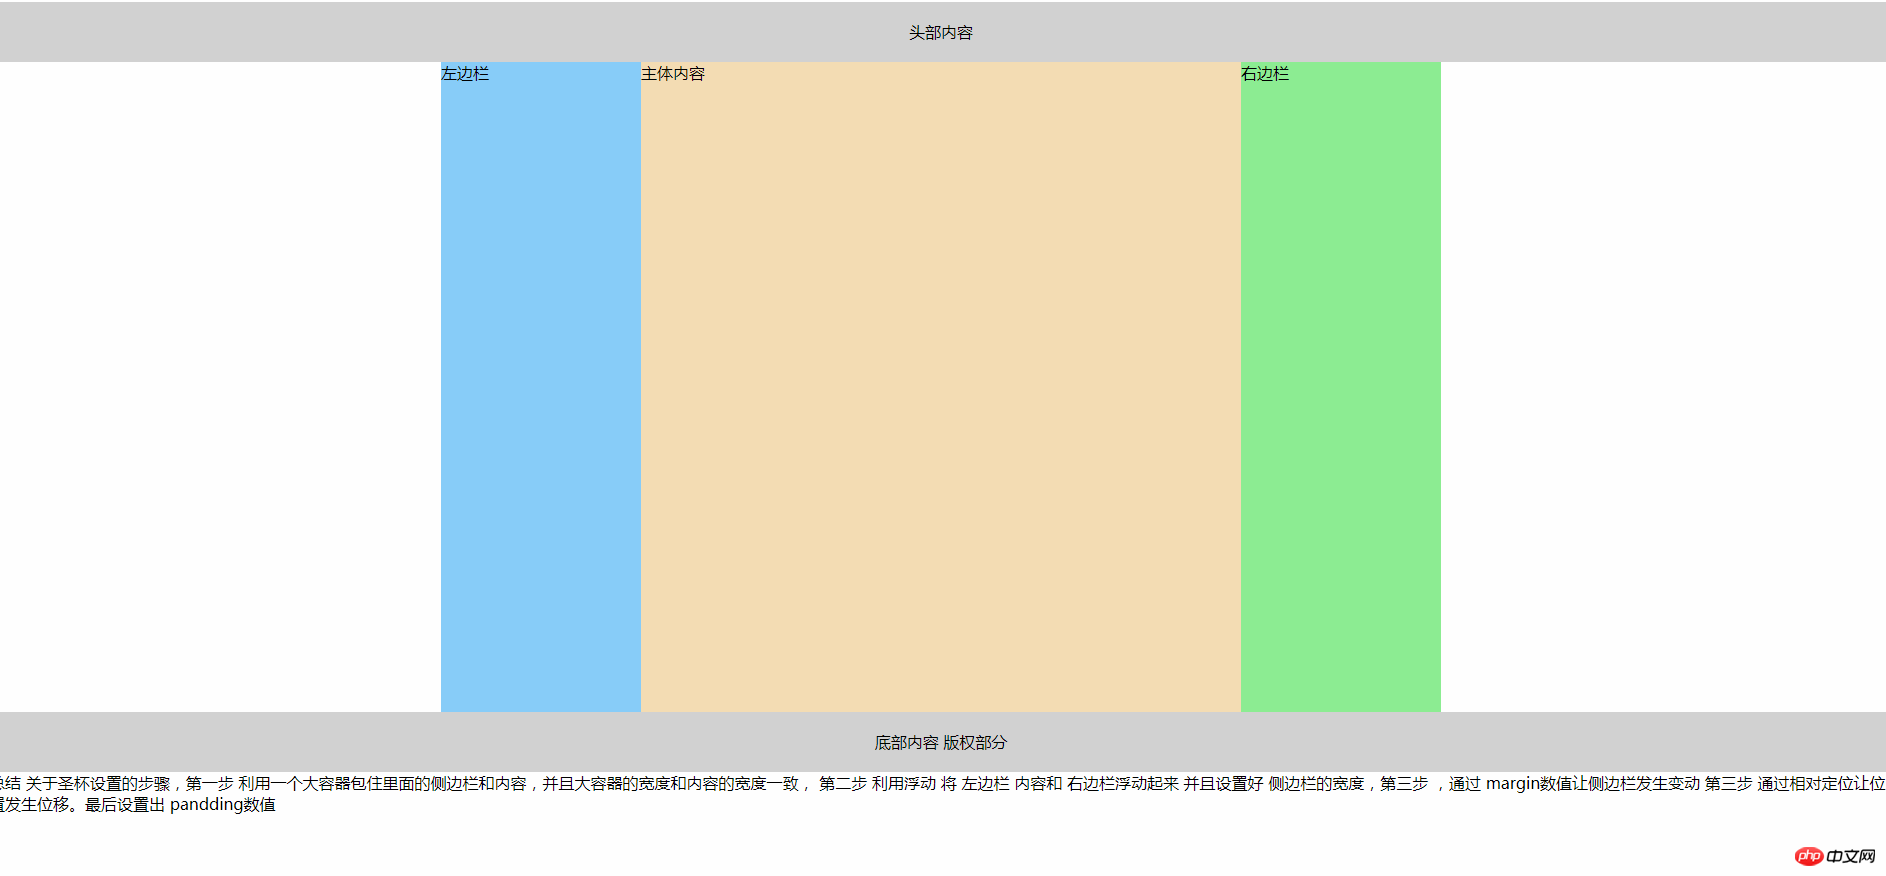
运行结果:

总结
总结 关于圣杯设置的步骤,第一步 利用一个大容器包住里面的侧边栏和内容,并且大容器的宽度和内容的宽度一致,
第二步 利用浮动 将 左边栏 内容和 右边栏浮动起来 并且设置好 侧边栏的宽度,第三步 ,通过 margin数值让侧边栏发生变动
第三步 通过相对定位让位置发生位移。最后设置出 pandding数值
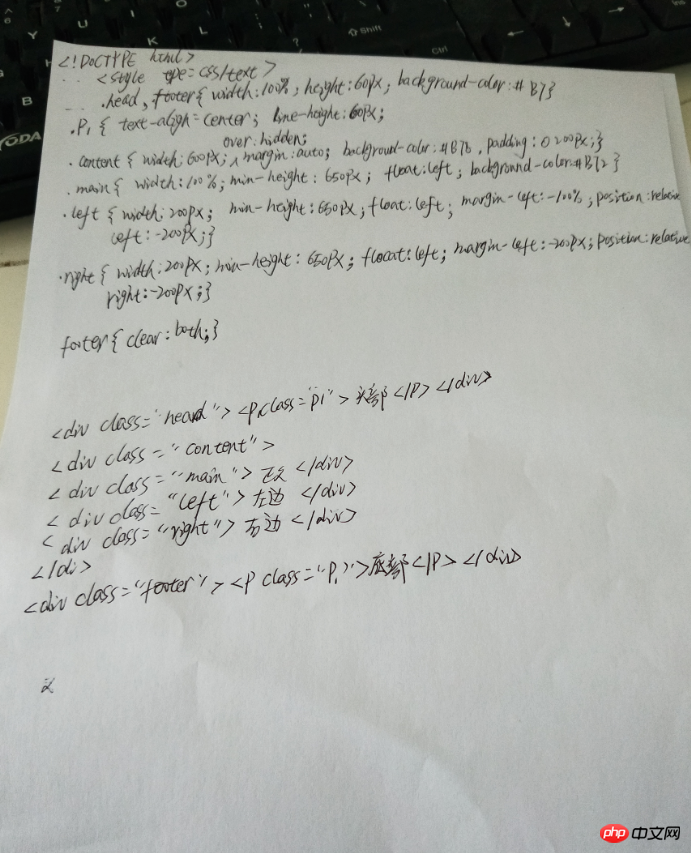
手抄代码:
