

三栏布局,也是经常会被使用到的一种布局。
它的特点:两边定宽,然后中间的width是auto的,可以自适应内容,再加上margin边距,来进行设定。
第一种:基础的三列布局
使用左右两栏使用float属性,中间栏使用margin属性进行撑开
代码如下:
<!DOCTYPE html>
<html lang="en">
<head>
    <meta charset="UTF-8">
    <title>三栏布局</title>
    <style>
        *{
            margin: 0px;
            padding: 0px;
        }
        .left{
            width: 200px;
            height: 500px;
            background-color: yellow;
            float: left;
        }
        .right{
            width: 200px;
            height: 500px;
            background-color: green;
            float: right;
        }
        .middle{
            height: 500px;
            background-color:red;
            margin-left: 220px;
            margin-right: 220px;

        }
</style>


</head>
<body>
<!--基础的三列布局-->
<div class="left"></div>
<div class="right"></div>
<div class="middle"></div>
</body>
</html>点击 "运行实例" 按钮查看在线实例
总结:
缺点:
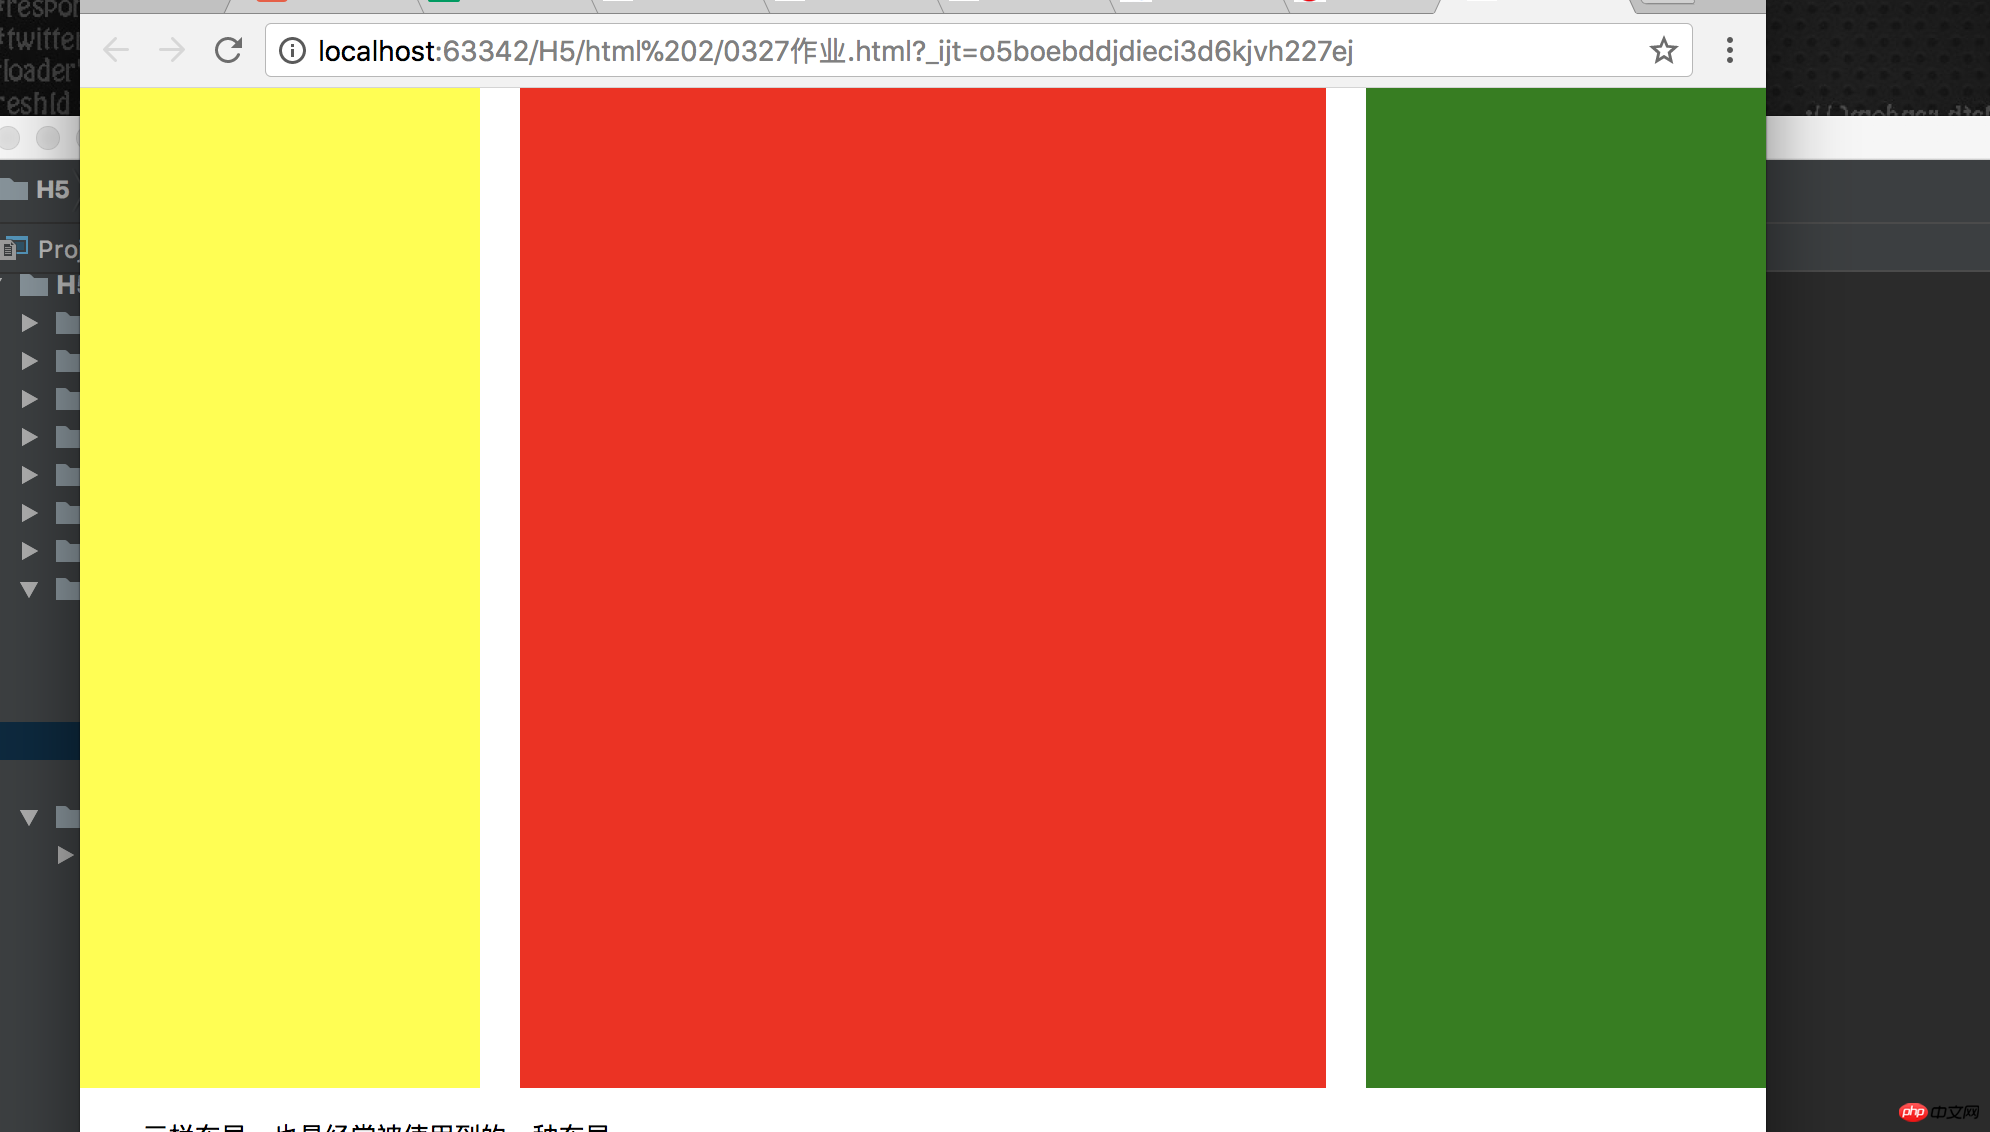
当宽度小于左右两边宽度之和时,右侧栏会被挤下去
效果如下:
 第二种:使用position定位实现 即左右两栏使用position进行定位,中间栏使用margin进行定位
代码如下:
<!DOCTYPE html>
<html lang="en">
<head>
    <meta charset="UTF-8">
    <title>三栏布局</title>
    <style>
        *{
            margin: 0px;
            padding: 0px;
        }
        .left1{
            background-color: yellow;
            width: 200px;
            height: 300px;
            position: absolute;
            top: 0px;
            left: 0px;
        }
        .middle1{
            height: 300px;
            margin: 0 220px;
            background-color: firebrick;
        }
        .right1{
            height: 300px;
            width: 200px;
            position: absolute;
            top: 0px;
            right: 0px;
            background-color: green;
        }
  </style>
</head>
<body>
<div class="left1">左栏</div>
<div class="middle1">中间栏</div>
<div class="right1">右栏</div>
</body>
</html>点击 "运行实例" 按钮查看在线实例
总结:好处是:HTML结构正常
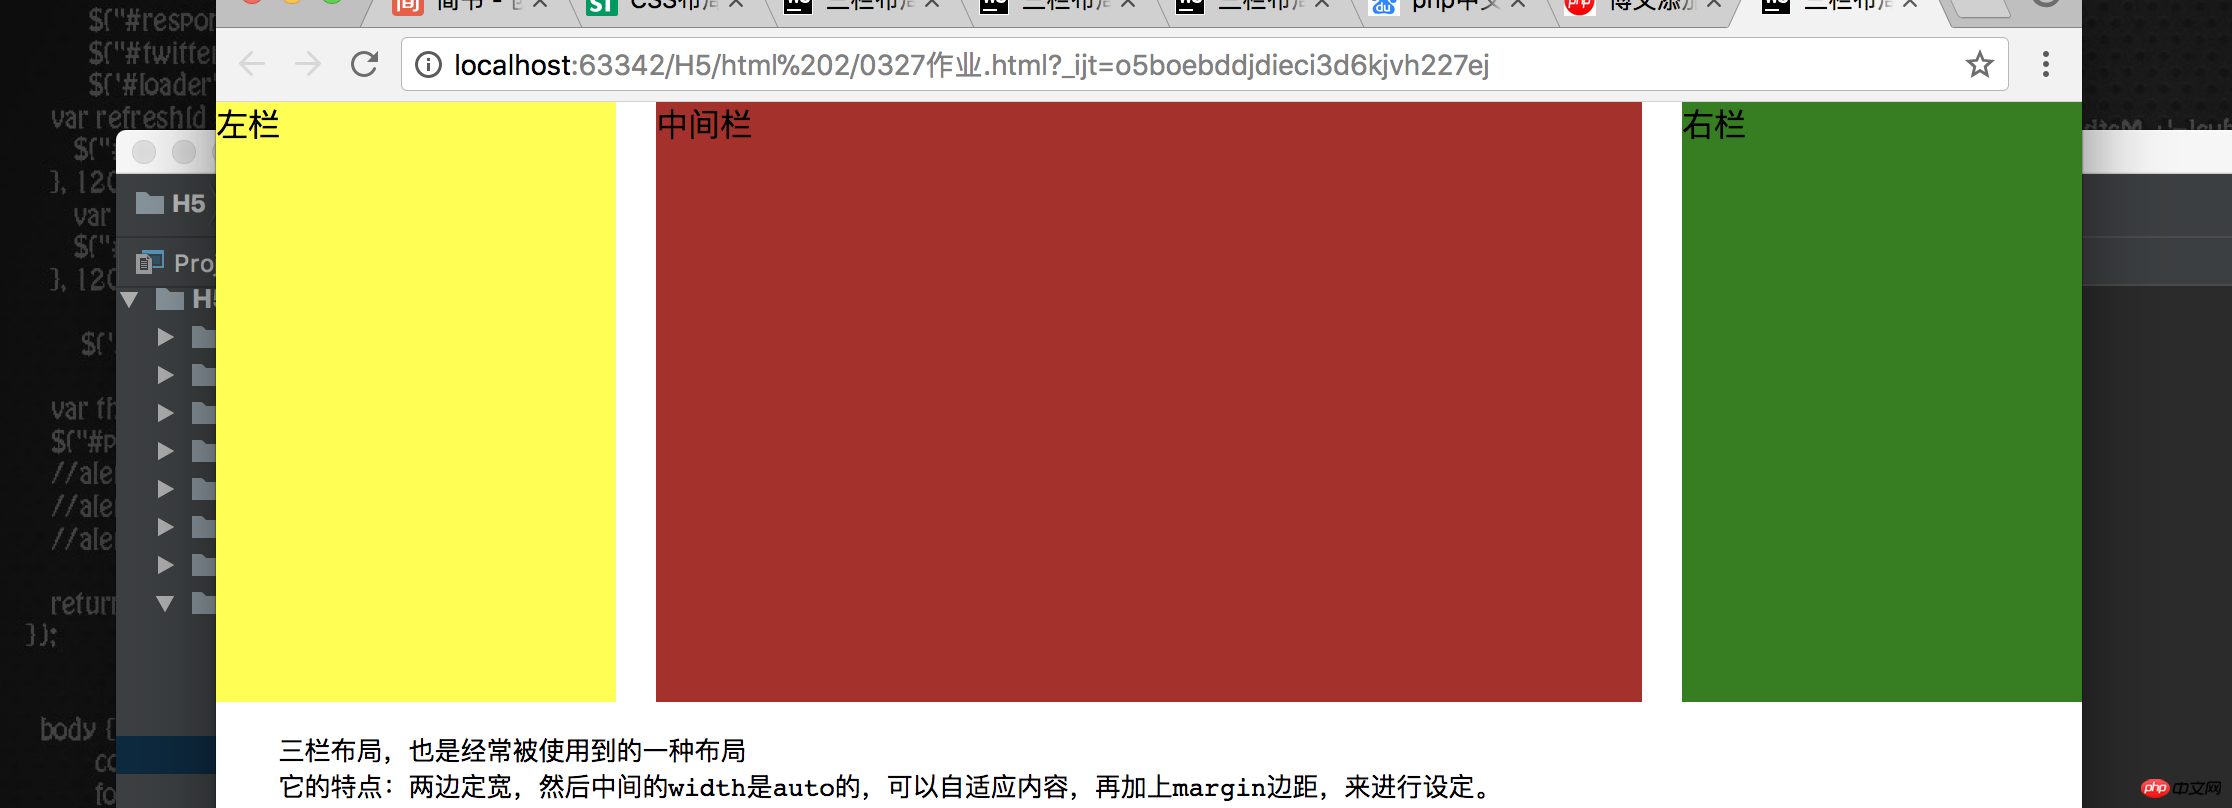
缺点:当父元素有内边边距时,会导致中间栏的位置出现偏差 不出现偏差的话需要先将内外边距清除
效果如下:

第三种:双飞翼布局
创建步骤:
1创建DOM结构,顺序非常重要
2必须是中间的主题在前,其次是左右
3中间的middle必须套一个父级,将样式加给它
将middle的宽度设置为100%,然后将其float设置为left,其中的main块设置margin属性,然后左边栏设置float为left,之后设置
margin为-100%,右栏也设置为float为left,之后margin-left为自身大小。
代码如下:
<!DOCTYPE html>
<html lang="en">
<head>
    <meta charset="UTF-8">
    <title>三栏布局</title>
    <style>
        *{
            margin: 0px;
            padding: 0px;
        }
       .wrapper{
            /*清除浮动*/
            overflow: hidden;
            margin: auto;
            /*宽度设置非常重要*/
            width: 1000px;
        }
        .middle{
            width: 100%;
            float: left;
            background-color: forestgreen;
        }
        .middle .main{
            margin: 0 220px;
            background-color: red;
            height: 300px;
        }
        .left{
            width: 200px;
            height: 300px;
            background-color: firebrick;
            float: left;
            margin-left: -100%;
        }
        .right{
            width: 200px;
            height: 300px;
            background-color: greenyellow;
            float: left;
            margin-left: -200px;
        }
</style>

</head>
<body>
<div class="wrapper">

    <div class="middle">
        <div class="main">中间</div>
    </div>
    <div class="left">左栏</div>
    <div class="right">右栏</div>

</div>
</body>
</html>点击 "运行实例" 按钮查看在线实例
效果如下:
总结:
缺点:多了一层标签
第四种:圣杯布局
步骤:
DOM结构:一个父级容器 内部的三列 主题必须在前,能确保优先渲染,其次是左右
中间内容部分必须全部左浮动
浮动以后 中间区域的宽度是100%,所以会后面的左右元素会被挤到下面,换行显示
然后将浮动的左右元素移动到中间的指定位置
通过给左右元素设置负的 左外边距margin-left来实现浮动区块的反向移动;
左元素必须跨越整个main区块才可以到达定位的起点: margin-left:-100%;
右元素是在右边显示,所以只要跨过自己的宽度就可以: margin-left:200px;
然后给中间的主题部分添加内边距进行挤压完成布局
代码如下:
<!DOCTYPE html>
<html lang="en">
<head>
    <meta charset="UTF-8">
    <title>三栏布局</title>
    <style>
        *{
            margin: 0px;
            padding: 0px;
        }
.wrapper{
            width: 600px;
            margin: auto;
            /*清除浮动,使它能包住浮动区块,不让浮动的元素跑到父元素外面去*/
            overflow: hidden;
            background-color: #ffff0a;
            /*因为左右区块现在覆盖在main之上,挡住了main的内容,现在添加padding来实现自身内容显示*/
            padding: 0 200px;

        }
        .wrapper .middle{

            min-height: 600px;
            background-color: fuchsia;
            float: left;
            width: 100%;

        }
        .wrapper .left{
            width: 200px;
            min-height: 600px;
            background-color: forestgreen;
            float: left;
            /*设置左外边距margin为-100%,使它回到main区块的起始点处*/
            margin-left: -100%;
            position: relative;

            left: -200px;
        }
        .wrapper .right{
            width: 200px;
            min-height: 600px;
            background-color: #ff8899;
            float: left;
            margin-left: -200px;

            position: relative;

            right:-200px;
        }

    </style>

</head>
<body>
<div class="wrapper">

<div class="middle">中间</div>

<div class="left">左栏</div>
<div class="right">右栏</div>

</div>
</body>
</html>点击 "运行实例" 按钮查看在线实例
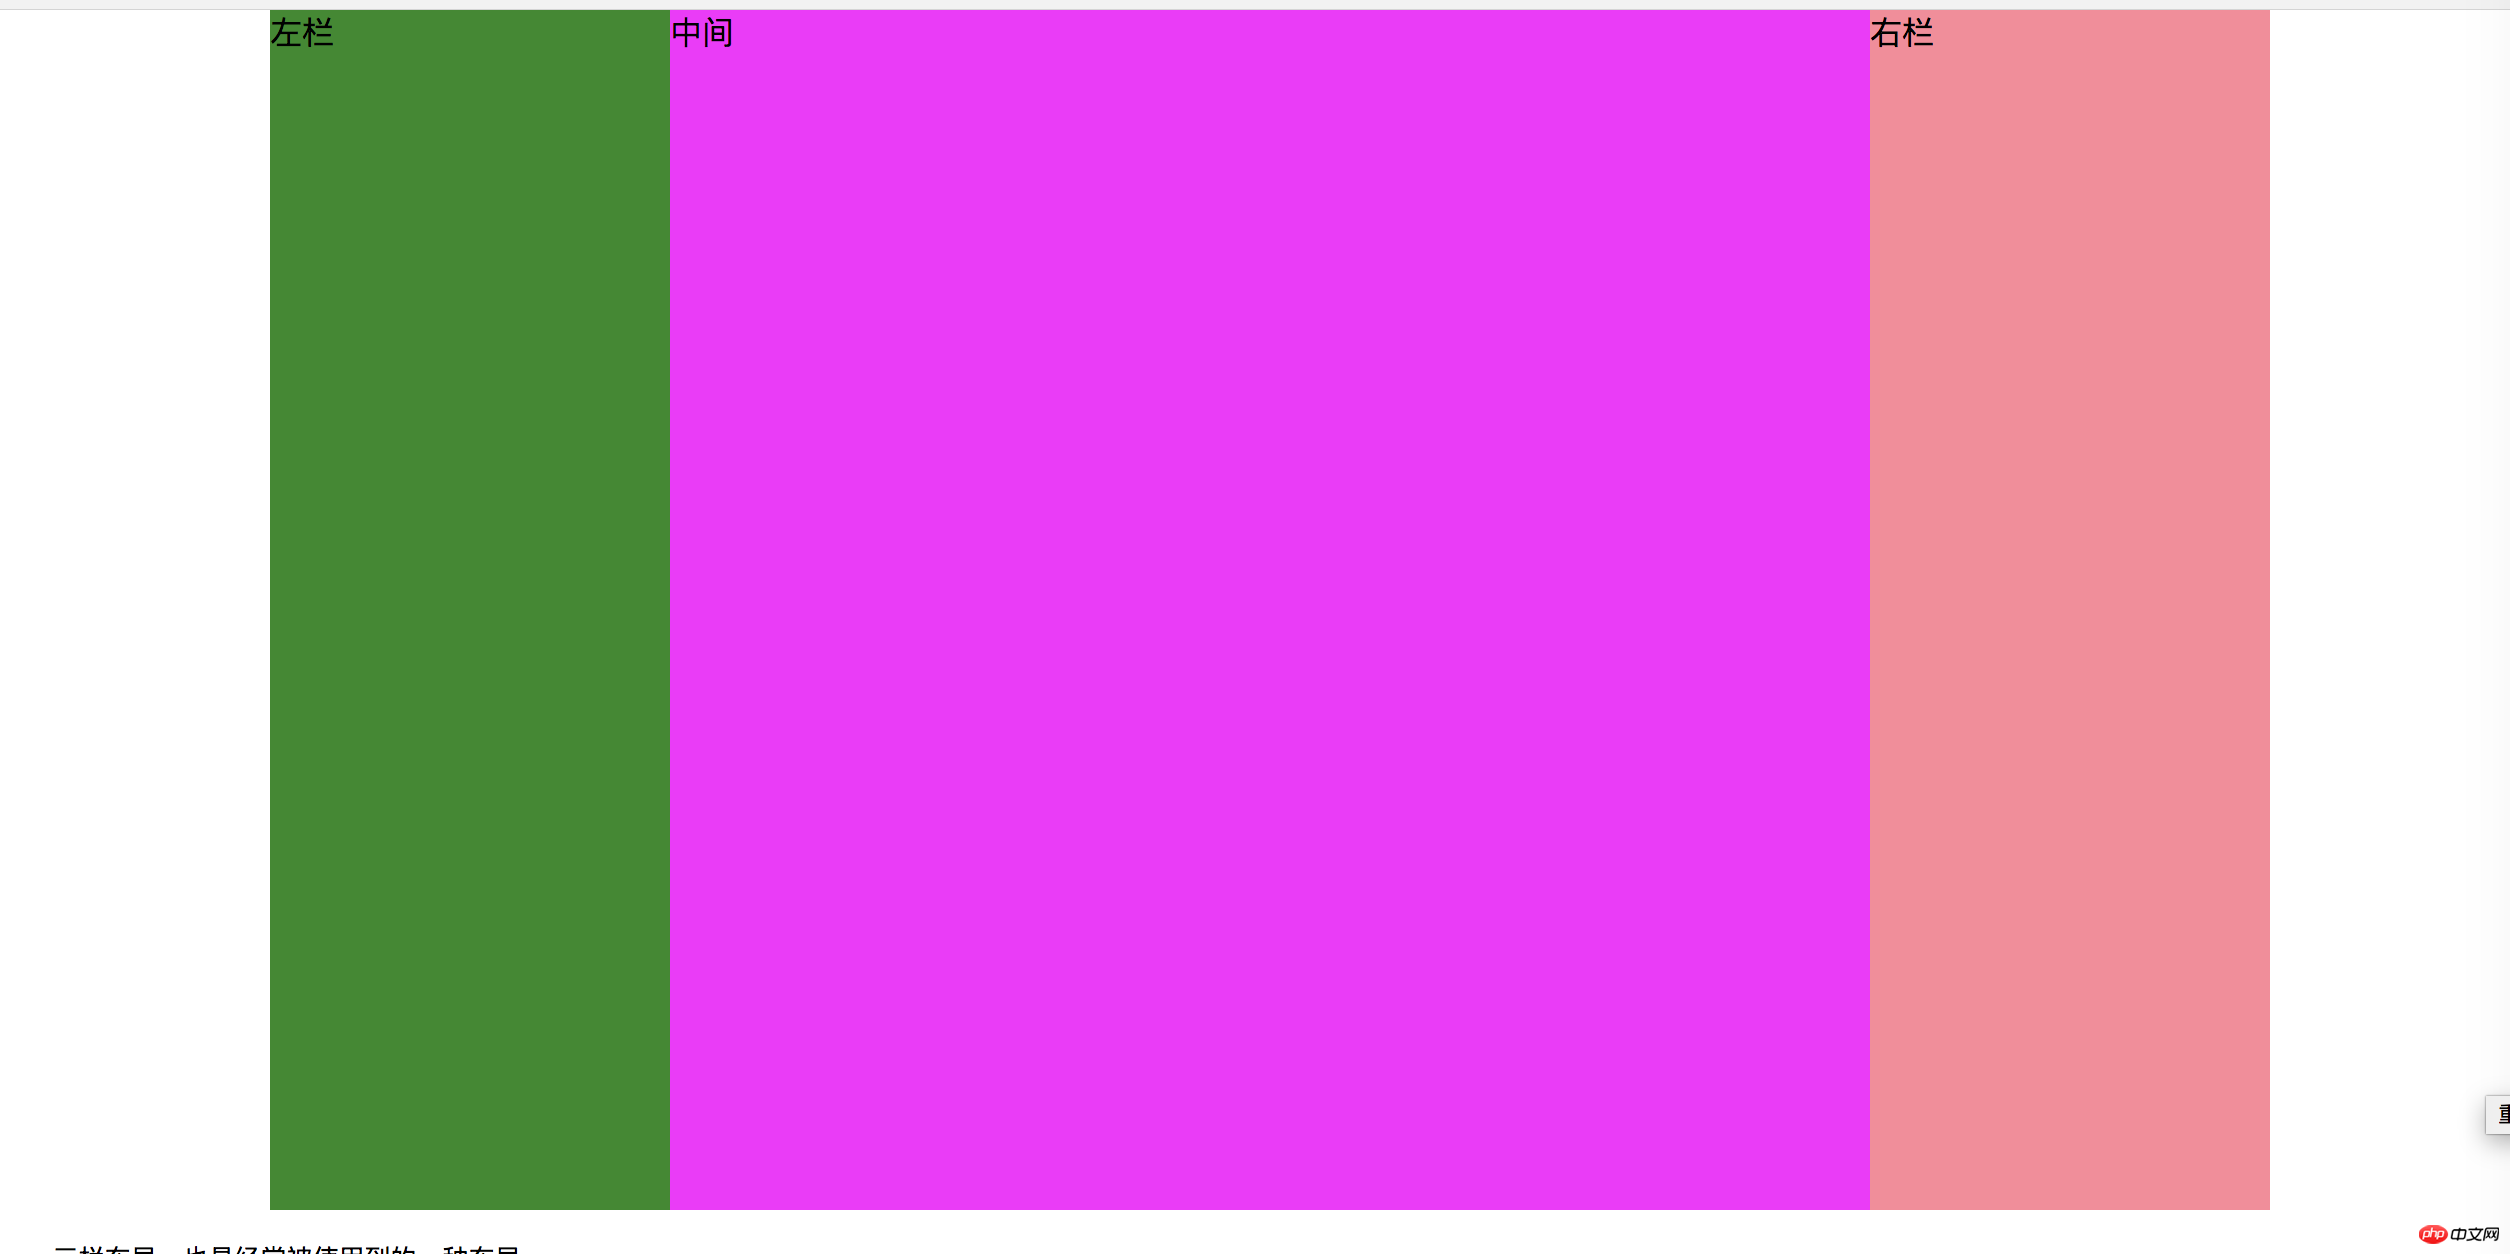
效果如下:
