Correction status:Uncorrected
Teacher's comments:


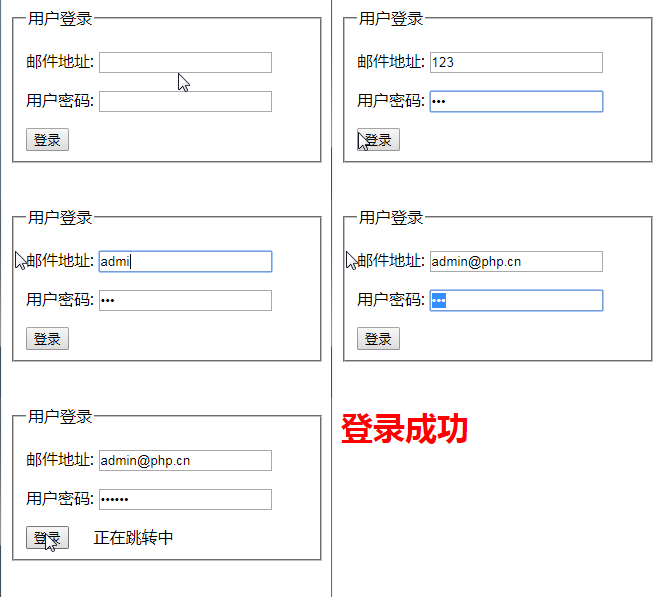
js原生与jq下的ajax效果一样.如下:

js原生代码
<div>
    <fieldset >
      <legend>用户登录</legend>
      <p>邮件地址: <input type="email" name="" id="email" value=""></p>
      <p>用户密码: <input type="password" id="password" value=""></p>
      <button id="btn">登录</button>
      <span id="tips"></span>
    </fieldset>
  </div>
  <script>
    // 给按钮添加点击事件
    document.getElementById("btn").addEventListener('click',lond);
    // 回调函数lond
    function lond(){
      // 获取邮箱和密码并进行拼接
      var email = document.getElementById('email').value;
      var password = document.getElementById('password').value;
      var data = 'email='+email+'&password='+password;
      // 创建xhr对象
      var xml = new XMLHttpRequest();
      xml.open('post','api/user.php?m=login',true);
      xml.onload = function(){
        if(this.status == 200){
            console.log(this.responseText);
          if(this.responseText == 1){
            document.getElementById("tips").innerHTML = "正在跳转中";
            // 这里是ES6中的箭头函数,与setTimeout(function(){},)相同
            setTimeout(() => {
              location.href = './api/index.php';
            }, 2000);
          }else {
            document.getElementById("tips").innerHTML = "邮箱或密码错误";
            document.getElementById("email").focus();
            setTimeout(() => {
              document.getElementById("tips").innerHTML='';
            }, 2000);
          }
        }
      }
      xml.setRequestHeader('Content-Type','application/x-www-form-urlencoded');//这里可有可无
      xml.send(data);
    }

  </script>
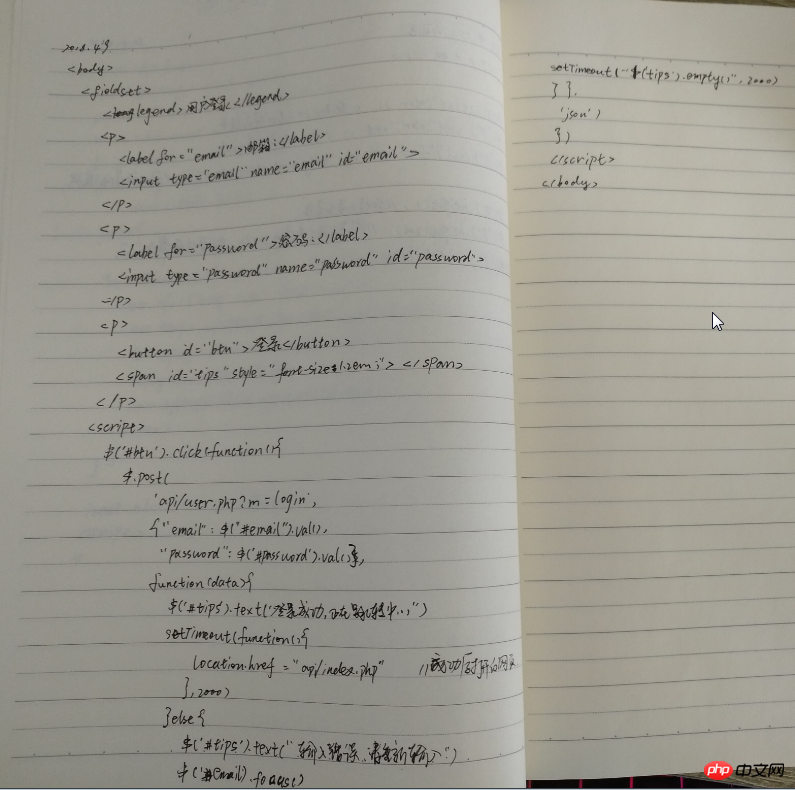
jq下ajax
<body>
    <fieldset>
        <legend>用户登录</legend>
        <p>
          <label for="email">邮箱:</label>
          <input type="email" name="email" id="email">
        </p>
        <p>
          <label for="password">密码:</label>
          <input type="password" name="password" id="password">
        </p>
        <p>
          <button id="btn">登录</button>
          <span id="tips" style="font-size:1.2em;font-weight: bolder;color:red"></span>
        </p>

        <script>
        $('#btn').click(function(){
         //创建post请求方式的xml对象 $.post(必须-将请求发送到那个url,可选-连同请求发送到服务器的数据,可选-当请求发送成功后的回调函数,可选-预期服务器响应的数据类型)
          $.post(
            'api/user.php?m=login',
            {
            "email": $('#email').val(),
            "password": $('#password').val()
            },
            function(data){
            if (data == '1') {
              $('#tips').text('登录成功,正在跳转中...')
              setTimeout(function(){
                location.href = 'api/index.php'
              },2000)
            } else {
              $('#tips').text('邮箱或密码错误,请重新输入...')
              $('#email').focus()
              setTimeout("$('#tips').empty()",2000)
              }
              },
              'json')
        })
        </script>
</body>
jq简化了原生js的写法.对应关系并没有改变