Correction status:qualified
Teacher's comments:


主题:
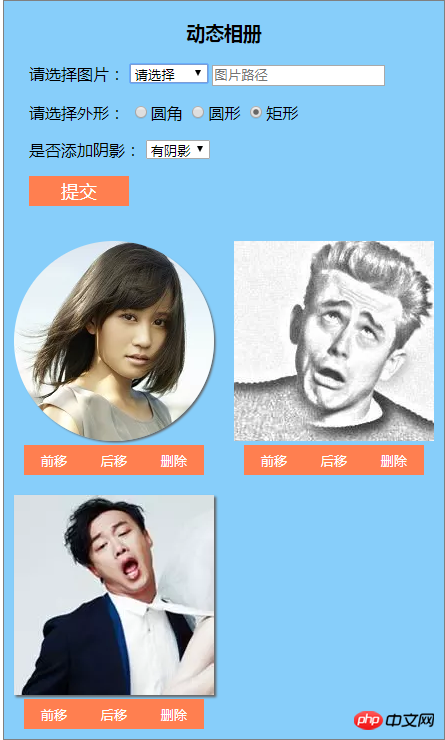
利用jquery生成新的元素插入到网页中,并实现移动和删除功能,在此基础上,我增加了一个下拉菜单的联动功能。
实现效果:

<!DOCTYPE html>
<html lang="en">
<head>
	<meta charset="UTF-8">
	<title>动态相册</title>
	<style type="text/css">
		/*整体容器样式*/
		.box {
			width:440px;
			height:auto;
			background-color: lightskyblue;
			border:1px solid grey;
		}

		/*标题样式*/
		h3{
			text-align: center;
		}

		/*表单容器样式*/
		.input_box {
			padding-left:25px;
			padding-bottom:25px;
		}

		/*添加图片的按钮样式*/
		.new {
			width:100px;
			height:30px;
			border:0;
			background-color: coral;
			color:#fff;
			font-size: 18px;
		}
		.new:hover {
			background-color:green;
			cursor: pointer;
		}

		/*图片容器样式*/
		.img_box {
			overflow: hidden;
			/*background-color: pink;*/
		}
		.img_box ul {
			margin:0;
			padding:0;
		}
		.img_box ul li {
			width:200px;
			float:left;
			list-style-type:none;
			margin:10px;
			text-align: center;
		}

		/*图片下方按钮样式*/
		.img_box ul li button {
			width:60px;
			height:30px;
			border:0;
			background-color: coral;
			color:#fff;
		}

		.img_box ul li button:hover {
			background-color:green;
			cursor: pointer;
		}
	</style>
	<script type="text/javascript" src="https://cdn.bootcss.com/jquery/3.3.1/jquery.min.js"></script>
	<script type="text/javascript">
		// 如果代码写在头部中,就需要使用$(document).ready()使html加载完毕之后再执行js代码
		$(document).ready(function(){
			//选择图片生成图片url
			$('#img_body').on('change',function(){
				var img_val = $('#img_body option:selected').val()
				$('#img_url').val(img_val)
				// console.log($('#img_url').val())
			})

			//添加按钮事件
			$('button.new').click(function(){
				// 获取图片url变量,注意这个变量需要放到函数内部
				var img_url = $('#img_url').val()
				// console.log(img_url.length)

				//判断如果没有选择任何图片就弹出提示
				if (img_url.length == 0){
					alert('请选择图片!')
					$('#img_url').focus()
					return false
				}

				//获取图片外形
				var img_type = $(':radio:checked').val()
				// console.log(img_type)

				// 获取阴影
				// 直接设置阴影变量为无
				var img_shadow = 'none'
				//如果选择了有阴影则将阴影变量设置为1px 1px 1px #ddd
				if ($('#shadow option:selected').val() == 1){
					img_shadow = '2px 2px 2px #666'
				}
				// console.log(img_shadow)

				//创建新生成的图片变量
				var imgNew = $('<img>')
					.attr('src',img_url)
					.css({
						'width':'200px',
						'height':'200px',
						'border-radius':img_type,
						'box-shadow':img_shadow
					})
					// console.log(imgNew)

				//给图片添加操作按钮
				var front = $('<button>').text('前移')
				var back = $('<button>').text('后移')
				var remove = $('<button>').text('删除')
				var img_btn = $('<li>').append(imgNew,front,back,remove)

				//在ul里面插入新生成图片元素
				img_btn.appendTo('ul')

				// 添加图片的按钮事件
				front.click(function(){
					// console.log(this)
					// 向前移动按钮(先取得按钮的父级元素li,然后将li向前移动)
					$(this).parent().prev().before($(this).parent())
				})

				// 向后移动按钮(参照向前移动方法)
				back.click(function(){
					$(this).parent().next().after($(this).parent())
				})

				// 删除按钮
				remove.click(function(){
					$(this).parent().remove()
				})
			})
		})
	</script>
</head>
<body>
	<div class="box">
		<h3>动态相册</h3>
		<div class="input_box">
			<p>
				<label for="img_url">请选择图片:</label>
				<select name="img_body" id="img_body">
					<option value="">请选择</option>
					<option value="http://t1.aixinxi.net/o_1ca18bjeh854shmjt16m9j4la.jpg-w.jpg">sb1</option>
					<option value="http://t1.aixinxi.net/o_1ca18ajjo5ffrun1n2s94nsd2a.jpg-w.jpg">sb2</option>
					<option value="http://t1.aixinxi.net/o_1ca0asokrfnl153njb1717106ha.jpg-w.jpg">前田敦子</option>
					<option value="http://t1.aixinxi.net/o_1ca0at7c76tnnmqv3kviv1b4fa.jpg-w.jpg">小嶋阳菜</option>
				</select>
				<input type="text" id="img_url" name="img_url" placeholder="图片路径">
			</p>
			<p>
				<span>请选择外形:</span>
				<input type="radio" id="radius" name="border" value="10%">圆角
				<input type="radio" id="circle" name="border" value="50%">圆形
				<input type="radio" id="rect" name="border" value="0%" checked="checked">矩形
			</p>
			<p>
				<label for="shadow">是否添加阴影:</label>
				<select name="shadow" id="shadow">
					<option value="0">无阴影</option>
					<option value="1">有阴影</option>
				</select>
			</p>
			<button class="new">提交</button>
		</div>
		<div class="img_box"><ul></ul></div>
	</div>
</body>
</html>点击 "运行实例" 按钮查看在线实例
总结:
在利用jquery操作DOM过程中,特别要注意事件的语法和逻辑,js代码写在文件头部和底部的区别,对于append(),prepend(),after(),before()与appendTo(),prependTo(),insertAfter,insertBefore()方法的区别和各自的特点。
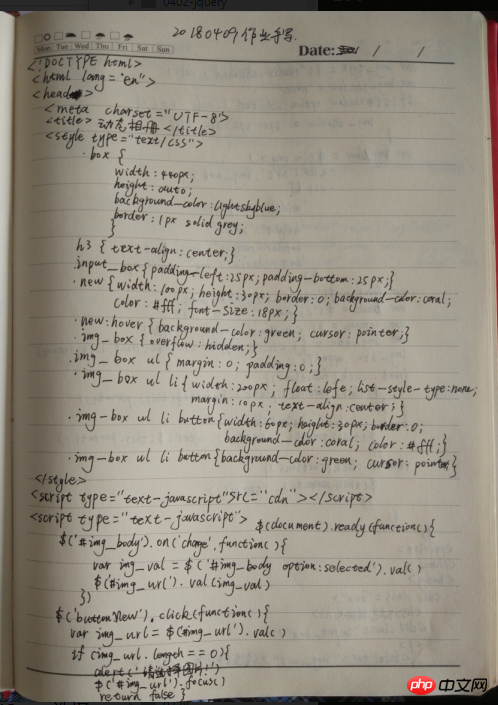
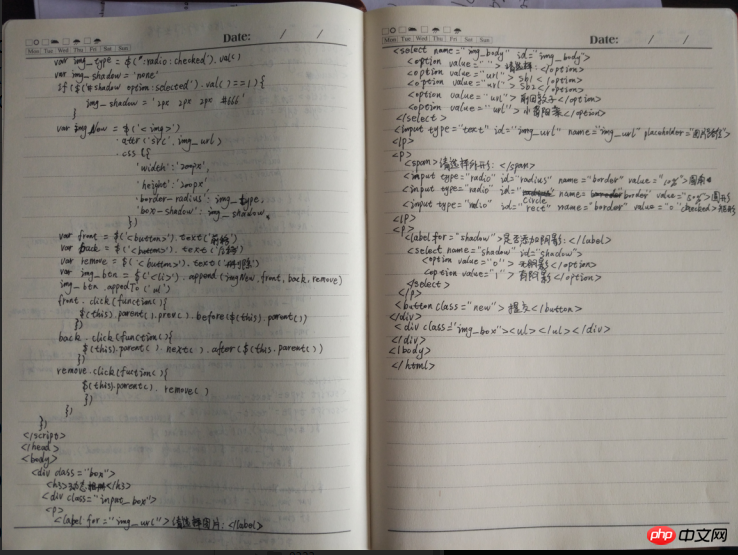
作业手写:

