

在日常开发中,有的人可能会不小心将我们www下的phpmyadmin给删除了,这时我们再通http://localhost/phpMyAdmin/访问我们的数据库就没办法访问了,页面会提示Not Found了,也就是文件不存在,我们已经删除了phpmyadmin怎么会存在呢?对吧!
那么我们如何来重新下载安装呢?直接删除我们用的phpstudy重新下载?直接下载一个phpstudy复制一下中间的phpmyadmin?这也太low了吧~
第一步:
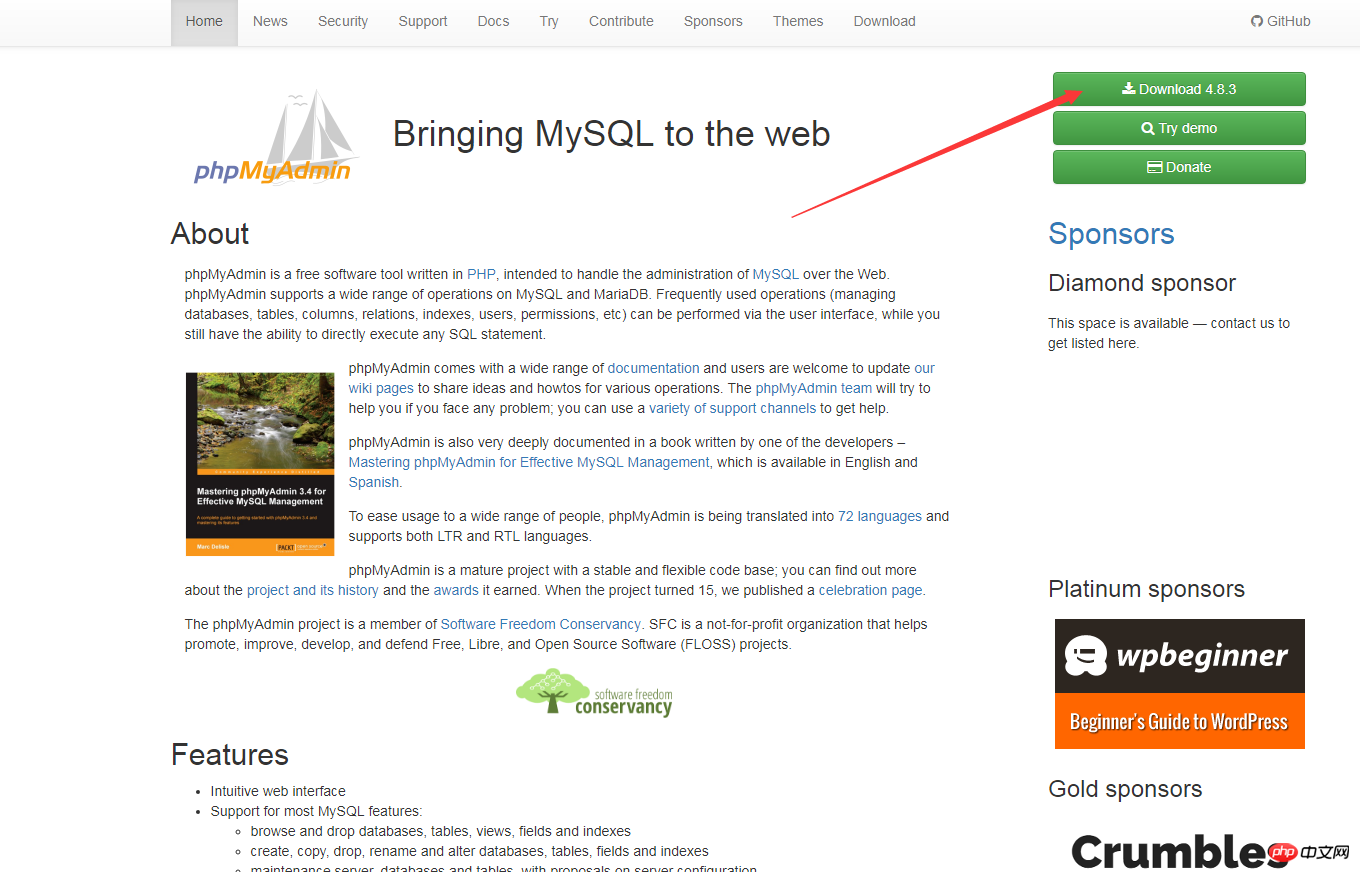
我们可以到phpmyadmin的官网来下载phpmyadmin进行安装
地址:https://www.phpmyadmin.net/

第二步:
将解压到C盘根目录下,重命名为phpMyAdmin,进入该文件夹,找到config.sample.inc.php,改名为config.inc.php,编辑器打开改文件。找到下列代码
$cfg['blowfish_secret'] = ''
改为
$cfg['blowfish_secret'] = 'c4ca4238a0b923820dcc509a6f75849b';//一个长字符串密码就行
保存退出
第三步:
进入到环境中的apache的conf文件夹下,新建一个phpmyadmin.conf文件,文本编辑器打开,加入下列代码:
Alias /phpmyadmin "c:/phpMyAdmin/"
<Directory "c:/phpMyAdmin/">
Options Indexes FollowSymLinks MultiViews
AllowOverride all
Require all granted
php_admin_value upload_max_filesize 128M
php_admin_value post_max_size 128M
php_admin_value max_execution_time 360
php_admin_value max_input_time 360
</Directory>
保存退出
第四步:
在该文件夹内找到配置文件httdp.conf,用文本编辑器打开,在末尾增加一行以下代码:
Include conf/phpmyadmin.conf
保存退出
第五步:最后一步将apache重启一下
这个时候我们再来访问http://localhost/phpmyadmin/已经恢复正常了!