Correction status:Uncorrected
Teacher's comments:


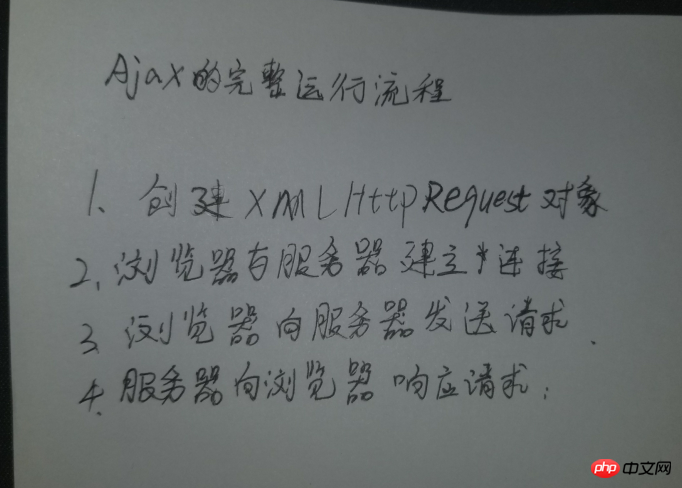
Ajax的工作原理分析
HTTP请求对应一个页面时,ajax代 理当前页面的请求,使得当前页面不跳转,等js收到服务器端响应的数据后,再由js来刷新页面更新数据
<!doctype html>
<html lang="en">
<head>
    <meta charset="UTF-8">
    <meta name="viewport"
          content="width=device-width, user-scalable=no, initial-scale=1.0, maximum-scale=1.0, minimum-scale=1.0">
    <meta http-equiv="X-UA-Compatible" content="ie=edge">
    <title>Ajax实战:表单验证</title>
</head>
<body>
 <h3>用户登录</h3>
 <form action="">
     <p>邮箱: <input type="email" name="email"></p>
     <p>密码: <input type="password" name="password"></p>
     <p><button type="button">提交</button></p>
 </form>
 <script>
     let btn =document.getElementsByName('button')[0];
     btn.onclick=function(){
         // 1.创建xhr对象
         let xhr =new XMLHttpRequest();

         //2.监听响应状态
         xhr.onreadystatechange=function(){
             if(xhr.readyStatue===4){//准备就绪
               //判断响应结果
                 if(xhr.status===200){
                     //响应成功.通过xhr对象的responseText属性可以获取响应的文本.此时是html的文档内容
                     let p =document.createElement('p');//创建新元素放返回的内容
                     p.style.color='red';

                     let JS json =ON.parse(xhr.responseText);
                     if(json.status===1){
                         p.innerHTML = json.msg;
                     }else if(json.status ==0){
                         p.innerHTML=json.msg;
                     }
                     //将响应文本添加到新元素上
                     document.form[0].appendChild(p);//将新元素插入到当前页面中
                     btn.disabled=true;
                     setTimeout(function () {
                         document.form[0].removeChild(p);
                         btn.disabled = false;
                         if(json.status == 1){
                             location.href = 'admin.php';
                         }
                     },2000);
                 }else{
                     //响应失败,并根据响应码判断失败原因
                     alert('响应失败'+xhr.status);
                 }

             }else{
                 // http请求仍在继续,这里可以显示一个一直转来转去的图片
             }
         }
         //3.设置请求参数
         xhr.open('post','inc/check.php',true);

         //4.设置头信息,将内容类型设置为表单提交
         xhr.setRequestHeader('Content-type','application/x-www-form-urlencoded')
        //5.发送请求
         let data={
             email: document.getElementsByName('email')[0].value,
             password:document.getElementsByName('password')[0].value
         };
         //data='email='data.email+'&password='+data.password;
         let data_json=JSON.stringify(data);
         xhr.send('data='+data_json);
     }
 </script>
</body>
</html>点击 "运行实例" 按钮查看在线实例
check.php
<?php
//print_r($_POST['data']);
//echo $data['email'];


$user=json_decode($_POST['data']);
//echo $user->email;
$email=$user->email;
$password =sha1($user->password);

$pdo=new PDO('mysql:host=localhost;dbname=php','root','root');

$sql="SELECT COUNT(*) FROM `user` WHERE `email`='{$email}'AND `password`='{password}'";

$stmt=$pdo->prepare($sql);

$stmt->execute();

if($stmt->fetchColumn(0)==1){
    echo json_encode(['status=>1','msg'=>'登陆成功,正在跳转...']);
}else{
    echo json_encode(['status=>0','msg'=>'邮箱或密码错误,登陆失败!']);
    exit;
}点击 "运行实例" 按钮查看在线实例
