

centos7 installation tutorial

centos7 installation tutorial: First download the "CentOS-7-x86_64-bin-DVD1.iso" image file; then select "File->New Virtual Machine->Customize"; then follow the wizard Create a virtual machine; finally enter the CentOS installation interface and perform installation settings.
CentOS 7 installation tutorial (detailed graphic and text explanation)
CentOS 7 installation tutorial:
Preparation: Software: VMware WorkstationImage file: CentOS-7-x86_64-bin-DVD1.iso(Attachment: The tutorial is more detailed and has many comments, so the operation options have been added. Displayed in bold font.) 1. File--New Virtual Machine--Custom
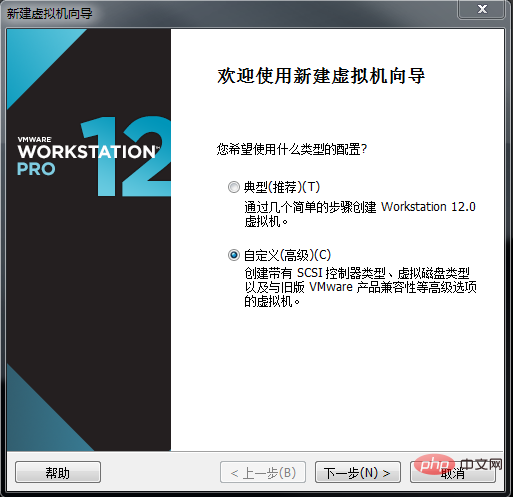
Default

centos tutorial]
Linux
Version--centos 64bit
(Note: The version must correspond to the image file version, where centos is 32-bit and centos 64-bit Then it is 64-bit, and the Windows system should install the 64-bit version)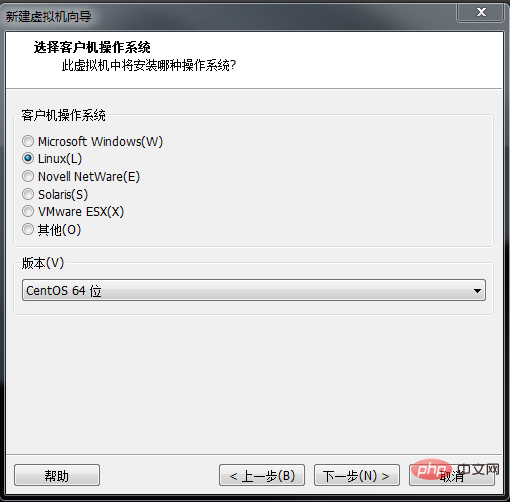
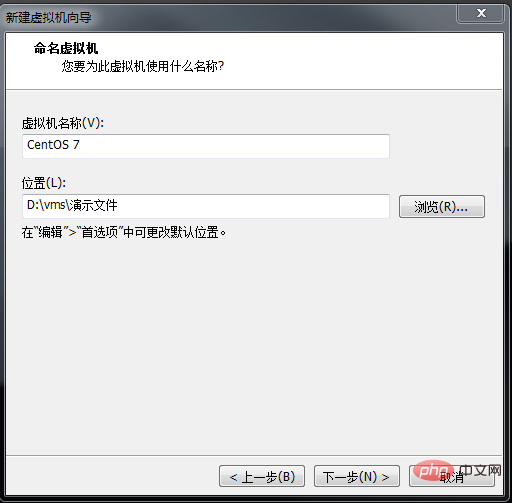
Name the virtual machine (Briefly indicate the type and version of the virtual machine .For example: centos-7)
 ##6,
##6,
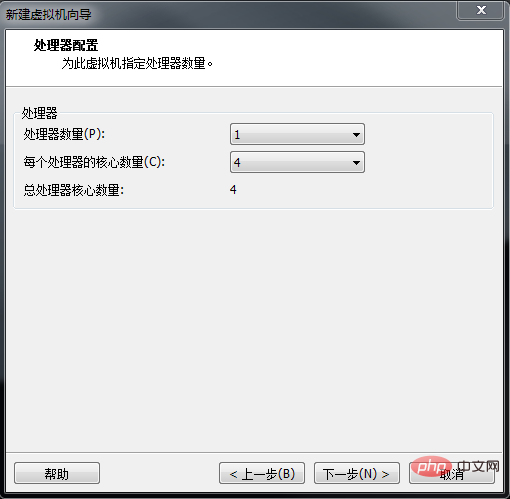
(CPU)--The total number of processor cores is generally 4
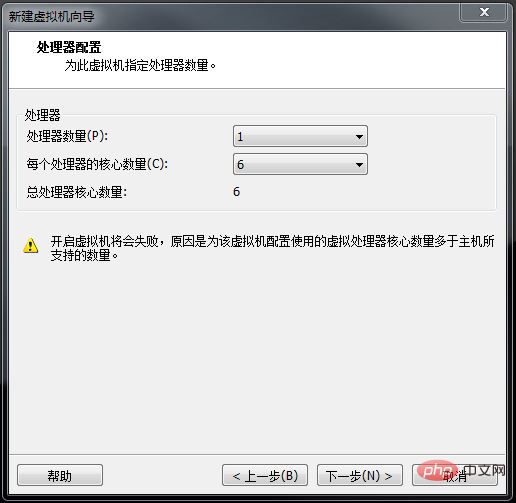
 The total number of virtual machine cores cannot exceed the number of host cores. If exceeded, a warning will appear.
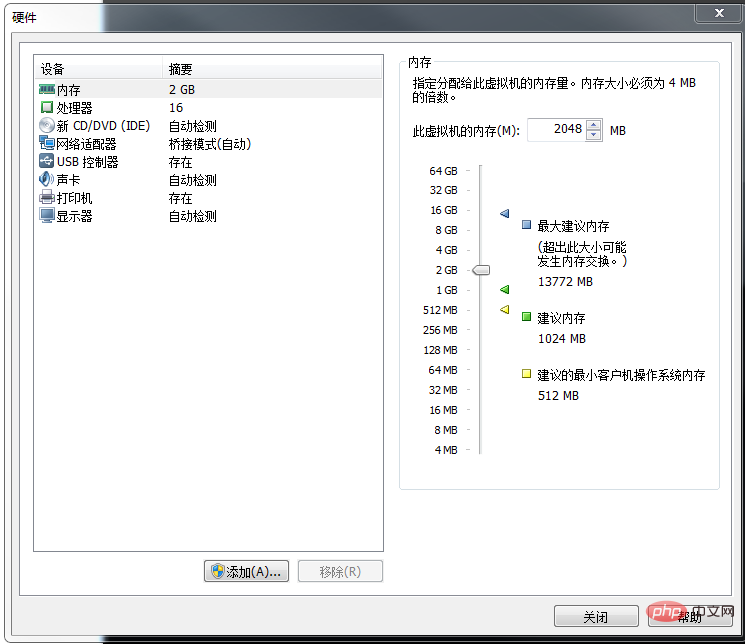
Generally 2G
K##8. Network type--
Bridged network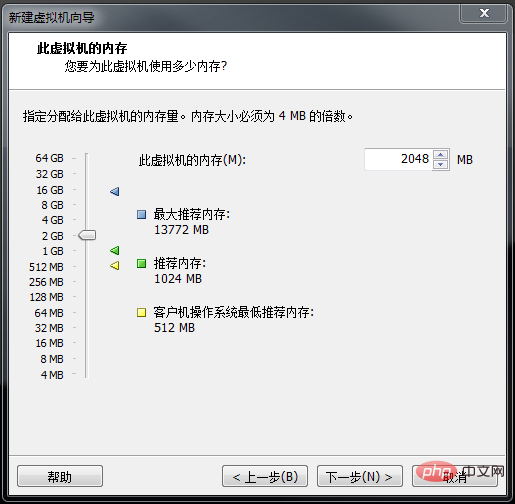 (the virtual machine and the host can use the same network)
Note: VMnet1 network port corresponds to host-only mode
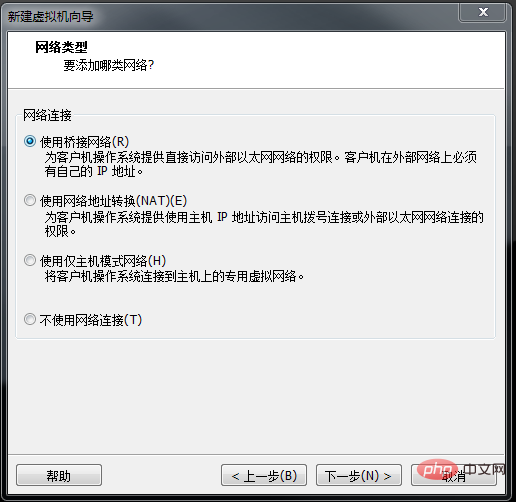 VMnet8 network port corresponds to NAT mode
VMnet0 network port corresponds to bridge mode
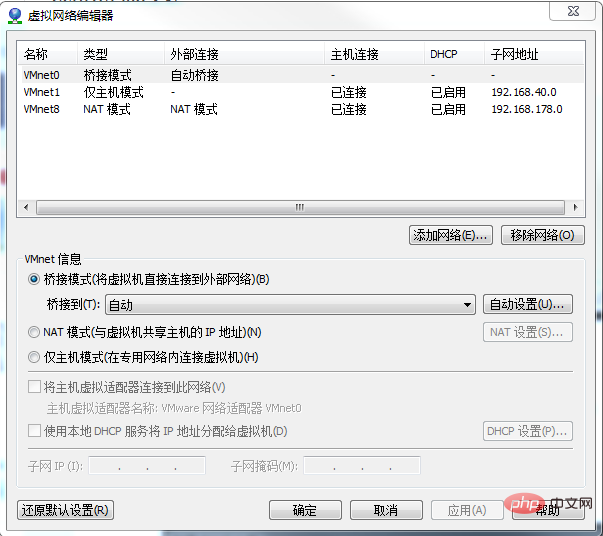
View the above corresponding to the editor in VMware workstation-Virtual Network Editor
 9. Select the I/O controller type (relative to the hard disk )--
From the hard disk to the memory is I (input) From memory to the hard disk is O (output)
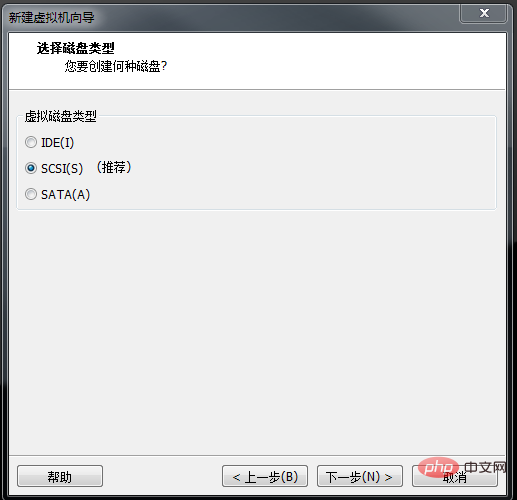
10. Select the disk type--Default 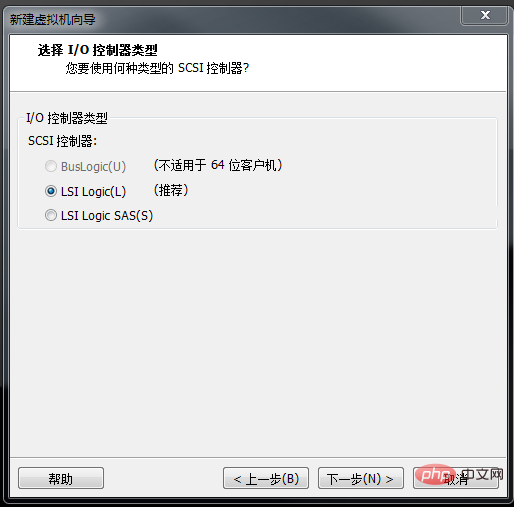 (hard disk interface, SATA type commonly used by individuals at home, SCSI type commonly used by servers)
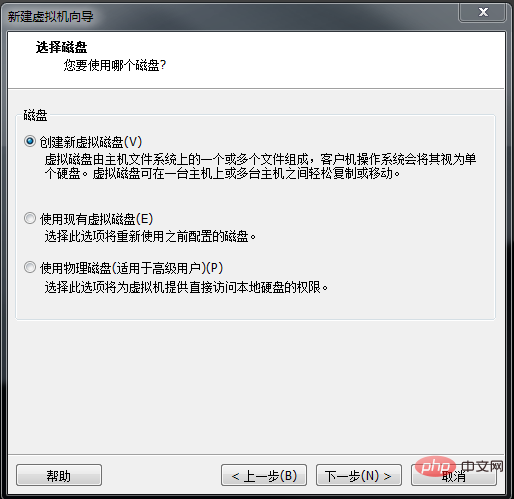
11. Select the disk--Create a new virtual disk (the other two are not commonly used)
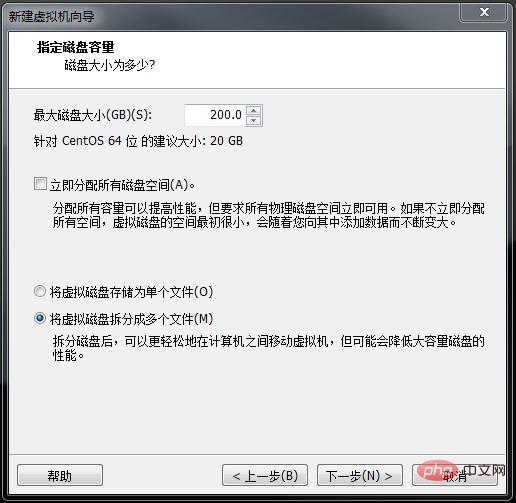
12. Specify the disk capacity--200G (it is fake and virtual and does not occupy the host memory)
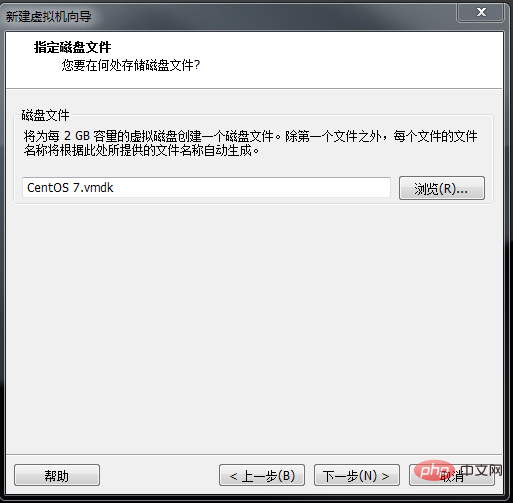
13. Specify the disk file (.vmdk) File
14. Complete
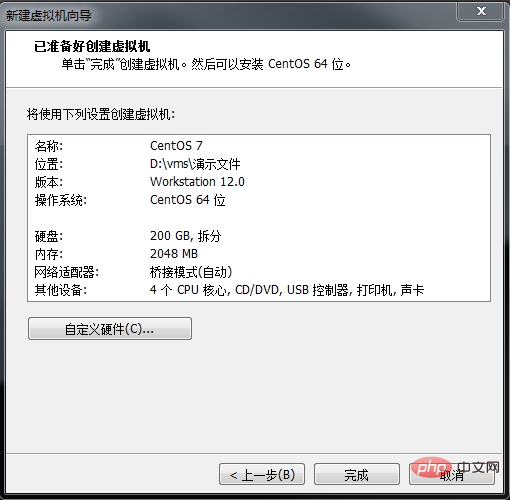
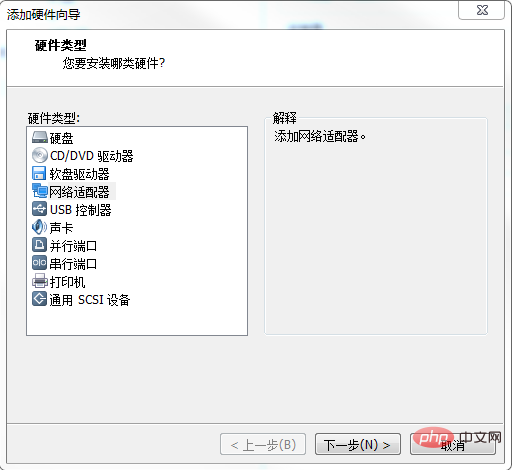
Delete Unnecessary hardware--Edit virtual machine settings--Delete-USB controller, sound card, printer (can make the virtual machine start faster)
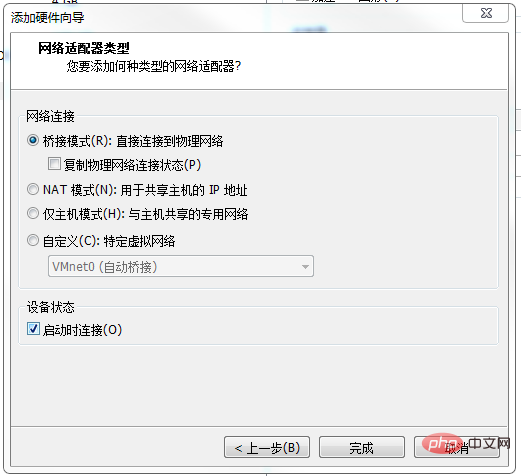
Also Hardware can be added manually. For example, if one network port is not enough, add another one.
Network connection still selects Bridge mode
At this time You can see that two network adapters have been added
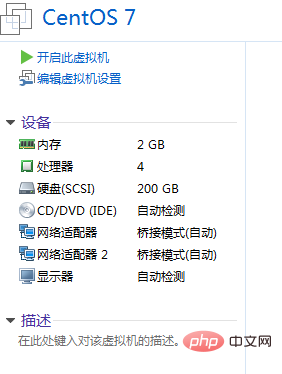
15. At this time, the hardware in the virtual machine has been built
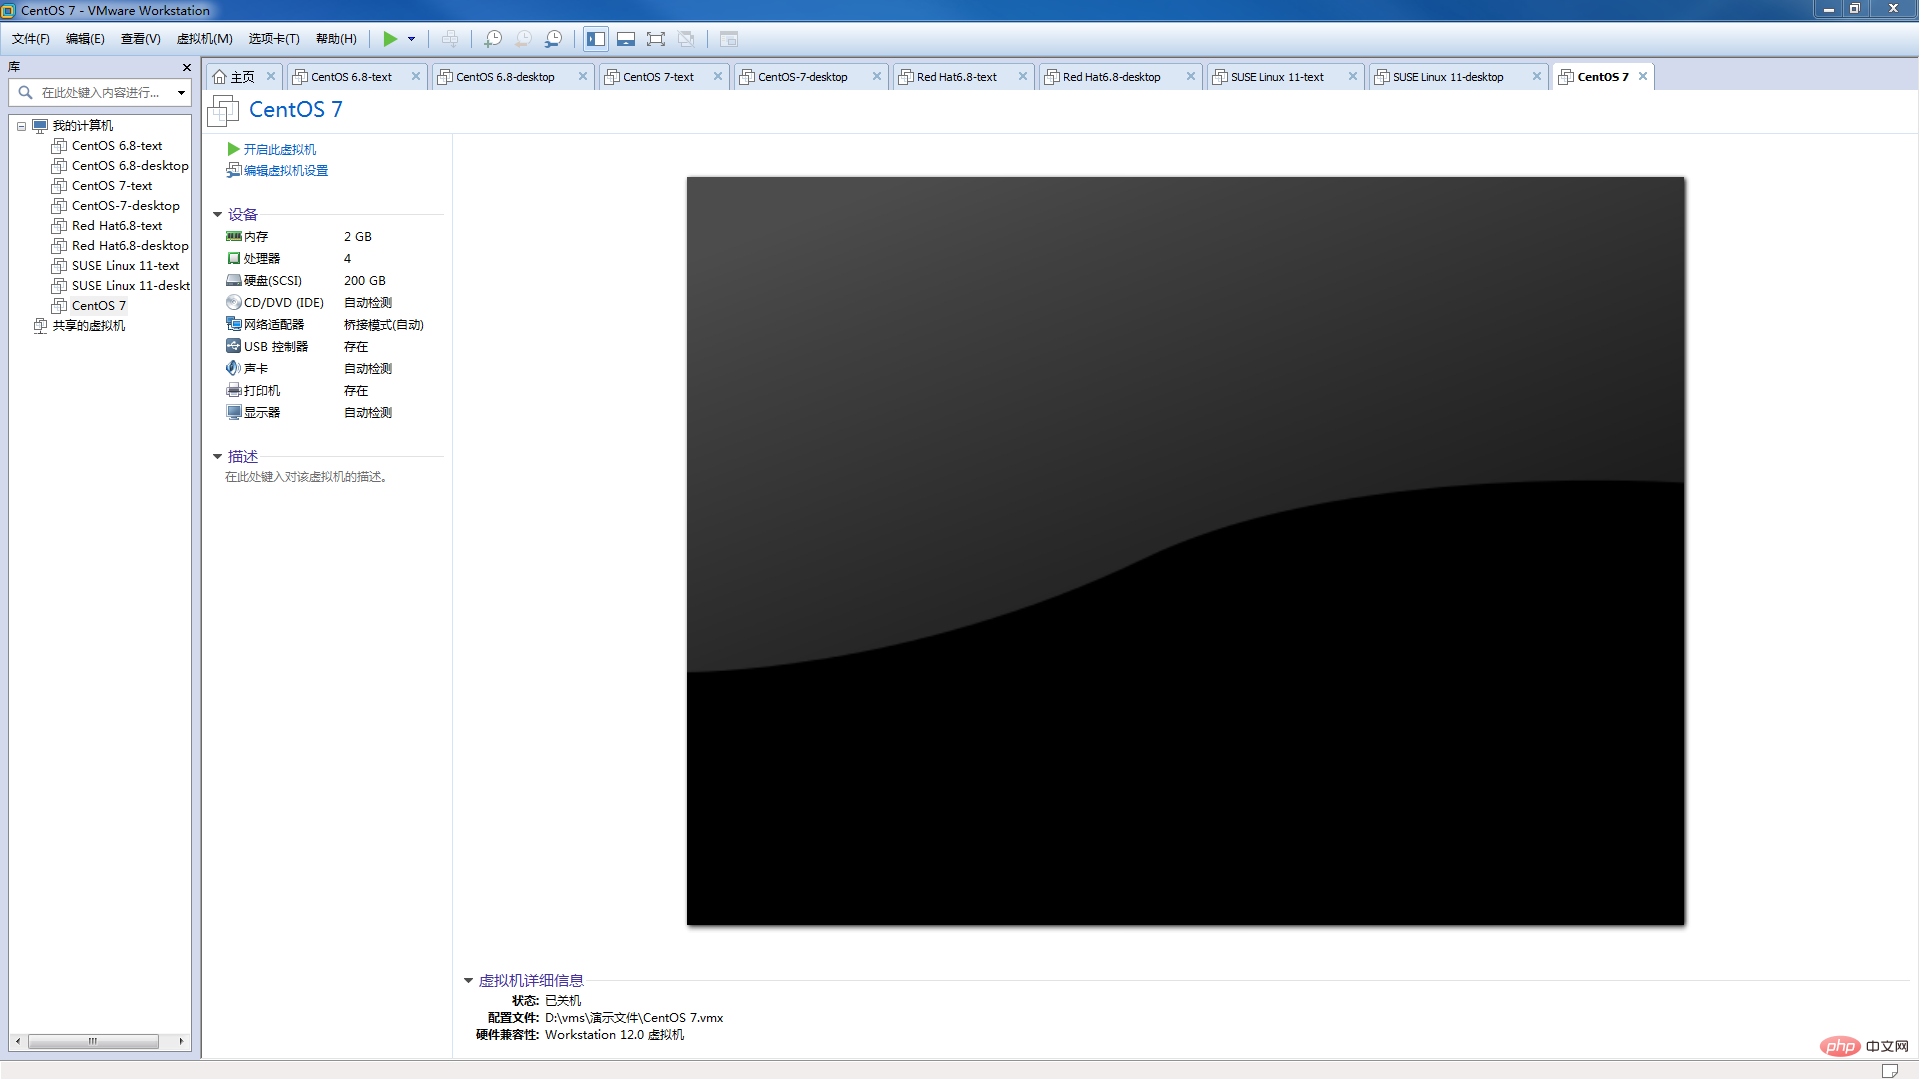
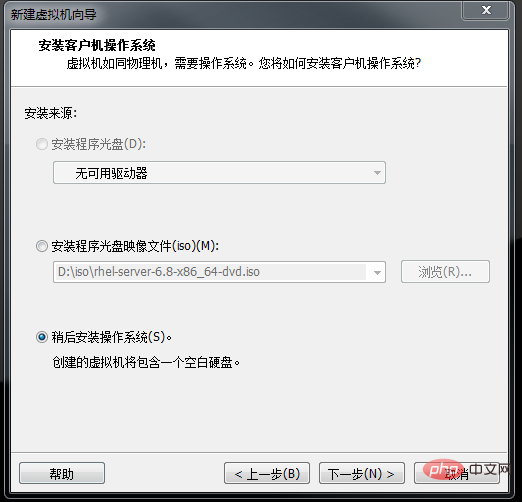
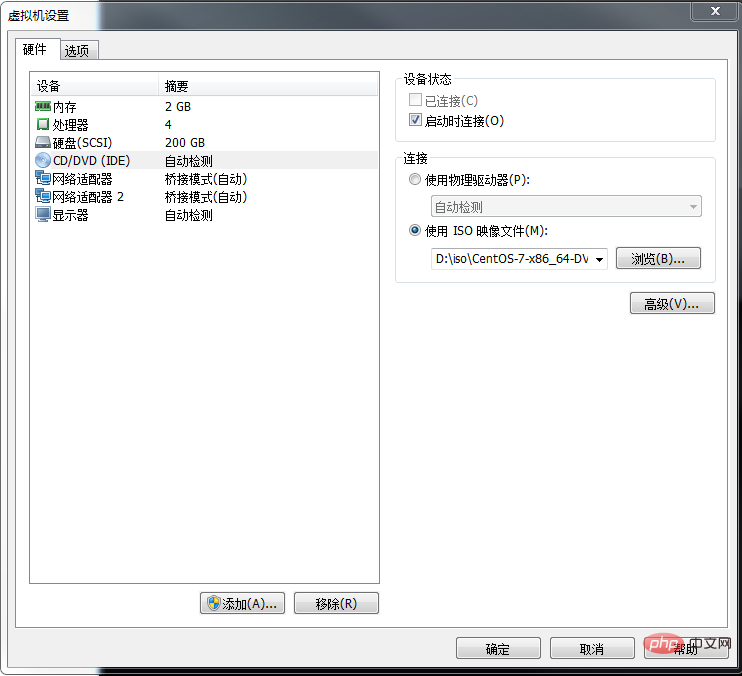
16. Continue to add the image file, select CD/DVD (IDE) in the device
Select --## at the connection point. #Use ISO image file--OK
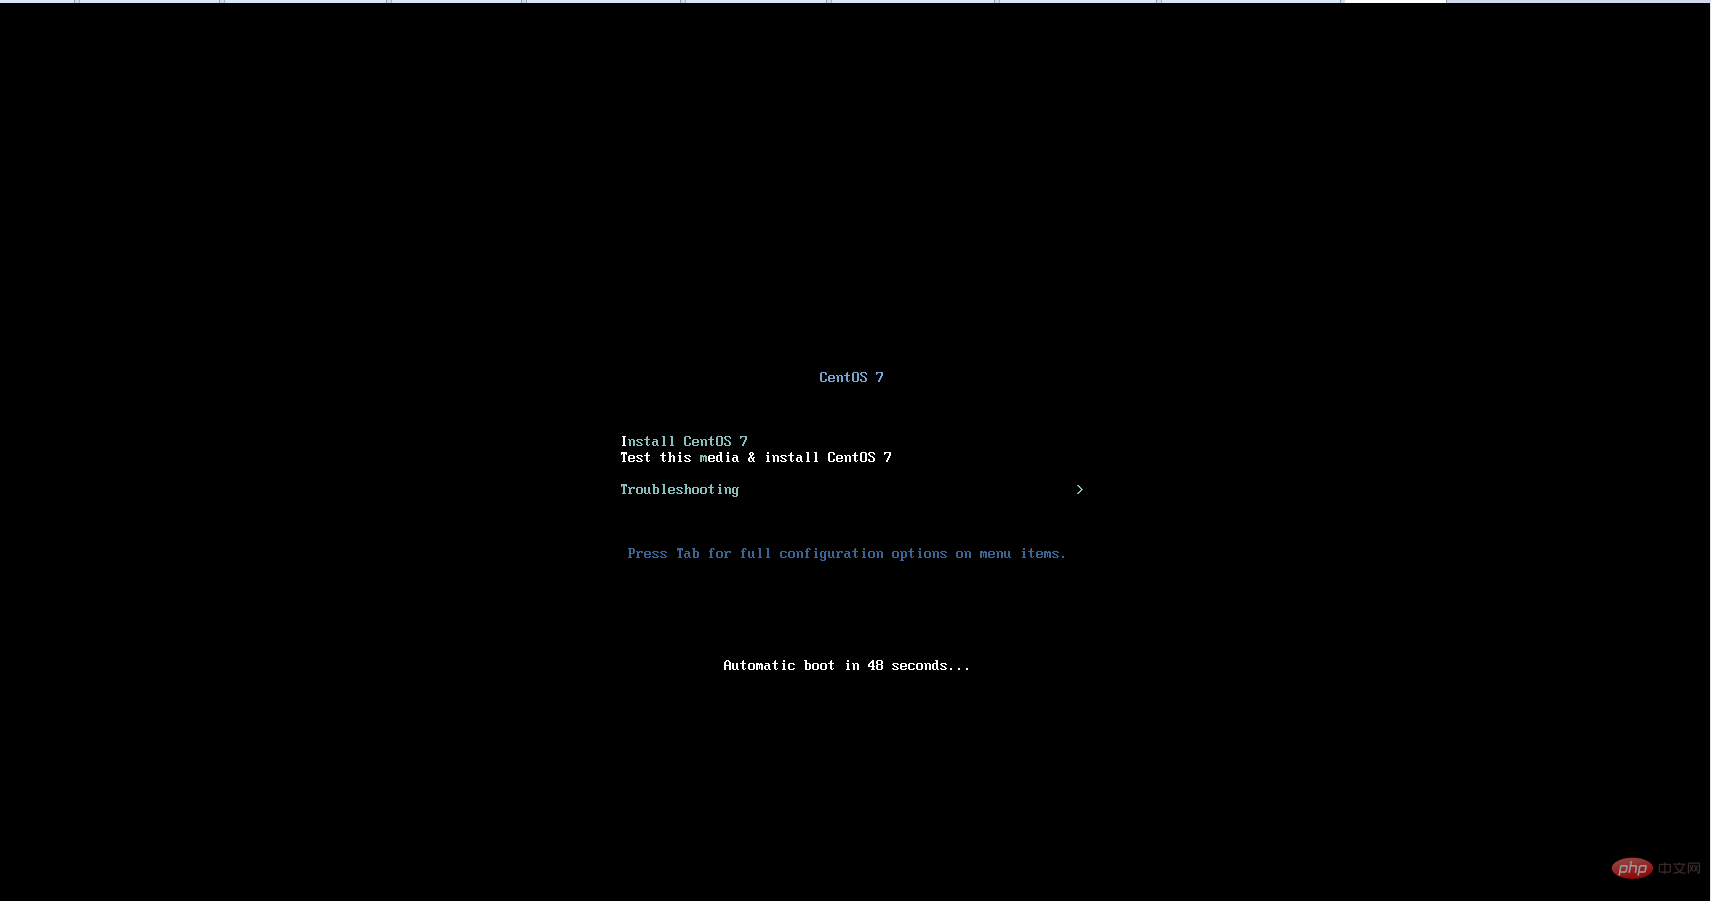
Install CentOS 7
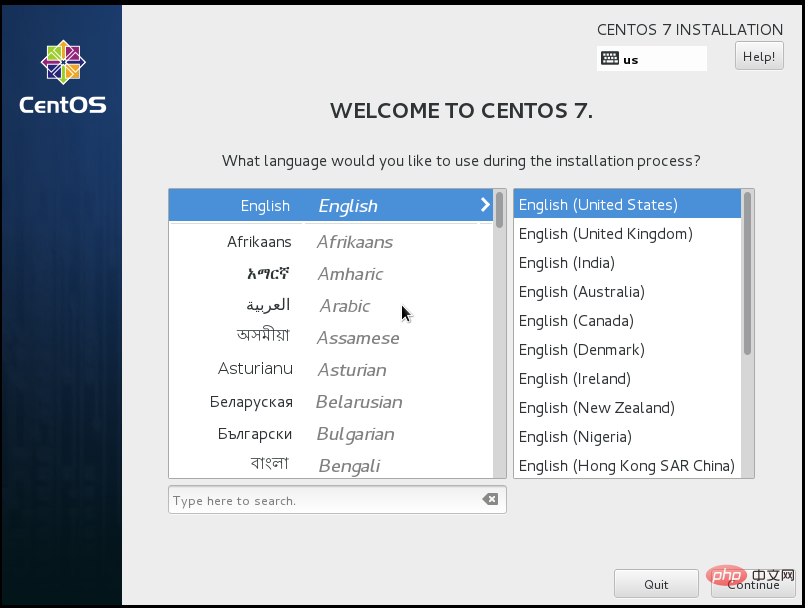
 ##18、WELCOME TO CENTOS 7.
Settings Language--Recommend using
English--Click Continue
DATE & TIME
FindAsia
- -Shanghai and click--Done
(2) KEYBOARD The default keyboard is 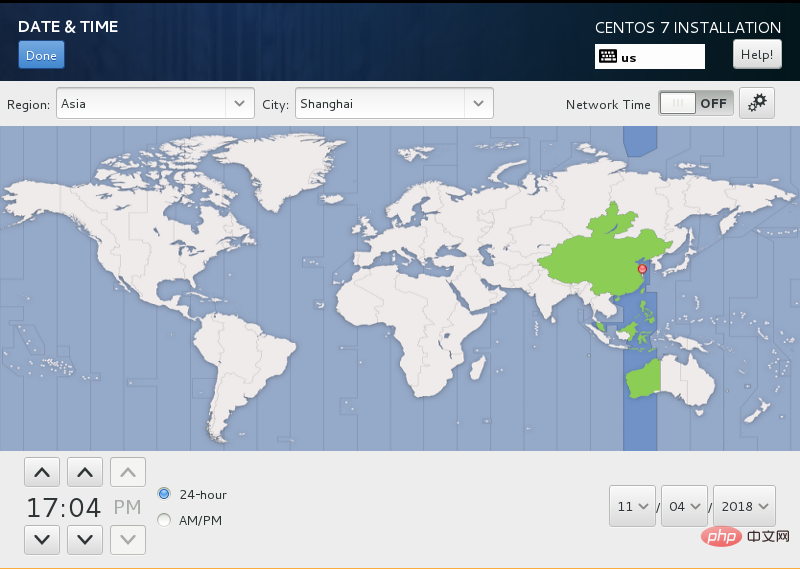 English (US)
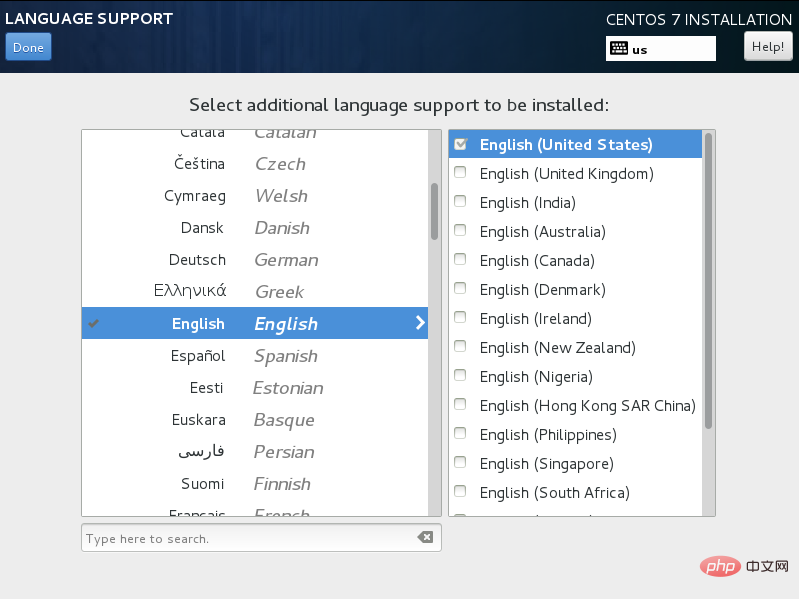
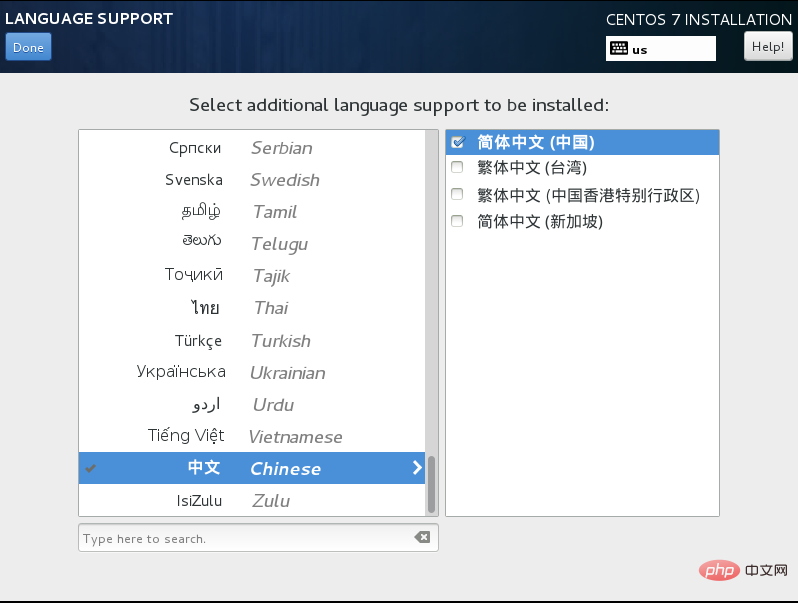
(3) LANGUAGE SUPPORT language support 
 can be The default English can also add Chinese simplified Chinese support
 Default selection--
Local media files
(5) SOFTWARE SELECTION software installation selectionCharacter interface installation--
Minimal install or Basic Web Server
Graphical interface installation--Server with GUI or GNOME Desktop
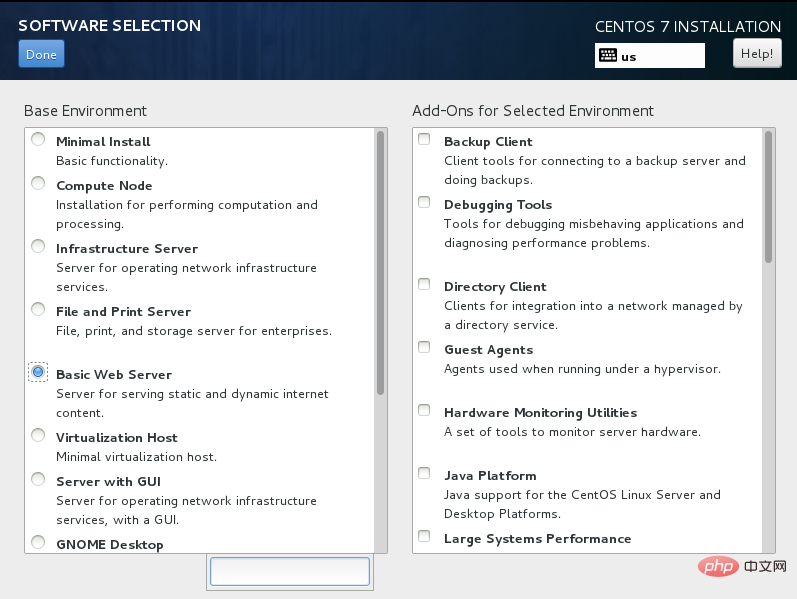
The installation process of character interface is the same as that of graphical interface. There is only a distinction in this step.
Click--DoneGo to the next step
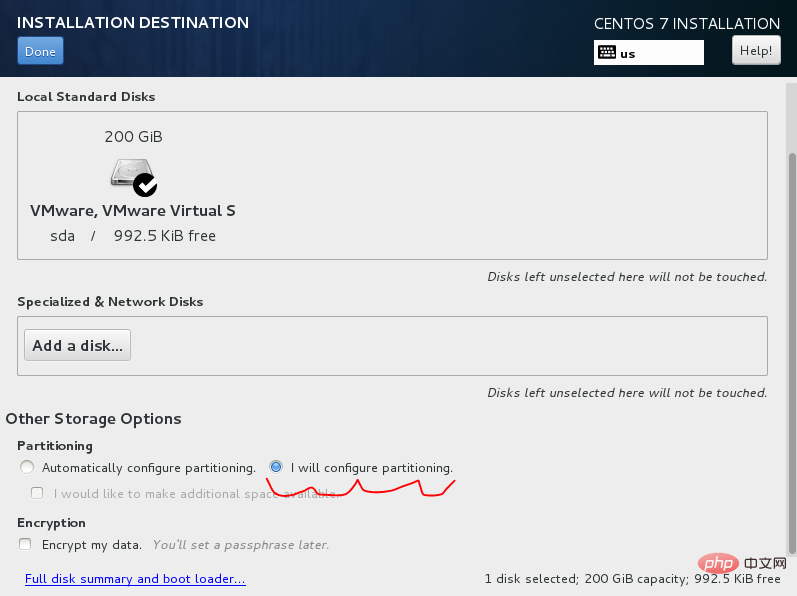
20. INSTALLATION DESTINATION installation location---that is, system partition
(1) First select the 200G virtual hard disk
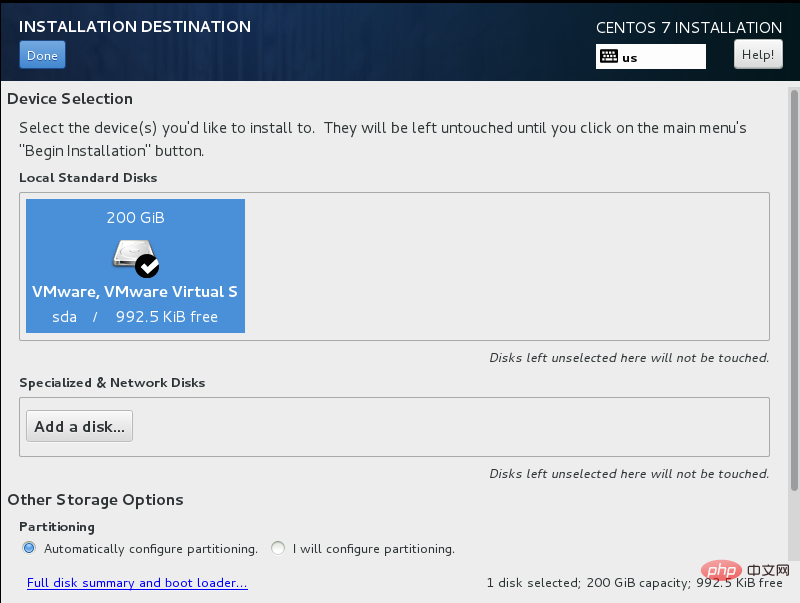
when we created the virtual machine (2) Drop down the menu and find Other Storage Options--Partitioning--I will configure partitioningSelect
I will configure partitioning Custom partition
--Clickdone
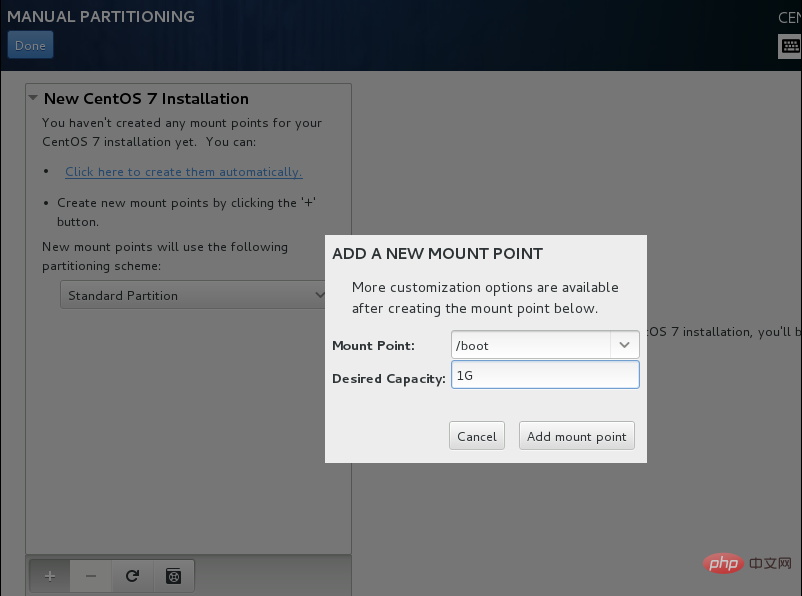
(3) Select Standard Partition Standard Partition--Click the lower left corner to add a partition
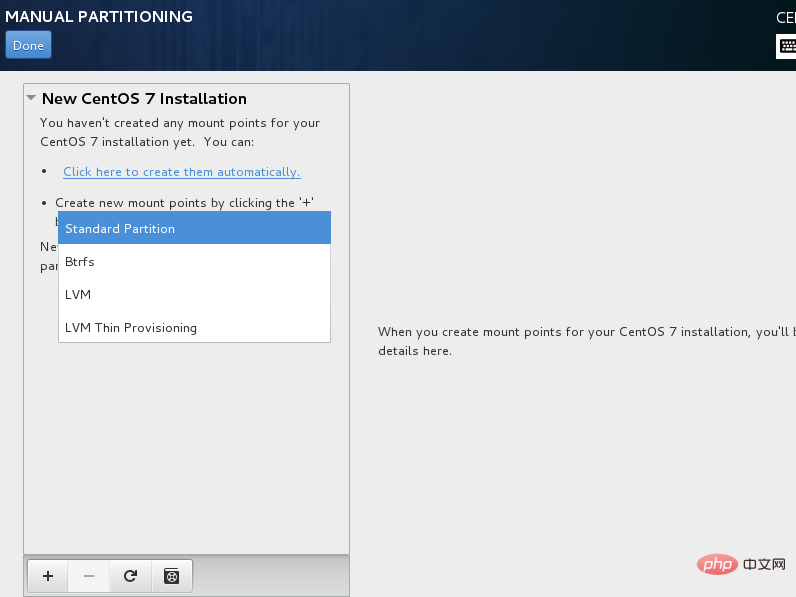
(4) Partition
creat--Standard Partition--creat--mount point (mount point) and File System Type (system file type)
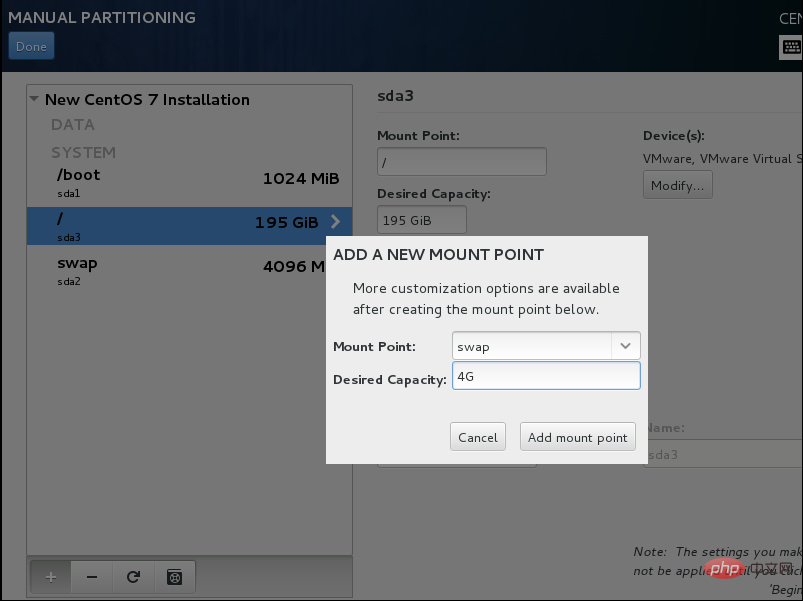
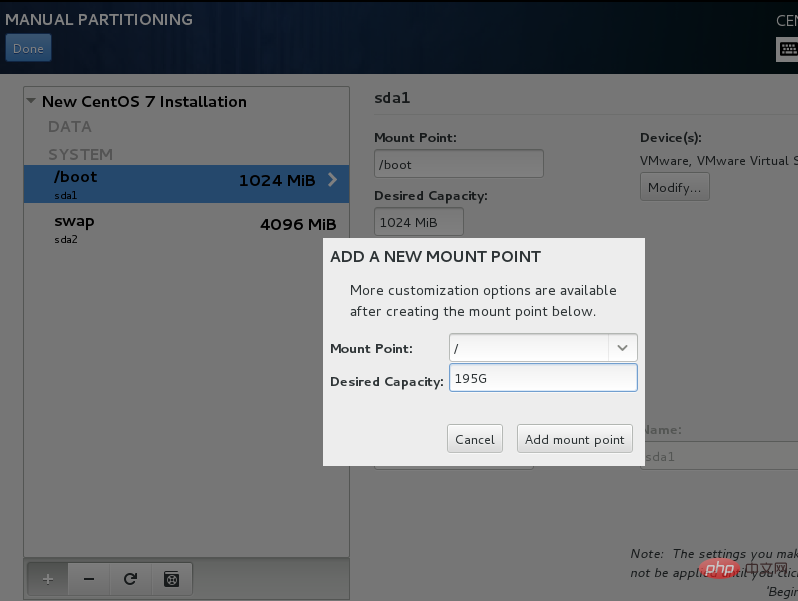
Create /boot area and swap respectively Partition, root partition/
Note: The simplest partition plan for Linux system:
1. Divide /boot area, give 200M, and put startup files in /boot.
2. Divide the swap partition (swap space) into swap and look at the total memory size. If the memory is large enough, the space must be set too large. If the memory is less than 2G. Then this space is set to 2 times the size of the memory.
3. Give all space to / (root partition)
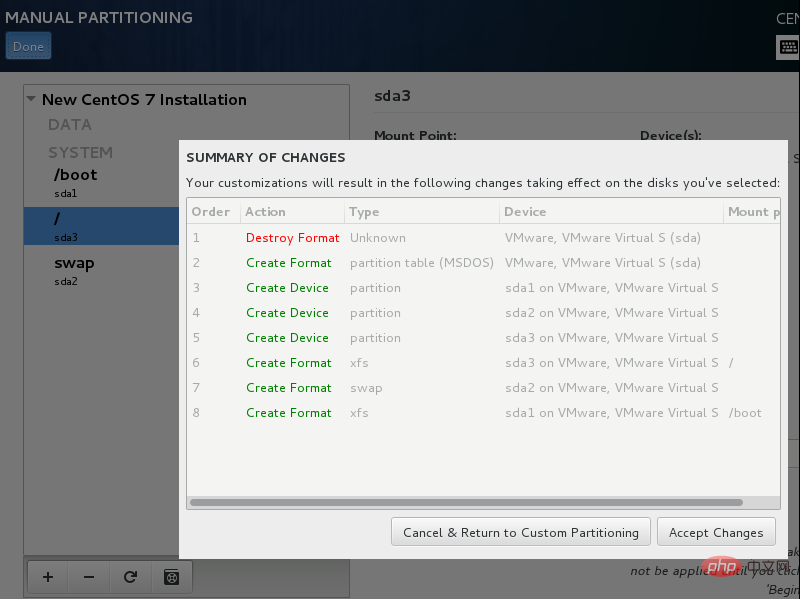
(5) Partition completed!
ClickDone
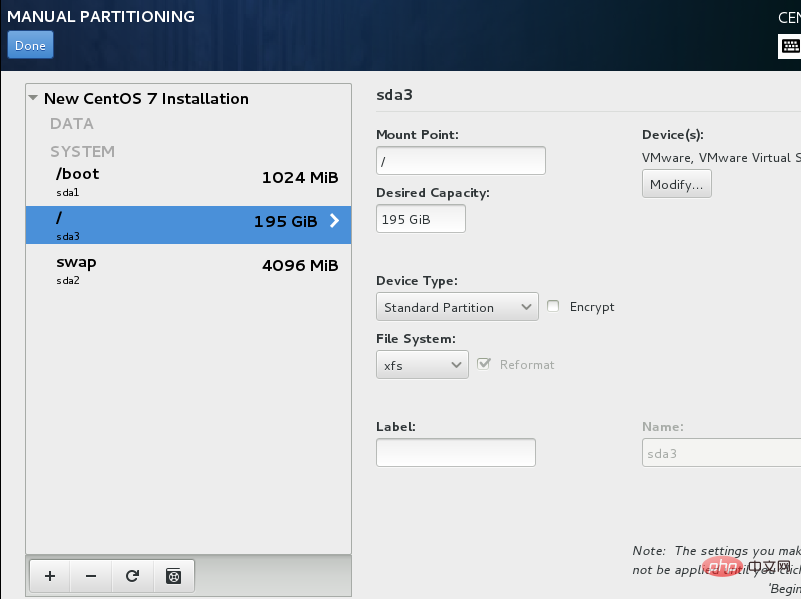
ClickAccept Changes
21. Return to INSTALLTION SUMMARY
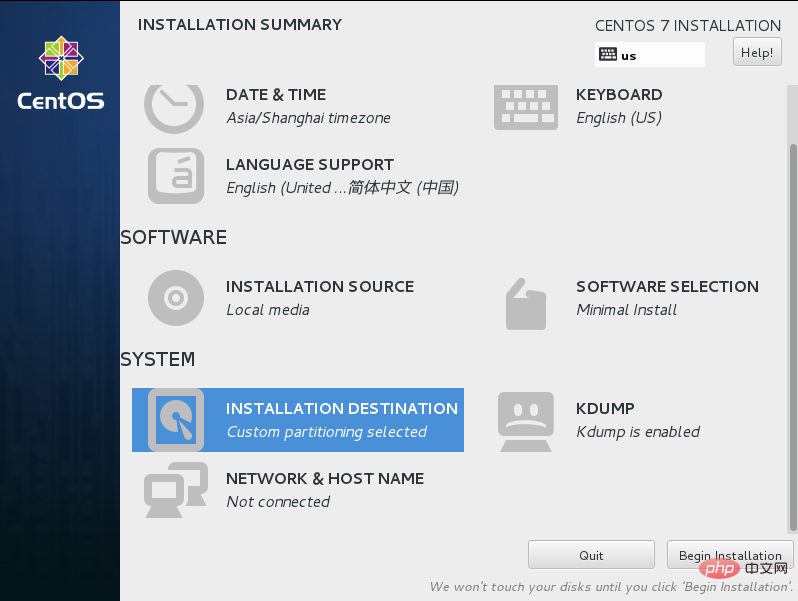
22. KDUMPDefaultSelect
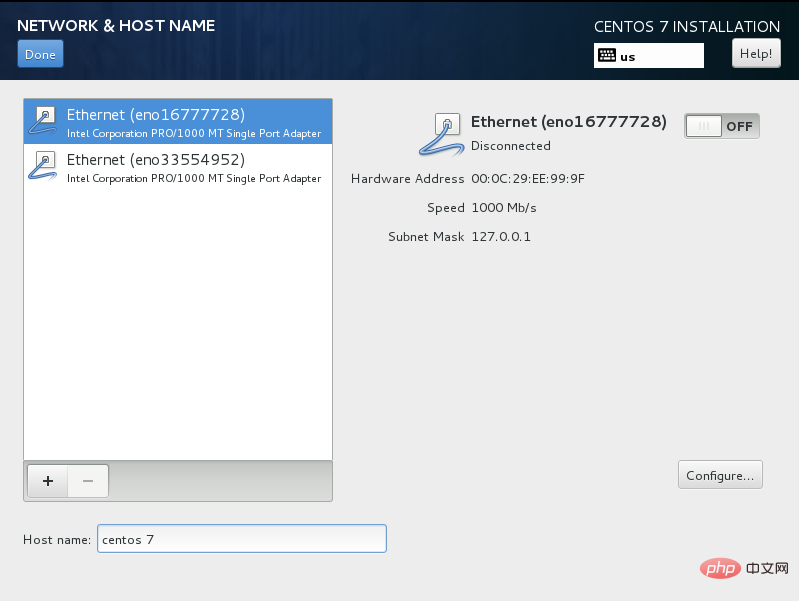
23. NETWORK & HOST NAME Set the network connection and host name
Set the host name at Host name: (for example, centos-7)
24. This is when we have completed all the settings
----Begin Installation
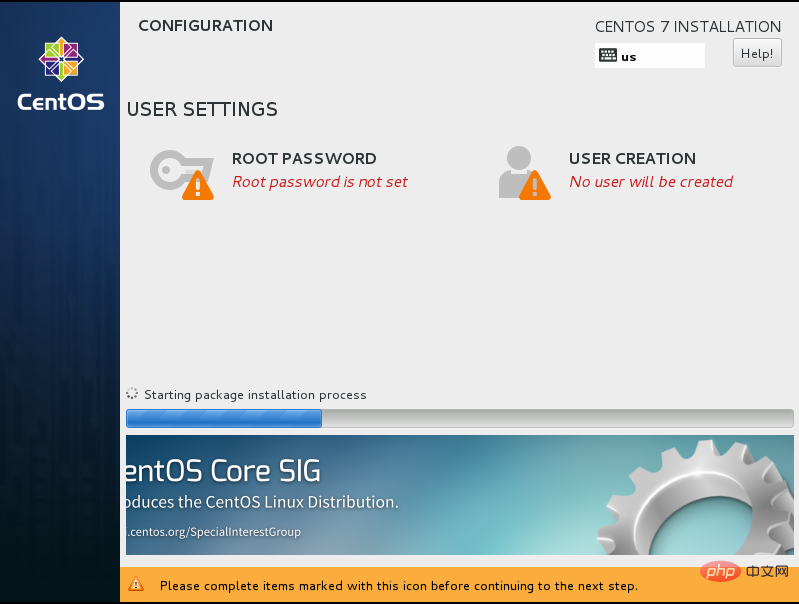
At this time, you need to set up the administratorRoot Password(Be sure to remember the password!)
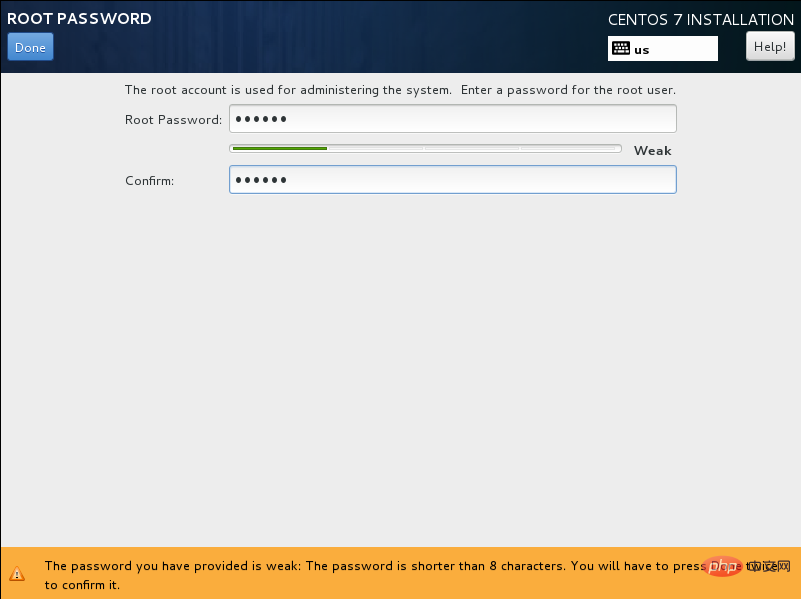
After the password setting is completed, click Done
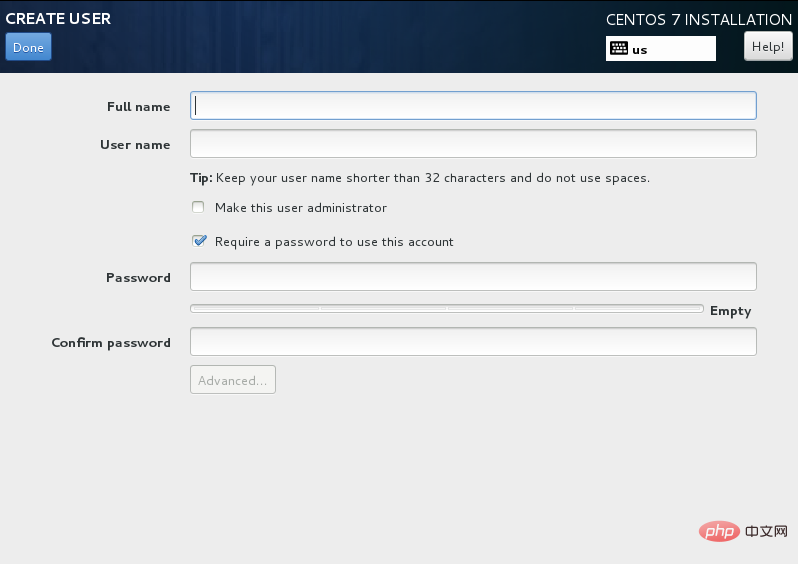
to create a user (you can not create it here, you can also create it again by entering root after the installation is complete)
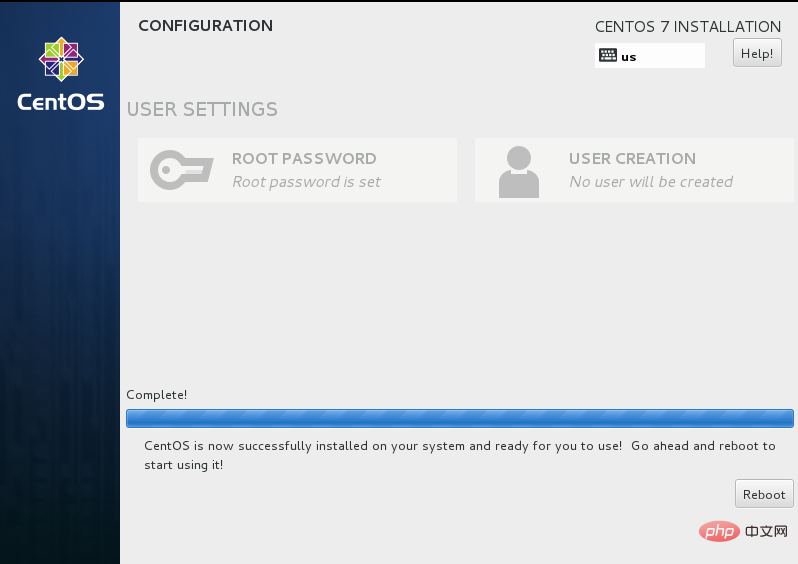
25. Centos 7 installation is complete--click reboot to restart use
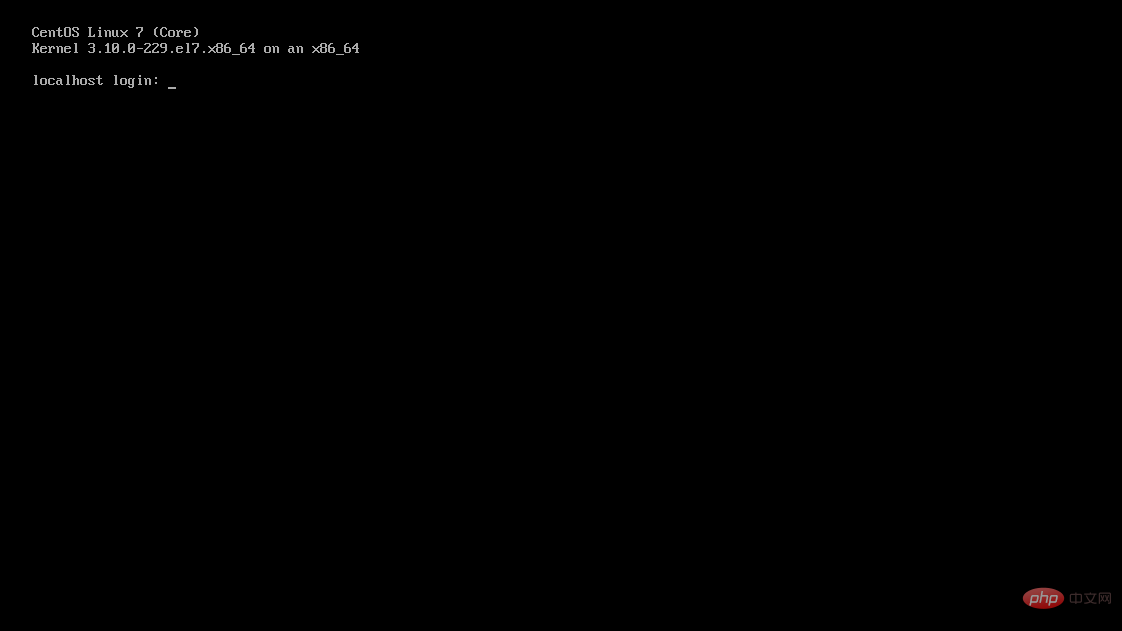
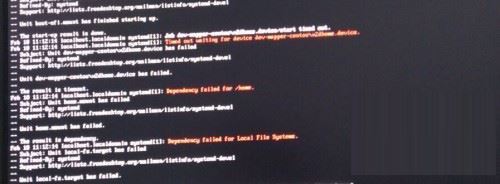
The character interface is shown below
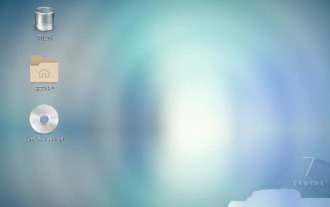
The graphical interface is shown below picture

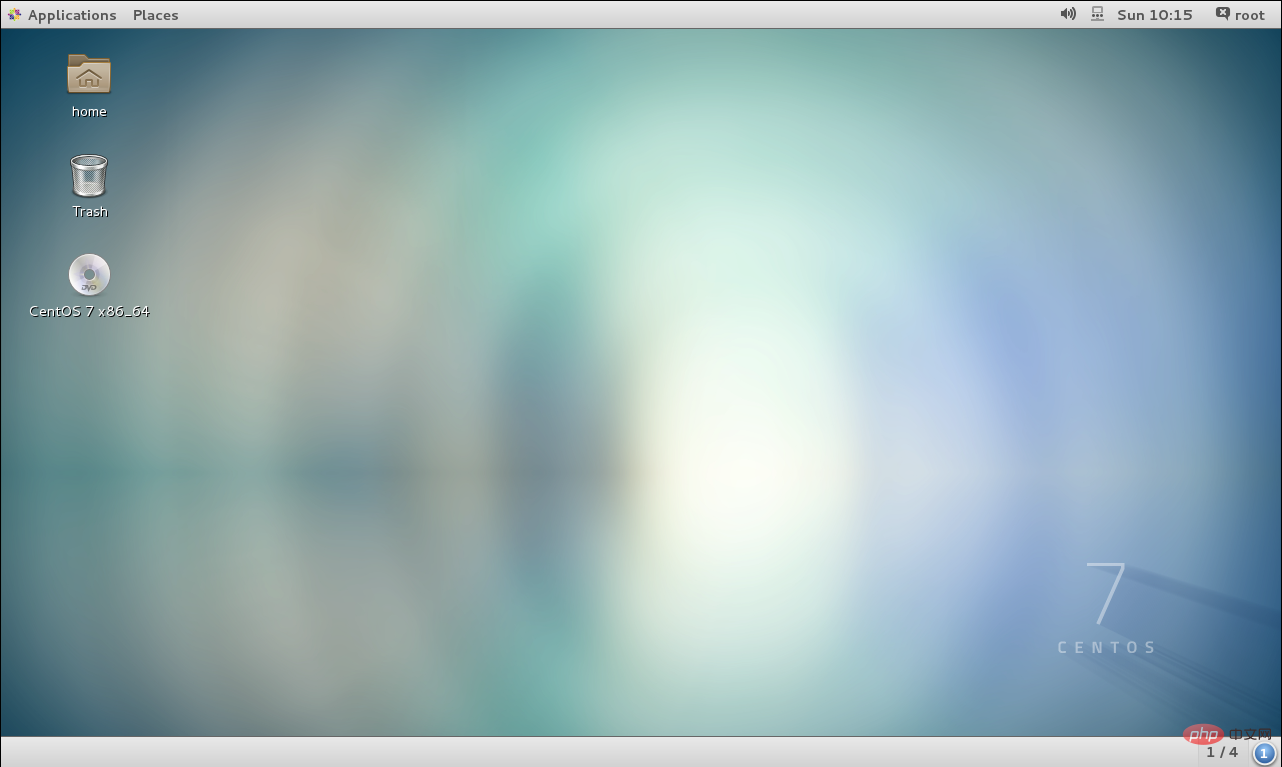
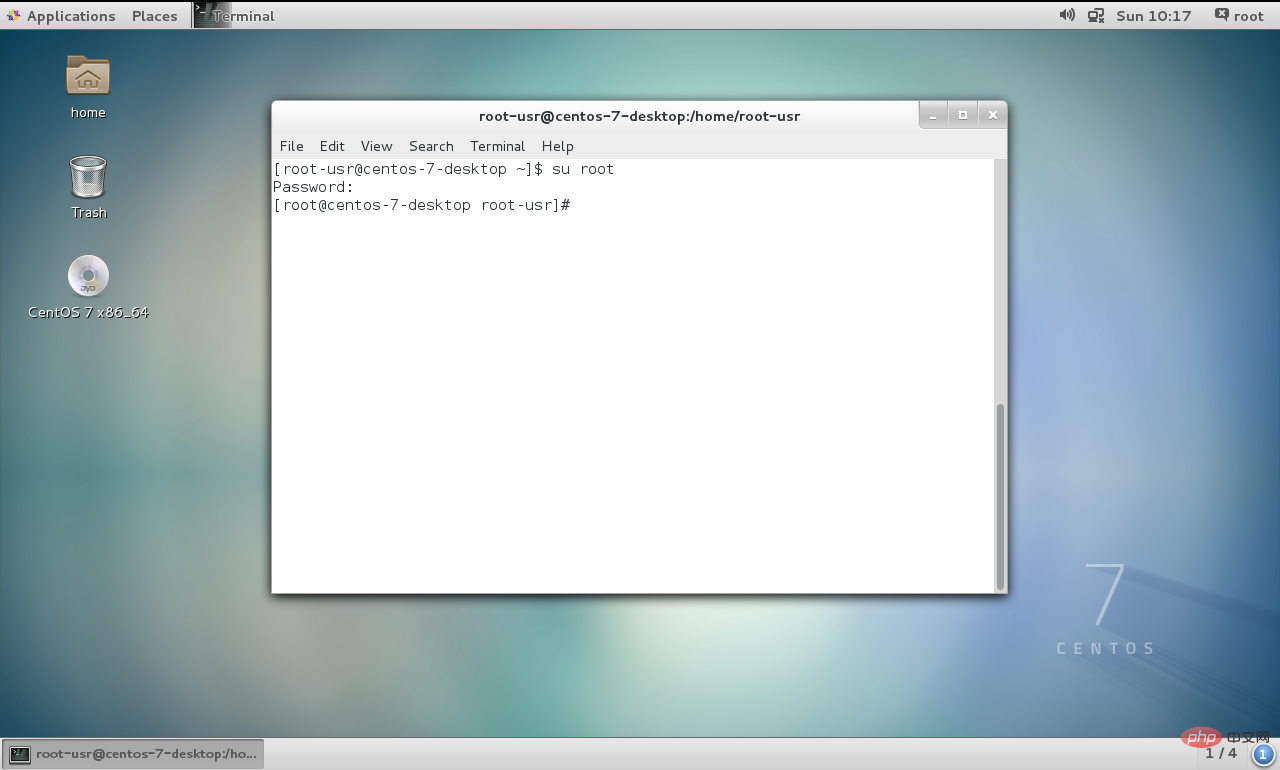
Attachment:
After calling up the Terminal terminal, use the su root command to switch the user to the root administrator, and then perform administrator operations:
The above is the detailed content of centos7 installation tutorial. For more information, please follow other related articles on the PHP Chinese website!

Hot AI Tools

Undresser.AI Undress
AI-powered app for creating realistic nude photos

AI Clothes Remover
Online AI tool for removing clothes from photos.

Undress AI Tool
Undress images for free

Clothoff.io
AI clothes remover

AI Hentai Generator
Generate AI Hentai for free.

Hot Article
Hot Tools

Notepad++7.3.1
Easy-to-use and free code editor

SublimeText3 Chinese version
Chinese version, very easy to use

Zend Studio 13.0.1
Powerful PHP integrated development environment

Dreamweaver CS6
Visual web development tools

SublimeText3 Mac version
God-level code editing software (SublimeText3)
Hot Topics
 1376
1376
 52
52

 CentOS7 various version image download addresses and version descriptions (including Everything version)
Feb 29, 2024 am 09:20 AM
CentOS7 various version image download addresses and version descriptions (including Everything version)
Feb 29, 2024 am 09:20 AM
When loading CentOS-7.0-1406, there are many optional versions. For ordinary users, they don’t know which one to choose. Here is a brief introduction: (1) CentOS-xxxx-LiveCD.ios and CentOS-xxxx- What is the difference between bin-DVD.iso? The former only has 700M, and the latter has 3.8G. The difference is not only in size, but the more essential difference is that CentOS-xxxx-LiveCD.ios can only be loaded into the memory and run, and cannot be installed. Only CentOS-xxx-bin-DVD1.iso can be installed on the hard disk. (2) CentOS-xxx-bin-DVD1.iso, Ce
 Steps to enter CentOS 7 emergency repair mode
Jan 13, 2024 am 09:36 AM
Steps to enter CentOS 7 emergency repair mode
Jan 13, 2024 am 09:36 AM
Open the centos7 page and appear: welcome to emergency mode! afterloggingin, type "journalctl -xb" to viewsystemlogs, "systemctlreboot" toreboot, "systemctldefault" to tryagaintobootintodefaultmode. giverootpasswordformaintenance(??Control-D???): Solution: execute r
 How to access and clean junk files in /tmp directory in CentOS 7?
Dec 27, 2023 pm 09:10 PM
How to access and clean junk files in /tmp directory in CentOS 7?
Dec 27, 2023 pm 09:10 PM
There is a lot of garbage in the tmp directory in the centos7 system. If you want to clear the garbage, how should you do it? Let’s take a look at the detailed tutorial below. To view the list of files in the tmp file directory, execute the command cdtmp/ to switch to the current file directory of tmp, and execute the ll command to view the list of files in the current directory. As shown below. Use the rm command to delete files. It should be noted that the rm command deletes files from the system forever. Therefore, it is recommended that when using the rm command, it is best to give a prompt before deleting the file. Use the command rm-i file name, wait for the user to confirm deletion (y) or skip deletion (n), and the system will perform corresponding operations. As shown below.
 How to set password rules in centos7? How to set password rules in centos7
Jan 07, 2024 pm 01:17 PM
How to set password rules in centos7? How to set password rules in centos7
Jan 07, 2024 pm 01:17 PM
Set password rules for security reasons Set the number of days after which passwords expire. User must change password within days. This setting only affects created users, not existing users. If setting to an existing user, run the command "chage -M (days) (user)". PASS_MAX_DAYS60#Password expiration time PASS_MIN_DAYS3#Initial password change time PASS_MIN_LEN8#Minimum password length PASS_WARN_AGE7#Password expiration prompt time Repeat password restriction use [root@linuxprobe~]#vi/etc/pam.d/system-auth#nearline15:
 How to install mbstring extension under CENTOS7?
Jan 06, 2024 pm 09:59 PM
How to install mbstring extension under CENTOS7?
Jan 06, 2024 pm 09:59 PM
1.UncaughtError:Calltoundefinedfunctionmb_strlen(); When the above error occurs, it means that we have not installed the mbstring extension; 2. Enter the PHP installation directory cd/temp001/php-7.1.0/ext/mbstring 3. Start phpize(/usr/local/bin /phpize or /usr/local/php7-abel001/bin/phpize) command to install php extension 4../configure--with-php-config=/usr/local/php7-abel
 How to install Mysql in CentOS7 and set it to start automatically at boot
Jun 02, 2023 pm 08:36 PM
How to install Mysql in CentOS7 and set it to start automatically at boot
Jun 02, 2023 pm 08:36 PM
Centos7 does not have a mysql database. The default database is mariadb (a branch of mysql). You can install the mysql database manually by following the steps below. 1. Download the rpm installation file wgethttp://repo.mysql.com/mysql-community-release-el7.rpm 2. Execute rpm to install rpm-ivhmysql-community-release-el7.rpm. After the dependency resolution is completed, the following options appear: dependenciesresolved =================================
 How to modify and set the default shortcut keys of CentOS7?
Jan 09, 2024 pm 06:14 PM
How to modify and set the default shortcut keys of CentOS7?
Jan 09, 2024 pm 06:14 PM
When the default shortcut keys conflict with the keys of the software you are using or you need to use the shortcut keys according to your own habits, you have to modify and set the default shortcut keys. How to modify the default shortcut keys of CentOS7? Let’s take a look at the detailed tutorial below. 1. Start the Centos7 system in the virtual machine and enter the desktop. 2. Click Applications->System Tools->Settings in the upper left corner. 3. Enter the setting interface and click the device. 4. Select Keyboard and click any item on the right. And press the shortcut key to be set on the keyboard to change its shortcut key (note that some cannot be changed!) 5. After the change, as shown below, finally click Settings, so that the shortcut key setting modification is completed.
 Detailed explanation of decompression file command (zip) under centos7
Jan 07, 2024 pm 06:30 PM
Detailed explanation of decompression file command (zip) under centos7
Jan 07, 2024 pm 06:30 PM
1. The compressed folder is a zip file [root@cgls]#zip-rmydata.zipmydata2. Unzip mydata.zip into the mydatabak directory [root@cgls]#unzipmydata.zip-dmydatabak3.mydata01 folder and mydata02.txt are compressed into mydata.zip[root@cgls]#zipmydata.zipmydata01mydata02.txt4. Decompress the mydata.zip file directly [root@cgls]#unzipmydata.zip5. View myd
