

This article will introduce you to the discuz installation configuration. It has certain reference value. Friends in need can refer to it. I hope it will be helpful to everyone.

Related recommendations: "discuz tutorial"
discuz installation configuration
Prepare the LAMP environment
LAMP is the abbreviation of Linux, Apache, MySQL and PHP. It is the basic operating environment that the Discuz forum system relies on. Let’s prepare the LAMP environment first
If you don’t have a cloud server, you can use Tencent Cloud’s trial server, address: https://cloud.tencent.com/developer/labs/lab/10030
Step one: Install MySQL
Use yum to install MySQL:
yum install mysql-server -y
After the installation is complete, start the MySQL service:
service mysqld restart
This experiment uses the mysql default account Name and password, you can also set your own MySQL account name and password:
, refer to the following content:
/usr/bin/mysqladmin -u root password 'XXXXXXX'
Set MySQL to automatically start at boot:
chkconfig mysqld on
Second Step: Install the Apache component
Use yum to install the Apache component:
yum install httpd -y
After installation, start the httpd process:
service httpd start
Set httpd to start automatically at boot:
chkconfig httpd on
Step 3: Install PHP
Use yum to install PHP:
yum install php php-fpm php-mysql -y
After installation, start the PHP-FPM process:
service php-fpm start
After starting, you can use the following command to check which port the PHP-FPM process is listening on
netstat -nlpt | grep php-fpm
Set PHP-FPM to start automatically at boot:
chkconfig php-fpm on
Step 4 : Install Discuz
CentOS 6 does not have the yum source of Discuz, so we need to download a Discuz compressed package:
wget http://download.comsenz.com/DiscuzX/3.2/Discuz_X3.2_SC_UTF8.zip
After the download is completed, decompress the compressed package
unzip Discuz_X3.2_SC_UTF8.zip
After decompression, you can see the source code of discuz in the upload folder
Step 5: Configure Discuz
Since PHP accesses /var/www by default /html/ folder, so we need to copy all the files in the upload folder to the /var/www/html/ folder
cp -r upload/* /var/www/html/
Give permissions to the /var/www/html directory and its subdirectories
chmod -R 777 /var/www/html
Restart Apache
service httpd restart
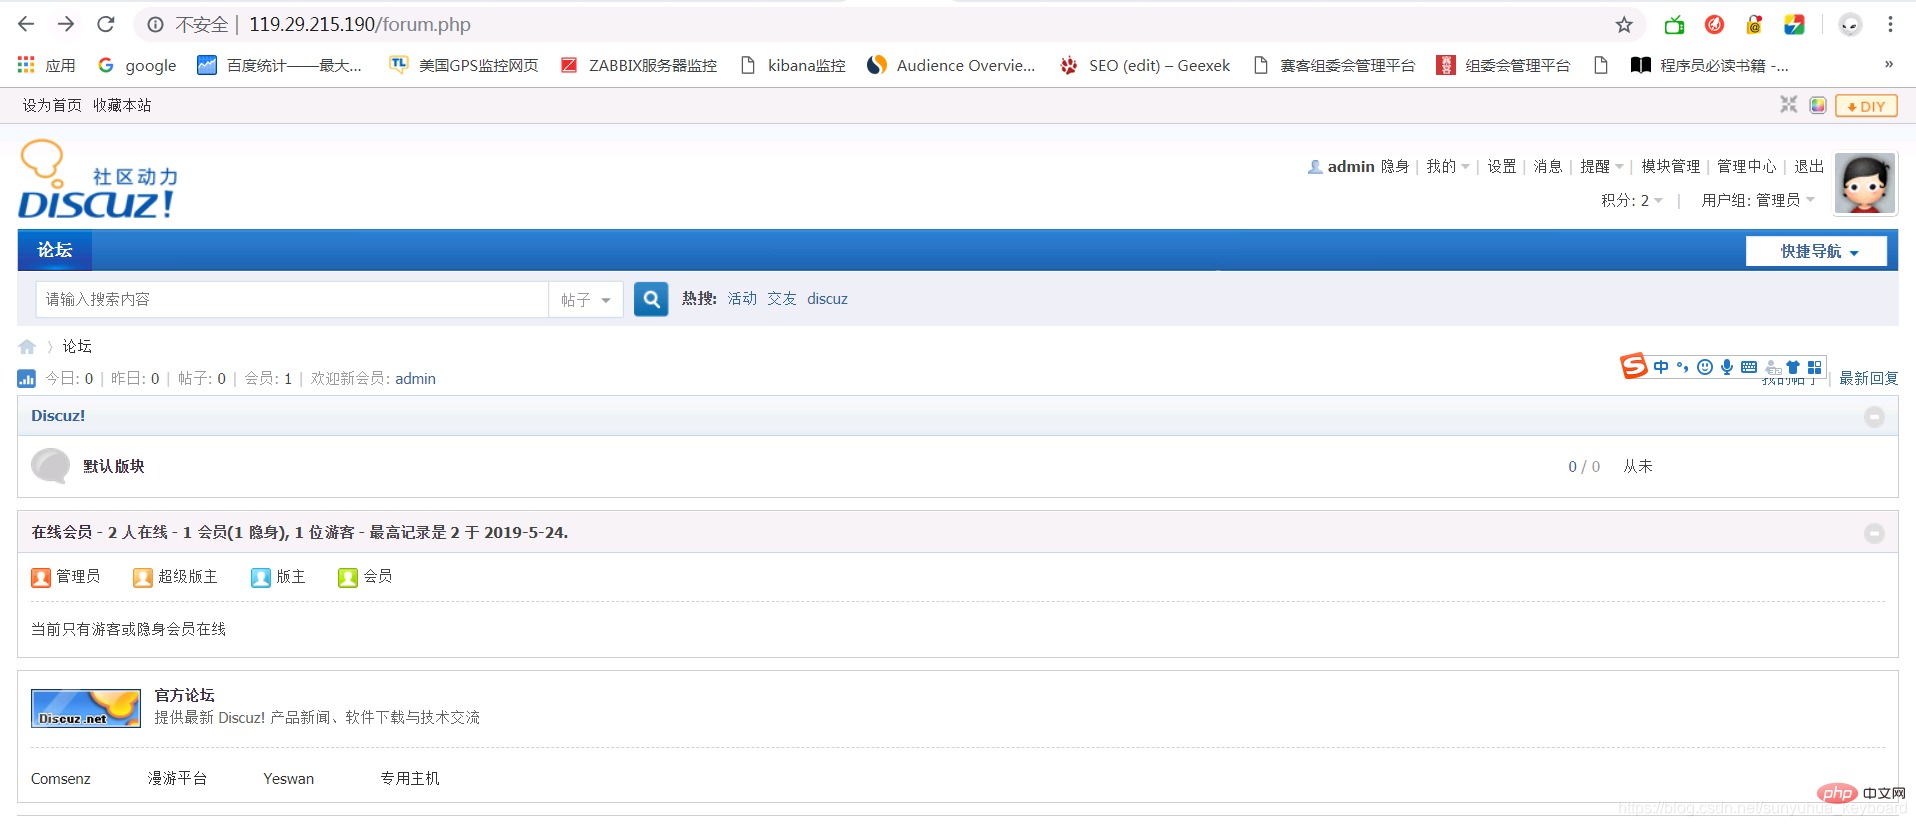
Step 6: Domain name registration and domain name resolution. If domain name resolution is not performed, access directly through the IP address
http://119.29.192.40/install/
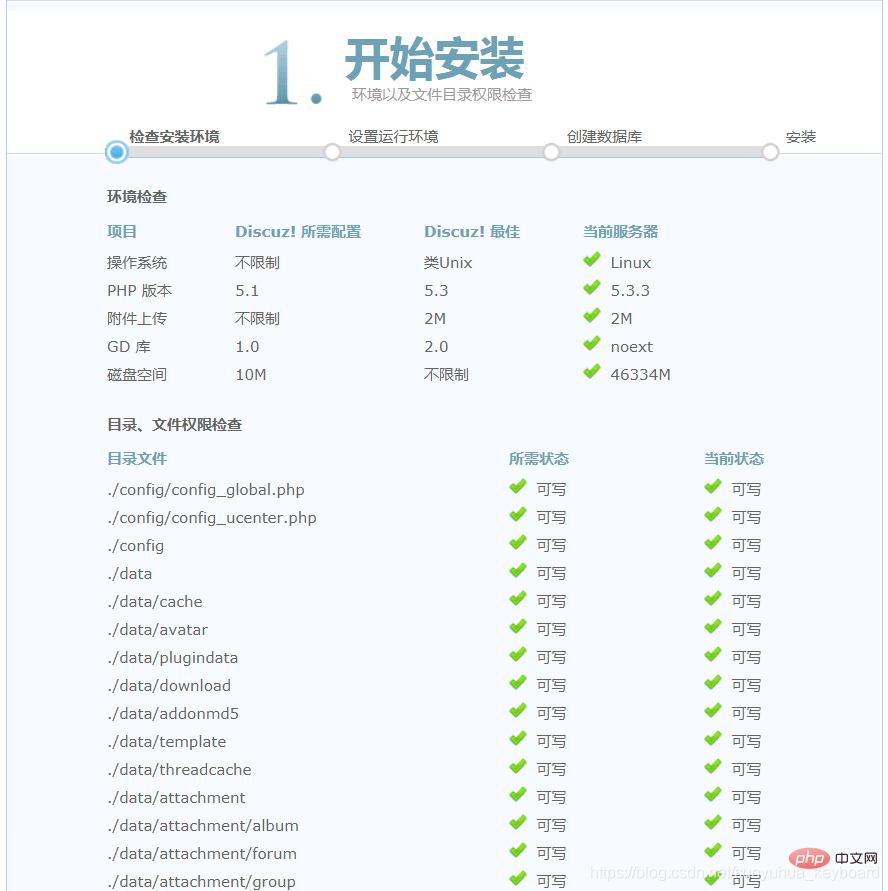
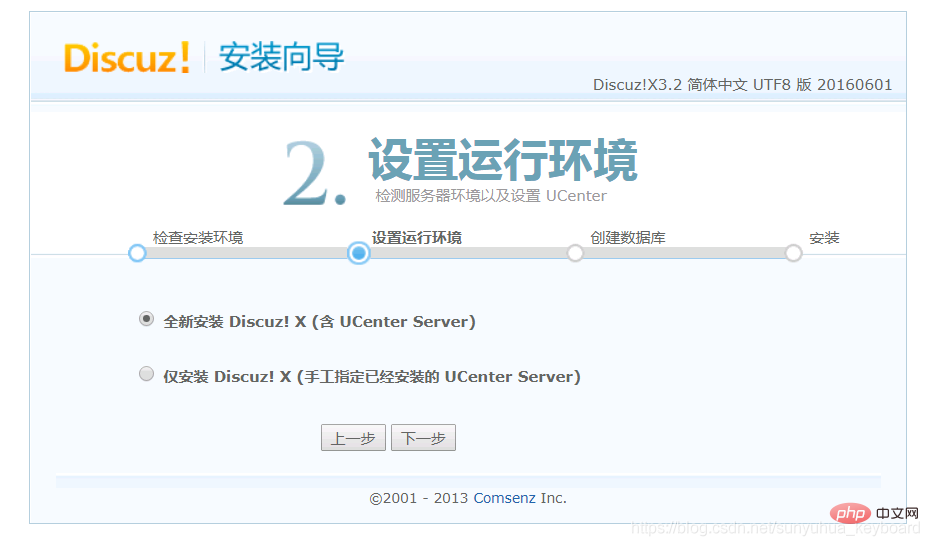
Step 7: Install discuz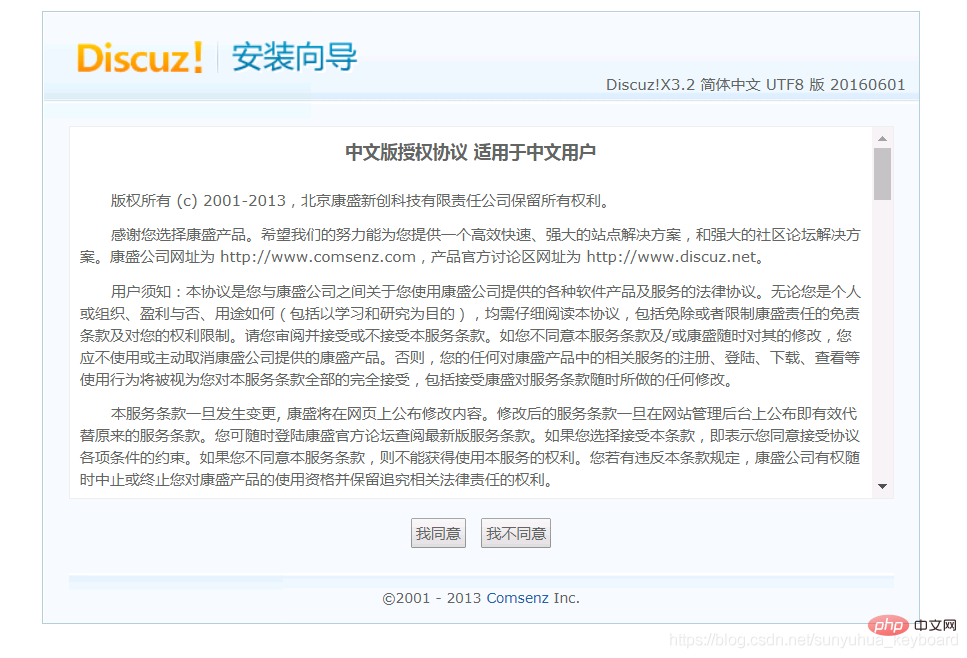
 ## Done!
Programming Teaching! !
The above is the detailed content of Introduction to how to install and configure discuz. For more information, please follow other related articles on the PHP Chinese website!
 How to solve discuz database error
 What is the difference between pass by value and pass by reference in java
 How to use NSTimeInterval
 Time recording software
 How to solve the problem that scanf return value is ignored
 webstorm changed to Chinese version
 What is the reason for DNS resolution failure?
 svg to jpg


![[Web front-end] Node.js quick start](https://img.php.cn/upload/course/000/000/067/662b5d34ba7c0227.png)


