Login function (2)
Next we explain the login function.
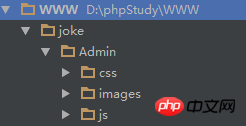
First of all, in order to facilitate our development, we create a project folder called joke in the root directory (www directory).
Then create two folders under joke, one is called the admin backend folder, and the other is called the home frontend folder (of course, you can also use other names, as long as you understand it, but the name Try to be as similar to the function as possible, just like the variable name). Because we are developing background functions now, we put the downloaded templates in the admin folder.
Finally create these folders under the admin folder: css, js, images, and place the css files, js files, and images in the template into the corresponding folders for reference. In our project:


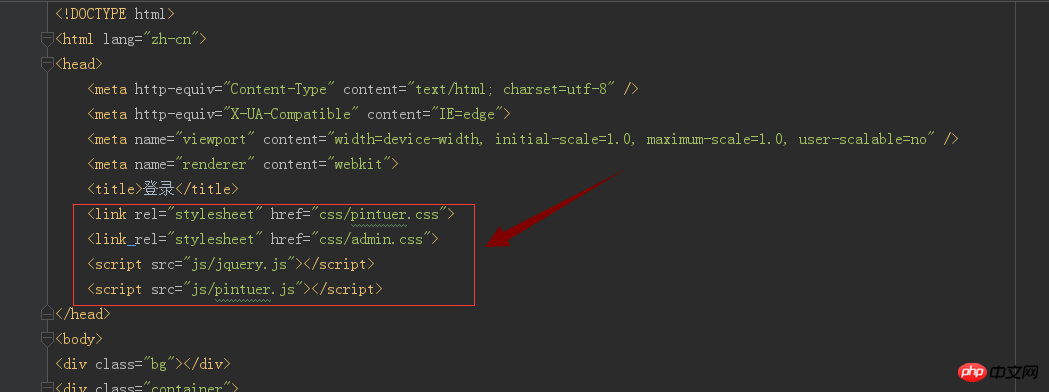
After completing these tasks, open the HTML file of our login page, find the corresponding reference, and check the reference Path, our HTML page can be completely displayed on the web page.

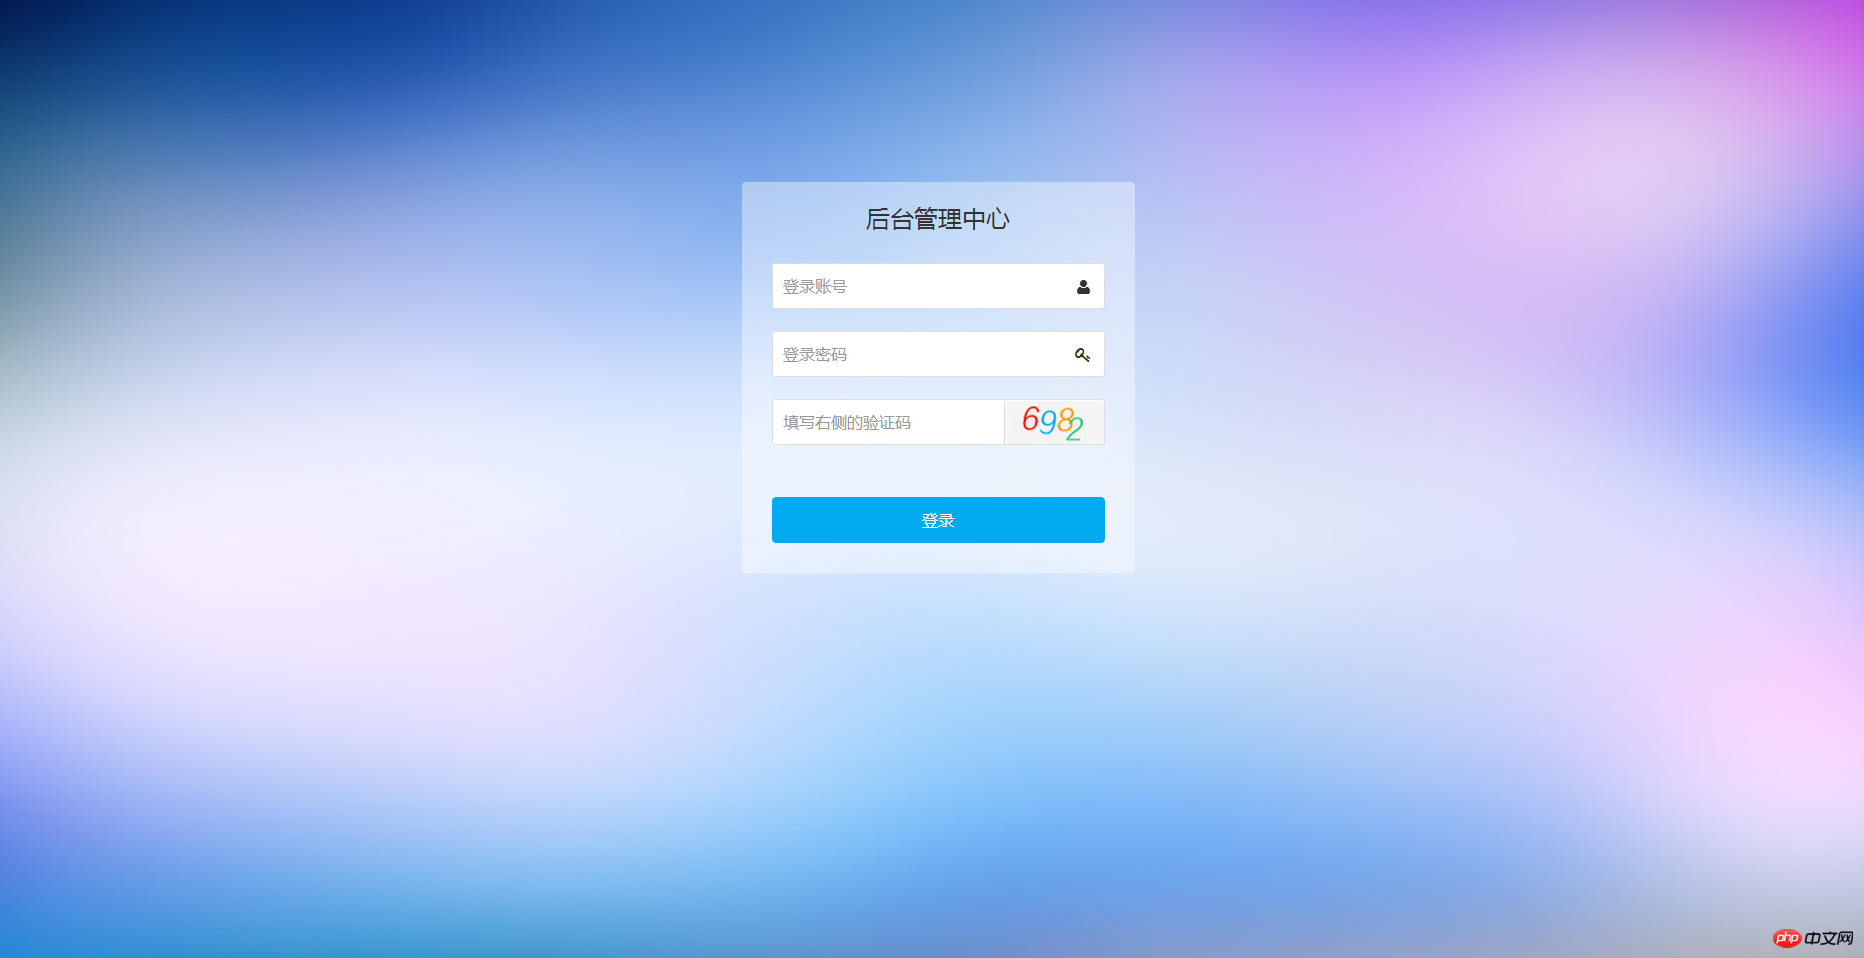
As shown in the picture above, change the reference path, including the paths of js, css, and images, must be referenced correctly (you can use batch replacement) until it can be displayed as shown in the picture below. on the browser.

Now our login front-end page is ready, and the next step is to do the login function.


