Modify user information
Modify user information
In real background management, administrators can modify a lot of user information. If the permissions are opened, the administrator can even modify the user's user name and other information.
In real operations, it is often:
Select the user to be modified

2. Modify the relevant content


Implementation process: 1. We can pass the user's ID in get to get the user information. Use SQL statements to query user information.
<?php
if (is_numeric($_GET['id'])) {
    $id = (int) $_GET['id'];
}
$sql = "select id,username from user where id = " . $id;
$result = mysqli_query($conn, $sql);
$data = mysqli_fetch_assoc($result);
?>
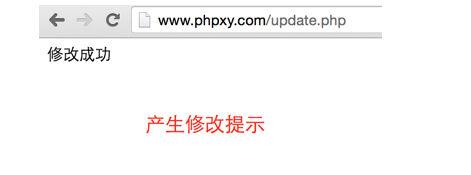
2. Assign the user’s information to the form. When the user clicks submit, we submit the value modified by the user in the form table in update.php. Because you need to specify which user to modify in the where condition modified in update. So, we put the user's ID in the input hidden form. When you click submit, the hidden ID will also be passed to the update page. Usernames are usually not allowed to be modified. Therefore, I added a readonly parameter at the end of the username input form, and the username is not allowed to be modified. The code is as follows: <form action="update.php" method="post"> 用户名:<input type="text" name="username" value="<?php echo $data['username'];?>" readonly><br /> 密码:<input type="password" name="password"><br /> <input type="hidden" value="<?php echo $data['id'];?>" name="id" /> <input type="submit" value="提交"> </form>update.php Modify operation user dataIn fact, we can only modify the user's password. There are two situations: 1. The user changed the password2. The user did not change the passwordIn fact, we can deceive the ordinary operators who do not understand the technology in front. 1. If he has not changed his password, give him a success message2. If he has changed his password. When we actually change the user's password, it also prompts that the change was successful. Get the user ID and passwordWe need to get the user ID during the implementation process. Otherwise, when the update statement is generated, all the data in the entire table will be modified without the where condition. Passwords were previously stored using md5. Therefore, if the user changes the password, the password should also be stored in md5.
$id = (int)$_GET['id'];
$password = md5(trim($_POST['password']));
Generate SQL statement
Put the user ID and password into the modified SQL statement and send it to the MySQL server for execution. That is, the operation of changing the password is completed.
$sql = "update user set password='" . $password . "' where id = $id";
$result = mysqli_query($conn, $sql);
if ($result) {
    echo '修改成功';
}
Overall representation demonstration
Source code for displaying user information in the form
<?php
if (is_numeric($_GET['id'])) {
    $id = (int) $_GET['id'];
}
$sql = "select id,username from user where id = " . $id;
$result = mysqli_query($conn, $sql);
$data = mysqli_fetch_assoc($result);
?>
<form action="update.php" method="post">
    用户名:<input type="text" name="username" value="<?php echo $data['username'];?>"><br />
    密码:<input type="password" name="password"><br />
    <input type="hidden" value="<?php echo $data['id'];?>" name="id" />
    <input type="submit" value="提交">
 </form>
<?php
mysqli_close($conn);
?>
Update.php modified source code
<?php
include 'connection.php';
$id = (int) $_POST['id'];
if (trim($_POST['password'])) {
    $password = md5(trim($_POST['password']));
    $sql = "update user set password='" . $password . "' where id = $id";
} else {
    echo '修改成功';
}
$result = mysqli_query($conn, $sql);
if ($result) {
    echo '修改成功';
}


