HTML image
Generally what we use is to insert pictures, mostly use pictures as backgrounds, and then use pictures as links. The tag involved is < img> Next, we will start writing an HTML file to deepen our understanding. First, we use the browser to download a few pictures on the web page (put them in the same folder as the HTML file) for later use.
1. First set a picture as the background picture of the web page
Add the background attribute to the body attribute to add a background picture
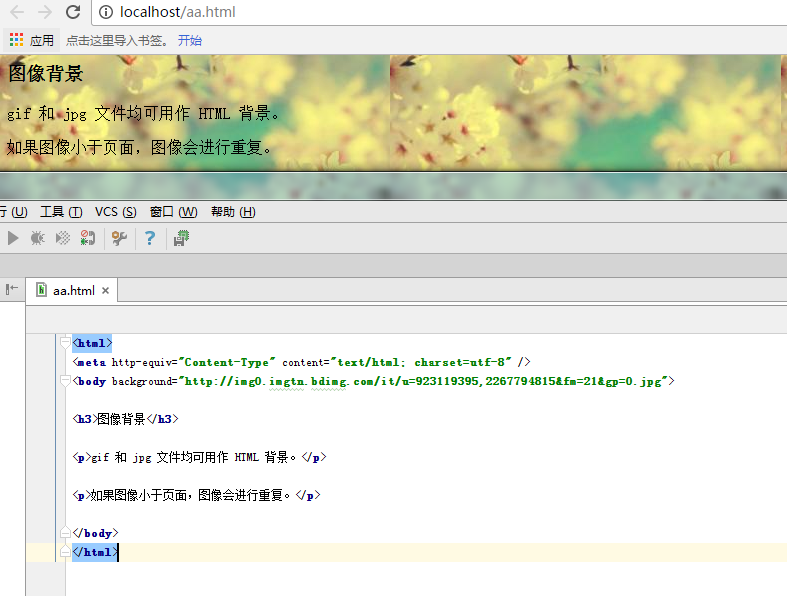
2. For example, insert a picture and write it as follows
<img src="path plus file name">
After inserting the picture:

At this time we can see that the font and the low end of the picture are aligned. Let’s adjust the alignment. The method
3. Add attributes to adjust the alignment of the image
Add the align attribute to the < img> tag to adjust the alignment . The parameters that can be added relative to the top and bottom of the exercise are bottom, middle, and top. The default is the bottom we just saw. The parameters that can be added to the left and right relative to the font are right. The default left is right
Let’s compare it directly:
<html>
<head>
    <title>image test</title>
    </head>
    <body background="./qwe.gif">
    <p>let's have an example<img src="./julizi.png"></p>
    <p> align top<img src="./julizi.png" align="top" ></p>
    <p>align middle<img src="./julizi.png" align="middle"></p>
    <p>align left<img src="./julizi.png" align="left" ></p>
    </body>
</html>
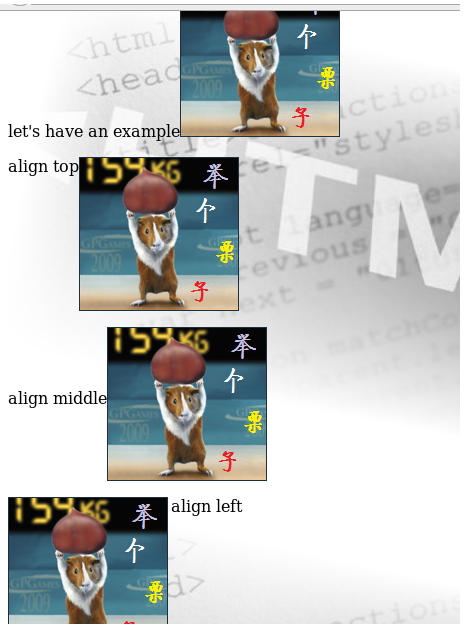
4. Adjust the size of the inserted picture
Most sizes are not that suitable, insert them directly The overall page effect will be changed in the future. Therefore, when inserting a picture, it is necessary to control its size. This is easy to do. You only need to add the width and height attributes to the < img> tag. Then let’s take advantage of the situation and control the pictures above
width="80" height="80"
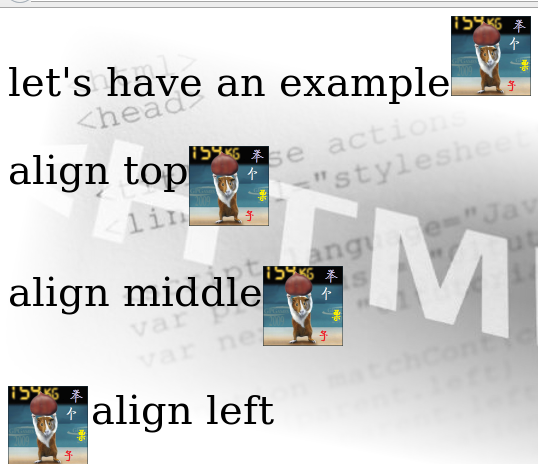
(Of course, I also adjust Change the font size)
5. Create an image mapping
Before this, we have tried using images as links to trigger links. The method is to click anywhere on the picture to link to the jump address. Sometimes we need to realize that clicking on different parts of the picture will jump to different places. This means that from an image we can create an image map with clickable areas, where each area is a hyperlink. The tags involved are the <map> tag, which is used to specify the image, and <area>, which is used to specify the hyperlink area
<img src="xx.jpg" usemap="#mp"/>
<map name="mp" id="mp">
    <area>
    ...
    ...
    ...
    </area>
</map>
Here we use a picture as a map. In the <area> tag, we will involve the shape, coords, and href attributes, which are used to specify the shape of the hyperlink area, the coordinates of the hyperlink area, and the hyperlink jump respectively. land.
This is the specific implementation content
<html>
<head>
    <title>image test</title>
    </head>
    <body background="./qwe.gif">
    <p>tap the li zi </p>
    <img src="./julizi.png" usemap="#lizi"/>
    <map name="lizi">
     <area shape="rect" coords="50,10,100,60" href="img.html" target="_blank"
    </map>
    </body>
</html>
Then, when we click on the chestnut raised by the little squirrel, you will see more chestnuts
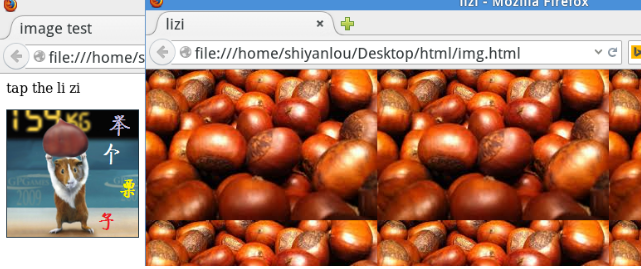
The value of the shape attribute can be: rect (rectangle), circle (circle), poly (polygon) and default (entire image area). A rectangle is used here.
coords attribute For rectangles, coords has 4 values, separated by commas, which represent the x coordinate of the upper left corner, the y coordinate of the upper left corner, the x coordinate of the lower right corner, and the y coordinate of the lower right corner of the rectangular area, which are obtained here In terms of coordinates, just use the screenshot tool to help.


