System: Windows 7 64-Bit-System
Laden Sie vor der Installation zunächst die Software herunter:
Nginx: http://nginx.org/en/download.html
PHP Stable PHP 5.6.26: http://php.net/downloads.php
MySQL: http://dev.mysql.com/downloads/utilities/
Schritt 1: Erstellen Sie den Ordner Nginx php Mysql auf dem Laufwerk D, der Pfad lautet: D:Nginx php Mysql
Schritt 2: Installieren Sie Nginx, das Installationsverzeichnis ist: D:Nginx php Mysqlnginx
1. Öffnen Sie das Verzeichnis D:Nginx php Mysqlnginx und führen Sie nginx.exe im Ordner aus
2. Testen Sie, ob nginx gestartet ist. Öffnen Sie den Browser und besuchen Sie http://localhost oder http://127.0.0.1 und prüfen Sie, ob „Willkommen bei Nginx!“ angezeigt wird.
Wenn der Start fehlschlägt, prüfen Sie, ob der Port belegt ist.
PHP installieren, das Installationsverzeichnis ist: D:Nginx php Mysqlphp
MySQL installieren, das Installationsverzeichnis ist: D:Nginx php Mysqlmysql
Dritter Schritt: Ändern Sie die Nginx-Conf-Datei: Das Verzeichnis ist D:Nginx php Mysqlnginxconf
Der Dateiname lautet: nginx.conf
1 Entfernen Sie die #-Nummer vor worker_processes und starten Sie a Prozess
2. Ereignisse hinzufügen
3. http->set server->support php
#user  nobody;
worker_processes  1;
#error_log  logs/error.log;
#error_log  logs/error.log  notice;
#error_log  logs/error.log  info;
#pid        logs/nginx.pid;
events {
    worker_connections  1024;
}
http {
    include       mime.types;
    default_type  application/octet-stream;
    #log_format  main  '$remote_addr - $remote_user [$time_local] "$request" '
    #                  '$status $body_bytes_sent "$http_referer" '
    #                  '"$http_user_agent" "$http_x_forwarded_for"';
    #access_log  logs/access.log  main;
    sendfile        on;
    #tcp_nopush     on;
    #keepalive_timeout  0;
    keepalive_timeout  65;
    #gzip  on;
    server {
        listen       80;
        server_name  localhost;
        #charset koi8-r;
        #access_log  logs/host.access.log  main;
        location / {
            root d:/Nginx+php+Mysql/nginx/html;
            index  index.html index.htm;
        }
        error_page   500 502 503 504  /50x.html;
        location = /50x.html {
            root   html;
        }
        # pass the PHP scripts to FastCGI server listening on 127.0.0.1:9000
        #
        location ~ \.php$ {
            root           html;
            fastcgi_pass   127.0.0.1:9000;
            fastcgi_index  index.php;
            fastcgi_param     SCRIPT_FILENAME    $document_root$fastcgi_script_name;
            include        fastcgi_params;
        }
    }
}Testen Sie, ob Nginx erfolgreich installiert wurde

Schritt 4: Ändern Sie die php.ini-Entwicklungsdatei unter PHP, ändern Sie den Dateinamen in php.ini und suchen Sie php.ini:
Suchen Sie nach „ extension_dir“ und finden Sie extension_dir = „ext“. Entfernen Sie zunächst das vorhergehende Semikolon und ändern Sie es dann in extension_dir = „./ext“
Suchen Sie nach „php_mysql“ und finden Sie: „extension=php_mysql.dll und extension=php_mysqli .dll Entfernen Sie das vorangehende „;“extension =php_mysql.dll und extension=php_mysqli.dll (unterstützt die MYSQL-Datenbank)
Überprüfen Sie, ob PHP erfolgreich installiert wurde:

Schritt 4: Im PHP-Verzeichnis eine neue Datei php-cgi.vbs erstellen und die Datei php-cgi.vbs verwenden, um php-cgi zu starten:
php-cgi.vbs öffnen und schreiben der Startcode:
set wscriptObj = CreateObject("Wscript.Shell")
wscriptObj.run "php-cgi -b 127.0.0.1:9000",0Schritt 5: Erstellen Sie ein neues Startelement im D:Nginx-PHP-MySQL-Verzeichnis: runServer.bat und stoppen Sie das Element stopServer.bat
Geben Sie das Startelement runServer ein .bat:
@echo off
echo Starting nginx...
cd %~dp0nginx
start "" "./nginx.exe"

echo Starting mysql...
net start mysql

echo Starting PHP FastCGI...
cd %~dp0PHP
start "" "php-cgi.vbs"

pause

Exit
Geben Sie das Stoppelement ein:
@echo off
echo Stopping nginx...
taskkill /F /IM nginx.exe > nul
echo Stopping PHP FastCGI...
taskkill /F /IM php-cgi.exe > nul
echo Stopping mysql...
net stop mysql
pause
exit
Überprüfen Sie abschließend, ob der Start erfolgreich ist:
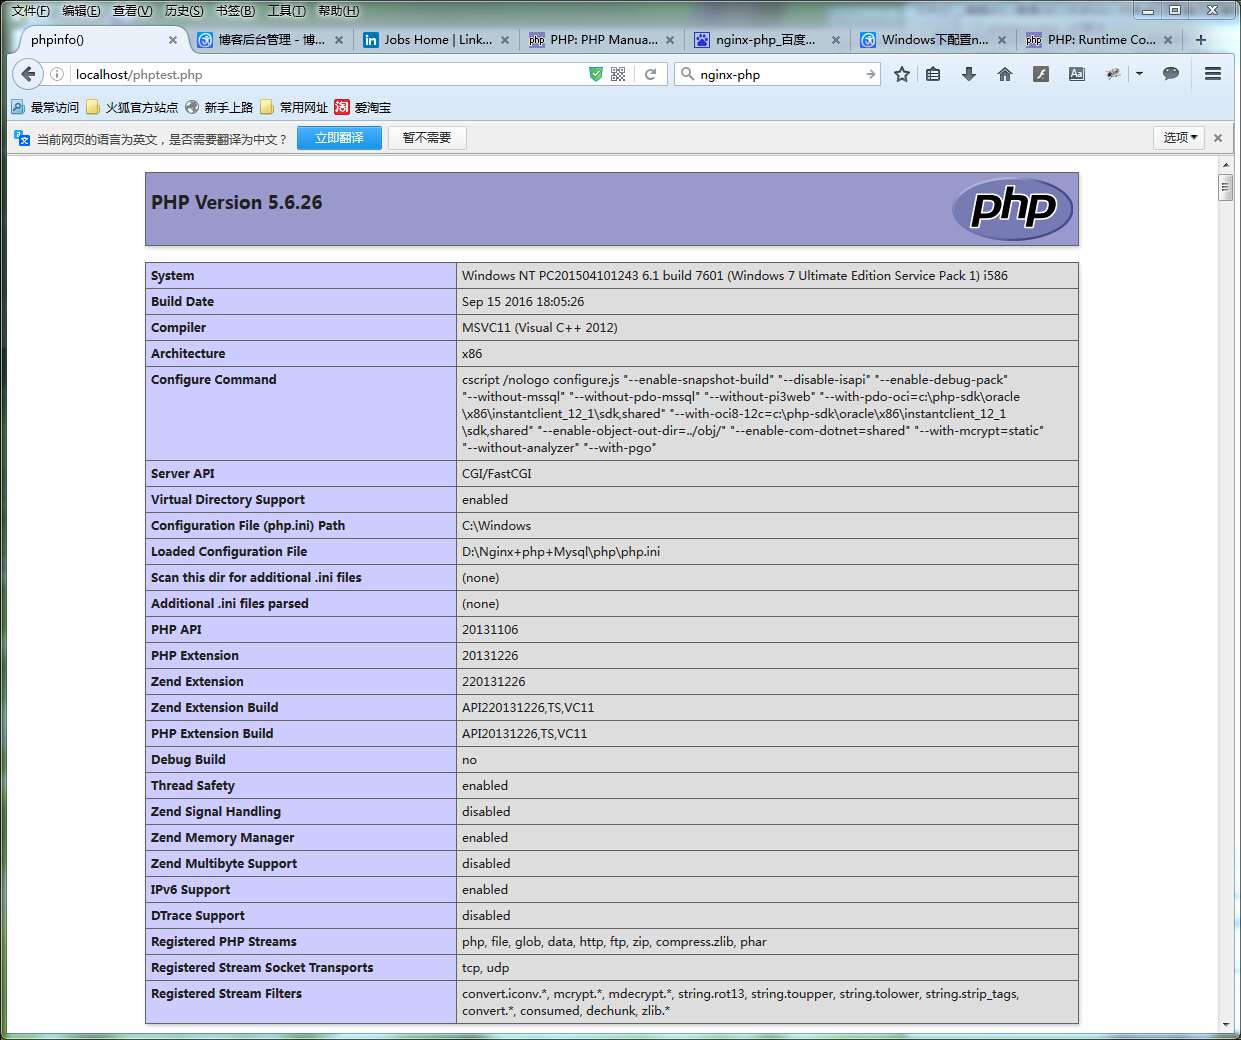
Im HTML-Verzeichnis von Nginx, D: Nginx php Mysqlnginxhtml, erstellen Sie eine neue phpinfo.php
und schreiben Sie Enter:
<?php
phpinfo();?>
Geben Sie den Pfad zu phpinfo.php im Browser ein und prüfen Sie, ob die Konfiguration erfolgreich ist:

 Konvertierung von RGB in Hexadezimal
 Welche mobilen Betriebssysteme gibt es?
 So öffnen Sie die Bin -Datei
 Die Rolle der Registrierung eines Cloud-Servers
 BAT-Skript-Batch ändert Dateinamen
 Kosten für die Servermiete
 Welche Server sind von der Registrierung ausgenommen?
 So schließen Sie die App-Ressourcenbibliothek
 Internet-Zeitabfrage


