
1. Was ist Nginx
Nginx ist ein leichter Webserver und ein Reverse-Proxy-Server
2. Was kann Nginx tun
① Kann Rails- und PHP-Programme direkt unterstützen
② Kann als HTTP-Reverse-Proxy-Server verwendet werden
③ Als Lastausgleichsserver
④ Als Mail-Proxy-Server
⑤ Helfen Sie dabei, die Trennung von dynamischem und statischem Front-End zu realisieren
3. Nginx-Funktionen
Hohe Stabilität
Hohe Leistung
Geringe Ressourcennutzung
Umfangreiche Funktionen
Modulare Struktur
Unterstützung der Hot-Bereitstellung
1. Download: http://nginx.org/download/nginx-1.10.2.zip
2. Entpacken
3. Führen Sie nginx.exe aus: Führen Sie es durch Doppelklicken auf das Symbol oder die cmd-Befehlszeile aus
nginx.exe -t im Installationspfad -t
2. Befehl
nginx.exe im Installationspfad
3. Stoppen Sie den Befehlnginx.exe im Installationspfad -s stop,
oder: nginx.exe -s quit
4. Starten Sie den Befehl
② -A INPUT -p tcp -m state – Status NEU
-m tcp –dport 80 -j AKZEPTIEREN③Speichern und beenden
④Neustart des Firewall-Sudo-Dienstes iptables restart
4. Konfiguration des virtuellen Nginx-Domänennamens und Testüberprüfung
①Fügen Sie include vhost/*.conf hinzu
②Speichern und beenden Sie2. Erstellen Sie einen neuen vhost-Ordner im Verzeichnis /usr/local/nginx/conf/: 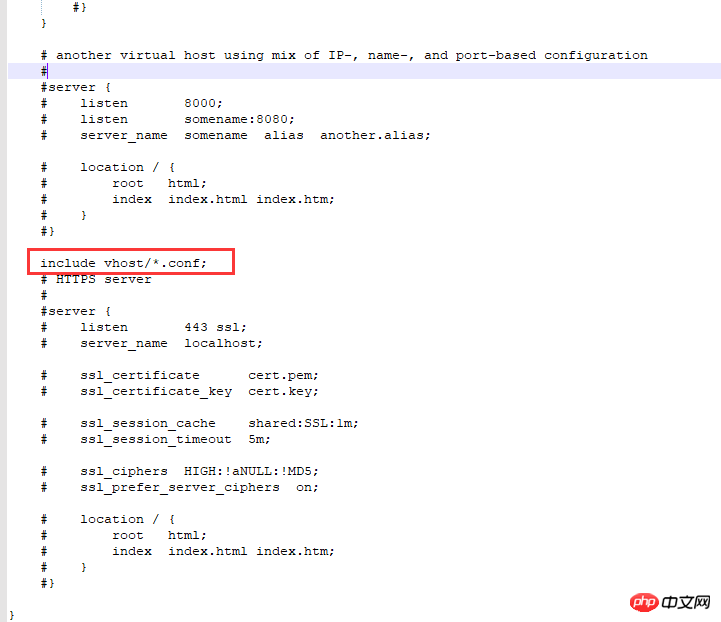 Das ist: /user/local/nginx/conf/vhost
3 eine Konfigurationsdatei für die Domänennamenweiterleitung
4. Überprüfung beim Start (Neustart)
①Startup:image.hcxjingdong.com.conf:转向目录的反向代理:
server {
listen 80;
autoindex off;
server_name image.hcxjingdong.com;
access_log c: /access.log combined; index index.html index.htm index.jsp index.php; #error_page 404 /
404. html;
if ($query_string~ * ".*[\;'\].*") {
return 404;
}
location~/(mmall_fe|mmall_admin_fe)/dist / view /* {
deny all;
}
location / {
root C:\ftpfile\img;
add_header Access-Control-Allow-Origin *;
}
}
tomcat.hcxjingdong.com.conf:转向端口的反向代理:
server {
listen 80;
autoindex on;
server_name tomcat.hcxjingdong.com;
access_log c: /access.log combined; index index.html index.htm index.jsp index.php; #error_page 404 /
404. html;
if ($query_string~ * ".*[\;'\].*") {
return 404;
}
location / {
proxy_pass http: //127.0.0.1:8080;
add_header Access-Control-Allow-Origin *;
}
}{nginx}/sbin/nginx -s reload
Hinweis: ${nginx} stellt den im System installierten Pfad dar, zum Beispiel: /usr/local/nginx
Verwenden Sie den Standardport 80 für Zugriffsüberprüfung: http:// localhost:80 oder http://127.0.0.1:806 : Port 80 abhören;5 Zugriffsüberprüfung
autoindex off: ob ein Indexverzeichnis für die Homepage erstellt werden soll;
Wenn nginx eine Anfrage für image.hcxjingdong.com (Domainname der zweiten Ebene) empfängt, leitet es diese an: http weiter ://127.0.0.1:81/learning-Verzeichnis 7. Zeigen Sie auf das Verzeichnis Online-Image-Server. Der für das Front-End bereitgestellte Front-End-Bereitstellungsserver erfolgt über einen Reverse-Proxy zum Verzeichnisserver{
listen 80;
autoindex off;
server_name learning.hcxjingdong.com;
access_log c:/access.log combined;
index index.html index.htm index.jsp index.php;
#error_page 404 /404.html;
if ( $query_string ~* ".*[\;'\].*" ){
return 404;
}
location / {
proxy_pass http://127.0.0.1:81/learning;
add_header Access-Control-Allow-Origin *;
}
}
root /product/ftpfile/img:
root verweist direkt auf den IMG-Ordner unter ftpfile unter dem Produktordner des Festplattensystemverzeichnisses;
server{
    listen 80;
    autoindex off;
    server_name img.hcxjingdong.com;
    access_log c:/access.log combined;
    index index.html index.htm index.jsp index.php;
    #root /product/front/;
    #error_page 404 /404.html;
    if ( $query_string ~* ".*[\;'\].*" ){
        return 404;
    }
    location ~ /(hcxjingdong_fe|hcxmall_admin_fe)/dist/view/* {
        deny all;
    }
    location / {
        root \product\ftpfile\img;
        add_header Access-Control-Allow-Origin *;
    }
}
5. Nginx-Notizen
①Geben Sie c:WindowsSystem32driversetc ein hosts-Datei mit Notepad
③Fügen Sie den entsprechenden Domänennamen und die IP hinzu④Speichern und beenden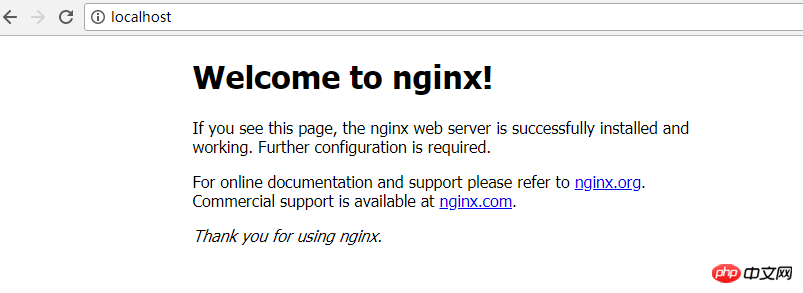
6. Windows Nginx konfigurieren
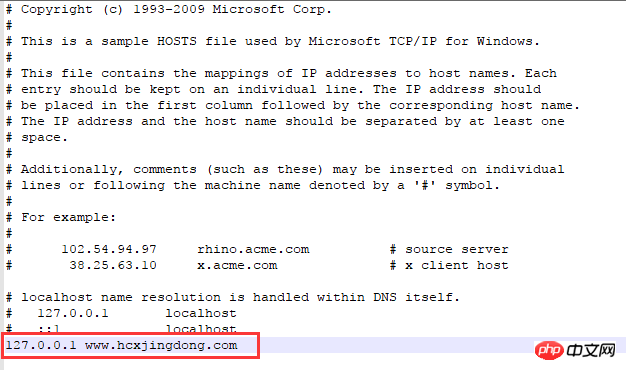
Hosts konfigurieren:
Besuchen Sie www.hcxjingdong.com mit einem Browser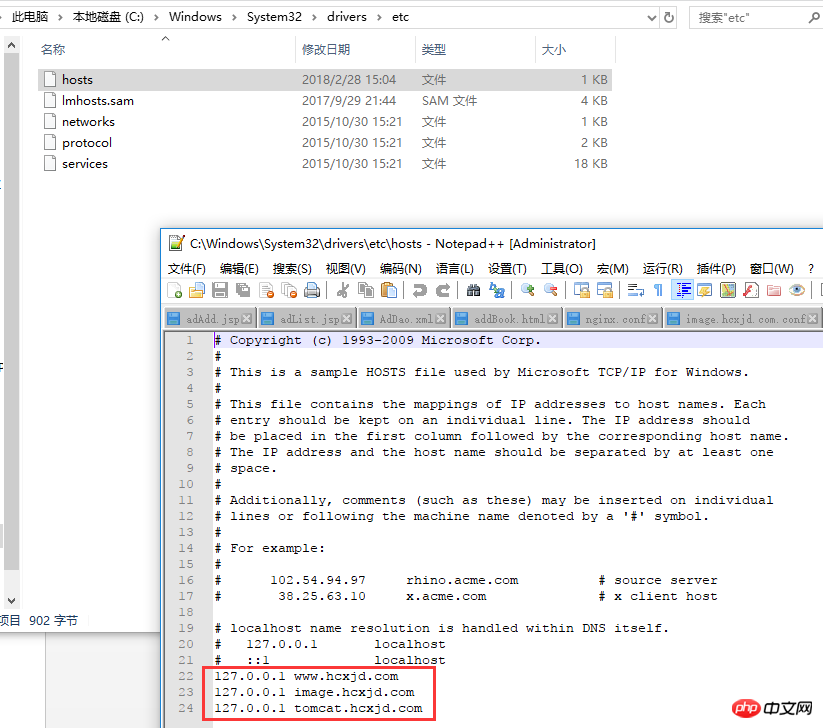
Einschließlich lokalem Zugriff auf http://localhost:
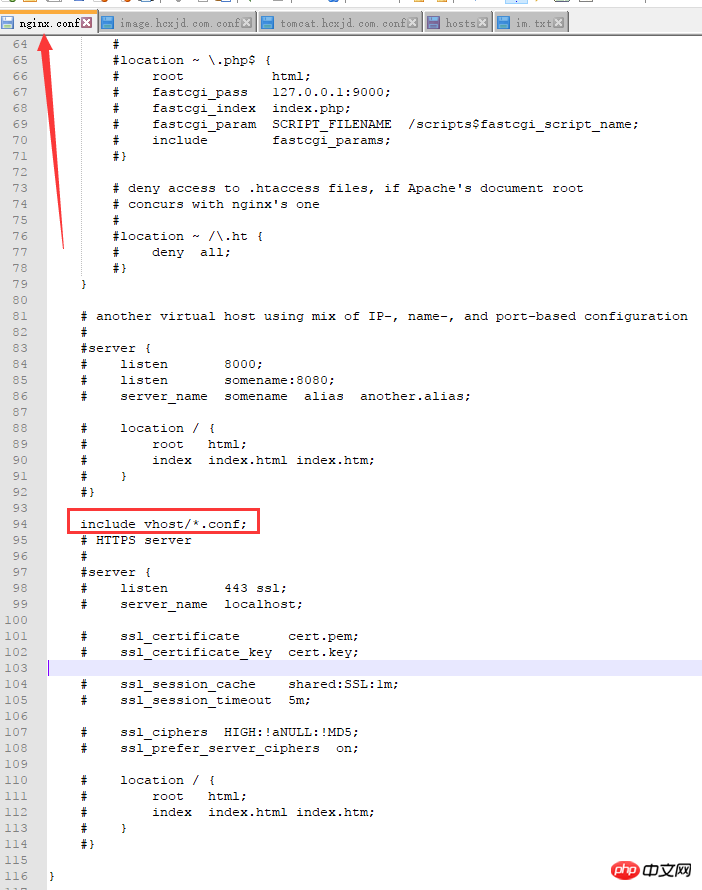
Hinzufügen: include vhost/*.conf;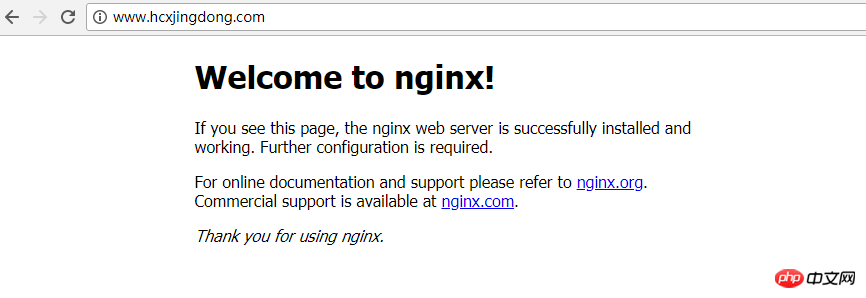
2 . Folgen Sie diesem Pfad, um diesen Ordner zu erstellen: 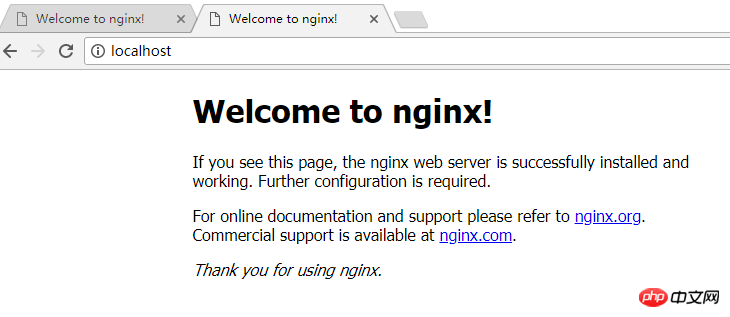 Unter dem Ordner „conf“ den Ordner „vhost“ erstellen
3. Erstellen Sie die Datei im Ordner „vhost“: image.hcxjingdong.com .conf
Dateiinhalt:
server{
    listen 80;
    autoindex off;
    server_name image.hcxjingdong.com;
    access_log c:/access.log combined;
    index index.html index.htm index.jsp index.php;
    #error_page 404 /404.html;
    if ( $query_string ~* ".*[\;'\].*" ){
        return 404;
    }

    location ~ /(hcxmall_fe|hcxmall_admin_fe)/dist/view/* {
        deny all;
    }

    location / {
        root C:\ftpfile\img;
        add_header Access-Control-Allow-Origin *;
    }
}到C:\ftpfile\img目录下存放图片以便访问
4.修改本机的host,让本机的nginx配合到image.hcxjingdong.com域名
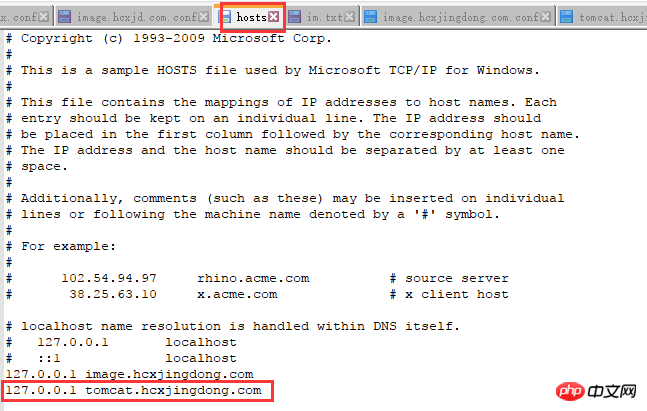
去到C:\Windows\System32\drivers\etc目录下修改hosts文件:
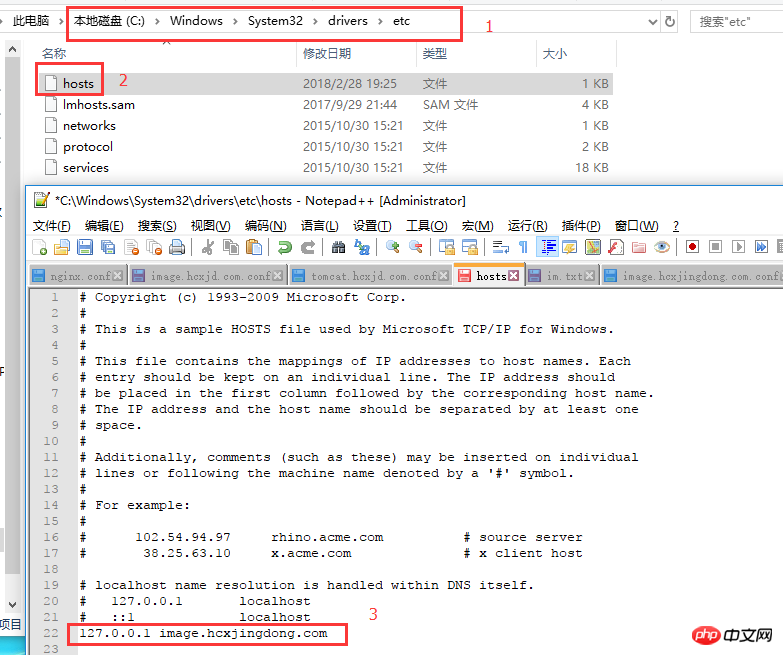
5.重启nginx:
进入到nginx目录执行命令:
①nginx.exe -t:验证配置文件是否正确
②nginx.exe -s reload:重启nginx

6.访问域名(image.hcxjingdong.com)验证图片是否生效:
测试host是否生效:image.hcxjingdong.com
测试图片是否生效:http://image.hcxjingdong.com/hcx.jpg

配置ip端口的转发
1.在conf下的vhost下创建:tomcat.hcxjingdong.com.conf

使用tomcat域名进行ip端口转发,转发到tomcat服务上
tomcat.hcxjingdong.com.conf:
server{
    listen 80;
    autoindex off;
    server_name tomcat.hcxjingdong.com;
    access_log c:/access.log combined;
    index index.html index.htm index.jsp index.php;
    #error_page 404 /404.html;
    if ( $query_string ~* ".*[\;'\].*" ){
        return 404;
    }
    location / {
        proxy_pass http://127.0.0.1:8080;
        add_header Access-Control-Allow-Origin *;
    }
}2.配置hosts:
3.启动tomcat
4.重启nginx:nginx.exe -s reload
5.访问http://tomcat.hcxjingdong.com
成功显示tomcat启动页,说明http的转发也成功了。
相关推荐:
Das obige ist der detaillierte Inhalt vonInstallations- und Konfigurationsbeispiele von Nginx unter Windows. Für weitere Informationen folgen Sie bitte anderen verwandten Artikeln auf der PHP chinesischen Website!
 Windows prüft den Portbelegungsstatus
 Überprüfen Sie die Portbelegungsfenster
 Nginx-Neustart
 Windows-Fotos können nicht angezeigt werden
 Überprüfen Sie den Status der belegten Ports in Windows
 Detaillierte Erläuterung der Nginx-Konfiguration
 Detaillierte Erläuterung der Nginx-Konfiguration
 Windows kann nicht auf den freigegebenen Computer zugreifen


