

在本教程中,我们将通过简单的步骤在Photoshop中创建一个漂亮的抽象彩虹背景。让我们开始吧!

最终效果
在Adobe Photoshop中创建一个大小为1920px X 1200px (RGB 颜色模式),72像素的新文件(Ctrl + N)。然后选择油漆桶工具(G)用黑色填充背景层。

图1
接下来,我们将选择矩形工具(U)画许多不同大小的彩色线条。颜色如下图所示:
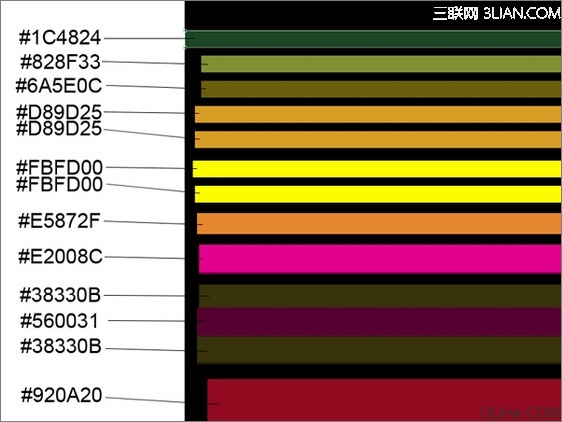
图2
我们就得到了下面的线条:
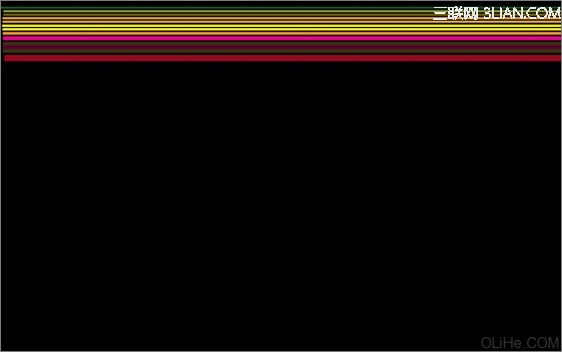
图3
使用相同的工具,继续画彩色线条,见下图(线条的间距要与下图所示的相同)。
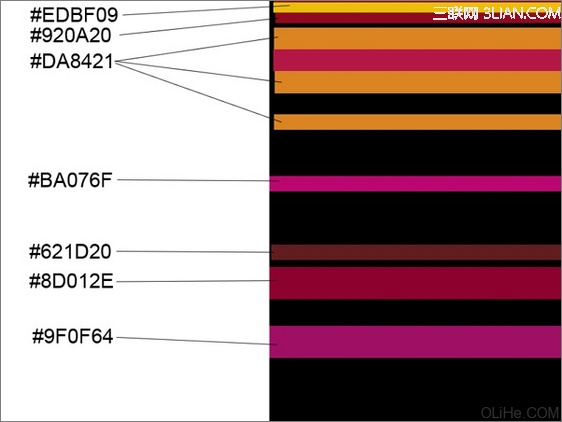
图4
我们得到了下图的效果:
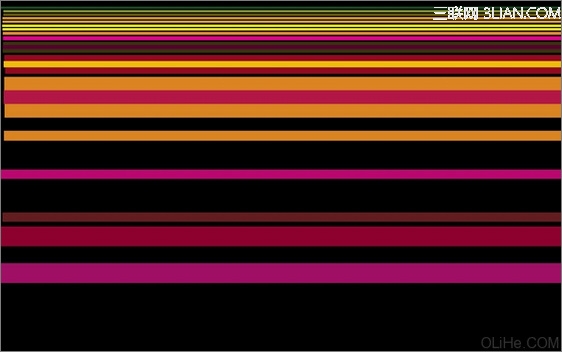
图5
使用同样的矩形工具(U)画更多的线条。
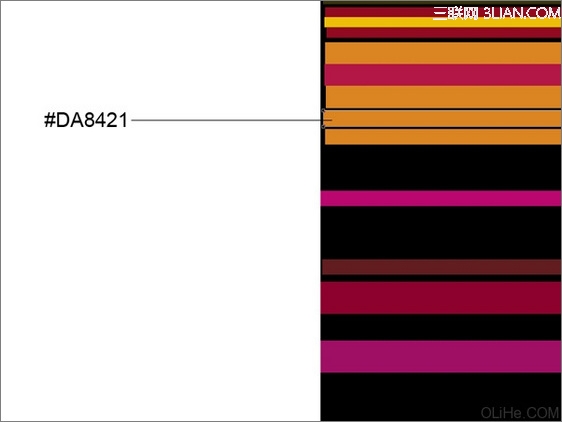
图6
为这些线条添加图层样式,点击图层面板底部的添加图层样式图标,选择渐变叠加:
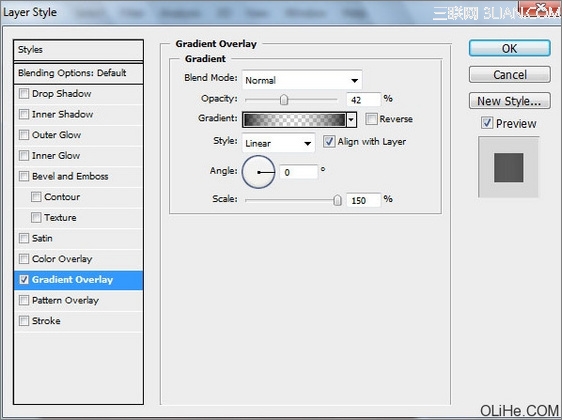
图7
点击颜色栏打开渐变编辑器,设置下图所示颜色。单击确定关闭渐变编辑器对话框。
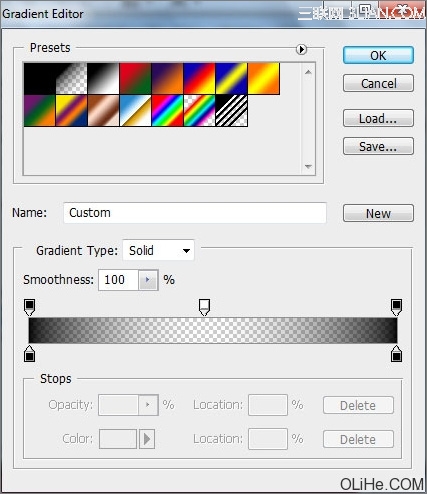
图8
我们就得到了下图的渐变线条:
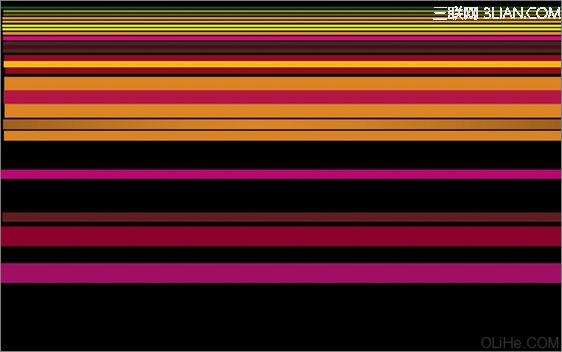
图9
画其他两个线条:
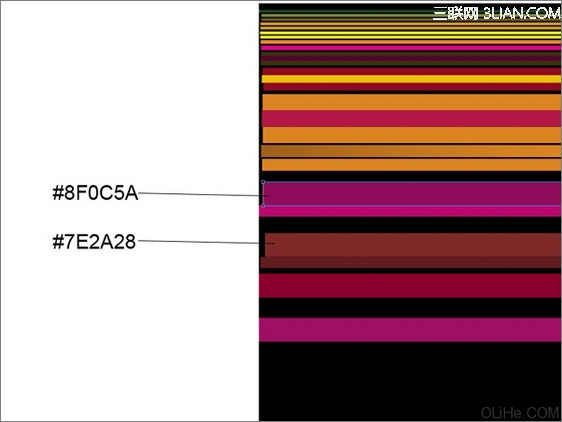
图10
使用相同的设置描绘这些线条,图层样式>渐变叠加:
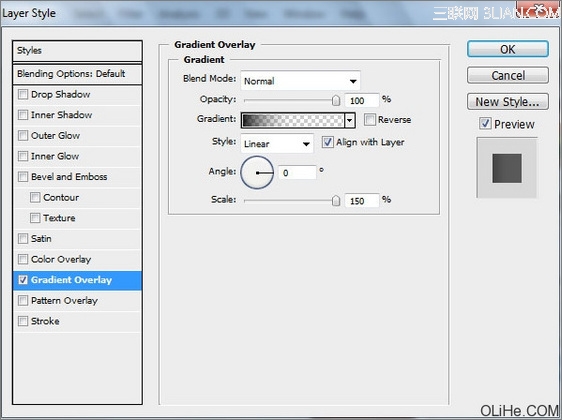
图11
点击打开渐变编辑器,设置下图所示颜色。单击确定关闭渐变编辑器对话框。
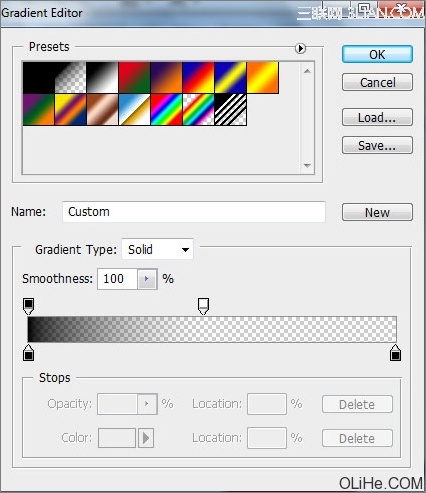
图12
我们就得到了下图这些渐变线条:
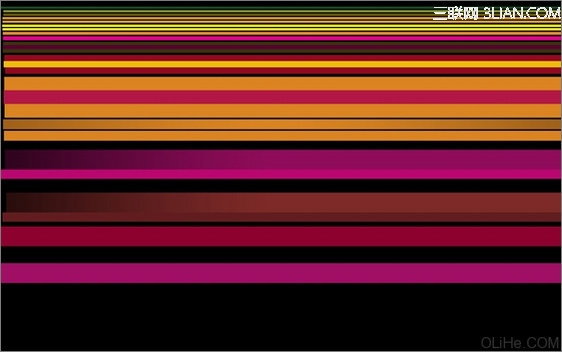
图13
画更多的线条,重复上述步揍,得到类似下面的样子:

 mybatis First-Level-Cache und Second-Level-Cache
 Was tun, wenn Ihre IP-Adresse angegriffen wird?
 Lösung des Problems, dass die Eingabe beim Hochfahren des Computers nicht unterstützt wird
 Was wird mit dem Artikel-Tag definiert?
 Einführung in Eingabefunktionen in C-Sprache
 So verwenden Sie die Rangfunktion
 Win10 pausiert Updates
 So legen Sie die Breite des Feldsatzes fest
 Detaillierte Erläuterung des Setintervalls


![[Web-Frontend] Node.js-Schnellstart](https://img.php.cn/upload/course/000/000/067/662b5d34ba7c0227.png)


