
Overview
Egret is developed based on TypeScript, while the TypeScript compilation tool tsc is developed based on Node.js. So during the installation process, we first need to install basic support tools. The software that needs to be installed is as follows:
Node.js TypeScript code editor HTTP server (optional) Chrome (optional) EgretJava
In this document, we mainly introduce the installation of Egret in the Mac environment. The installation steps are as follows.
1. Install Node.js
1.1 Download Node.js
The installation method of Node.js is very simple. We can visit the Node.js official website, and then click the INSTALL button on the page to directly download the pkg installation file package of Node.js.
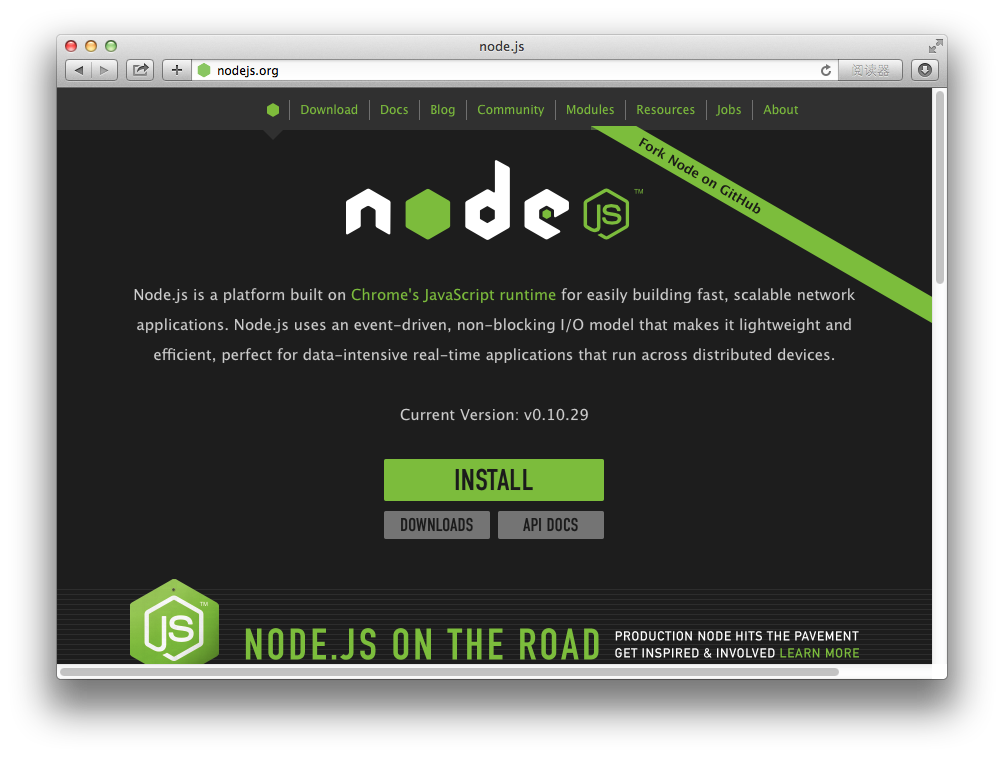
When this tutorial was written, the Node.js version was 0.10.29. If your version is higher than this version, we will provide relevant version compatibility instructions. If no version compatibility instructions are provided, it means that your version is suitable for Egret.
Double-click the pkg installation package and we start installing Node.js. The installation process is as shown in the figure:
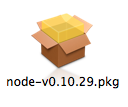
Downloaded Node.js installation package
1.2 Install Node.js
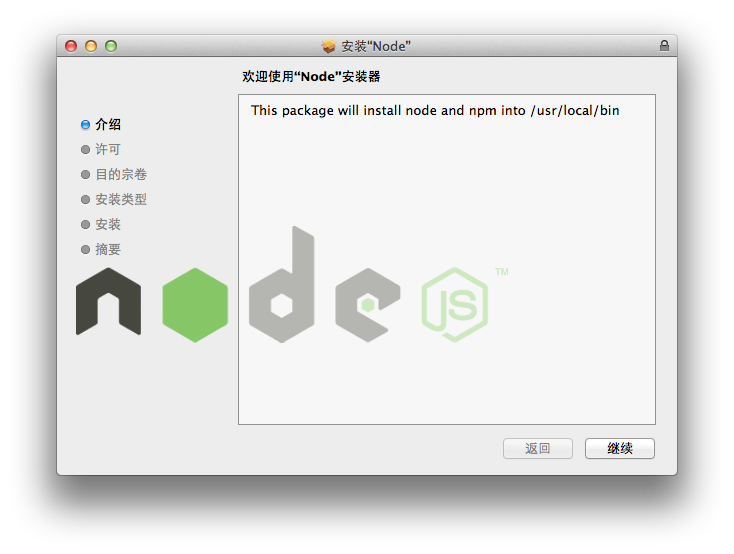
Start the installation interface
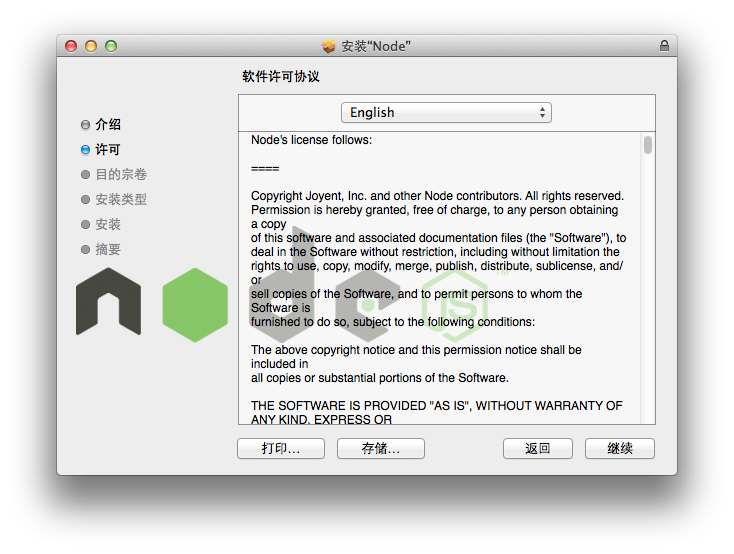
License Authorization Instructions
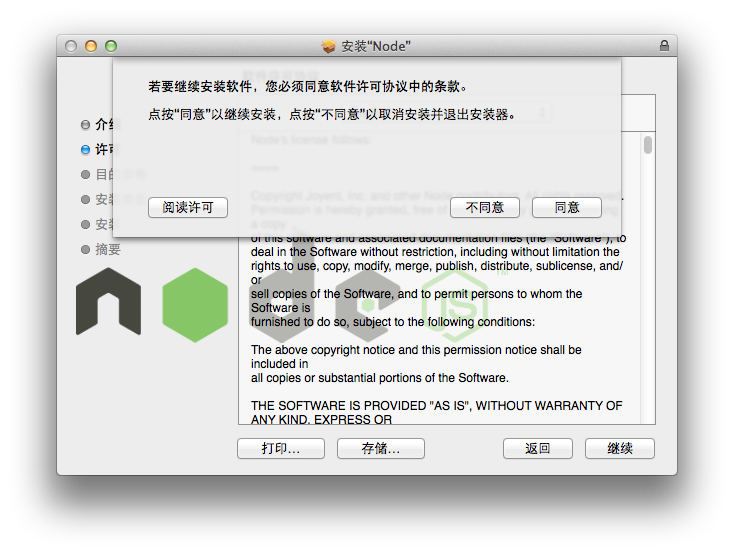
Agree to the license
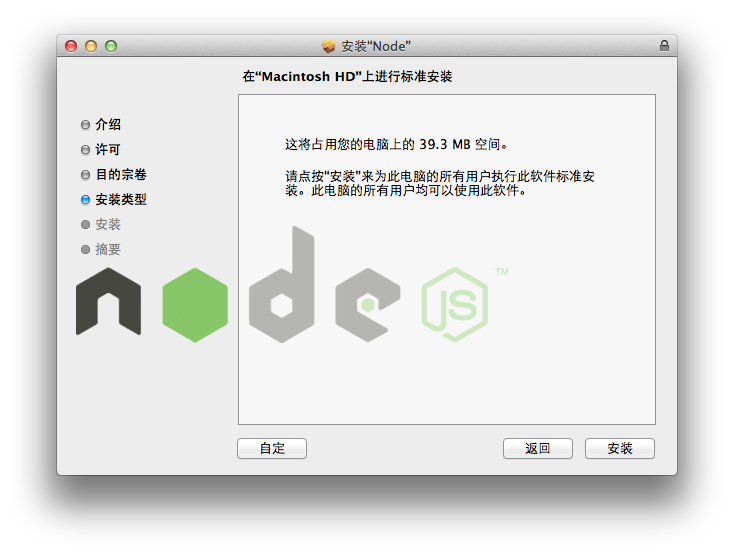
Installation type description
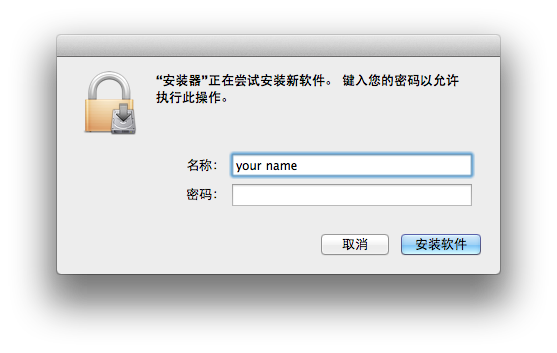
Provide administrator rights, where your name is your administrator account name, and provide the account password.
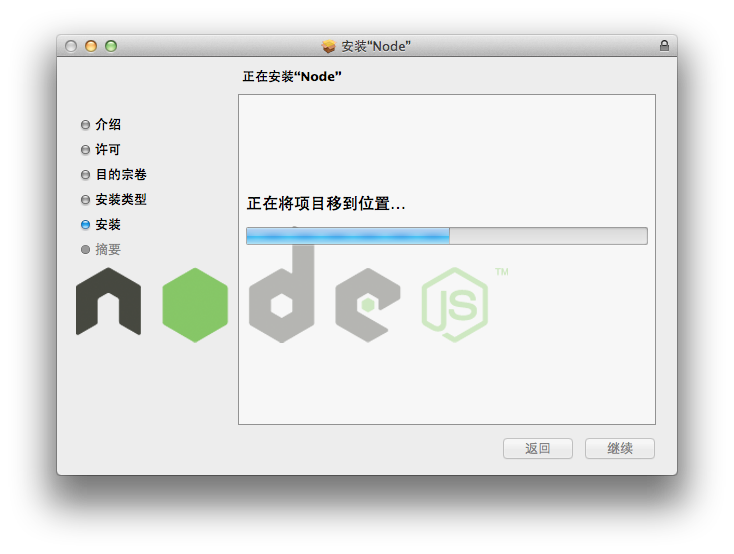
Installation process
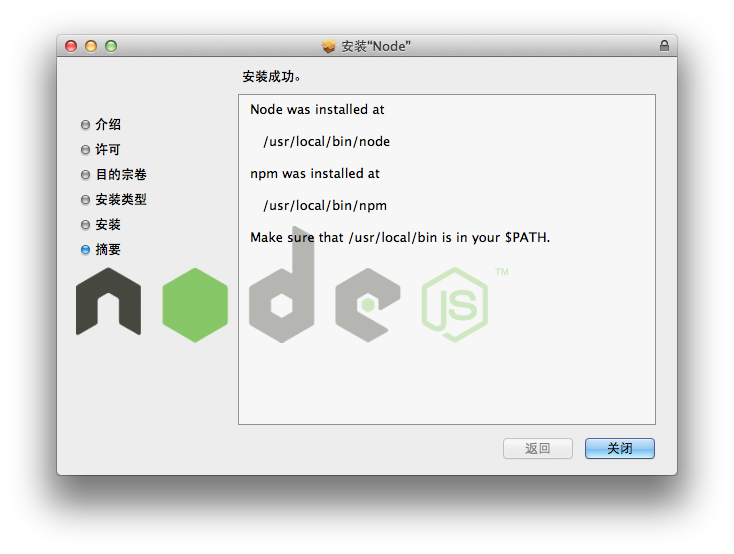
In the installation completion interface, your Node.js is installed in the <font face="NSimsun">/usr/local/bin/node</font> directory, and the installation package will also install the npm tool for you.
1.3 Verify Node.js
After the installation is complete, please start your terminal and enter the <font face="NSimsun">node -v</font> command to check your current Node.js version and verify whether your Nodejs is installed successfully. If installed correctly, the effect should appear as shown below.
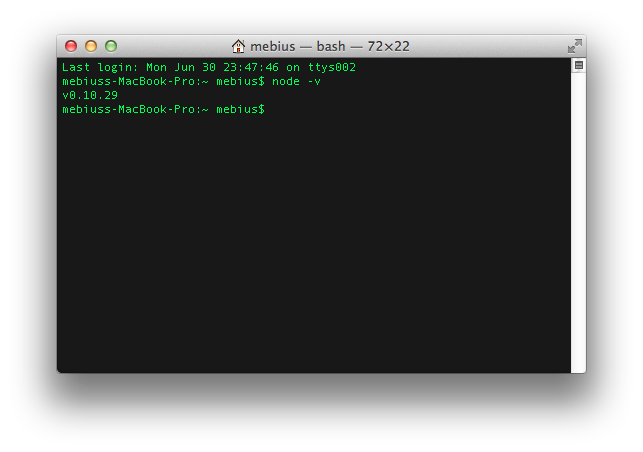
If <font face="NSimsun">node: command not found</font> appears, it means the installation failed. You can refer to the following Node.js installation failure solution or ask for help in our [Developer Community.
1.4 Verify npm
Execute <font face="NSimsun">npm</font> in the terminal, and the following image will appear, indicating that your npm is installed correctly.

If <font face="NSimsun">npm: command not found</font> appears, it means the installation failed. You can refer to the following Node.js installation failure solution.
1.5Node.js installation failure solution
When installing the pkg installation package of nodejs on some MacOS, the installation failure will be displayed. This can be solved by downloading the nodejs source code and compiling it manually.
2. Install TypeScript code editor
2.1 Choose a suitable code editor
Egret can be used with any code editor that supports scripting languages, including:
WebStorm Official download address
【Official recommendation】Microsoft Visual Studio 2012 TypeScript plug-in Sublime Text TypeScript plug-in
For detailed editor installation methods and plug-in configuration methods, please refer to the tool-related chapters in the document.
3. Install an HTTP server
3.1 Choose a suitable HTTP server
Mac users can use the server that comes with the system. Mac users are recommended to use XMAPP
Users can also skip this step and use Egret’s built-in simple HTTP server based on Node.js. However, in order to ensure a better development experience, Egret recommends users to install the above-mentioned more mature HTTP server
For specific server software installation, you can refer to the tool-related chapters in the document.
4. Install Chrome browser
Egret can run on most modern browsers, but Egret currently recommends developers to use Chrome as the main development and debugging environment.
Open Chrome browser settings->Tools->JavaScript console In the JavaScript console (lower right corner) Settings (gear icon)-> Common-> Disable browser cache
After the above settings are made, as long as the JavaScript console is open, there will be no browser cache, which facilitates debugging.
5. Download and install
Egret5.1 Download Egret from the official website
Egret provides two download channels, one is Egret official download, and the other is Egret Github download.
We recommend that you download it from the official website. The version here is the current stable version. If you download the development version of the engine from github, which is not a stable version, you may encounter many problems in actual development, which usually do not appear in the stable version.
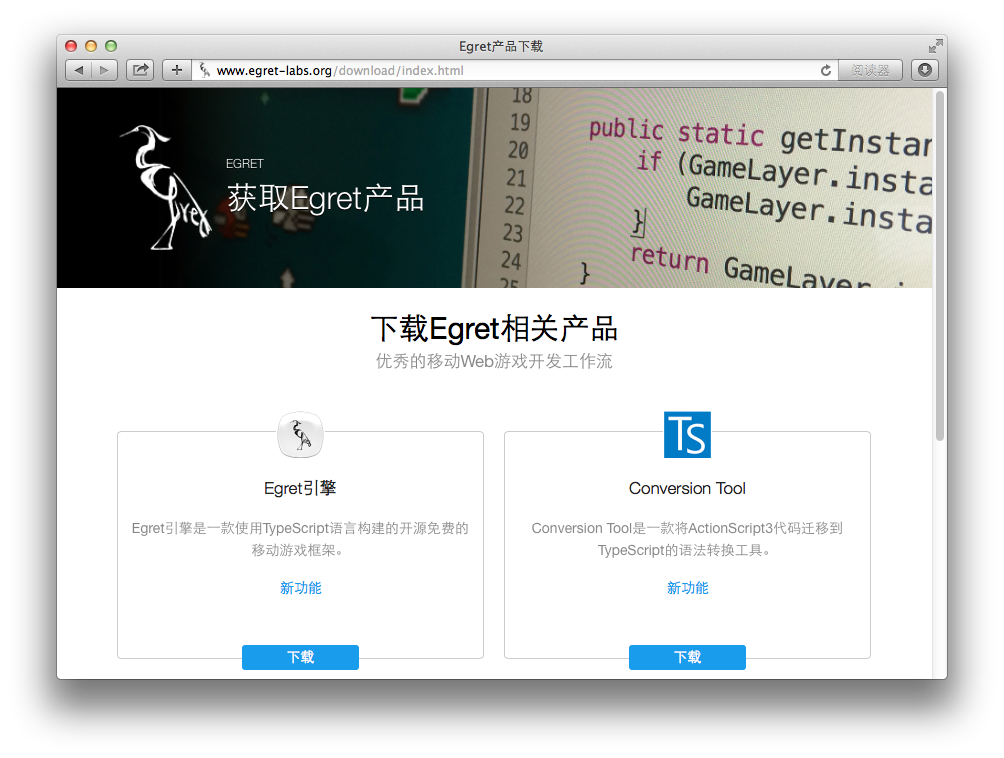
We open the official download page, find the "Egret Engine" product project, click the blue download button, and download the latest version of the Egret engine, as shown in the picture.
5.2 Install Egret
Extract the downloaded Egret engine compressed package to the specified directory, which can be a directory on any disk. Type the command in the terminal to enter the decompressed directory.
<font face="NSimsun">cd ${egret_folder}</font>
where <font face="NSimsun">${egret_folder}</font> is the path to decompress the Egret engine.
After entering this directory, we execute the installation command.
<font face="NSimsun">npm install -g</font>
If the installation command is wrong, please check the following three items to see if they are correct.
<font face="NSimsun">cd ${egret_folder}</font>Is the path in the command correct?Whether the current directory is the Egret directory (there is a file named
<font face="NSimsun">package.json</font>in this directory)Whether the current user of the system has administrator rights? If not, please execute the
<font face="NSimsun">sudo su</font>command.
5.3Egret tool verification
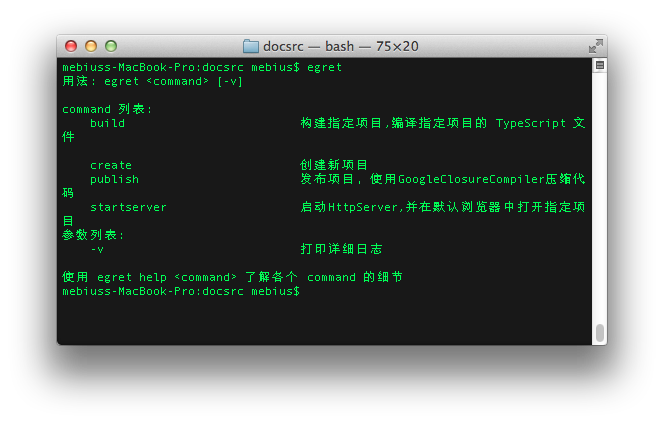
After the installation is completed, we execute the <font face="NSimsun">egret</font> command to check whether the current Egret is successfully installed. If the installation is successful, it should appear as shown below.
6.Java
A Java 7 or above environment is required during the release phase of the Egret project, and will also be used when packaging it into an Android APP. The following demonstrates how to download and install Java.
6.1 download
a.JDK7 download address from Java official website

6.2 Installation
a. Confirm, the JAVA version must be 7 or above

b. Double-click to mount the installation package
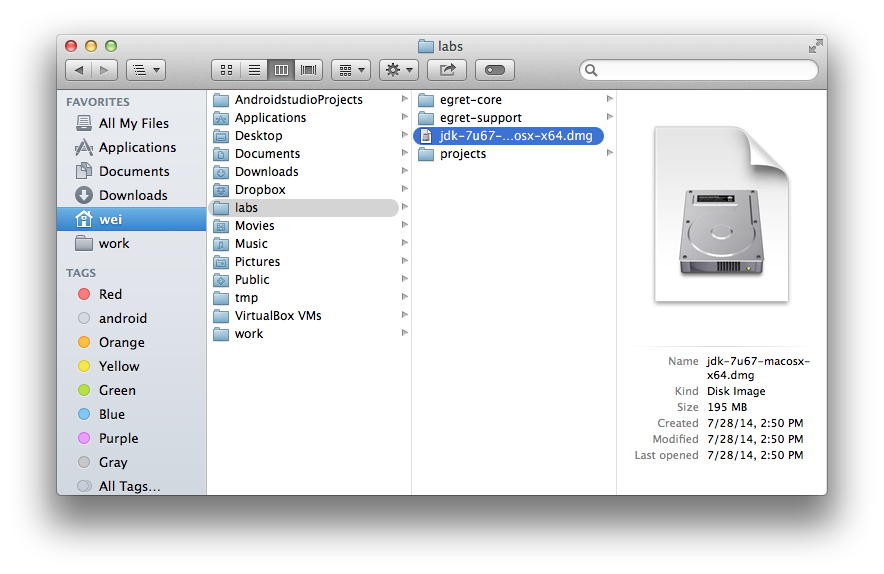
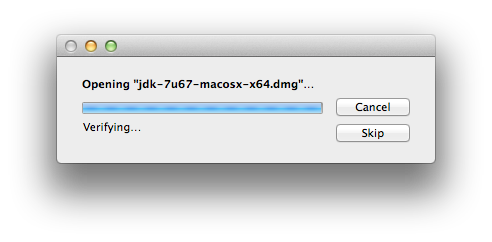
c. Double-click the icon to install
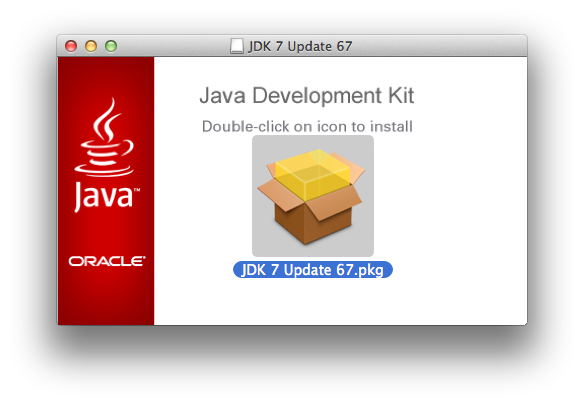
d.Next
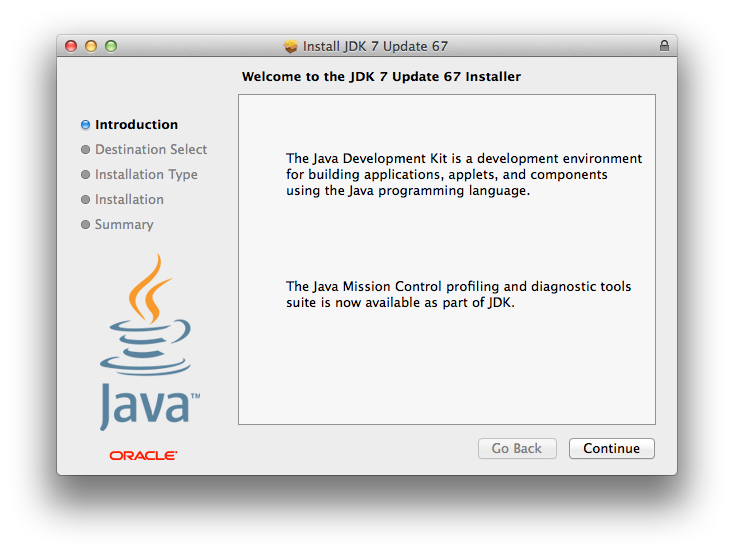
e. Pay attention to authorization
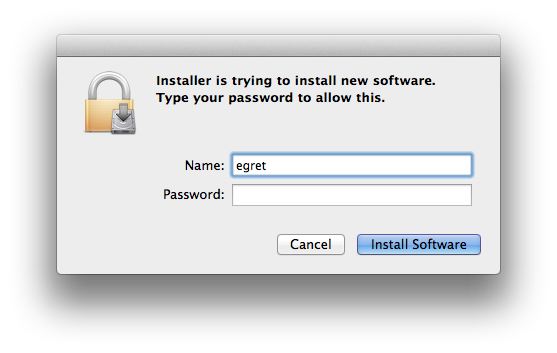
f. Confirm

 Open home folder on mac
 The difference between heap and stack
 Problems with your wireless adapter or access point
 Browser compatibility
 What are the linux shutdown and restart commands?
 Complete list of CSS color codes
 VIVO is a brand from which country?
 database management system
 The difference between concat and push in JS


