Want to add subtitles to your video, but don’t know where to start? don’t worry! PHP editor Youzi will introduce you in detail the specific steps of adding subtitles to bee clips. This article will provide an in-depth explanation of the subtitle adding function in Bee Editing and take you step by step through the entire process of importing, editing, and exporting subtitles. Whether you are a novice or an experienced video editor, you can easily master the subtitle operations of Bee Editing.
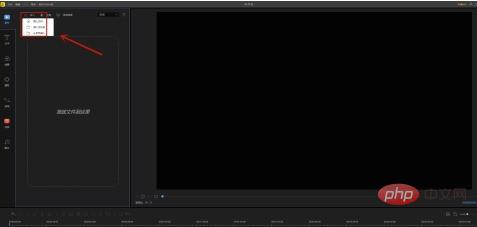
First we open the Bee Editing software, click the [Import] button, and add the video file we want to add subtitles to.

Click the [number] in the video to add the video to the video track below.

After adding the video to the video track, click the [Text] option in the left function bar.

Select the style we like from the many text templates that appear, click the [number] inside, add it to the [Video Track], drag it, and place it in the video any time location.

If you want to fill in the text you like, you can right-click it and select the [Edit] option. After the editing interface appears, adjust the font, size, type, and alignment. and color to adjust, and finally click [OK] after the adjustment is completed.

Click the [Play] button below the video to preview the effect of the video. If you are satisfied, click [Export] to complete the production.

The above is the detailed content of How to add subtitles to Bee Clips_The specific steps to add subtitles to Bee Clips. For more information, please follow other related articles on the PHP Chinese website!


