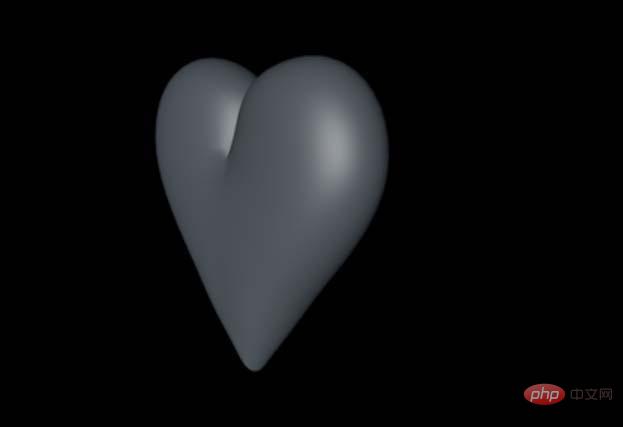
When designing heart-shaped patterns in C4D, how to skillfully use the software’s functions to quickly draw beautiful hearts? PHP editor Youzi brings you detailed operation tutorials, from creating basic shapes to using Boolean operations and deformation tools, guiding you step by step to easily master the heart-shaped pattern making skills. Continue reading now to learn the secrets of drawing heart-shaped patterns in C4D and add a romantic and artistic flavor to your design.
Create a cube and modify its parameters. The goal is to create half of the heart shape.

Press [c] to convert the cube into an editable polygon; no more changes can be made to it without conversion.

This model will be formed using subdivision surfaces in the end, so just its outline is enough at the beginning and use as few lines as possible. Because we need to use symmetry to form the other side of the heart shape, the two sides shown in the picture need to be deleted, otherwise the subdivided surface will not result in the desired surface.

To add symmetry, move half of the heart shape so that the middle part coincides; you get a heart shape.


Add subdivision surfaces to the cube, and you can see that the previous edges and corners become smooth surfaces. Select the cube, select point mode, and use point adjustment tools such as move and zoom to adjust each point. Finally, we get a heart-shaped model.

The above is the detailed content of Introduction to the method of designing heart-shaped patterns in C4D. For more information, please follow other related articles on the PHP Chinese website!


