
3D Max graphite topology function helps users maintain high-quality topology during the modeling process. This tutorial will walk you through how Graphite Topology works, including its tools and settings, allowing you to take advantage of this powerful feature. Please read the following details carefully to learn how to optimize your model using graphite topology.
The first step is to open the 3DMAX software and find the plane (plan) command in the basic geometry. In the front view we create a slice.
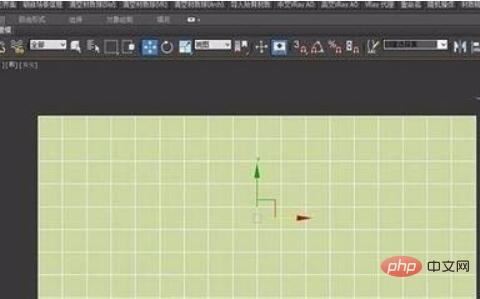
The second step is to use the graphite modeling tool mentioned earlier. When the model is selected, select in the toolbar [Modeling—Convert to Polygon—Topology Tools].
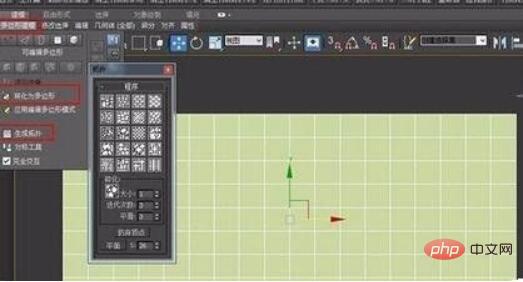
The third step, select [Skinning] in [Topology].
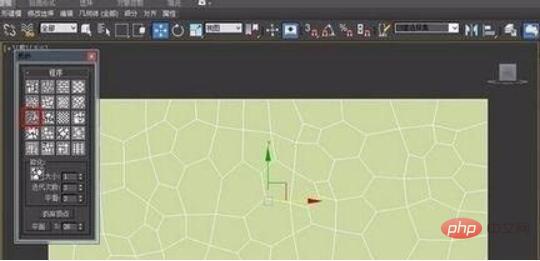
The fourth step, right-click the mouse and select [Polygon], Select all faces.
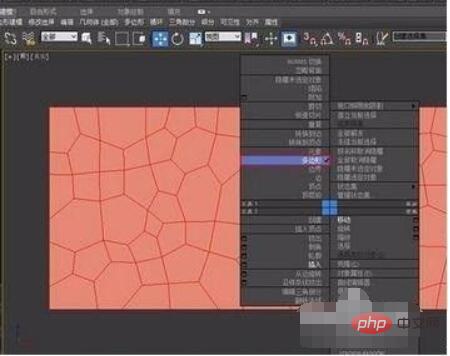
The fifth step, right-click and select Insert command, and then select the polygon
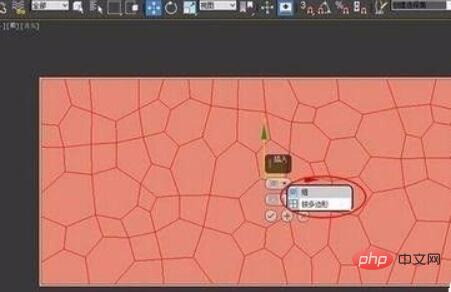
The sixth step, hold down the Ctrl key and select the edge at the same time Level
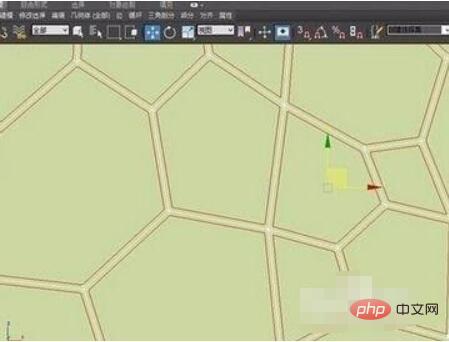
Step 7, hold down the Ctrl key and right-click the mouse at the same time, select Delete
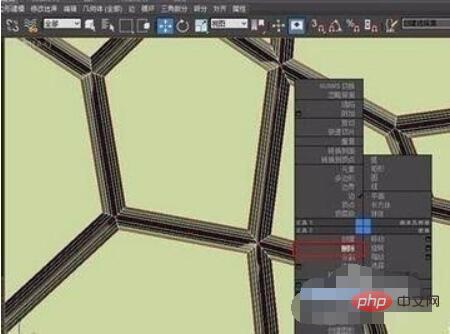
Step 8, go to the face level and continue Right-click to execute the chamfer command
In the ninth step, we hold down the Ctrl right button of the mouse and select Delete
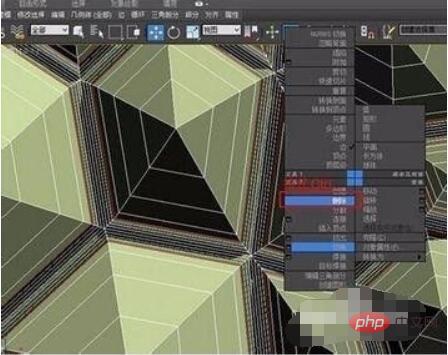
In the tenth step, select all the faces to the smooth group and automatically smooth 90 Spend. The final effect is shown below.
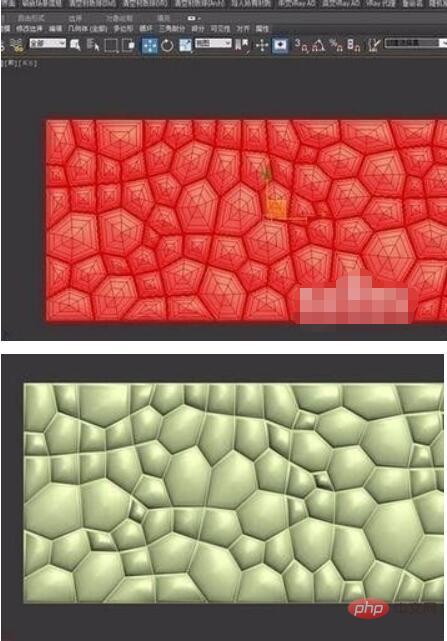
The above is the detailed content of How to use 3dmax graphite topology_How to use 3dmax graphite topology. For more information, please follow other related articles on the PHP Chinese website!


