Lumion animation export has stumped many users. This time, PHP editor Baicao brings you a detailed tutorial on Lumion export animation, from basic settings to export format, guiding everyone step by step to easily export high-quality animation. For those who are still worried about exporting Lumion animations, read on to learn the secrets of animation export and make your design results more exciting.
Click the lower right corner of a completed graphic in animation mode

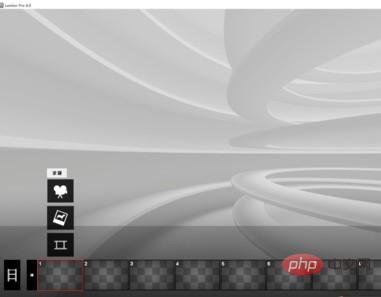
In animation mode, click the upper left corner--Record

Use the mouse to adjust the angle, height, and viewing angle, and then click to shoot

According to the person’s walking route, click to take the picture step by step

There is a button to preview the video effect in the lower left corner. Play it and you can preview the effect of the photos you took.

If the video is available, save the video. If you save, there will be some options. The default Just select, select the name and location you want to save, click Export

The video will come out. In the previous version 5.0, the window cannot be minimized when importing the video, but here we use 6.0, you can minimize the window, which saves time

The above is the detailed content of Tutorial on how to export animations using Lumion. For more information, please follow other related articles on the PHP Chinese website!
 Blue screen code 0x000009c
 A collection of common computer commands
 You need permission from admin to make changes to this file
 Tutorial on turning off Windows 11 Security Center
 How to set up a domain name that automatically jumps
 What are the virtual currencies that may surge in 2024?
 The reason why header function returns 404 failure
 How to use js code


