

iPhone Photos Using Space Even After Deleting Them? 8 Fixes

Every time it appears, you probably rush to clear out your storage, which photos are a large part of. However, sometimes, your iPhone may still show photos taking up a considerable amount of space even after clearing them out.
As frustrating as this sounds, there are several ways to tackle this problem. So, let's run through each of them.
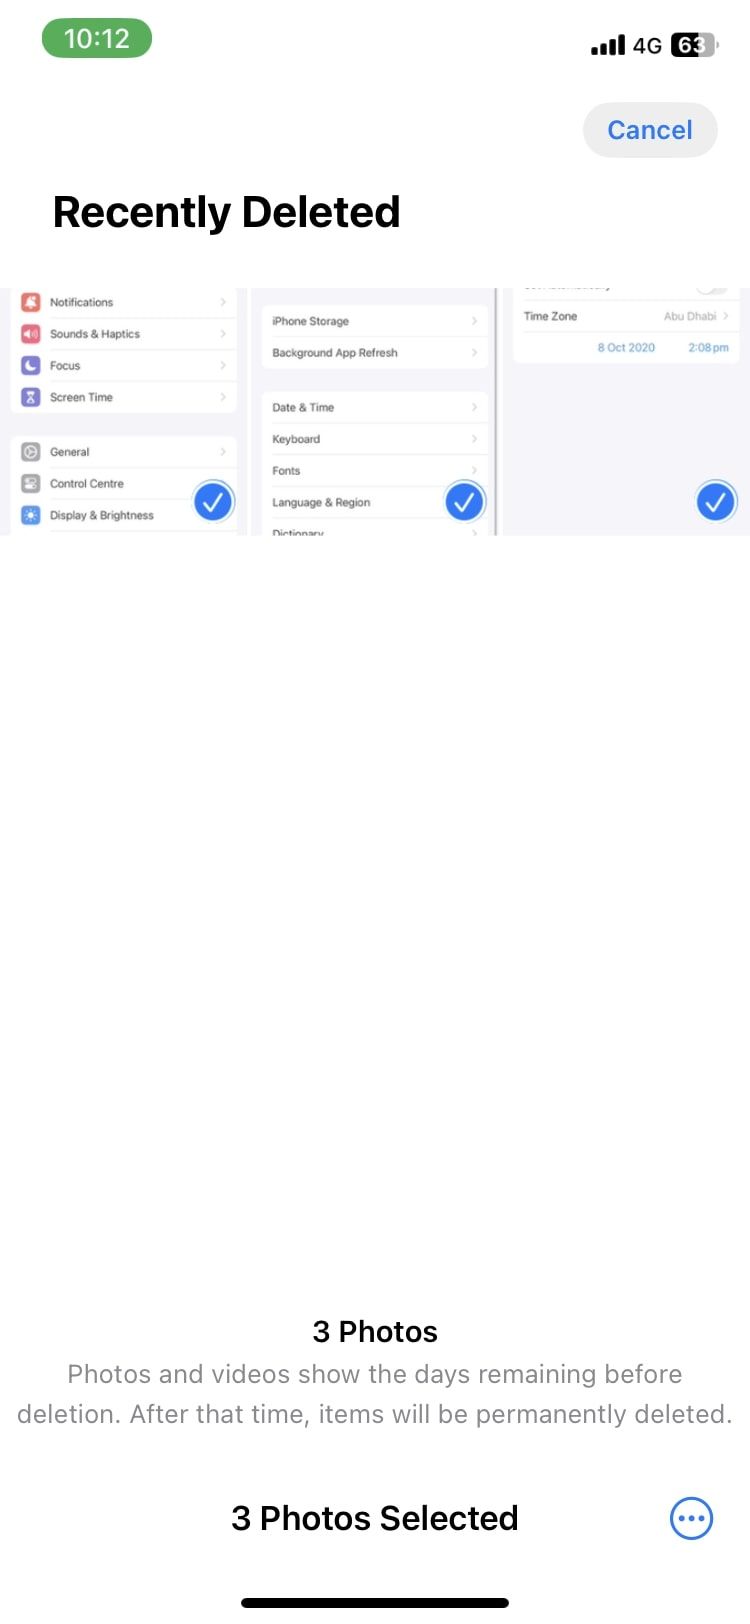
1. Check the Recently Deleted Folder
A common reason for this issue revolves around the Recently Deleted album in the Photos app. This album allows you to recover deleted photos and videos for up to 30 days after deleting them. Like the Recycle Bin on your computer, it acts as a temporary safety net in case you change your mind.
This means that deleted data still exists on your phone—and is synced to iCloud—for some time, despite you having deleted it. People commonly forget to clear this album out since the folder is buried far down in the Photos app.
Thus, the first step to take if the Photos section of your iCloud storage still uses a lot of space is to delete the pictures in Recently Deleted permanently. Make sure you back up the photos to another location before doing this, in case you want them back in the future.


If the problem isn't fixed after clearing out this folder, the rest of the below tips will lead you to a fix.
2. Restart Your iPhone
Rebooting the system is a conventional fix to numerous bugs and errors. After you've removed a huge chunk of media from your storage, it's important to restart your iPhone. This will hopefully clear out any temporary hiccups causing your available storage to show incorrectly.
3. Update to the Latest iOS Software
More often than not, there may be a minor bug in the current version of iOS you're using that's causing the problem. Apple usually fixes this in the next version of iOS, so make sure you have updated your iPhone to the latest iOS. To update your software, follow these steps:
Open Settings and go to General. Tap on Software Update. If a new version is available, tap on Download and Install to begin.


4. Modify the Date and Time to Reveal Old Photos
The exact reasoning behind this fix isn't clear, but it often happens that media you deleted in the past returns as hidden files on your device. You won't know they exist, and you can't see them in the Recents album either.
This method provides an effective workaround to solve this problem and regain your storage. Here's what you need to do:
Open Settings and select General. Select the Date & Time option. Set Automatically will likely be enabled. If it is, turn the toggle off. You can then manually change the date and time using the fields below. Select any date and time that's at least a year in the past. After that, open the Photos app and check all your albums, including Recents and Recently Deleted. Select everything that has reappeared in your albums and delete them from your phone. If you don't see anything, try going back another year or two and check again.
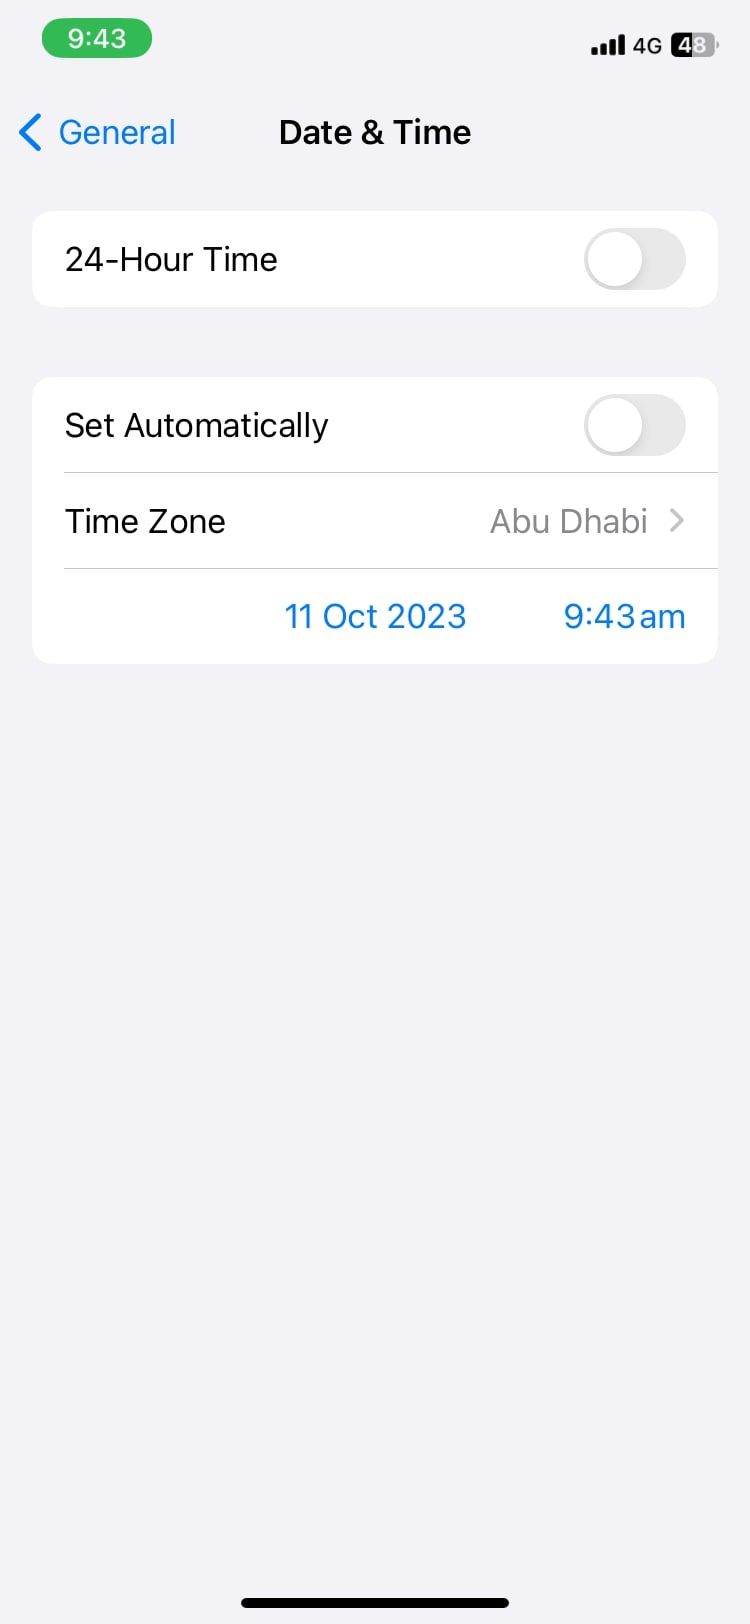
Deleting these "ghost files" that reappear should help free up that extra space on your iPhone (and even iCloud). Don't forget to set the time option back to automatic when you're done!
5. Disable iCloud Sync (After Completing a Backup)
iCloud Photos allows you to upload your iPhone's pictures to iCloud automatically. While this is convenient and a good way to protect your photos, it can also lead to your photos taking up too much space in iCloud.
As a temporary adjustment to fix the issue of Photos taking up phantom space, you can thus disable iCloud Photos for a time. This will prevent your photos from syncing and taking up more space, hopefully clearing out the problem.
You should back up your iPhone (locally to a computer if you don't have enough iCloud space) before doing this to avoid losing any photos in the process. Then, to turn off iCloud Photos, follow these steps:
Open Settings and select your Apple ID profile at the top. Go to iCloud and choose Photos. Turn off the toggle next to Sync this iPhone.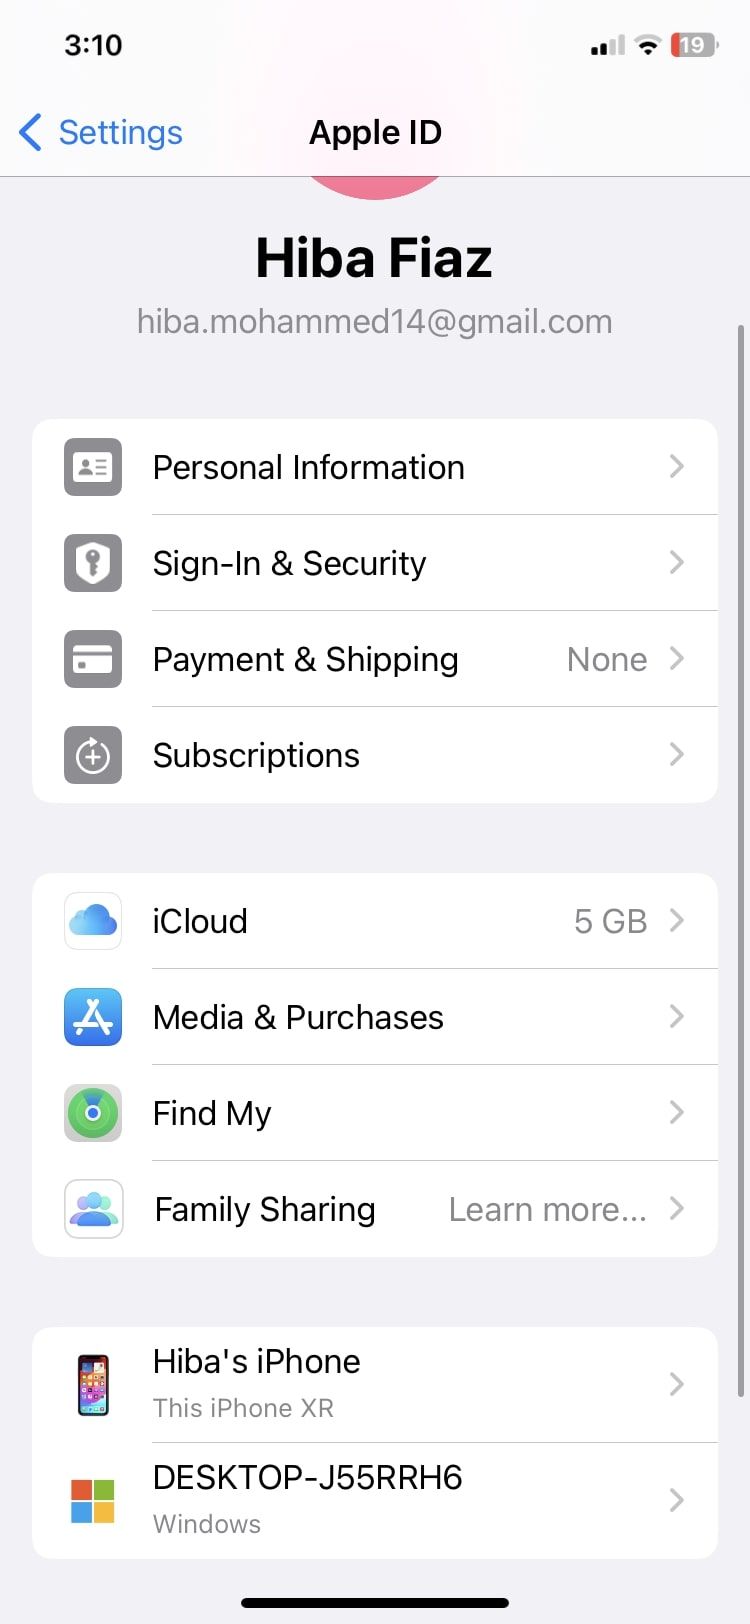


6. Optimize iPhone Photos for Storage
If photos are taking up too much space on your iPhone's storage all the time, the optimization option is handy. This has your iPhone decrease the resolution of media saved locally in Photos but retains a full-resolution copy in iCloud. There, you will have to toggle on iCloud Photos for this fix, unlike the previous one.
This helps you save storage while not deleting your original images. Once you've enabled iCloud Photos, you can follow these steps to turn on photo optimization:
Open Settings on your iPhone. In the Settings menu, scroll down and tap on Photos. Make sure the Optimize iPhone Storage option is selected.

7. Factory Reset Your iPhone
If you've tried all the above steps and your storage is still taken up by photos that don't exist, you should next opt for a full iPhone reset. This is a drastic measure, but it will hopefully clear out any persistent issues causing the storage glitch.
A factory reset will erase everything on your iPhone. So, ensure you've backed up all the data on your device before you proceed.
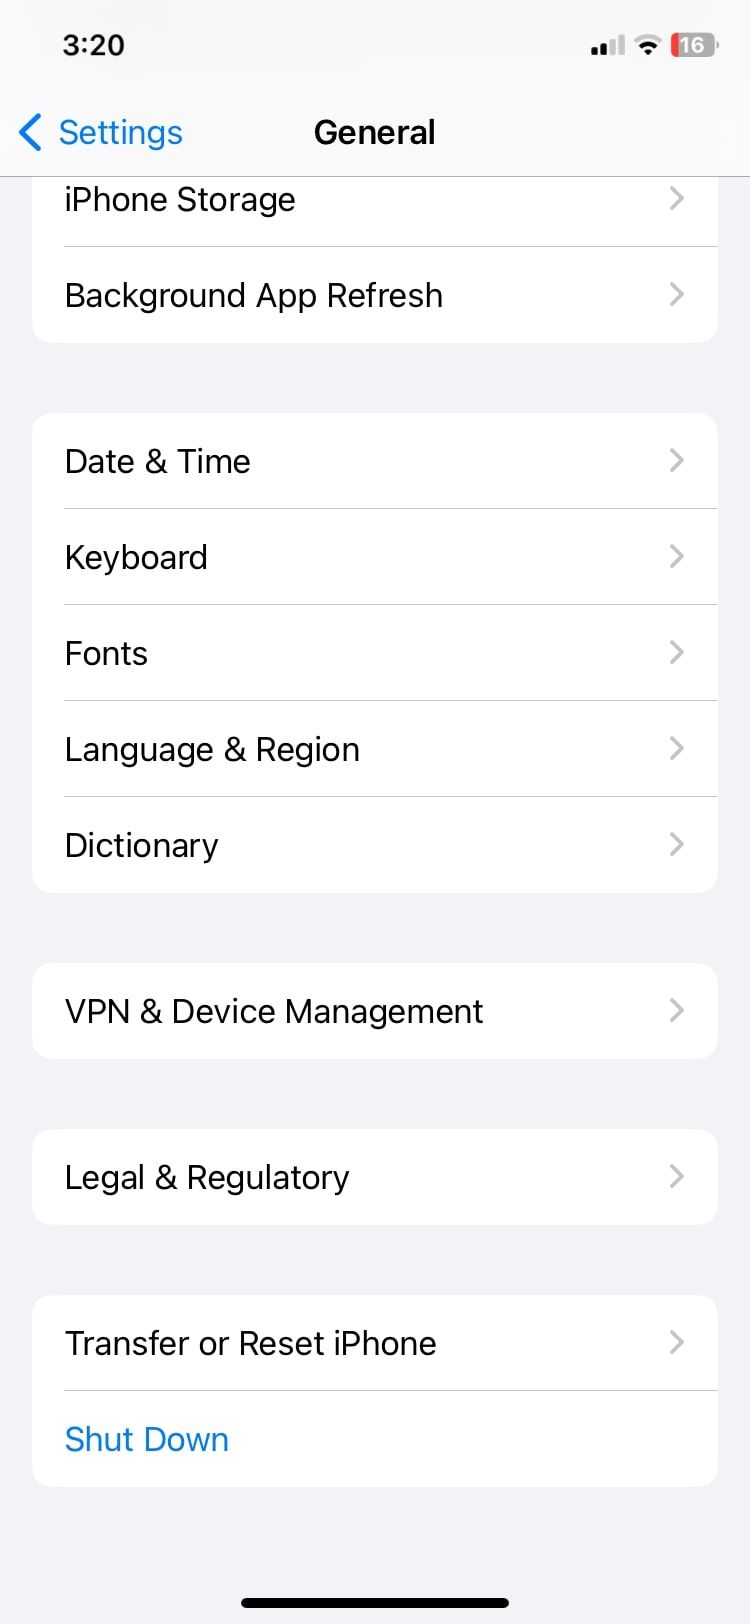
To factory reset your iPhone, follow these steps:
Go to Settings > General. Scroll down until you find Transfer or Reset iPhone and tap it. Tap Reset. From your list of options, tap on Erase All Content and Settings. Confirm your choice, and your iPhone will return to factory defaults the next time it reboots. 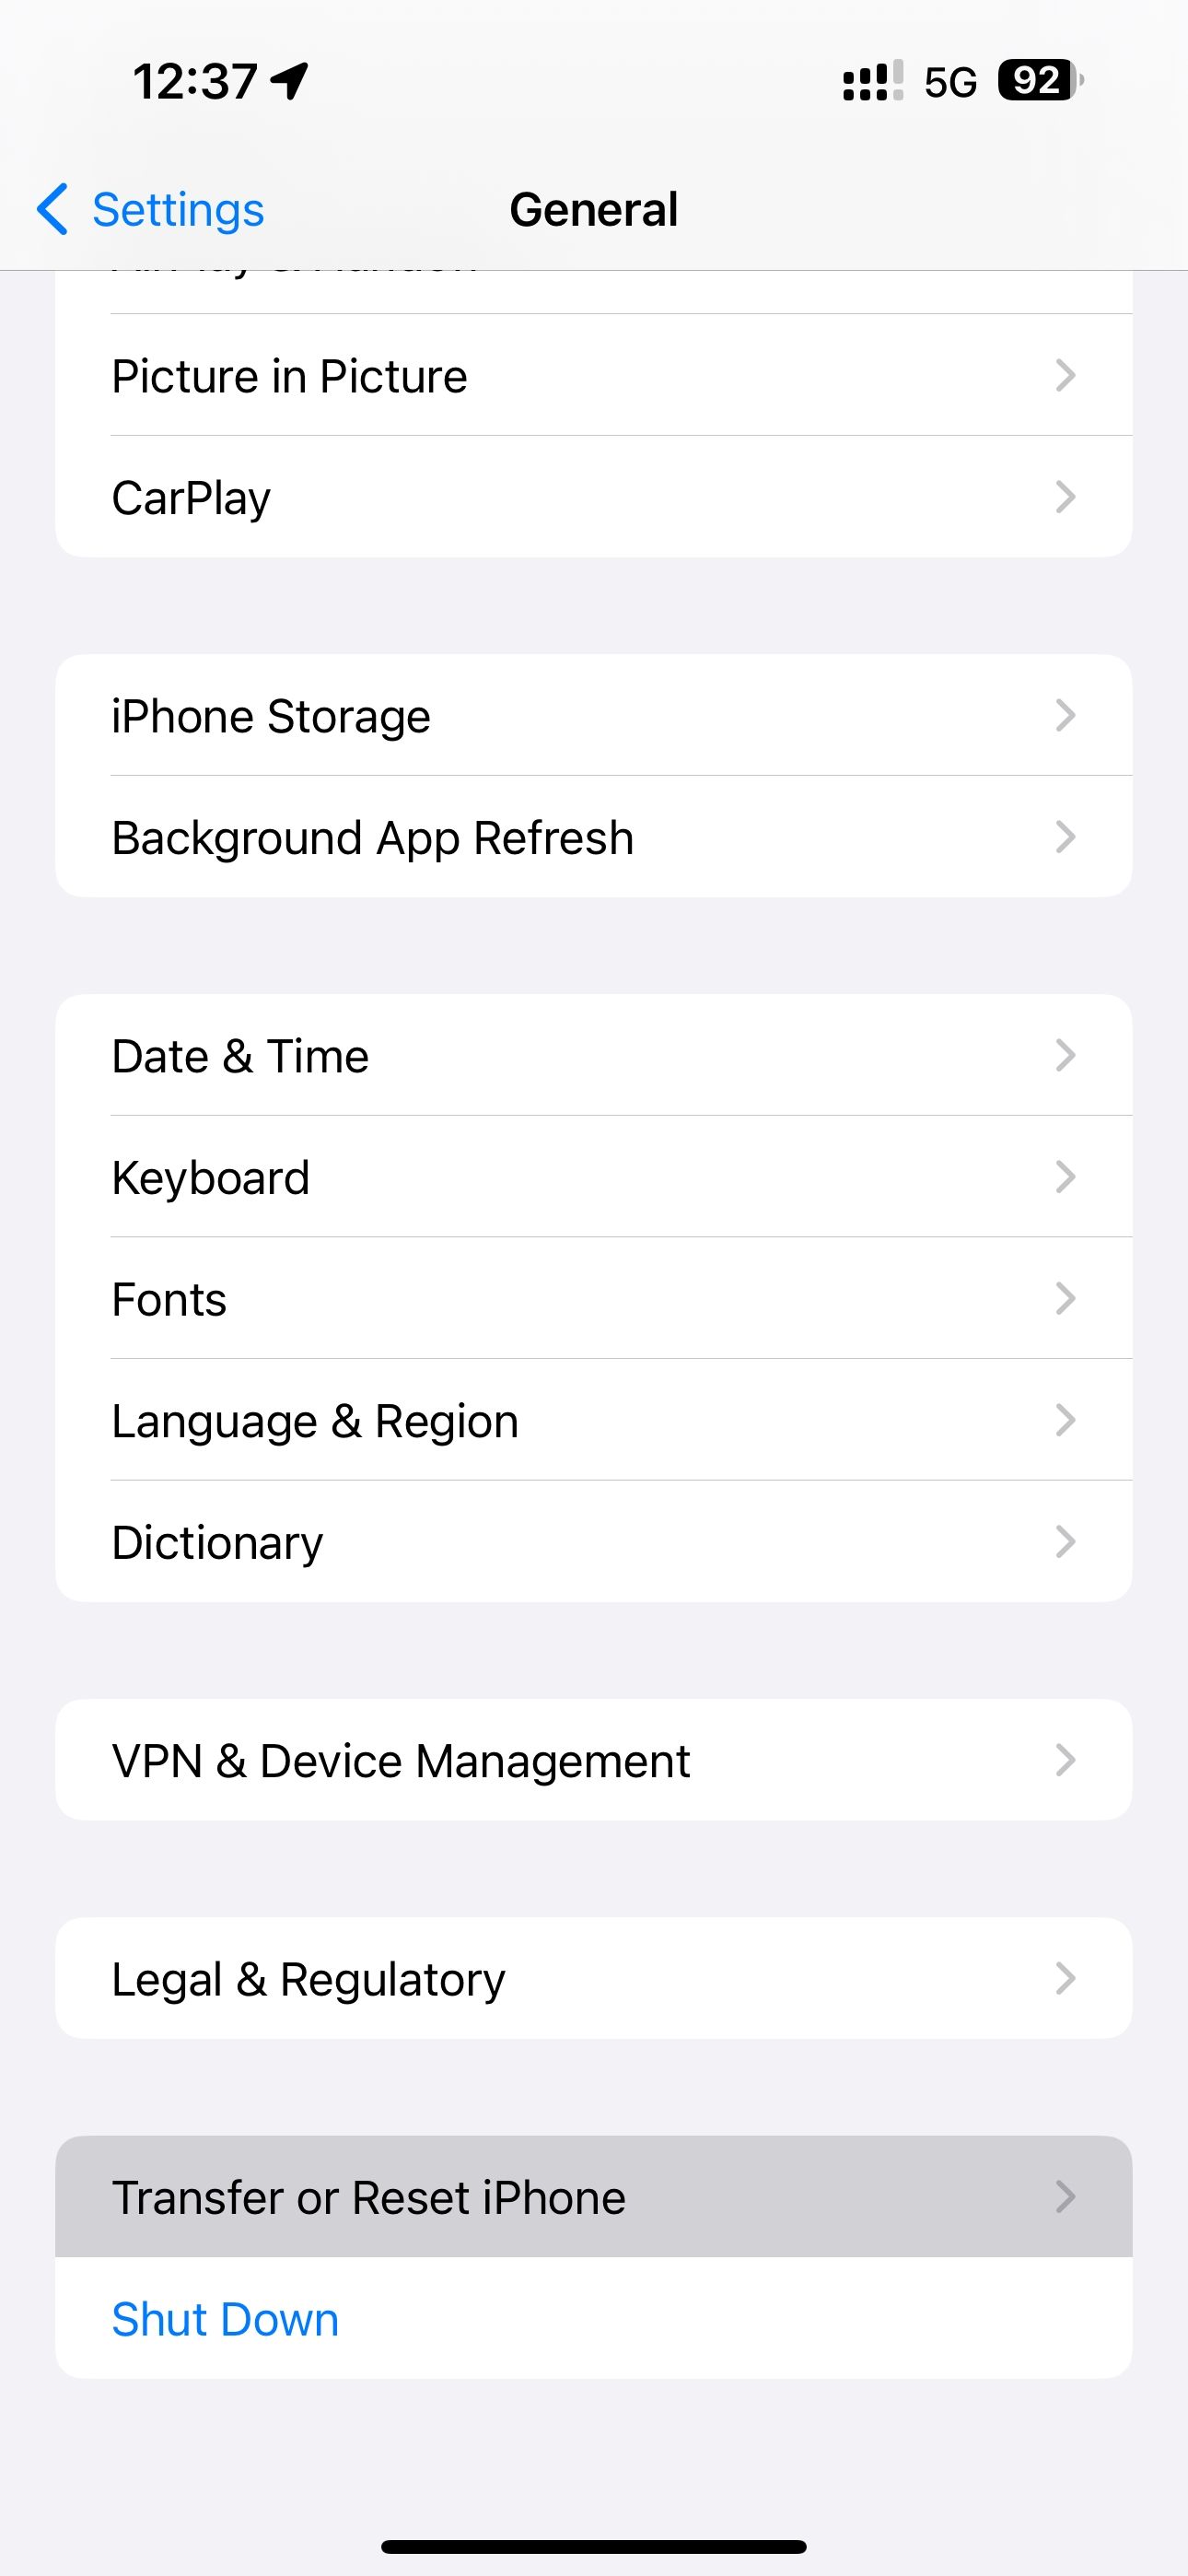

8. Contact Apple Support
You need to get in touch with an expert when all else fails. If the problem persists even after a factory reset, then it's likely severe, and you should get professional support from Apple.
You can do this online through Apple Support or visit your nearest Apple Store to talk with experts. A valid warranty will likely help your case in case of a major issue.
How to Better Manage iPhone Storage in the Future
While this error was hopefully a one-time problem for you, there's a chance it could happen in the future. It's better to maintain your iPhone storage ahead of time to reduce the impact of such an issue, so you should consider ways to avoid filling up your storage.
Some methods you can employ to manage both your iCloud and local storage on a long-term basis include:
定期删除未使用的应用程序。升级您的 iCloud 存储计划以获得更多空间。 删除旧消息和不重要的对话。 定期清除照片中最近删除的内容。卸载占用大量存储空间的应用程序。 如果您不使用 iCloud 照片,请将其禁用 - 考虑将照片备份到其他云服务。您的 iPhone 存储空间现在可以呼吸了
很多人都经历过这个 iPhone 和 iCloud 存储错误,这绝对是一种痛苦。幸运的是,有一些方法可以解决这个问题。希望这里介绍的方法可以让您的照片存储使用恢复正常。
通过提前保持存储空间畅通,您可以减少此问题再次发生时的影响。
The above is the detailed content of iPhone Photos Using Space Even After Deleting Them? 8 Fixes. For more information, please follow other related articles on the PHP Chinese website!

Hot AI Tools

Undresser.AI Undress
AI-powered app for creating realistic nude photos

AI Clothes Remover
Online AI tool for removing clothes from photos.

Undress AI Tool
Undress images for free

Clothoff.io
AI clothes remover

Video Face Swap
Swap faces in any video effortlessly with our completely free AI face swap tool!

Hot Article
Hot Tools

Notepad++7.3.1
Easy-to-use and free code editor

SublimeText3 Chinese version
Chinese version, very easy to use

Zend Studio 13.0.1
Powerful PHP integrated development environment

Dreamweaver CS6
Visual web development tools

SublimeText3 Mac version
God-level code editing software (SublimeText3)
Hot Topics


 Spotify on Apple Watch: How to use it in 2025
Apr 04, 2025 am 09:55 AM
Spotify on Apple Watch: How to use it in 2025
Apr 04, 2025 am 09:55 AM
With the support of Apple devices' interconnected ecosystem, managing and synchronizing your Apple devices has become a breeze. Unlock Mac with Apple Watch? Simple! (If you haven't set this unlocking method yet, you should really try it, it's very time-saving). Can you pay with Apple Watch without using iPhone? Apple can handle it easily! Today we will focus on how to download the Spotify playlist to an Apple Watch and play without an iPhone. Spoiler: This is possible. How to use Spotify on Apple Watch: A quick overview Let's dive into the key issues and their solutions directly. If this form helps you, that would be great! If you
 Floating screen recording: how to capture a specific app window on a Mac
Mar 28, 2025 am 09:16 AM
Floating screen recording: how to capture a specific app window on a Mac
Mar 28, 2025 am 09:16 AM
Mac Screen Recording: Easily capture windows, areas and drop-down menus The screenshot tool (Command Shift 5) that comes with Mac systems can record full screen or selected areas, but cannot record specific application windows separately. At this time, more powerful tools are needed to complete the task. This article will introduce several ways to help you record your Mac windows as easily as a professional. Record the application window separately Record a single window to avoid cluttered desktop backgrounds and create more professional and prominent images and videos. Here are some excellent screen recording applications: Function comparison Gifox CleanShot X Dropshare Record a specific window ✓ ✓ ✓

 Email is not syncing? How to refresh the Mail app on Mac
Apr 04, 2025 am 09:45 AM
Email is not syncing? How to refresh the Mail app on Mac
Apr 04, 2025 am 09:45 AM
Mac mail synchronization failed? Quick solution! Many Mac users rely on the included Mail app because it is simple and convenient. But even reliable software can have problems. One of the most common problems is that Mail cannot be synced, resulting in recent emails not being displayed. This article will guide you through email synchronization issues and provide some practical tips to prevent such issues. How to refresh the Mail app on your Mac Operation steps Click the envelope icon Open the Mail app > View > Show Tab Bar > Click the Envelope icon to refresh. Use shortcut keys or menu options Press Shift Command N. Or open the Mail app

 How to get rid of 'Your screen is being observed' error
Apr 05, 2025 am 10:19 AM
How to get rid of 'Your screen is being observed' error
Apr 05, 2025 am 10:19 AM
When you see the message "Your screen is being monitored", the first thing you think of is someone hacking into your computer. But that's not always the case. Let's try to find out if there are any issues that need you to worry about. Protect your Mac With Setapp, you don't need to worry about choosing a tool to protect your computer. You can quickly form your own suite of privacy and security software on Setapp. Free Trial Security Test What does "Your screen is being monitored" mean? There are many reasons why there is a Mac lock screen message that appears with “Your screen is being monitored”. You are sharing the screen with others You are recording the screen You are using AirPlay You are using some apps that try to access your screen Your computer is infected with evil
 How to show only active apps in Dock on Mac
Apr 09, 2025 am 11:44 AM
How to show only active apps in Dock on Mac
Apr 09, 2025 am 11:44 AM
Mac Dockbar Optimization Guide: Show only running applications The dock bar of your Mac is the core of the system, from which you can launch Finder, Trash, recently used apps, active apps, and bookmark apps, and even add folders such as Document and Downloads. By default, the Mac dock bar will display more than a dozen Apple-owned applications. Most users will add more applications, but rarely delete any applications, resulting in the dock bar being cluttered and difficult to use effectively. This article will introduce several ways to help you organize and clean up your Mac dock bar in just a few minutes. Method 1: Manually organize the dock bar You can manually remove unused applications and keep only commonly used applications. Remove the application: Right-click on the application

