Therefore, it makes sense for anyone interested in programming—and the larger software development world in general—to get their hand dirty with Java. In this article, we’ll look at the exact method to install JDK, or the Java Development Environment, a software development environment necessary for running Java on your PC.
Before we move to the installation, though, it’s useful to see if JDK is already present in your system. To do that, go to the Start menu search bar, type in ‘cmd,’ and select the Best match.
Once you have opened the Command prompt, type the following command and hit Enter:
<code class="hljs ">javac -version</code>
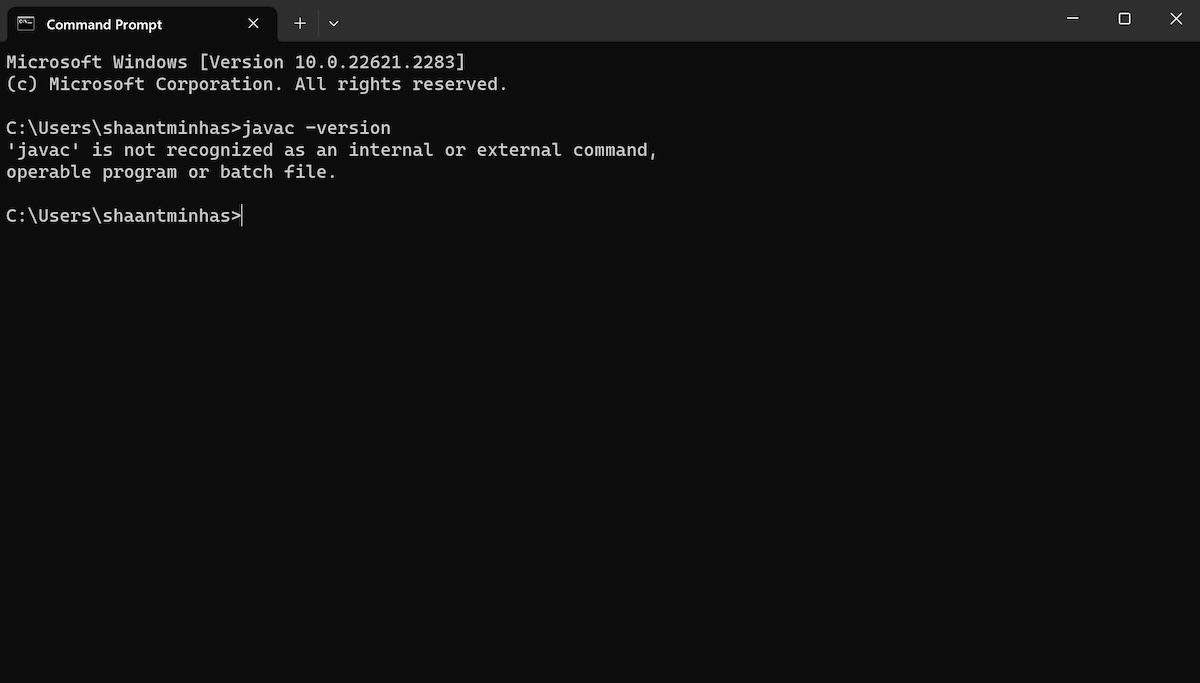
As soon as you do that the Command prompt will check your PC for JDK. If your Windows 11 doesn’t have the JDK installed, you should see something like this on your cmd screen:

Alternatively, you can also check for the JDK through the Control Panel as well. Here's how:
If you cannot find the JDK section through either method, jump to the section below for the installation instructions.
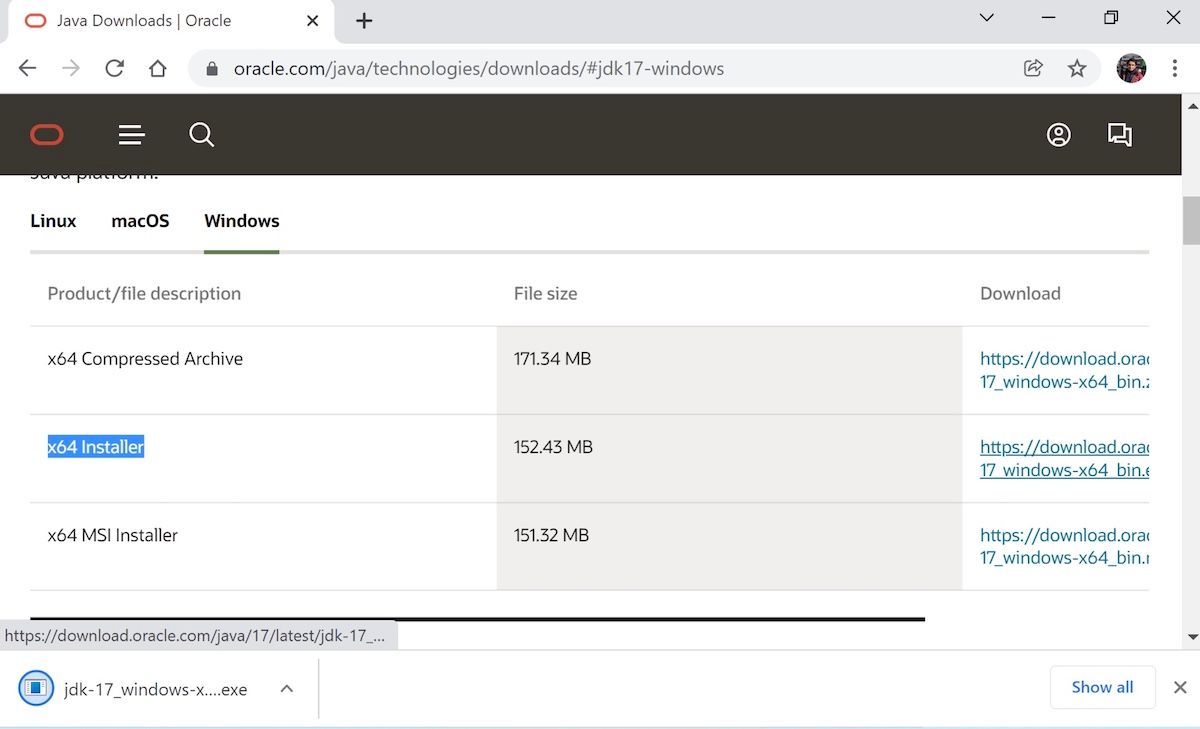
To install the JDK installer, we need to head to Oracle’s website first. Here’s how:


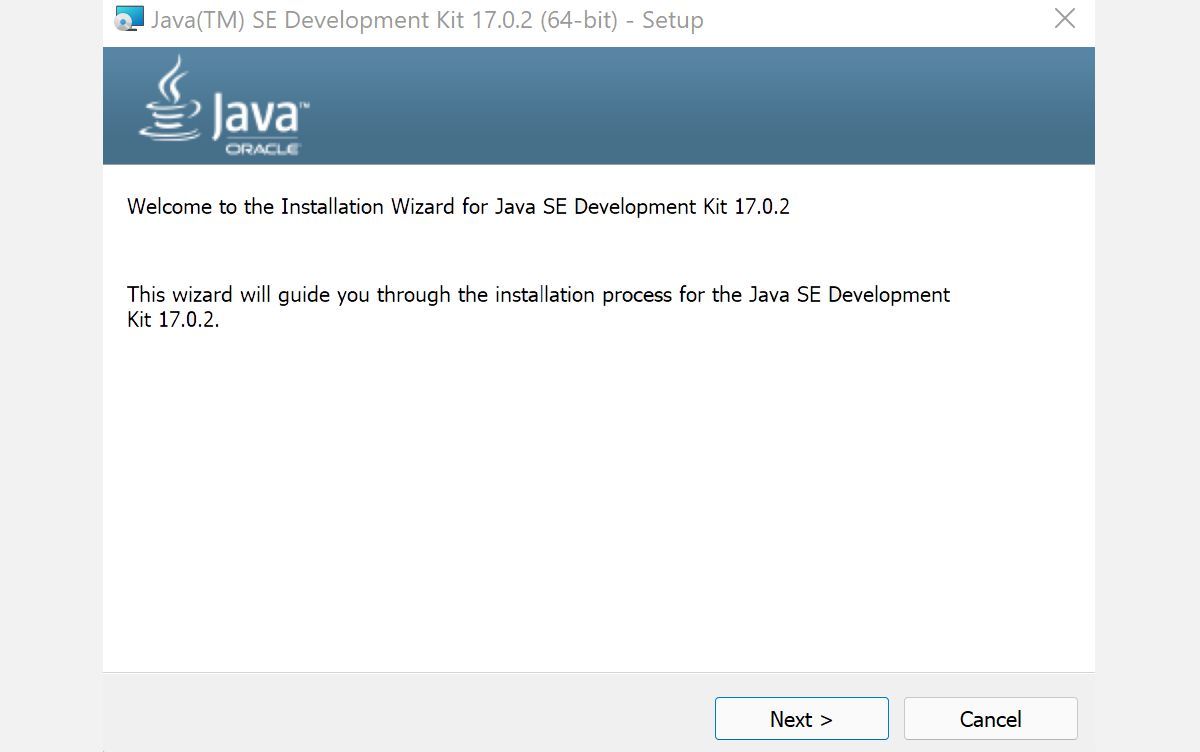
By the end of this process the Java development kit will be successfully installed on your PC.
And that’s all, folks. Follow the steps above, and the Java environment will be successfully set up on your PC. Being one of the more popular programming languages out there, installing and learning Java is your first step in growing in this handy, object-oriented language.
The above is the detailed content of How to Install the Java JDK in Windows 11. For more information, please follow other related articles on the PHP Chinese website!


