
Question: How to organize the numerous channels in QQ channel? As a social platform, QQ channel gathers many users with similar interests. After creating a channel, various types of channels may appear in the user's channel list, which becomes disorganized. PHP editor Banana provides you with a solution: This article will introduce in detail how to create groups in QQ channels, classify different types of channels, and make your channel list clearer and more orderly.

1. After opening the mobile QQ software and entering the main interface, click the second "Channel" option in the option bar at the bottom to enter.

2. You will see an icon with three horizontal bars in the upper right part of the channel page, click on it to open it.
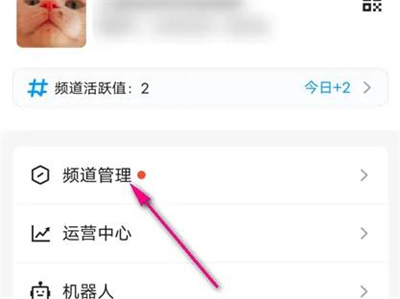
3. A menu window will pop up under the icon, click on it and select "Channel Management".
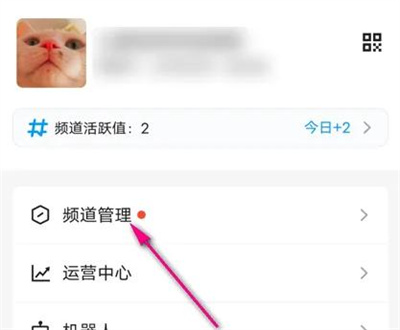
4. After entering the channel management page, click on the "Sub-Channel and Group Management" item below to enter.

5. Next, click the "+" button on the upper right side of the entered page.

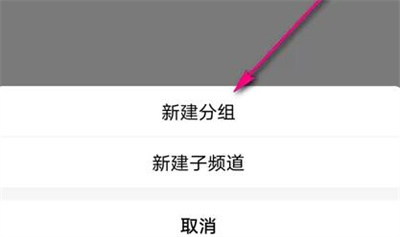
6. When a window pops up at the bottom of the page, click the "New Group" item in it.
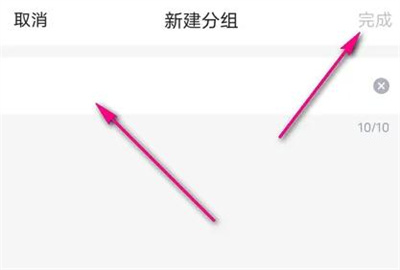
7. Finally, set the name in the new group and click the "Finish" button on the upper right.
The above is the detailed content of How to create a new group in QQ channel Share how to create a new group in QQ channel. For more information, please follow other related articles on the PHP Chinese website!


