There are difficulties in marking the diameter of shaft parts in AutoCAD 2010, which troubles many users. PHP editor Banana hereby brings detailed solutions to help you easily solve this problem. Please continue reading this article to learn the detailed steps for marking diameters of shaft parts in AutoCAD 2010 to improve your drawing efficiency and accuracy.
How to mark the diameter of shaft parts in AutoCAD 2010? How to mark the diameter of shaft parts in AutoCAD 2010
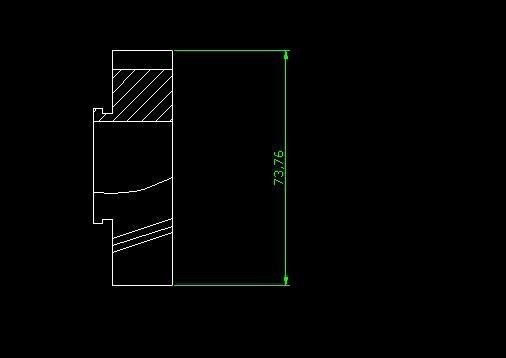
Step 1: First open the shaft part drawing that needs to be marked, as shown in the figure below.

Step 2: Select the Annotation - Linear command, as shown in the figure below.

Step 3: Select the dimensions to be marked, as shown in the picture below.

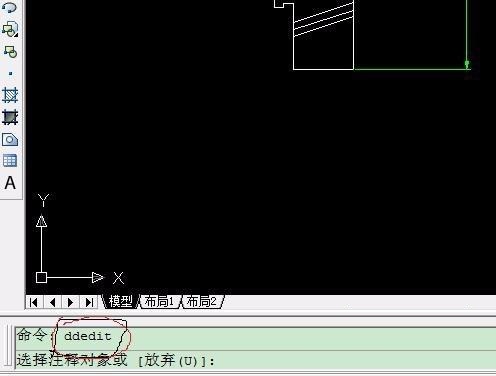
Step 4: Enter the ddedit command on the command line and hit Enter, as shown in the figure below.

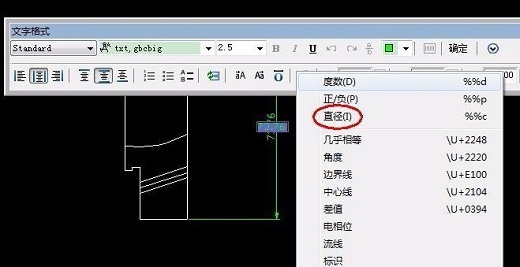
Step 5: Select the size you just marked, the text format window will appear, click @——Diameter option, click OK, as shown in the figure below .


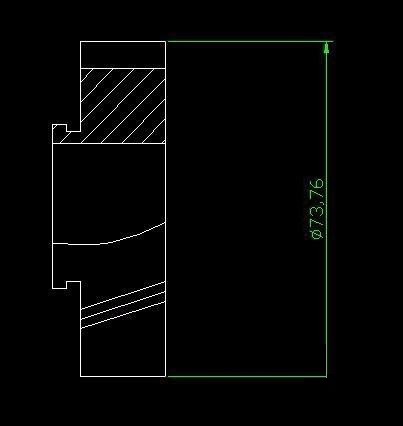
Step 6: Finally get the dimension with diameter, enter U on the command line, Just end the current command, as shown in the figure below.

The above is the detailed content of How to mark the diameter of shaft parts in AutoCAD 2010 How to mark the diameter of shaft parts in AutoCAD 2010. For more information, please follow other related articles on the PHP Chinese website!


