Volume Testing With Apache Jmeter On Windows.

In this article, I'll be walking you through how we can perform volume testing on different applications. Before I demonstrate how we make volume testing using Jmeter, Here's my own understanding of what volume testing means and why we need to run volume testing on applications before deploying to production.

Volume testing: In a very simple term, Volume testing is designed to check how a system handles large amounts of Data. Different companies employ this method of testing to ensure that their service can manage an expected volume of data without significant degradation in performance or data loss.
Why do we perform volume testing?
Here are some reasons why we take this step:
- To help identify if our system is capable of ingesting, storing, and processing a large dataset effectively.

- To gain insights into the performance metrics of our application, system, or service. Metrics such as response time, resource utilization, throughputs, etc.
Now that we have a little understanding of what volume testing is, let us proceed to the demonstration. For this demo, we will be using Apache JMeter. The Apache JMeter™ application is open-source software, a 100% pure Java application designed to load test functional behavior and measure performance. It was originally designed for testing Web Applications but has since expanded to other test functions. Here's a list of what we can test with Apache JMeter:
- Web - HTTP, HTTPS (Java, NodeJS, PHP, ASP.NET, …)
- SOAP / REST Webservices
- FTP
- Database via JDBC
- LDAP
- Message-oriented middleware (MOM) via JMS
- Mail - SMTP(S), POP3(S) and IMAP(S)
- Native commands or shell scripts
- TCP
- Java Objects
to install Apache we will need to install jdk8 or Above:
Download the Java Development kit here.
After downloading the package, unzip it in your program files directory:
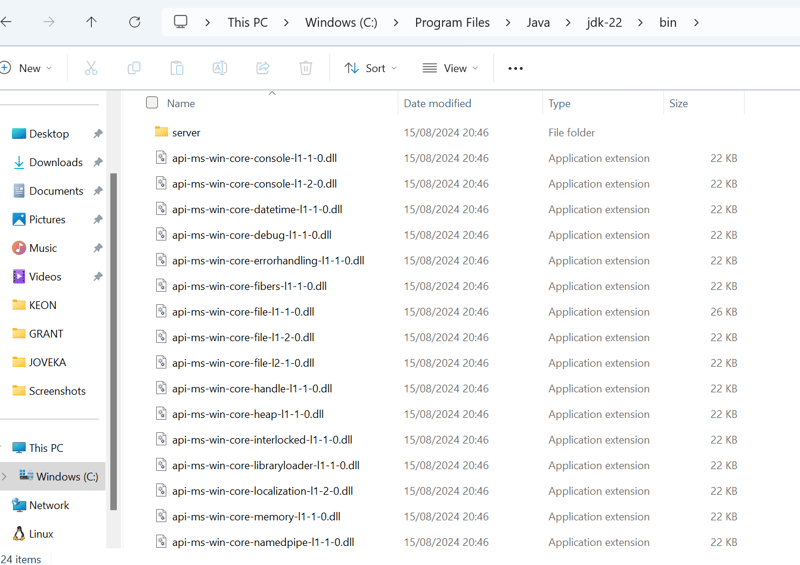
Set Java as an environment variable on your PC:
windows home>>>search "edit environment variables">> path>>>edit>> pass in the path to your java binary directory which should be "C:Program FilesJavajdk-22bin", save and exit.
Up next is to install Apache Jmeter. Follow this link to download the zip file.
Extract the file on the program file directory on your C drive "C:Program Filesapachejmeter".
to navigate to the directory of the JMeter installation and execute the Apachejmeter execution file on your windows powershell to start the service.
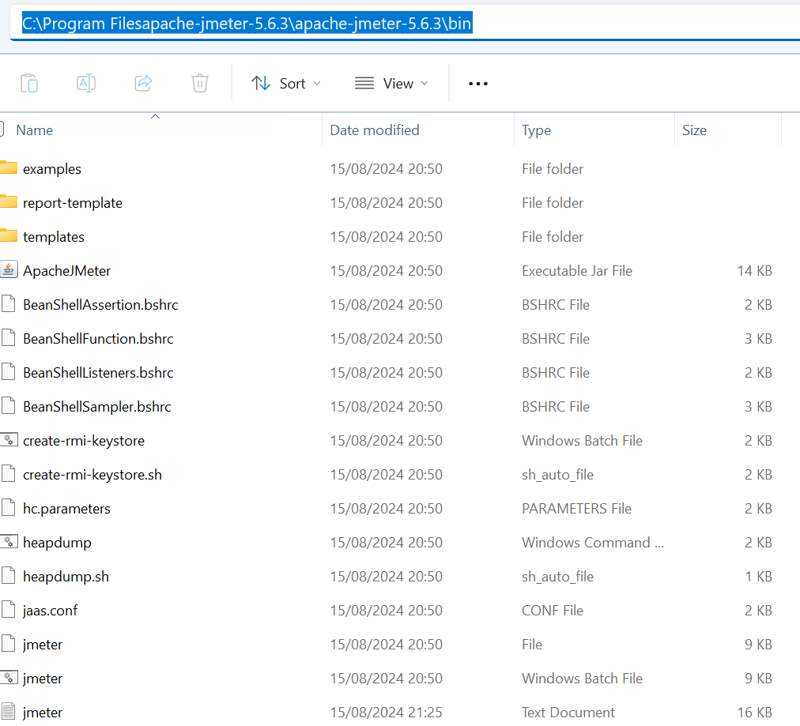
Run this command but replace it with the absolute path of your jar execution file location:
PS C:\Program Filesapache-jmeter-5.6.3\apache-jmeter-5.6.3\bin> .\ApacheJMeter.jar
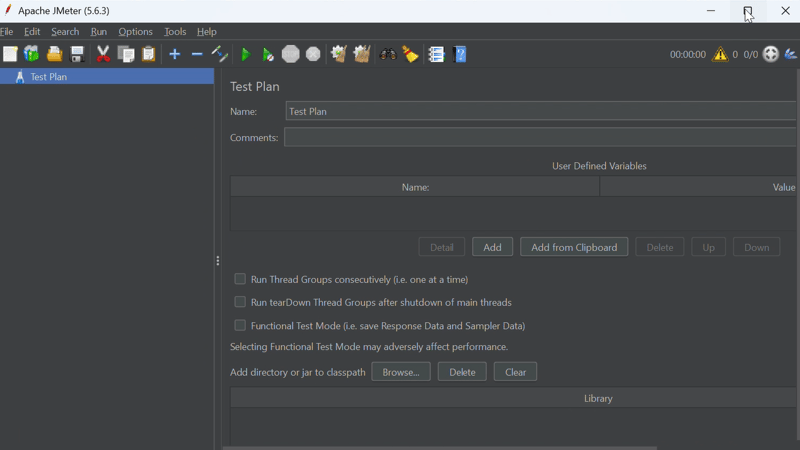
Jmeter will automatically start. Here are some terms you should know when working with Jmeter:
- Test plan: This is a name you give to a test case. For example, you are trying to test facebook web application, you can name it "facebook-test-app".
- Threads: Threads or thread groups can be defined as virtual users or user groups we can use to test the performance of our application. We can use threads to run up a high amount of requests to a defined path, we can group these threads to send 100s of requests at once. The more threads we configure the higher the load on the application. Initially, there are four types of threads that are configured by default, we can add more by using the Jmeter plugin manager. To install the plugin, check Here.. When you install it. You can find it on the "Options" tab at the top of the page.
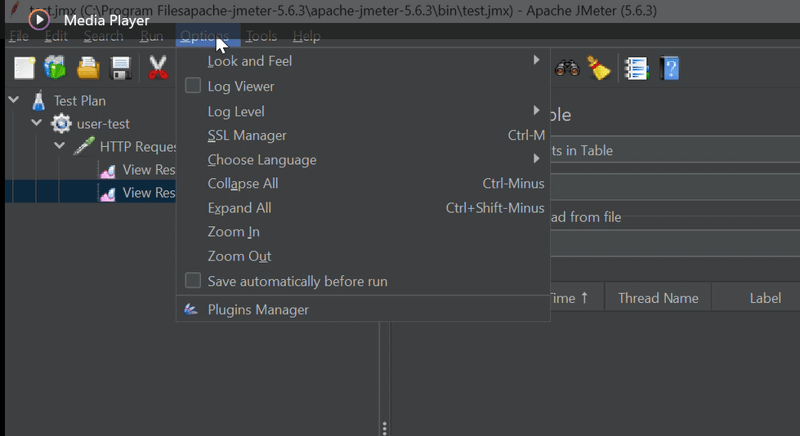
Search for "Custom Thread Groups" in available plugin, select and scroll down the click "apply changes and restart". After this you will be able to see the multiple thread groups in jmeter like this:
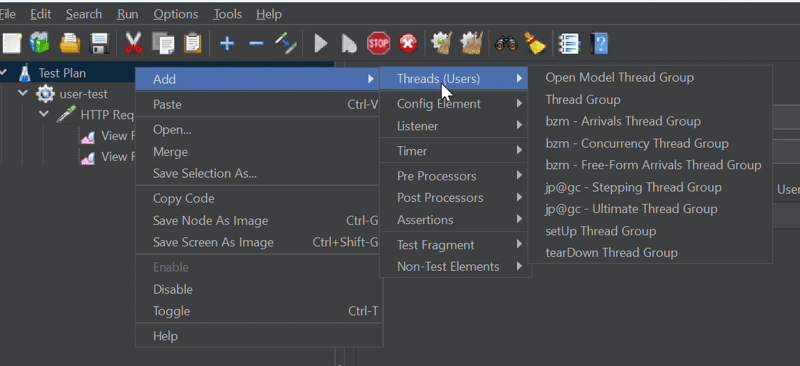
- Samplers: This component sends requests to the specified servers. A sampler can be of type HTTP request, an FTP, or SMTP.
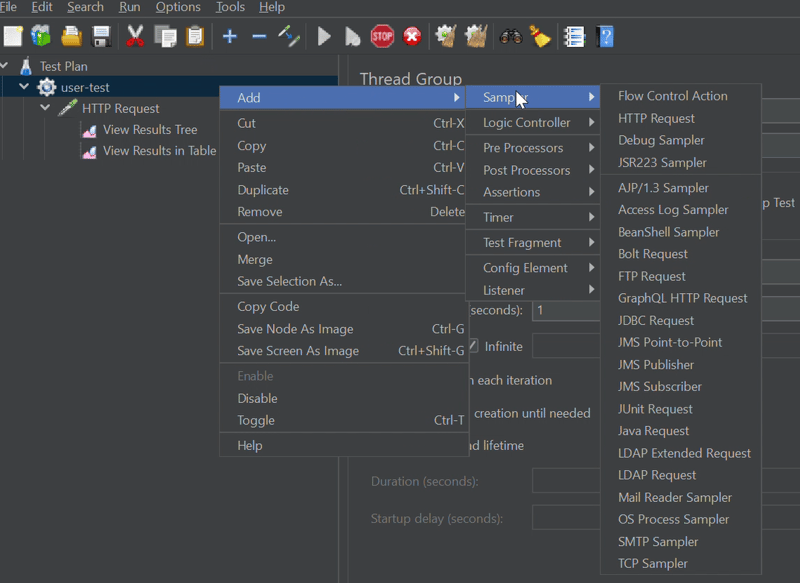
The image above displays a whole lot of samplers supported by Jmeter to suit your needs.
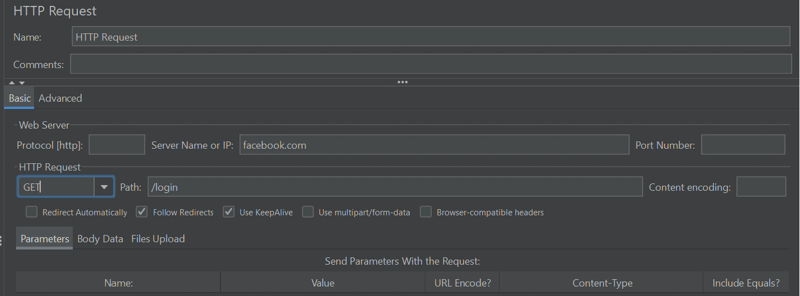
Here's an example of how an HTTP request sampler looks with all the necessary details.
- Listeners: When we run test cases on the samplers, we will need a report right? That's exactly what the listeners do. They are responsible for collecting and displaying the data in any form such as tables, graphs, charts, etc. Some data collected are response time, throughputs, error rates, response codes, etc.
DEMO:
To start this demo, ensure you have completed all the necessary installations.
Firstly we create a test plan named wordpress-test:

Next, we create thread group:

An explanation of the settings defined in the thread group.The thread group will have 1000 users, 20 will send a GET request at once after 0 seconds. Then add 10 requests every 15 seconds using a ramp-up time of 5 seconds. After 1000 requests have been sent, users will hold for 60 seconds before they finally stop sending requests. The decreasing rate will be 5 users/second.
After configuring the thread group, we add an HTTP request sampler to listen for GET requests on the specified path:

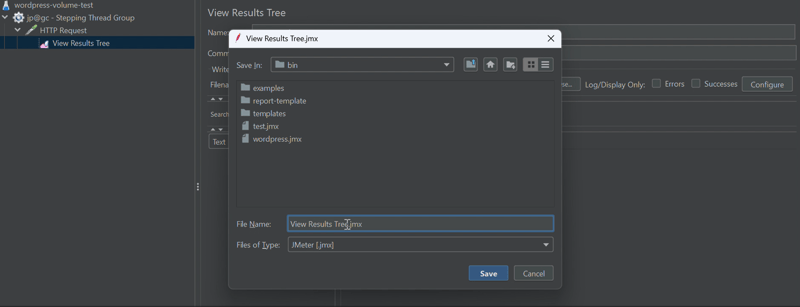
save your configuration and add a listener to display result in either a tree or table format. Click on the green "play" button to begin testing.
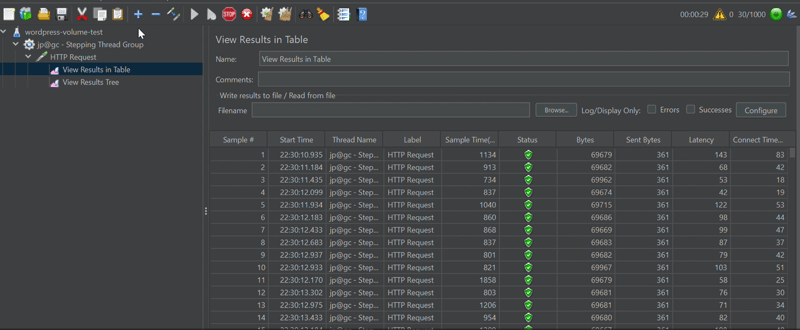
There you go! This is how we run volume testing using the jp@gc - Stepping Thread Group.
That brings us to the end of this article, if you have any question you can reach out to me on X (FKA twitter) @marviigrey. Thank you for your time, Goodbye.
The above is the detailed content of Volume Testing With Apache Jmeter On Windows.. For more information, please follow other related articles on the PHP Chinese website!

Hot AI Tools

Undresser.AI Undress
AI-powered app for creating realistic nude photos

AI Clothes Remover
Online AI tool for removing clothes from photos.

Undress AI Tool
Undress images for free

Clothoff.io
AI clothes remover

Video Face Swap
Swap faces in any video effortlessly with our completely free AI face swap tool!

Hot Article

Hot Tools

Notepad++7.3.1
Easy-to-use and free code editor

SublimeText3 Chinese version
Chinese version, very easy to use

Zend Studio 13.0.1
Powerful PHP integrated development environment

Dreamweaver CS6
Visual web development tools

SublimeText3 Mac version
God-level code editing software (SublimeText3)

Hot Topics
 1664
1664
 14
14
 1422
1422
 52
52
 1316
1316
 25
25
 1267
1267
 29
29
 1239
1239
 24
24
 Is the company's security software causing the application to fail to run? How to troubleshoot and solve it?
Apr 19, 2025 pm 04:51 PM
Troubleshooting and solutions to the company's security software that causes some applications to not function properly. Many companies will deploy security software in order to ensure internal network security. ...
 How do I convert names to numbers to implement sorting and maintain consistency in groups?
Apr 19, 2025 pm 11:30 PM
Solutions to convert names to numbers to implement sorting In many application scenarios, users may need to sort in groups, especially in one...
 How to simplify field mapping issues in system docking using MapStruct?
Apr 19, 2025 pm 06:21 PM
Field mapping processing in system docking often encounters a difficult problem when performing system docking: how to effectively map the interface fields of system A...
 How does IntelliJ IDEA identify the port number of a Spring Boot project without outputting a log?
Apr 19, 2025 pm 11:45 PM
Start Spring using IntelliJIDEAUltimate version...
 How to elegantly obtain entity class variable names to build database query conditions?
Apr 19, 2025 pm 11:42 PM
When using MyBatis-Plus or other ORM frameworks for database operations, it is often necessary to construct query conditions based on the attribute name of the entity class. If you manually every time...
 How to safely convert Java objects to arrays?
Apr 19, 2025 pm 11:33 PM
Conversion of Java Objects and Arrays: In-depth discussion of the risks and correct methods of cast type conversion Many Java beginners will encounter the conversion of an object into an array...
 How to use the Redis cache solution to efficiently realize the requirements of product ranking list?
Apr 19, 2025 pm 11:36 PM
How does the Redis caching solution realize the requirements of product ranking list? During the development process, we often need to deal with the requirements of rankings, such as displaying a...
 E-commerce platform SKU and SPU database design: How to take into account both user-defined attributes and attributeless products?
Apr 19, 2025 pm 11:27 PM
Detailed explanation of the design of SKU and SPU tables on e-commerce platforms This article will discuss the database design issues of SKU and SPU in e-commerce platforms, especially how to deal with user-defined sales...


