

There are tons of steps to installing WordPress on your local system. You need to install PHP, MySQL, a server, and more. Thankfully there's a much MUCH easier way to install WordPress locally, all thanks to Docker! Here's how!
⚠️ Before proceeding, make sure you have Docker installed.
Firstly, we'll need to create a new folder/directory for your project. Create it anywhere you wish and open it / point to it from your Terminal.
mkdir my-wordpress-blog
cd my-wordpress-blog
Next we're going to create a few files and folders. The easiest way is to open your favourite code editor. Mine is Visual Studio Code which can be opened like this from the Terminal:
code .
Use your code editor to create your first file called Dockerfile. Inside the file, paste these lines:
FROM php:7.4-apache

RUN docker-php-ext-install mysqli
But what does this do?
Well, a Dockerfile is basically a file which gives instructions on how to create an "image" (basically a blueprint) which will be used to create a container, in this case, the container which will house our WordPress site.
What this specific Dockerfile does is basically:
Use an Apache and PHP image as a base. This means that our container will have Apache server and PHP already installed.
Installs the PHP extension mysqli. This is an extension that’s needed by WordPress to connect to your MySQL database.
Next, we’re going to create a new file called docker-compose.yml. Paste the following content in this file:
services:
  web:
    build:
      context: .
      dockerfile: Dockerfile
    volumes:
      - ./wordpress:/var/www/html
    ports:
      - "8080:80"

  db:
    image: mysql
    container_name: my-db
    restart: always
    environment:
      MYSQL_ROOT_PASSWORD: password1
      MYSQL_DATABASE: wordpress
So, what does this do?
A docker-compose file is a file which gives instructions to Docker on how to create and run multiple containers at once.
In our case, our file will create and run 2 containers:
A “web” container: This will be where our WordPress site lives. It will create a container based on the Dockerfile we created earlier. It will also copy the contents of our site, which we’ll download in the next step.
A MySQL server. This is where our data will live. If you’d rather use MariaDB, replace image: mysql with image: mariadb.
Now that we have the blueprint for our full stack, it’s time to add some content. We’re going to head to the official WordPress site and download the WordPress files.
The download should take a few seconds and it will download a ZIP file.
The zip file should contain a single folder called “wordpress”. Go ahead and extract it on your drive.
After you've extracted the WordPress folder from the ZIP file, go ahead and move that folder to your project.
After doing that, this is how the files at the root of your project should look like:
? wordpress
? docker-compose.yml
? Dockerfile
In case the WordPress folder isn't called "wordpress", you can go ahead and rename it.
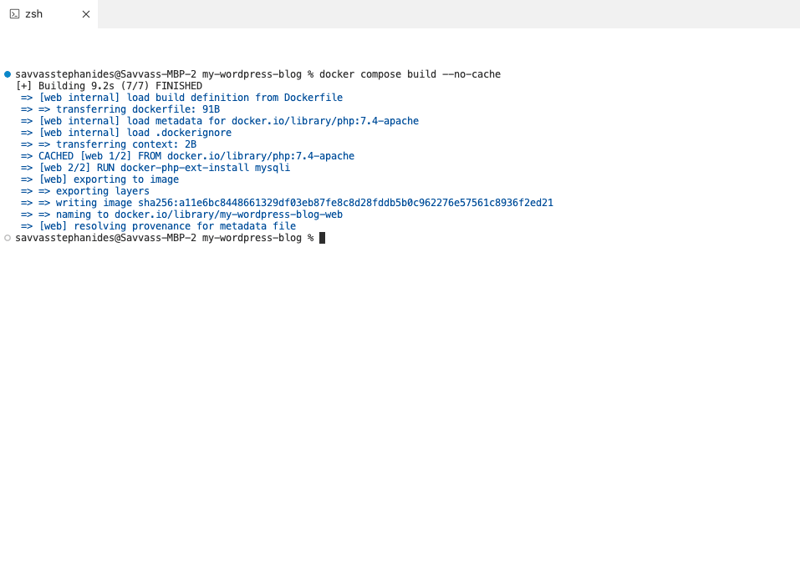
Now we have everything in place and we can run our site. Firstly though, we need to build the image for the "web" container from the Dockerfile. To do this, run the build command from Docker Compose:
docker compose build
This should take a few seconds to complete and should look like this in your Terminal:
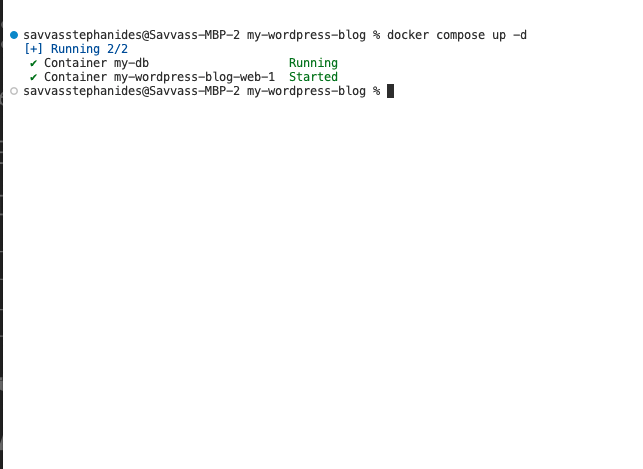
Once the build is completed successfully, you can now run the website. For this, we're using the up command from Docker Compose:
docker compose up -d
Your terminal should look something like this, when running:
So what just happened? Let's go into some technical detail:
What we have just done is run two containers: one called "web" for our WordPress website and one called "db", which contains our MySQL database. Then we used commands from Docker Compose to conveniently run both containers at the same time.
Because these two containers run under the same Compose file, they run under the same "network". This means that they are connected to each other. So, for example, when you need to connect to the database from the web container, the URL to do so is http://db:3306 (because the name of the database container is db). We'll need this when setting up our site.
After a few seconds your site should be up and running. You can access it by opening this URL in your browser:
http://localhost:8080
Once opened, you should see this screen:

Select a language and click Continue.
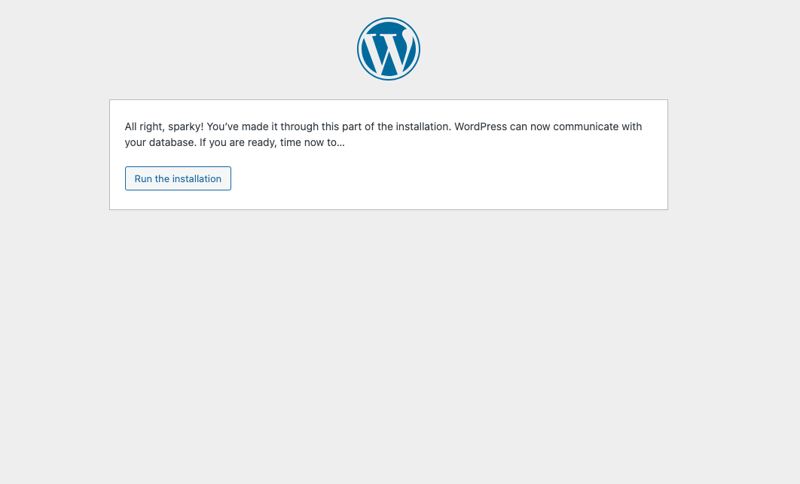
You'll be asked for the database credentials. Add these:
After adding these, you can go ahead and run the installation:
Now add your site details. Here you'll be asked about your site details, like the site name, a username, password etc. Add whatever you like here:
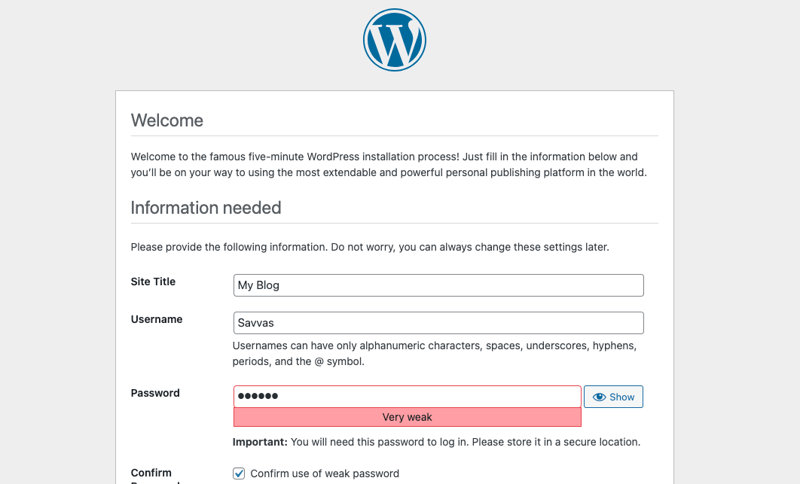
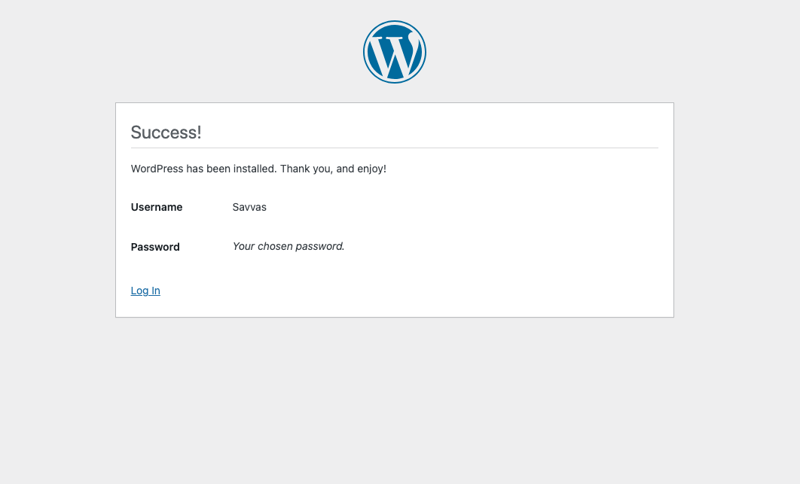
Click Install Wordpress.
After that's done, you're pretty much good to go! ?
Click Log In. You'll be presented with a log in screen:
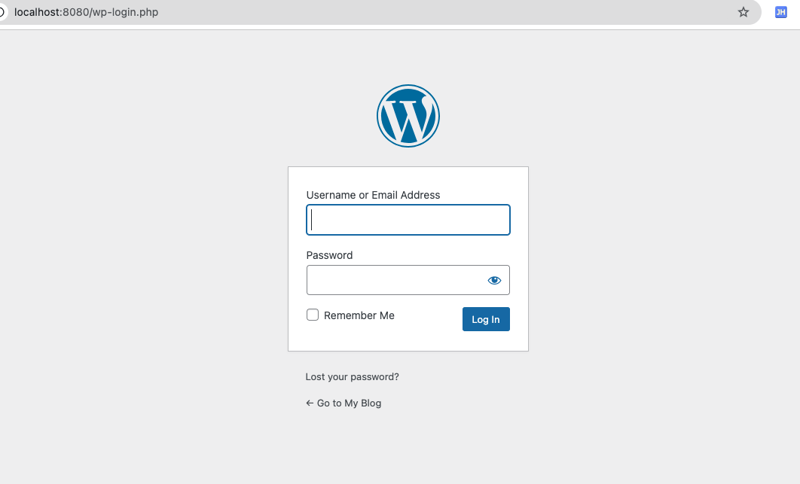
Add the credentials you specified during the set up.
Tada! That's it! ?
Once you log in, you'll be shown the dashboard:
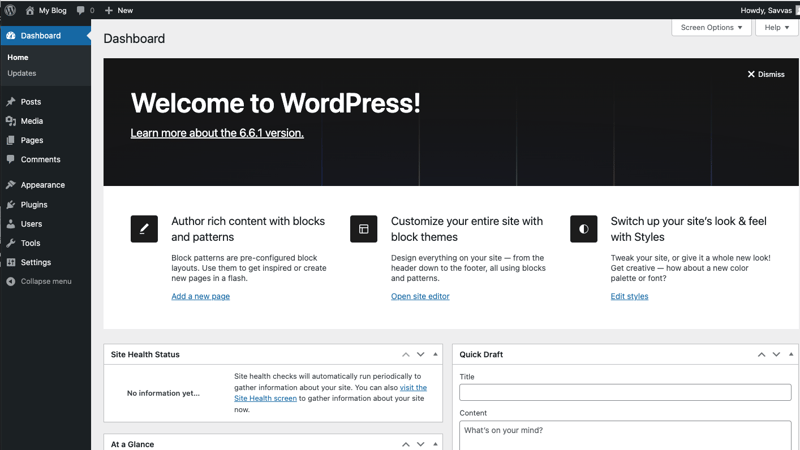
Here's where you can write articles, create new pages, customise your website to your liking and many many more. This is what makes WordPress so great!
Click on your site's name on the top right to go to the actual site:
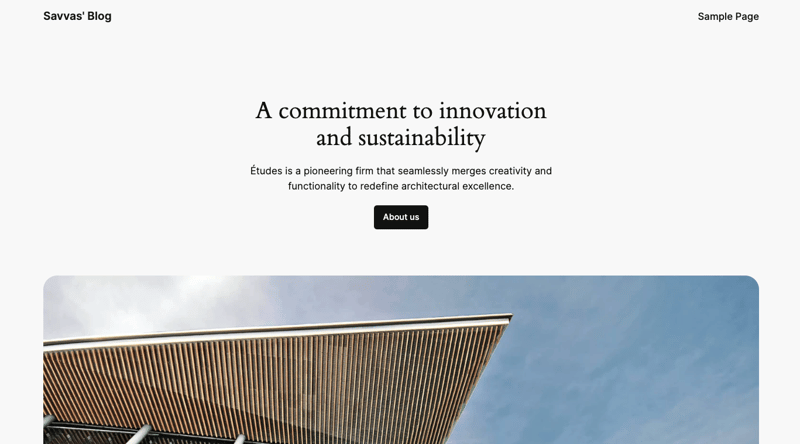
This is your website up and running locally complete with a handy Dashboard which can be accessed here:
http://localhost:8080/wp-admin/
Success!
Enjoy editing your new WordPress blog!
The above is the detailed content of Run WordPress locally using Docker!. For more information, please follow other related articles on the PHP Chinese website!


![[Web front-end] Node.js quick start](https://img.php.cn/upload/course/000/000/067/662b5d34ba7c0227.png)


