Act One of Path of Exile 2 takes you through a forest, farmlands, and burning town all with the goal of reaching the manor in order to face Count Geonor. This boss serves as the final challenge of Act One, but taking him down can be quite the challenge if you aren't prepared.

Are you looking to complete The Mad Wolf Of Ogham quest and take on Count Geonor? You've come to the right place. In this guide, we are going to cover how to complete this quest, as well as a walkthrough on how to take down Geonor to complete Act One.

In order to complete The Mad Wolf Of Ogham, you'll first need to defeat the Executioner, who is found in Ogham Village. This is part of the quest called The Trail of Corruption, which shows up later in Act Two.
For now, defeat the Executioner, talk to Leitis, teleport back to Clearfall Encampment, and then return to where Leitis is and head through the gate going up to the ramparts.
If you want to teleport to the ramparts quickly, you can head there right after speaking with Leitis. There is a waypoint right as you enter. Once it's unlocked, you can then return to the encampment and complete the quest.

Now, you are in the Manor Ramparts. From here, you'll just need to search around for the entrance to the Manor. We followed the ramparts in a large U-shape that looped to the Manor doors. Traveling to the Manor is the easy part of this quest; but if you are a bit under-leveled, you may face dangerous enemies right after you step foot in the Manor itself.

The Manor is a level 15 area, but the halls here can be really tight. As such, you can easily become swarmed by enemies, many of which create large HP-draining AoEs on the ground that look like blood. If you find yourself struggling against these enemies, then Count Geonor may be difficult for you.
Inside the Manor, you'll find an optional boss named Candlemass the Living Rite. This boss is on the first floor of the Manor in a church-like room. You can take Candlemass on if you want; when defeated, he'll drop an item that gives you a permanent HP boost upon use. This is quite handy, so if you're up for it, defeat him.

In total, you'll find two staircases going down in the Manor, with the third being an elevator that takes you to the arena with Geonor. There is a checkpoint right before this elevator, so if you die, you'll just respawn here. You won't have to retrace your route from the waypoint on the first floor.
While exploring the Manor, you may find stairs that lead to small chambers. These can be filled with gold/gear, but you may also find what looks to be Geonor's bedroom.

The time has come to defeat Geonor. Let's go over his main phases, and the moves he uses during each.

In human form, Geonor won't be too difficult to deal with. During this portion of the fight, he is no different than other sword-using enemies. Still, his attacks can be heavy-hitting, so don't forget to dodge-roll when necessary.
|
Description | Notes | |||||||||||||||
|---|---|---|---|---|---|---|---|---|---|---|---|---|---|---|---|---|---|
| Sword Thrust | Geonor will thrust his sword forward sending out a projectile in a line. | This can easily be dodged. | |||||||||||||||
| Ice Wall with Sword Slam | Geonor will send out two walls of ice in a cone and then slam his sword down in the middle. | The key to this is to avoid being trapped in the ice cone. When his sword starts charging up, run away. | |||||||||||||||
| Basic Melee Sword Swings | Geonor will swing his sword in front of him. | This can easily be dodged. | |||||||||||||||
| Large Sword Swing | Geonor will swing his sword in a large arc, leaving an icy trail on the ground. | When Geonor dashes forward, this means that he is about to use this attack. At this point, the key is to dodge right as he swings. |

After being in Human form for a bit, Geonor will turn into a wolf. This isn't permanent (yet); after being in wolf form and cycling through these attacks, he will turn back into a human. In this phase, the attack to keep an eye on is the AoE slam. This can one-shot you if you don't avoid it.
Additionally, it's important to avoid the ice from the sword during this phase. You don't want to freeze while being trailed by the wolves that Geonor summons.
|
Description | Notes | |||||||||||||||
|---|---|---|---|---|---|---|---|---|---|---|---|---|---|---|---|---|---|
| Icy Sword AoE | Geonor will thrust his sword into the ground when he turns into a wolf. | This move can easily be spotted due to the ice. Still, when it's big, it can be hard to avoid. If you must step in it, be sure to move quickly. | |||||||||||||||
| Summon Wolfs | Geonor will summon wolves to aid him. | These are average adds that aren't too difficult to defeat. To avoid becoming overwhelmed, try to take them out quickly. | |||||||||||||||
| Bloody Charge | Geonor will create blood spheres and then charge through them. | The blood makes this attack easy to avoid; when he is making the spheres, simply run away from him. | |||||||||||||||
| AoE Slam | Geonor will temporarily leave, and then slam down on the ground. | Admittedly, this attack can be hard to avoid, especially if you are in the middle of the circle when it first appears. The best thing to do here is run to the edge and doge-roll away. |

When Geonor's HP is low enough, you will start to hear a conversation between him and the Countess. After listening to them talk for a while, Geonor will turn into a grotesque-looking wolf called Geonor, the Putrid Wolf. Unfortunately, this form will now be at full health.
At this point, the fight will most likely get harder for you. Here at TheGamer, we faced death time and time again during this portion of the fight.
|
Attack |
Description |
Notes |
|---|---|---|
| Vast Ice Spikes | Geonor will slam his sword into the ground and cause little circles of ice to appear. | It's fairly easy to avoid this. You can dodge the spikes as they disappear or stick to the outskirts of the area; we didn't take any damage from this while essentially hugging the walls. |
| Summon Fog | Geonor will cause fog to appear around the area along with smaller wolf summons. | This part can be difficult due to limited visibility. Geonor will be reciting a poem here; right as he gets to the end of a line, he will dash. As such, try to dodge-roll right as he finishes a line. |
| Icy Breath | Geonor will shoot (or breathe) icy projectiles from himself in a cone. | This can easily be avoided; Geonor will remain in one place, so simply dodge and attack from the back. |
| Ice Beams | Geonor will summon ice beams from the sky that cover the arena. | At this point, you'll want to take a break from attacking and focus on dodging the beams. Individually, they don't deal the most damage, but it's easy to get caught in several ones. |
| Bloody Beams | When at low health (around 25%), Geonor will replace the Ice Beams with red ones that look a bit bloody. | The same technique applies here, but these can quickly kill you since they deal more damage. Overall, just try to dodge as much as possible and continuously move around. |
During this portion of the fight, Geonor will still use his AoE Slam as well as a variety of previously-seen melee sword attacks.

If you're reading this, then you've probably died a few times to Geonor, and that's okay. We died to him... a lot. Thankfully, there are some tips to keep in mind to help with this fight.
Firstly, even though Geonor is just a level 15 boss, he feels way more difficult. If you are under leveled or right at 15, consider taking some time to level up elsewhere. This will provide passive skill points that you can use to increase your DPS. Overall, Geonor has a lot of HP, so if you have high DPS, you may have an easier time taking him on.

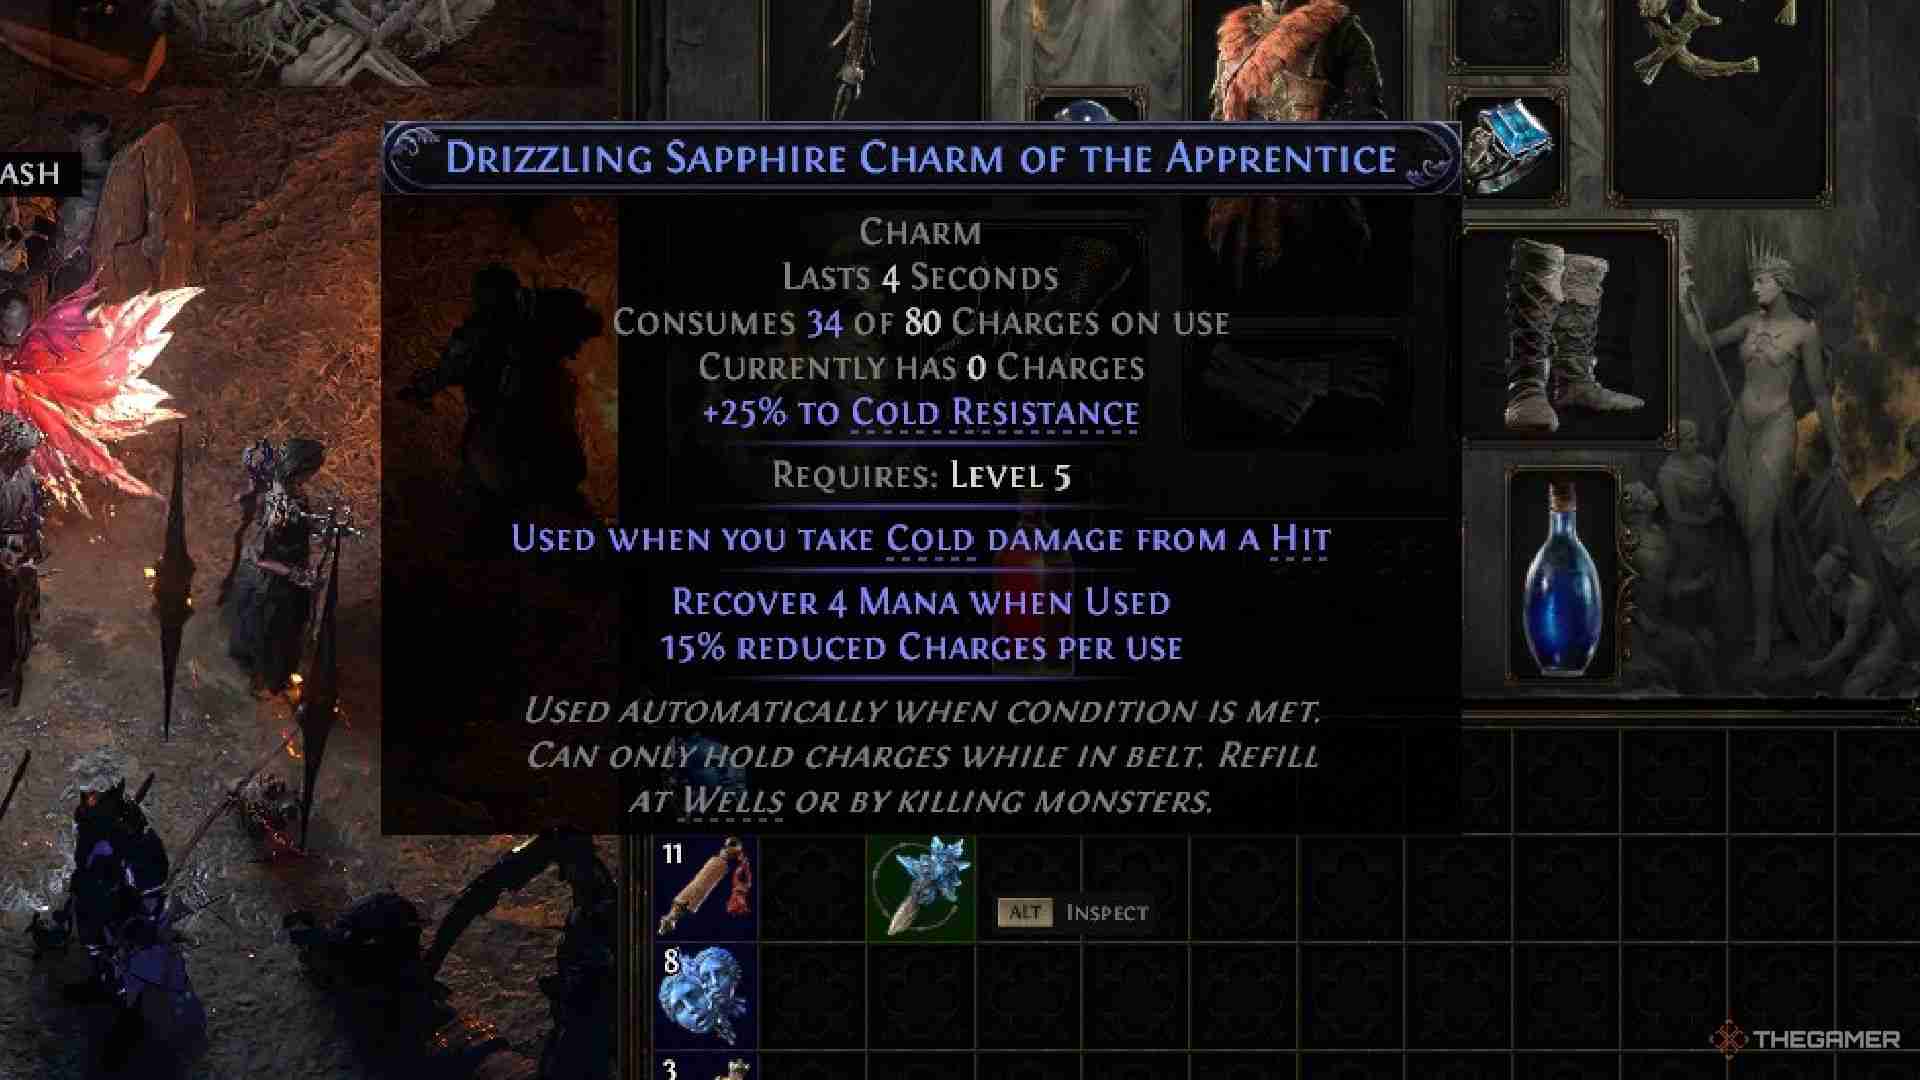
Geonor deals a lot of Cold attacks, so we highly recommend getting gear that has Cold Resistance. This also includes the charm that increases your Cold Resistance. You can use materials to add modifiers, but this may not guarantee Cold Resistance.
If you are willing to trade, you can also trade with others in order to get sturdy gear that has Cold Resistance. Overall though, this resistance type is essential.
There is no shame in getting help from others. With just one other person in your party, the fight may get a bit easier. We fought Geonor with another player as well, and realized that it's noticeably different since he doesn't focus 100 percent of his attacks on you. This gives you a chance to breathe and deal some damage.
Death is natural during this fight. Rather than charging back in to defeat Geonor with the same strategy, use your first (and any subsequent) death as a learning opportunity. As with every boss in Path of Exile 2, the main tip is to just learn their mechanics.

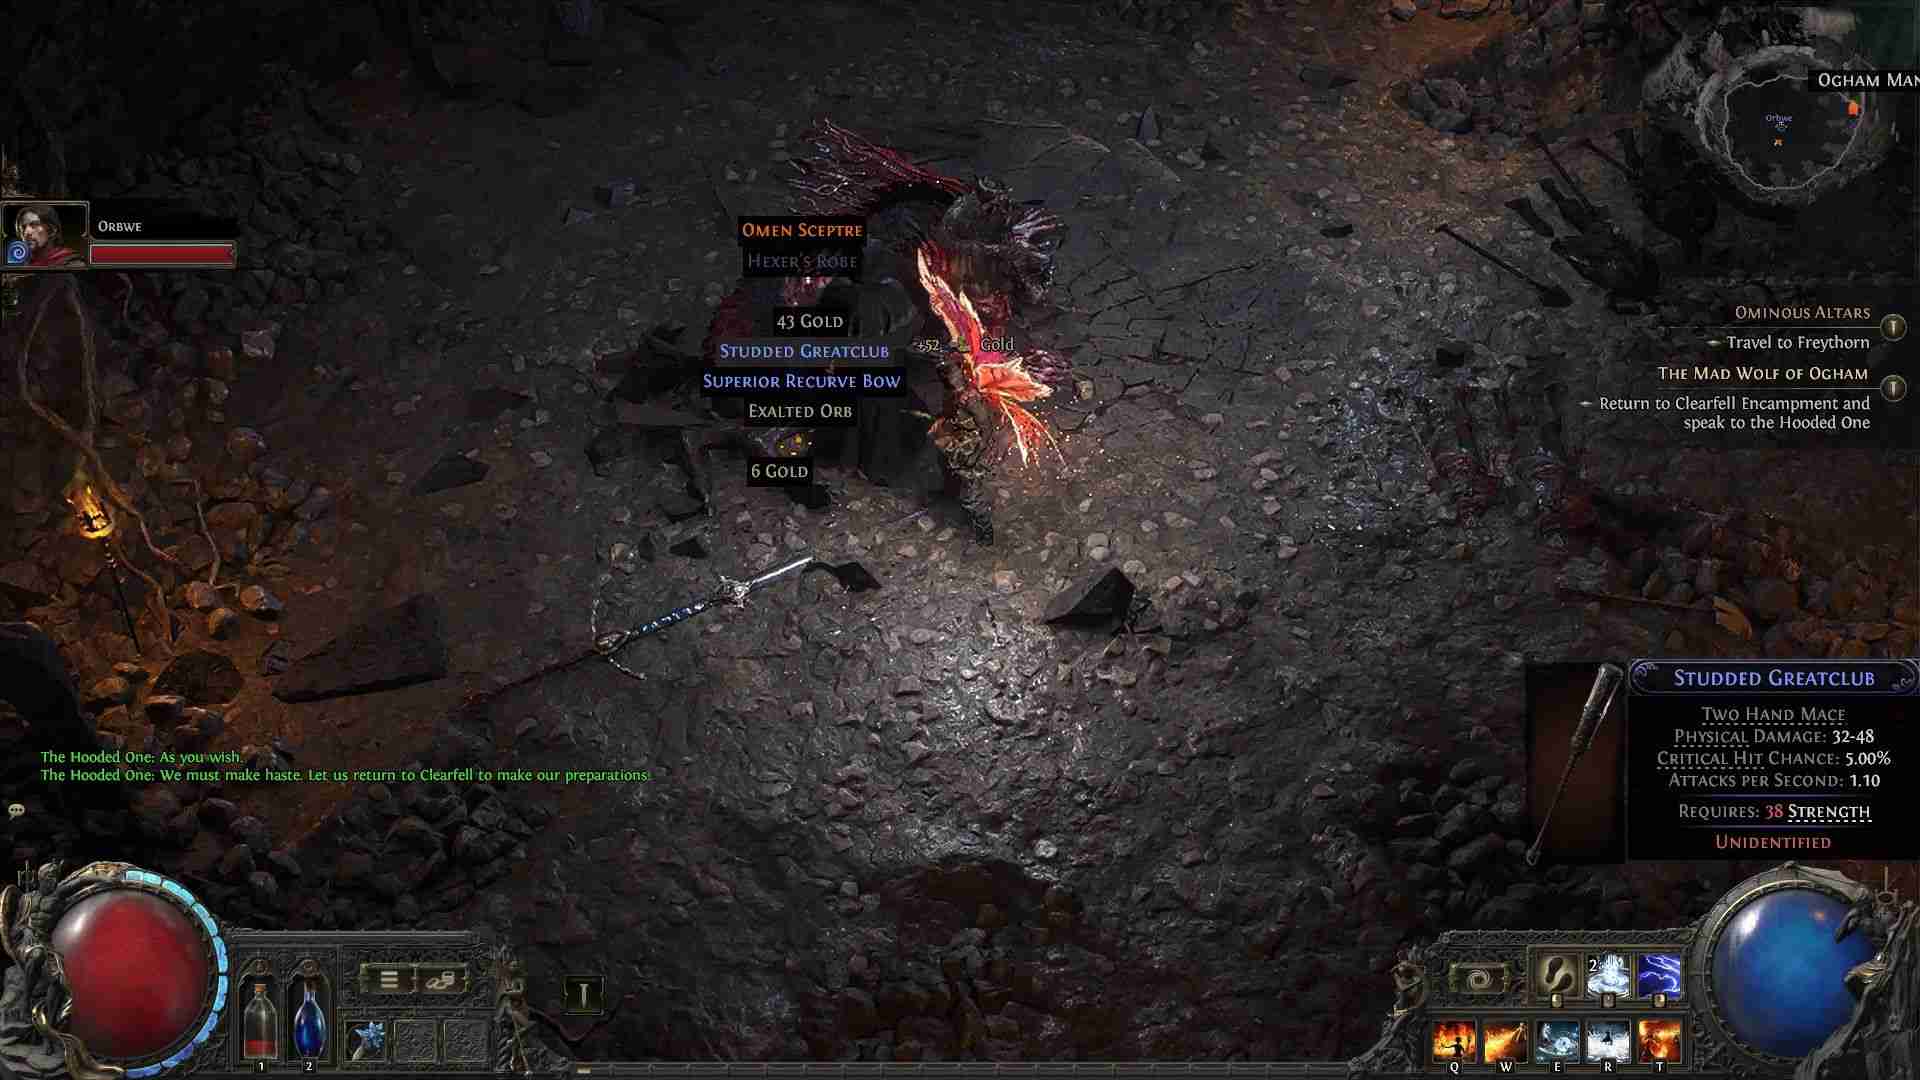
After defeating Geonor, he will drop a variety of loot that you pick up. From here, you can head back to the Clearfell Encampment and speak with the Hooded One in order to complete The Mad Wolf Of Ogham.
From here, you can move on to Act Two. If you're wondering exactly how to get there, simply speak with the Hooded One again. After watching a drawing-like cutscene, you'll be in the first area of Act Two.

The above is the detailed content of Path Of Exile 2: The Mad Wolf Of Ogham Quest Walkthrough. For more information, please follow other related articles on the PHP Chinese website!


