Luma Island: How To Get A House
When you first arrive at Luma Island after crashing onto the shore, all you'll have to your name is some tools and the camper that you got from Old Man Jeremy. Thankfully, it's pretty cozy inside and does have enough room for a bed, but you might want a bit more room, especially if you're playing in multiplayer, or just a change.
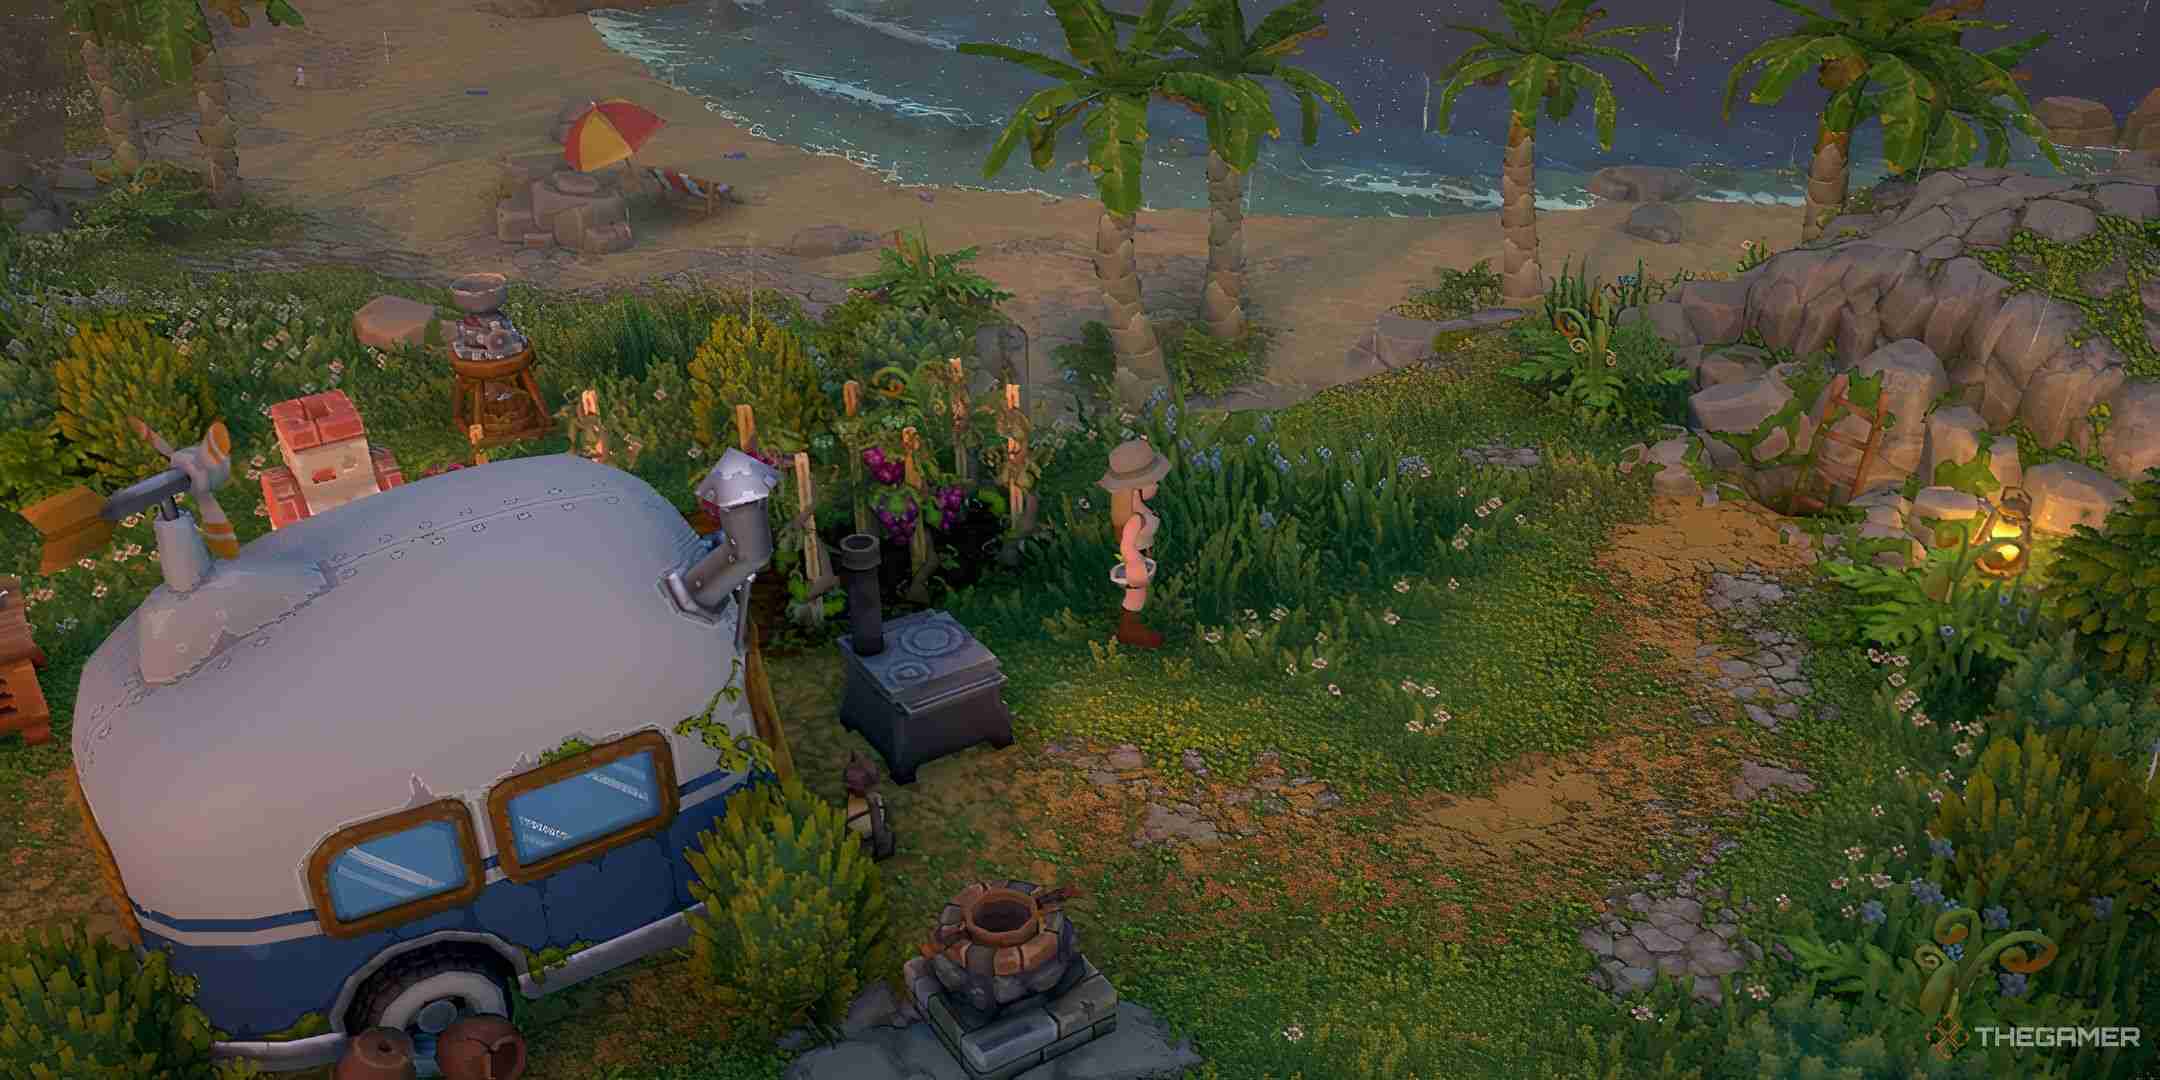
If you do, it's time to get exploring. The drawings for bigger and better homes are located in special chests that often require you to face an arduous trial to find. In return for your perseverance, you can upgrade your living space and discover the handy magic tech each one comes with.
How To Get The Cottage

The first available home expansion is the House, which has a furnished interior, two beds, a teleporter to the Forest, and takes up a four-by-four-tile space.
It can be used by a single player, but it also allows two players sharing a multiplayer world to sleep in one location at the same time.
Home expansion drawings are only found in special Red Chests, and they're usually located in a difficult-to-reach location in the center of the map.
This expansion is the easiest of the three to find, and it's found on the eastern side of the Forest. Once you have that region unlocked, the first need to do is find the Hidden Forest Cave sitting on the shore of the large lake at the northern end of the western side.
Go through it, and it brings you to the eastern side, and from there, you need to cross a section of quicksand with rocks to stand on for safety, and then follow the path to the northeast.
After you get out of the Hidden Forest Cave, head up the path towards the lake and knock down the tree trunk near the gap to create a shortcut between the two halves.
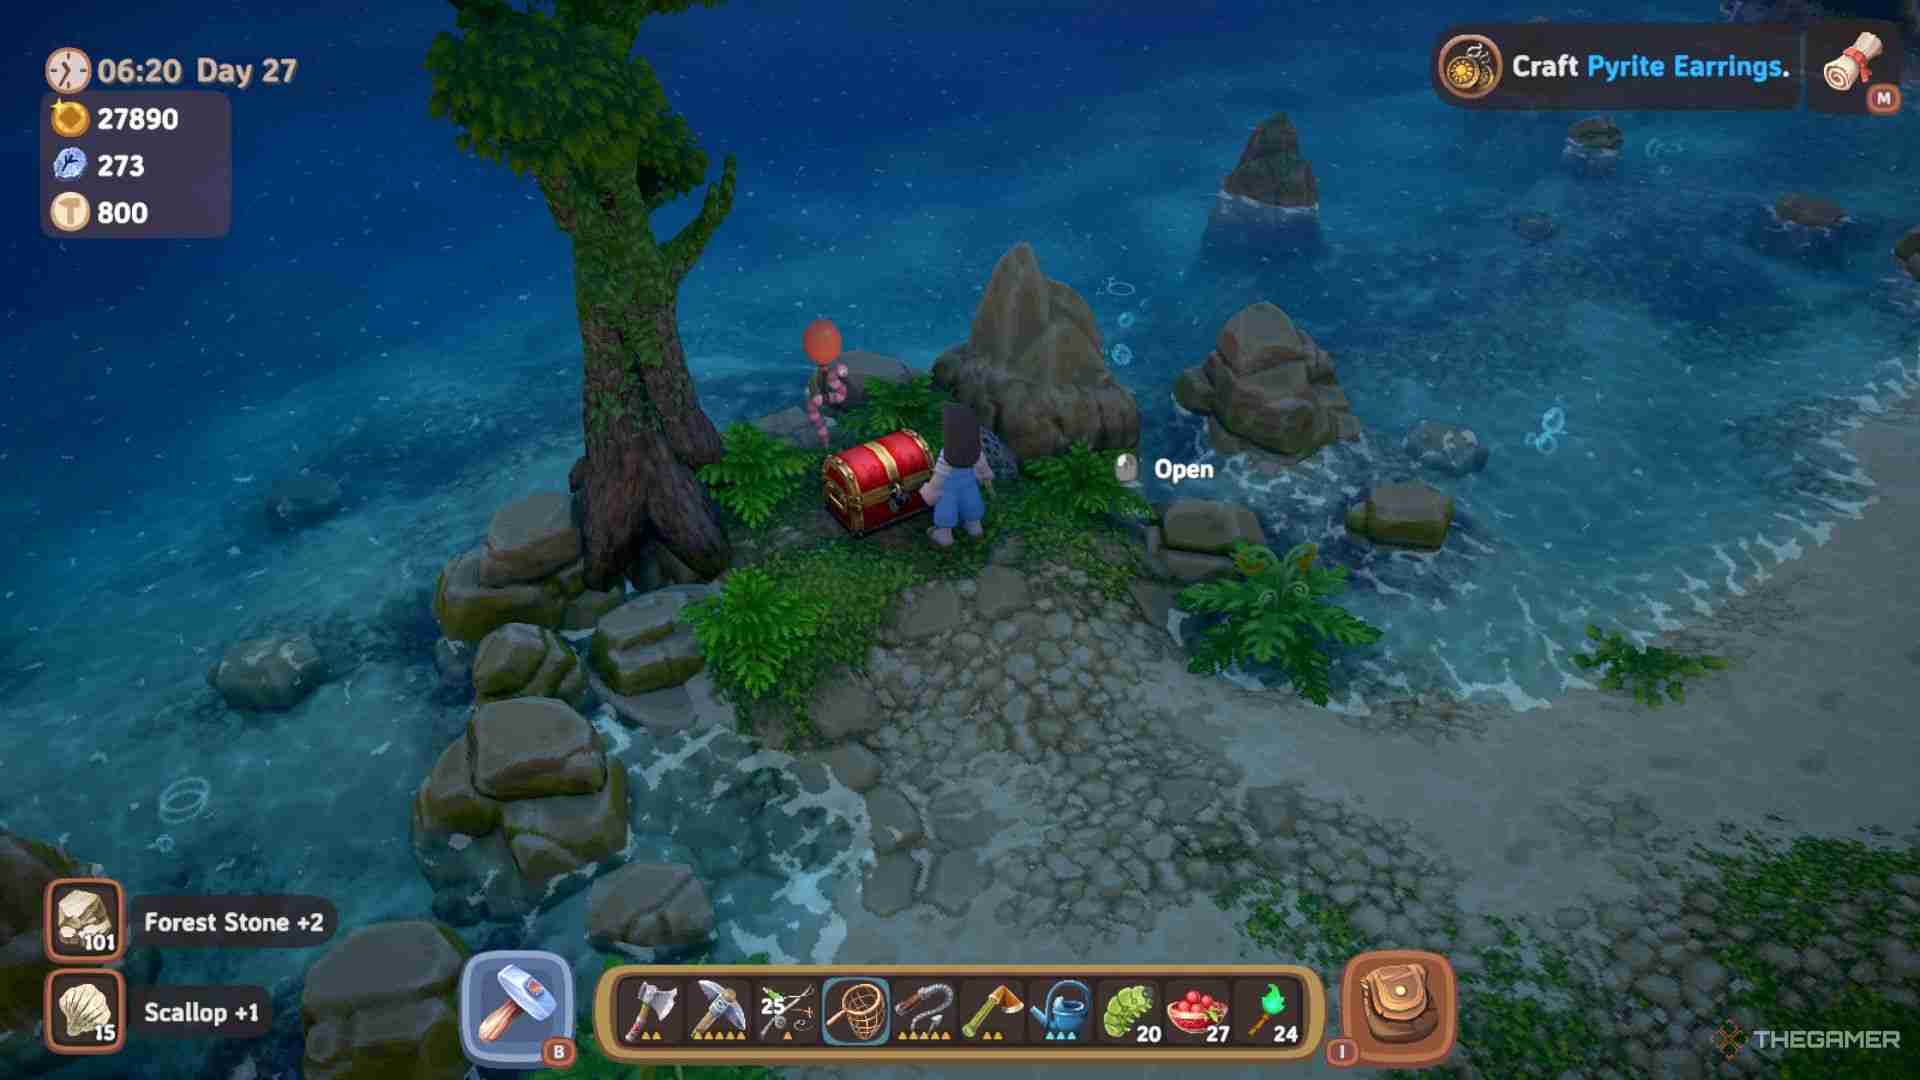
Head down the cliff and onto the beach using the slopes, then go south down the beach until you see a small island connected via a sand path with a bright Red Chest on it. Open it up, and you'll be rewarded with the drawing for a Cottage.
Cottage Material List
|
Cottage Material |
How To Obtain |
|---|---|
| Clay x50 | Found in Treasure Piles and Treasure Chests within the Forest. |
| Scaffolding x5 | Purchased from the General Store once it's been repaired for 2,000 Gold each. |
| Forest Wood x100 | Refine Forest Wood in a Sawmill. |
| Forest Stone Block x100 | Refine Forest Stone in a Sawmill. |
| Iron Bar x50 | Smelt Iron Ore in an Ore Smelter. |
| Glass x25 | Smelt Sand in a Kiln. |
| Fiber x25 | Refine Reeds in a Simple Workbench. |
| Box Of Nails x25 | Found in Treasure Piles or Treasure Chests in the Forest region. |
| Cottage Permit | Purchased from the General Store once it's been repaired for 25,000 Gold, and you've found the Cottage Drawing from the Red Chest. |
How To Get The Villa
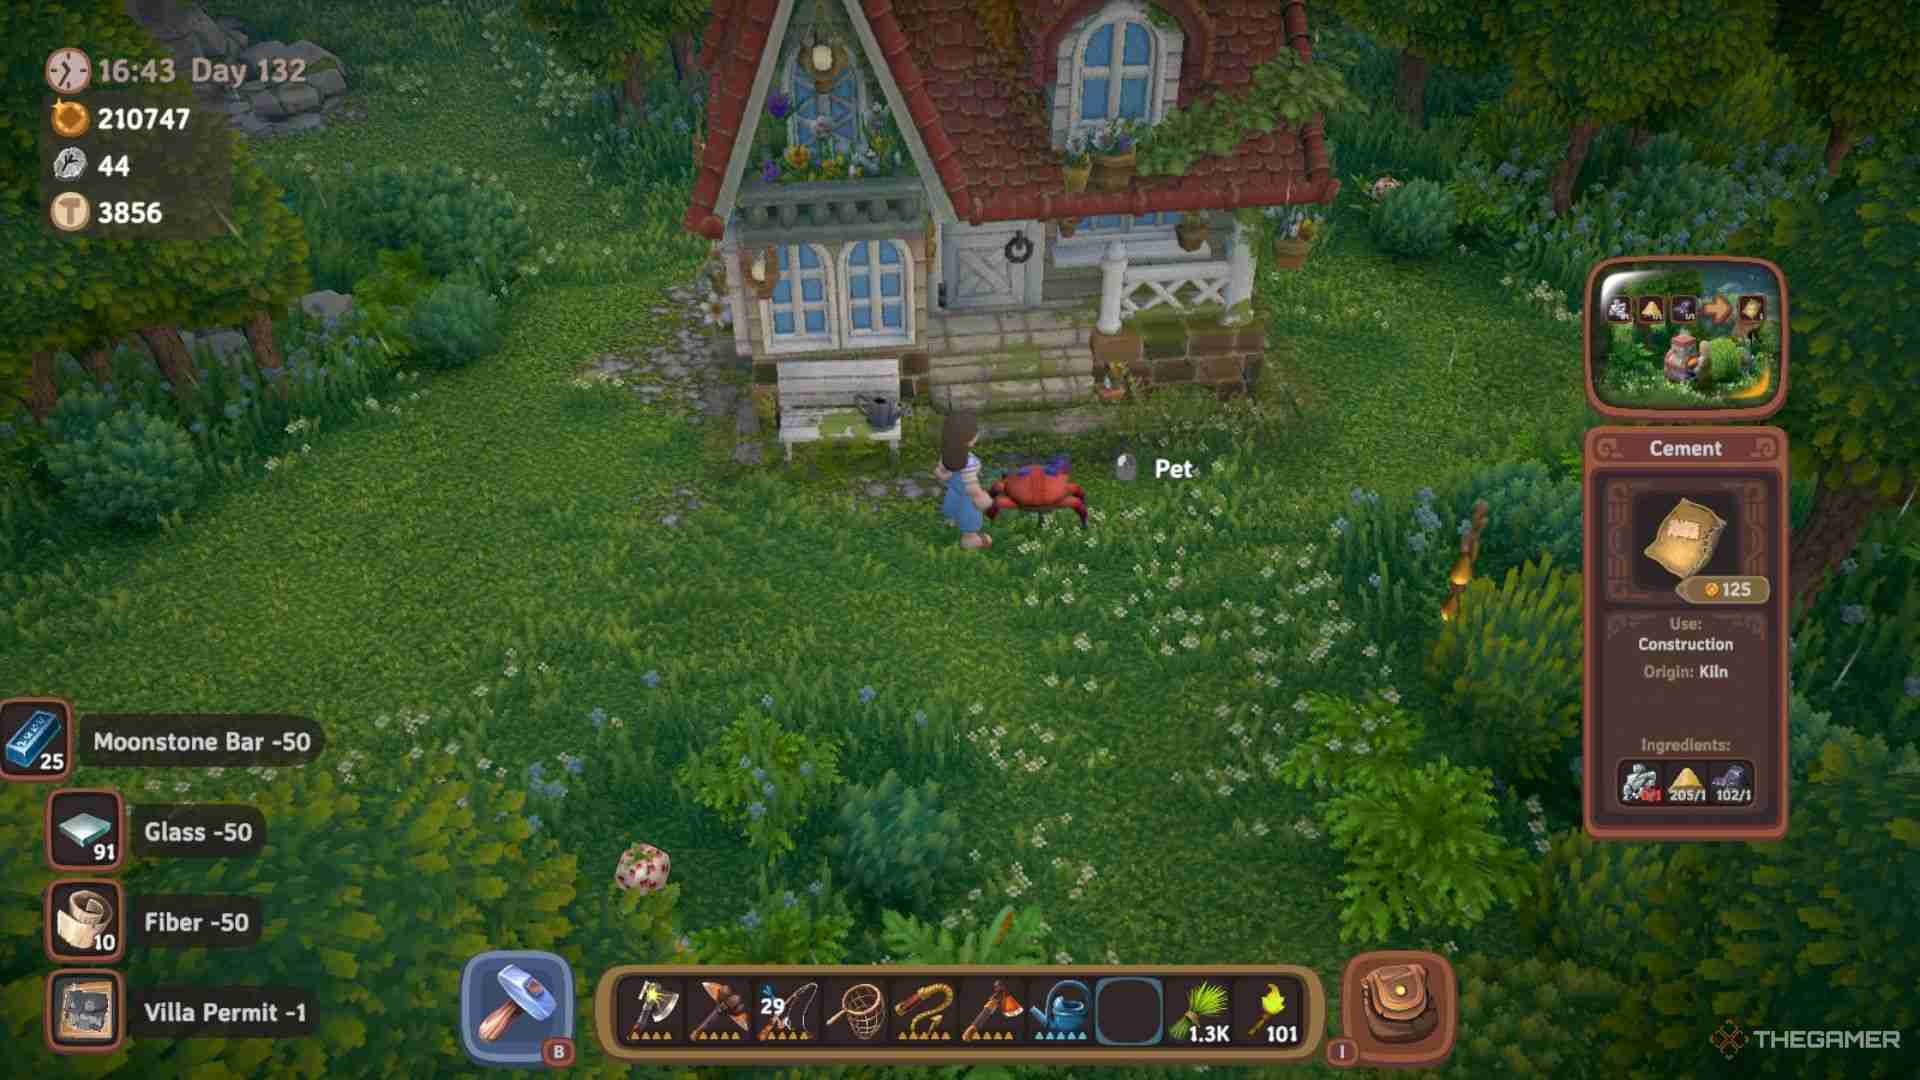
The next home expansion available is the Villa, which gives you another fully furnished structure with two beds, teleporters in the basement to the Forest and the Mountain, and takes up a seven-by-five-tile space.
The Red Chest containing the Villa's drawing on the Mountain and is located at the peak of the mountain the region is named for, and you're in for a lengthy trek up to the top of it.
You'll also find the critically important Propeller material at the top alongside the Red Chest, which you'll need to repair the boat on your farm.
Starting from the Cable Car platform, follow the path towards the northeast and all the way around to the northwestern corner of the map, where the area will begin to get extremely snowy, and you'll start to ascend the mountain once you're past a group of five Crow Snowman enemies.
You'll essentially be making a giant spiral around the mountain, but there are going to be numerous obstacles on your way up.
The most common are sections of giant snowballs that roll down in set patterns, and they'll kill you if they hit you, and make you need to restart the section from a short distance away.
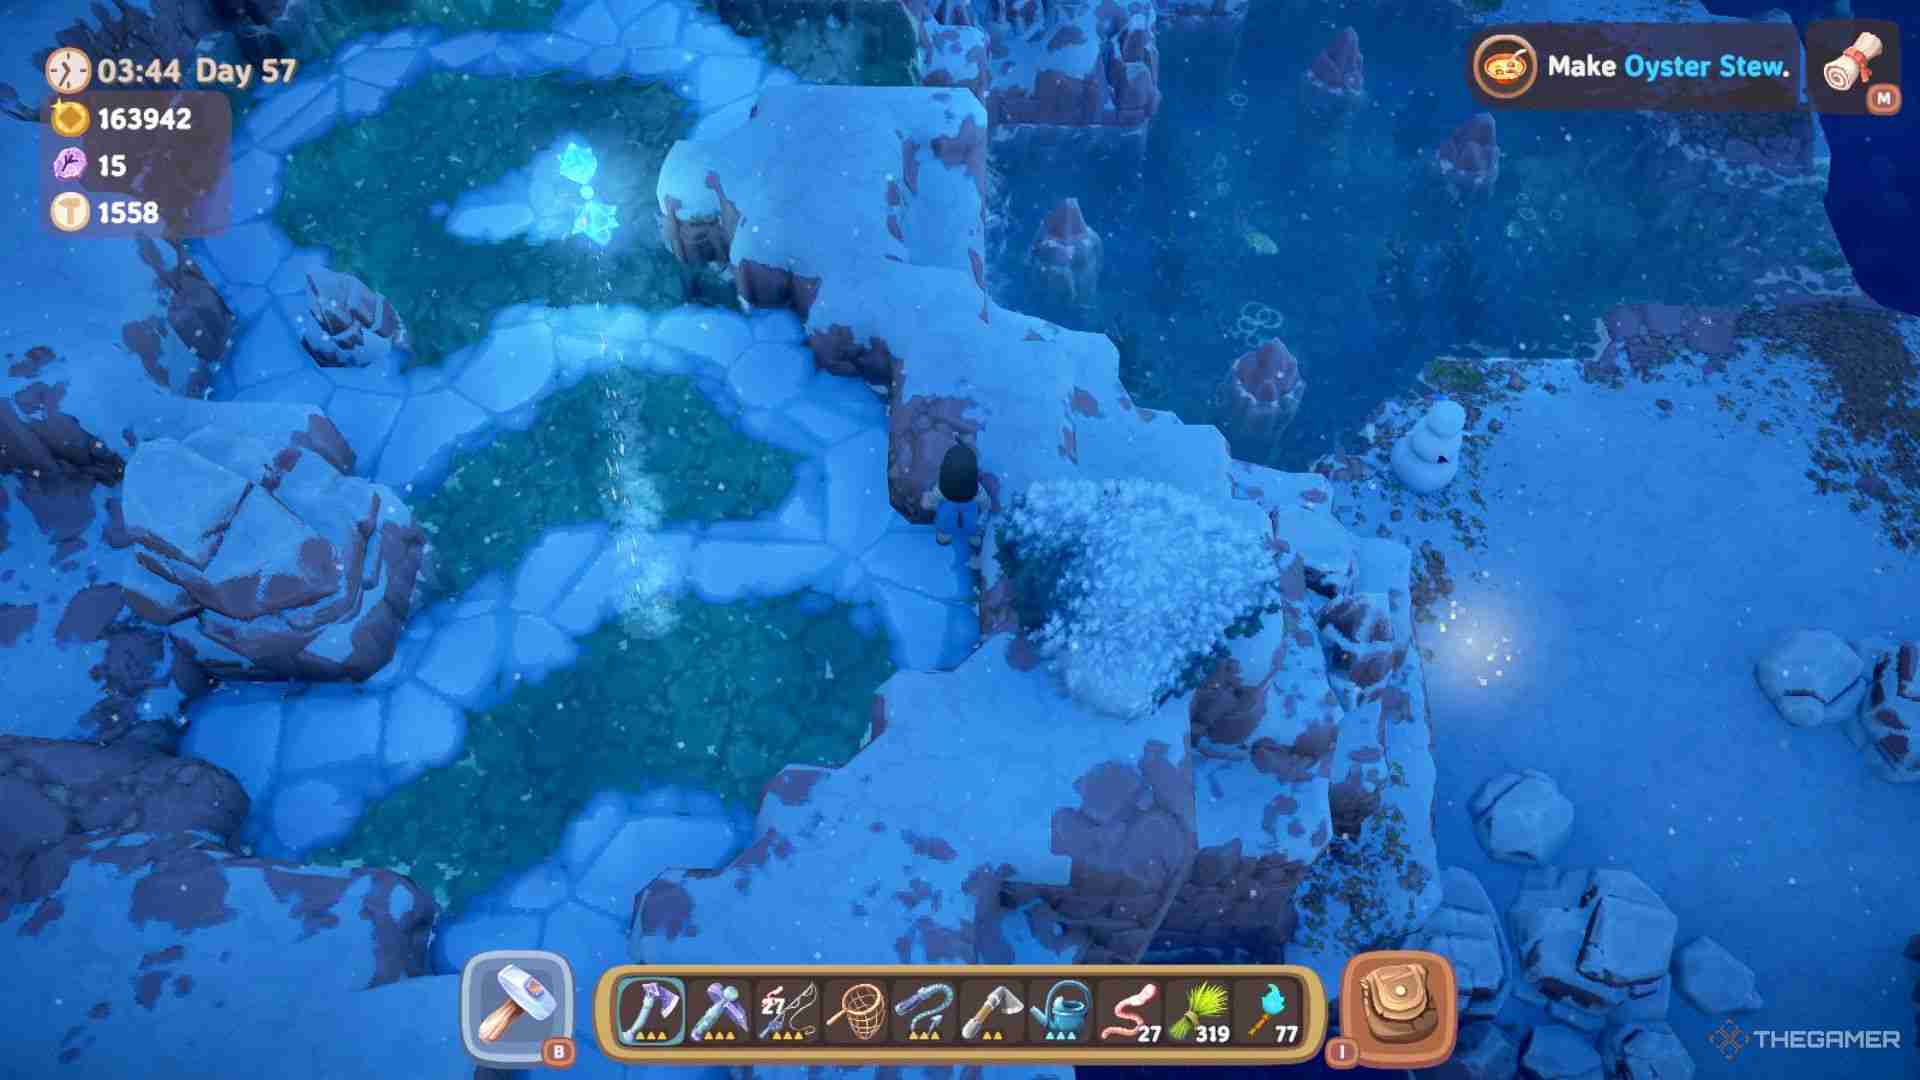
Alongside those, you'll deal with Snowstorm Prisms, crystals that shoot an icy beam while rotating back and forth, and you'll need to use rock formations around them to hide from the beam or else you'll be frozen to death.
Snowstorm Prism sections are always accompanied by an icy floor that makes you slide around when running on it.
The last obstacle you'll come across is a lot easier to deal with than the other two: scaffolding sections. These have tons of smaller snowballs falling on a ledge you need to go over, but the solution to them is using 10 Mountain Wood to fix the scaffolding tower nearby.
This will cover the ledge and block the snowballs from falling, allowing you to safely cross underneath it to the other side. These sections will alternate as you climb the mountain, though there are several areas you can pause at and shortcuts you can unlock by letting down ladders near the edges of cliffs.
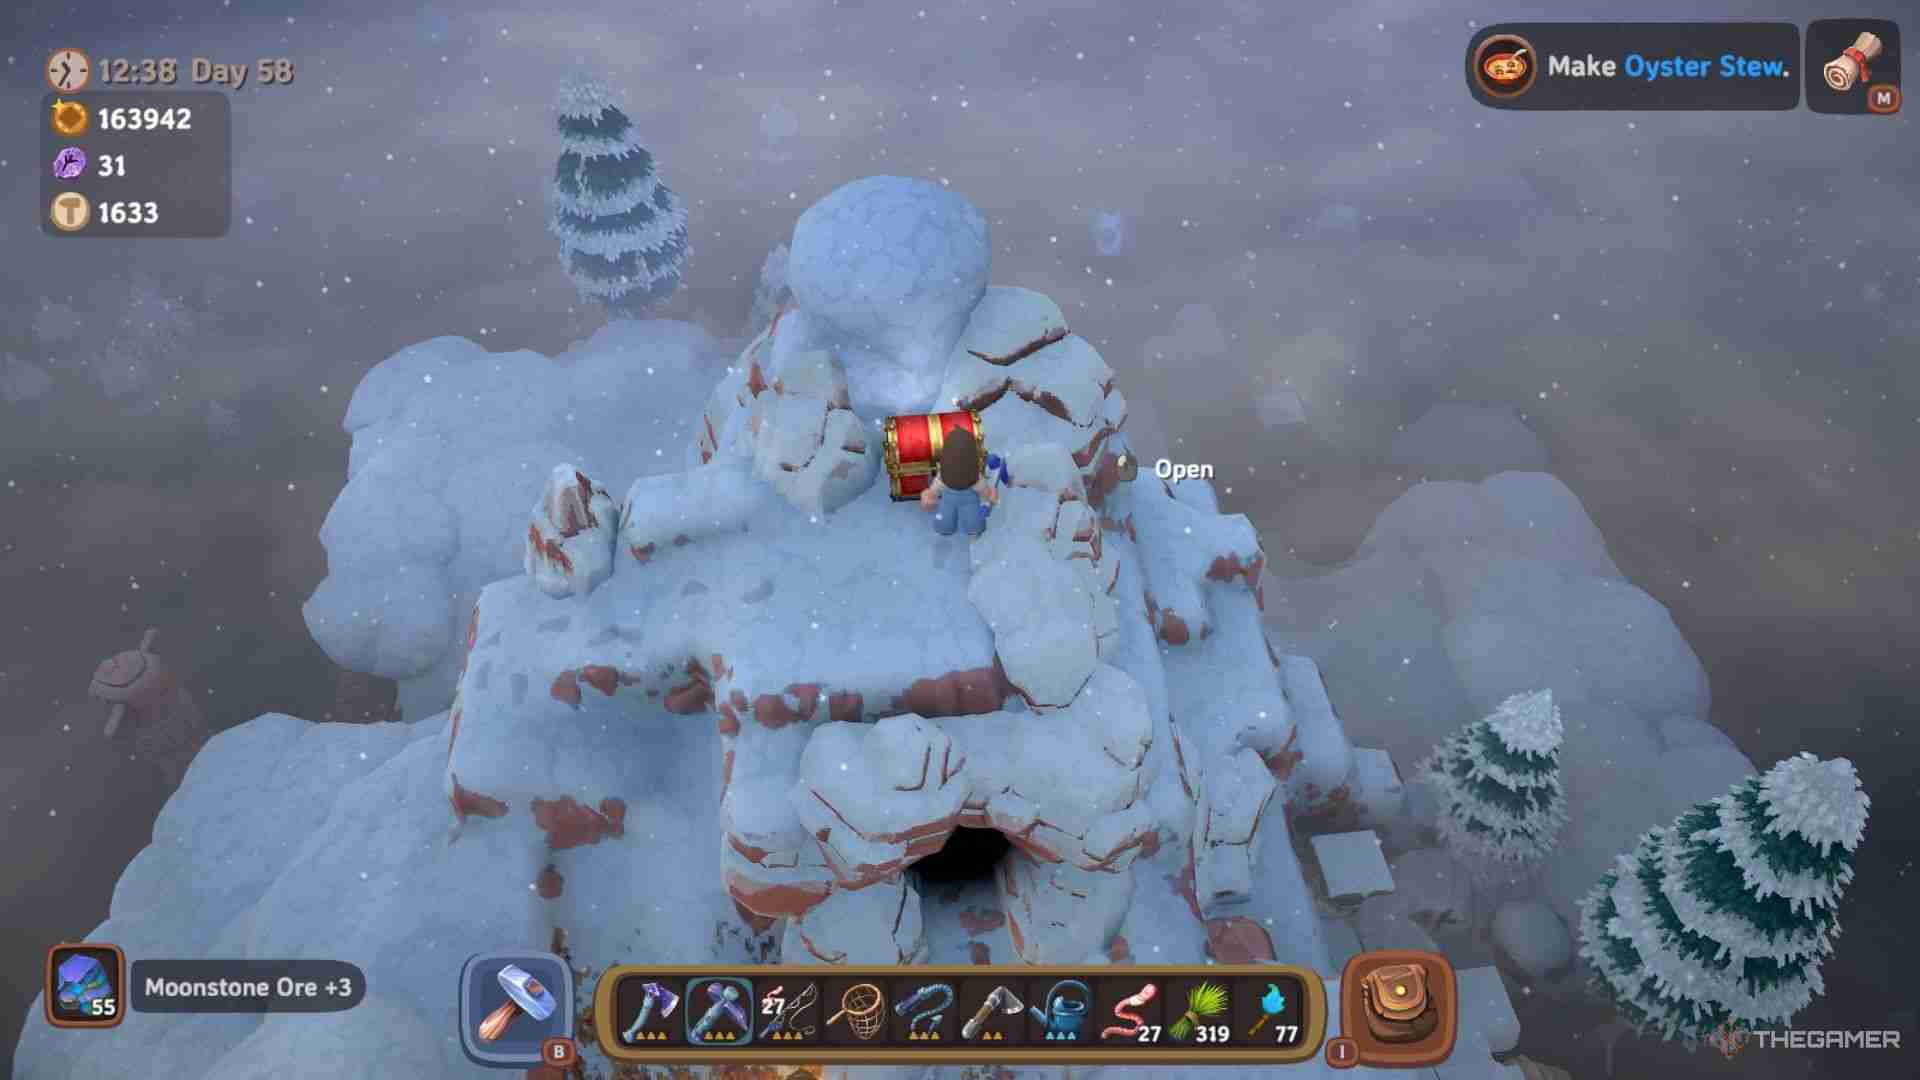
Halfway up the mountain, you can also find the Forsaken Mountain Temple, and next to it is a path into a cave system that has multiple shortcuts and connects the northern and southern halves of the region.
At the very top of the mountain, you'll find the second Red Chest in the game, and inside, you'll find the drawing for the Villa, alongside some regular loot, and you'll get the Mountain Explorer Achievement on top of it all.
Villa Material List
|
Villa Material |
How To Obtain |
|---|---|
| Cement x50 | Craft with Calcium, Sand, and Charcoal in a Kiln. |
| Clay x50 | Found in Treasure Piles or Treasure Chests in the Forest. |
| Scaffolding x25 | Purchased from the General Store once it's been repaired for 2,000 Gold each. |
| Mountain Wood Plank x150 | Refine Mountain Wood in a Sawmill. |
| Mountain Stone Block x150 | Refine Mountain Stone in a Sawmill. |
| Moonstone Bar x50 | Smelt Moonstone Ore in an Ore Smelter. |
| Glass x50 | Smelt Sand in a Kiln. |
| Fiber x50 | Refine Reeds in a Simple Workbench. |
| Villa Permit | Purchased from the General Store once it's been repaired for 50,000 Gold and you've obtained the Villa Drawing. |
How To Get The Castle
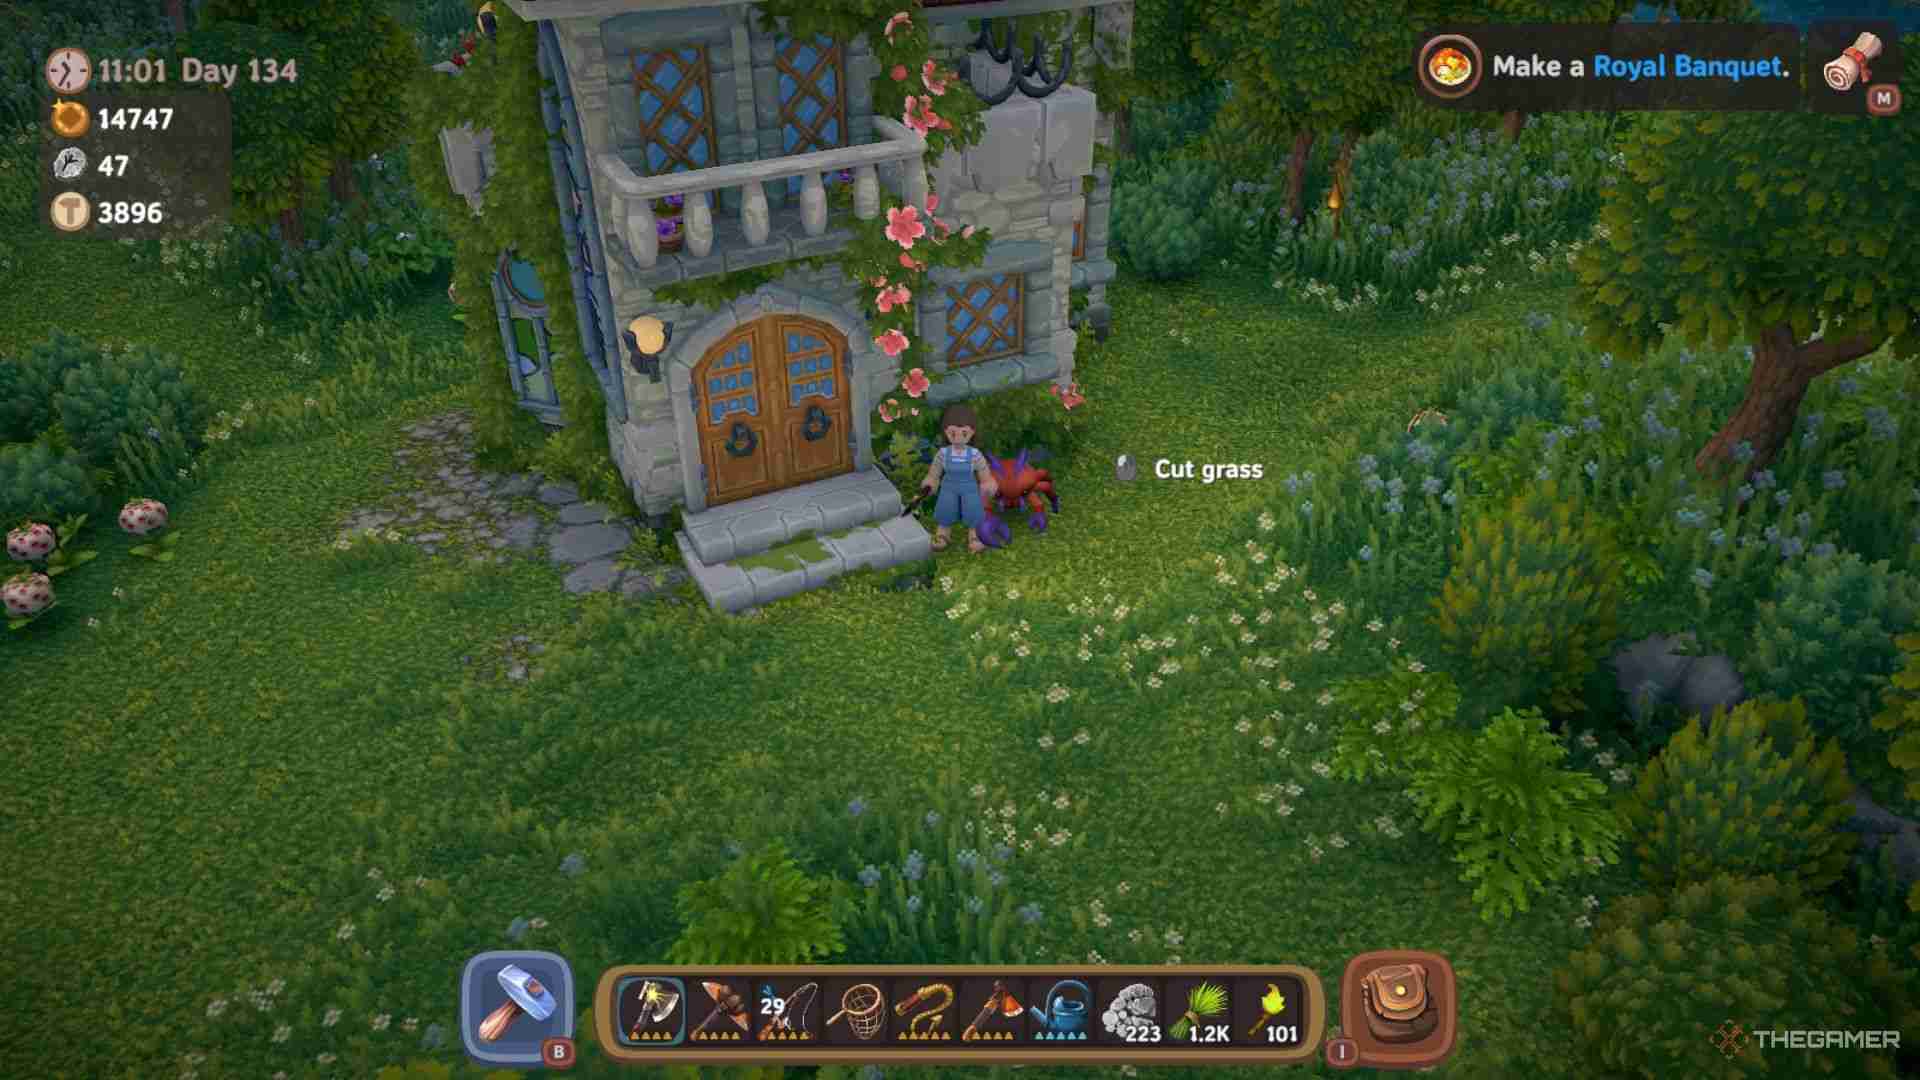
The Castle is the last home expansion you can get. It boasts the largest interior, the highest number of beds, and teleporters to all three regions for easy access.
In return for all that utility, it's also the most difficult to get, as you'll need to climb to the top of the volcano in the final region, the Jungle.
Starting from the boat's drop-off point, head northwest along the beach and into the trees, passing by the cave and when you reach the fork in the road, continue going northwest.
If you've started to explore the Jungle already and unlocked some of the shortcuts, you can also start at the ladder shortcut near the Mushroom Man's store or go through the cave system's shortcuts and reach the Volcano from there.
Pass by the Skeleton Slime at the four-way split in the road and take the path closest to the lava flow, following it along until you see the grass start to get brown and there's a stone archway in front of a Slope.
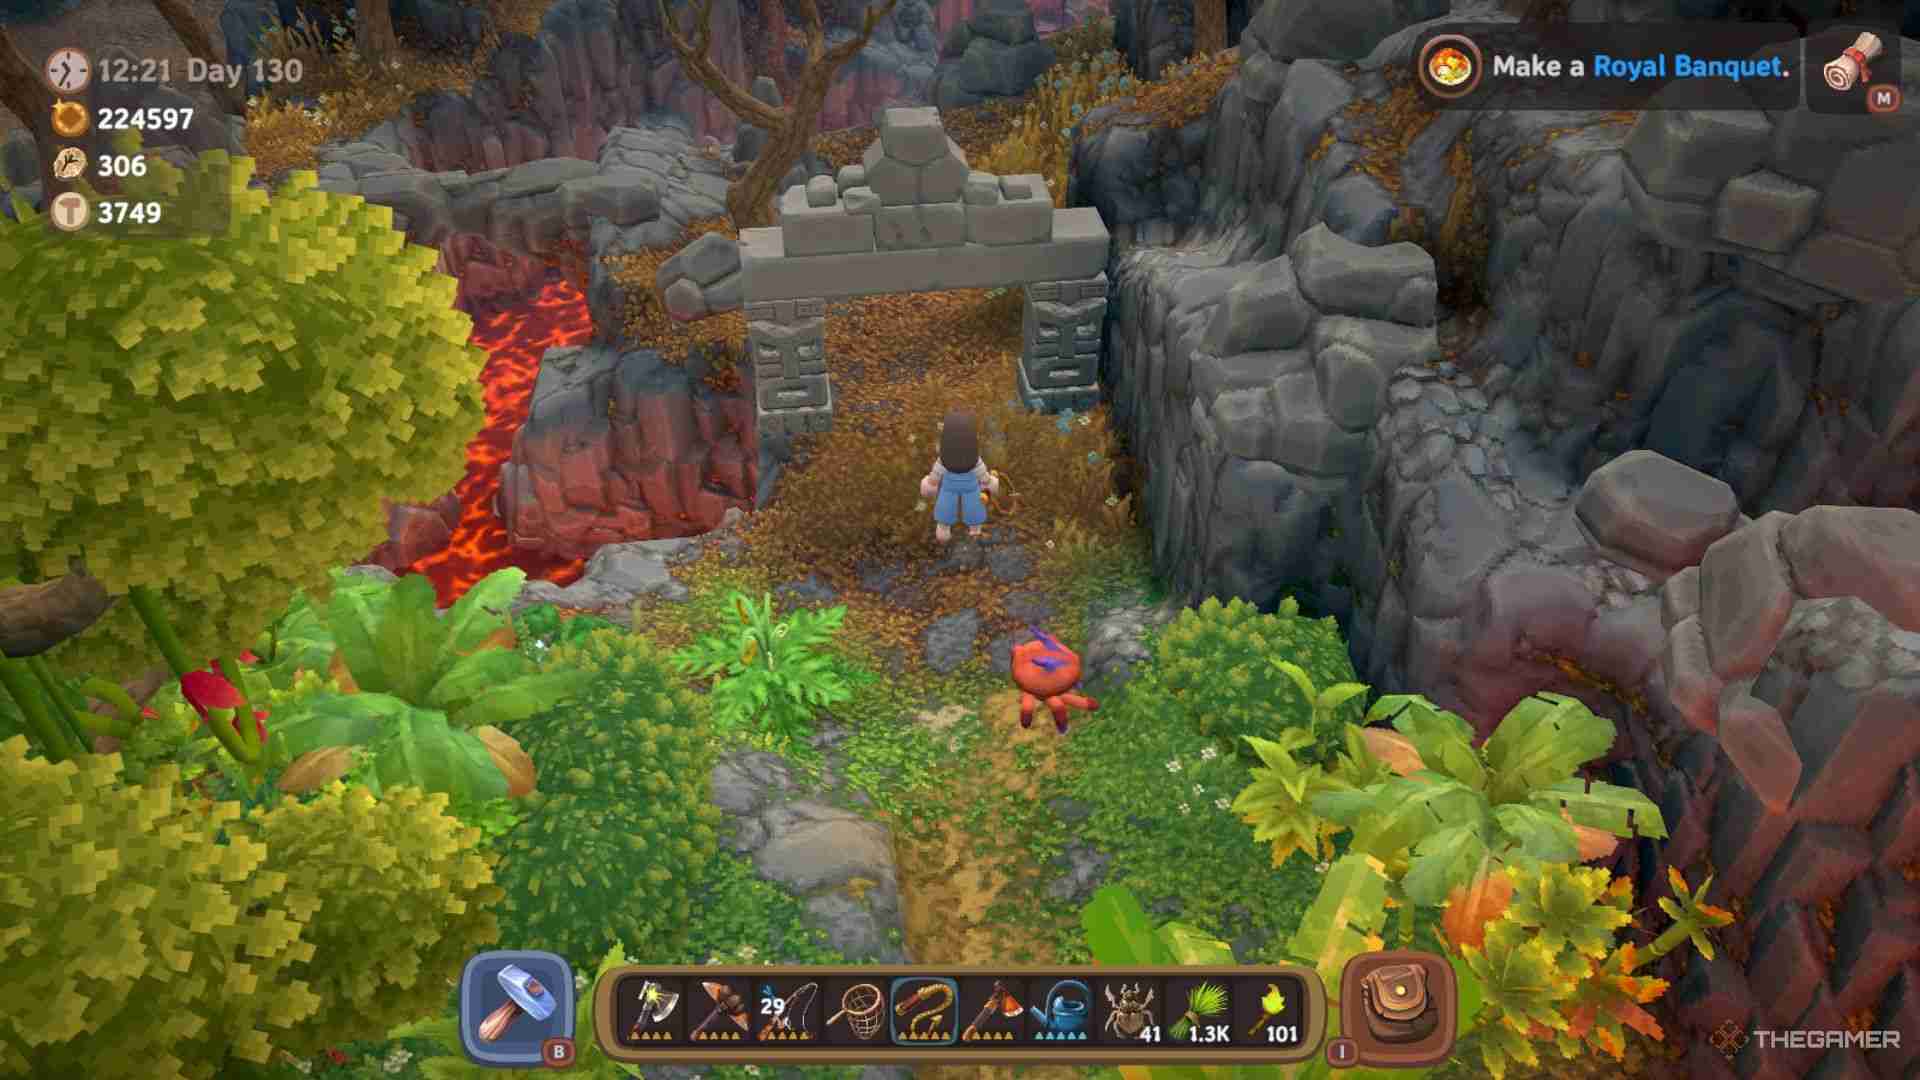
This is the entrance to the volcano, and it'll have a lengthy series of lava-based puzzles instead of snow-based ones like the prior trip. Follow the edge around until you reach the first lava lake puzzle.
This area's three main obstacles you have to deal with are:
- Cracked stone tiles that can be walked on but disappear after a few seconds and take time to reappear.
- Moving stone tiles, which move along set paths in the lava, but don't disappear when standing on them.
- Blocked stone tiles, which have either a small or large Jungle Boulder on them that needs to be broken before they're usable.
You can fall in between the cracked square tiles as they disappear if you're traveling across them diagonally.
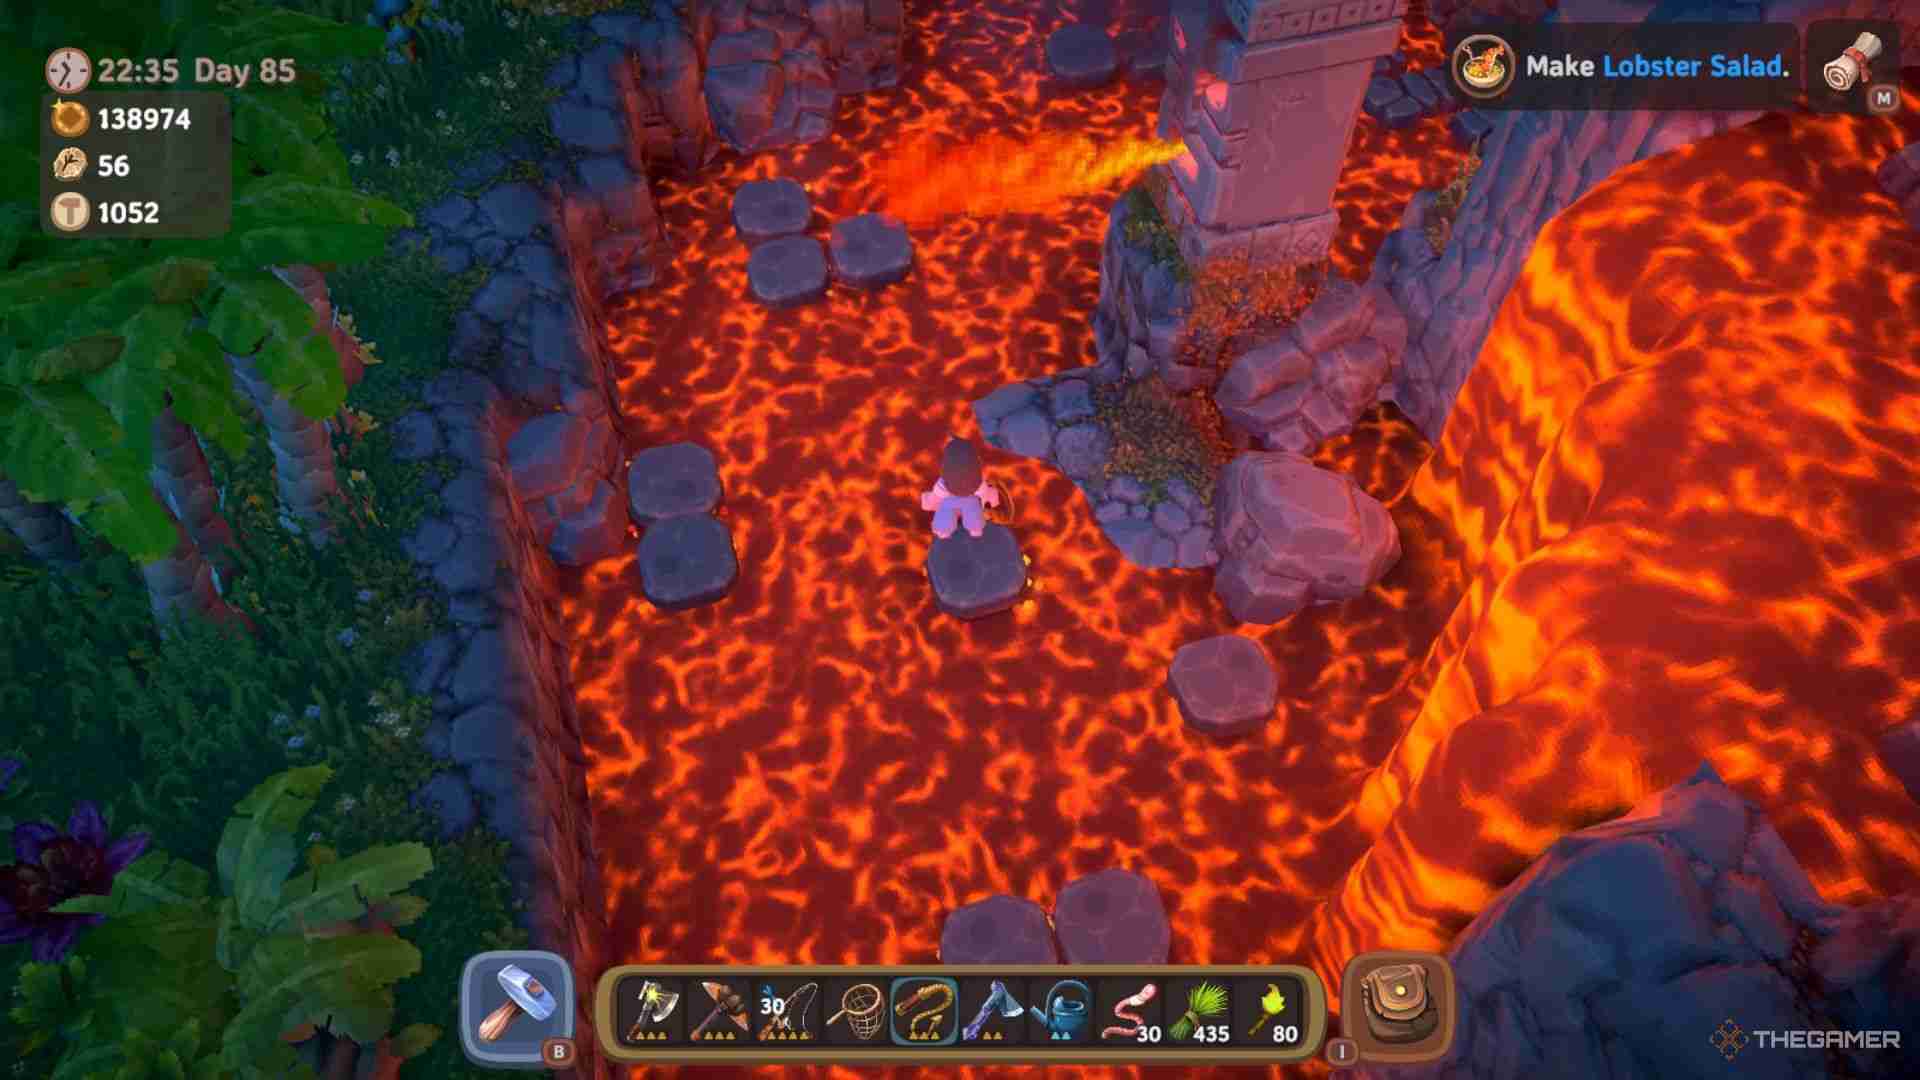
Once you're across the first puzzle, keep going around the edge until you reach the next lava lake, and this is when the moving stone tiles begin to appear.
Watch their patterns, then navigate over them until you reach the end where there's a forked path of cracked square tiles. The left leads to a platform with a Druidic Tribute Statue, while you can head right to continue going up the volcano.
At the third lava lake, you'll have a combination of cracked stone tiles and moving stone tiles. Make sure to time it so that when you move across the cracked tiles, the connecting moving tile is three-fourths of the way there, so you have enough time to cross without rushing.
You don't need to worry about the fire-breathing statues killing you in any section, as the fires are too high up to reach you.
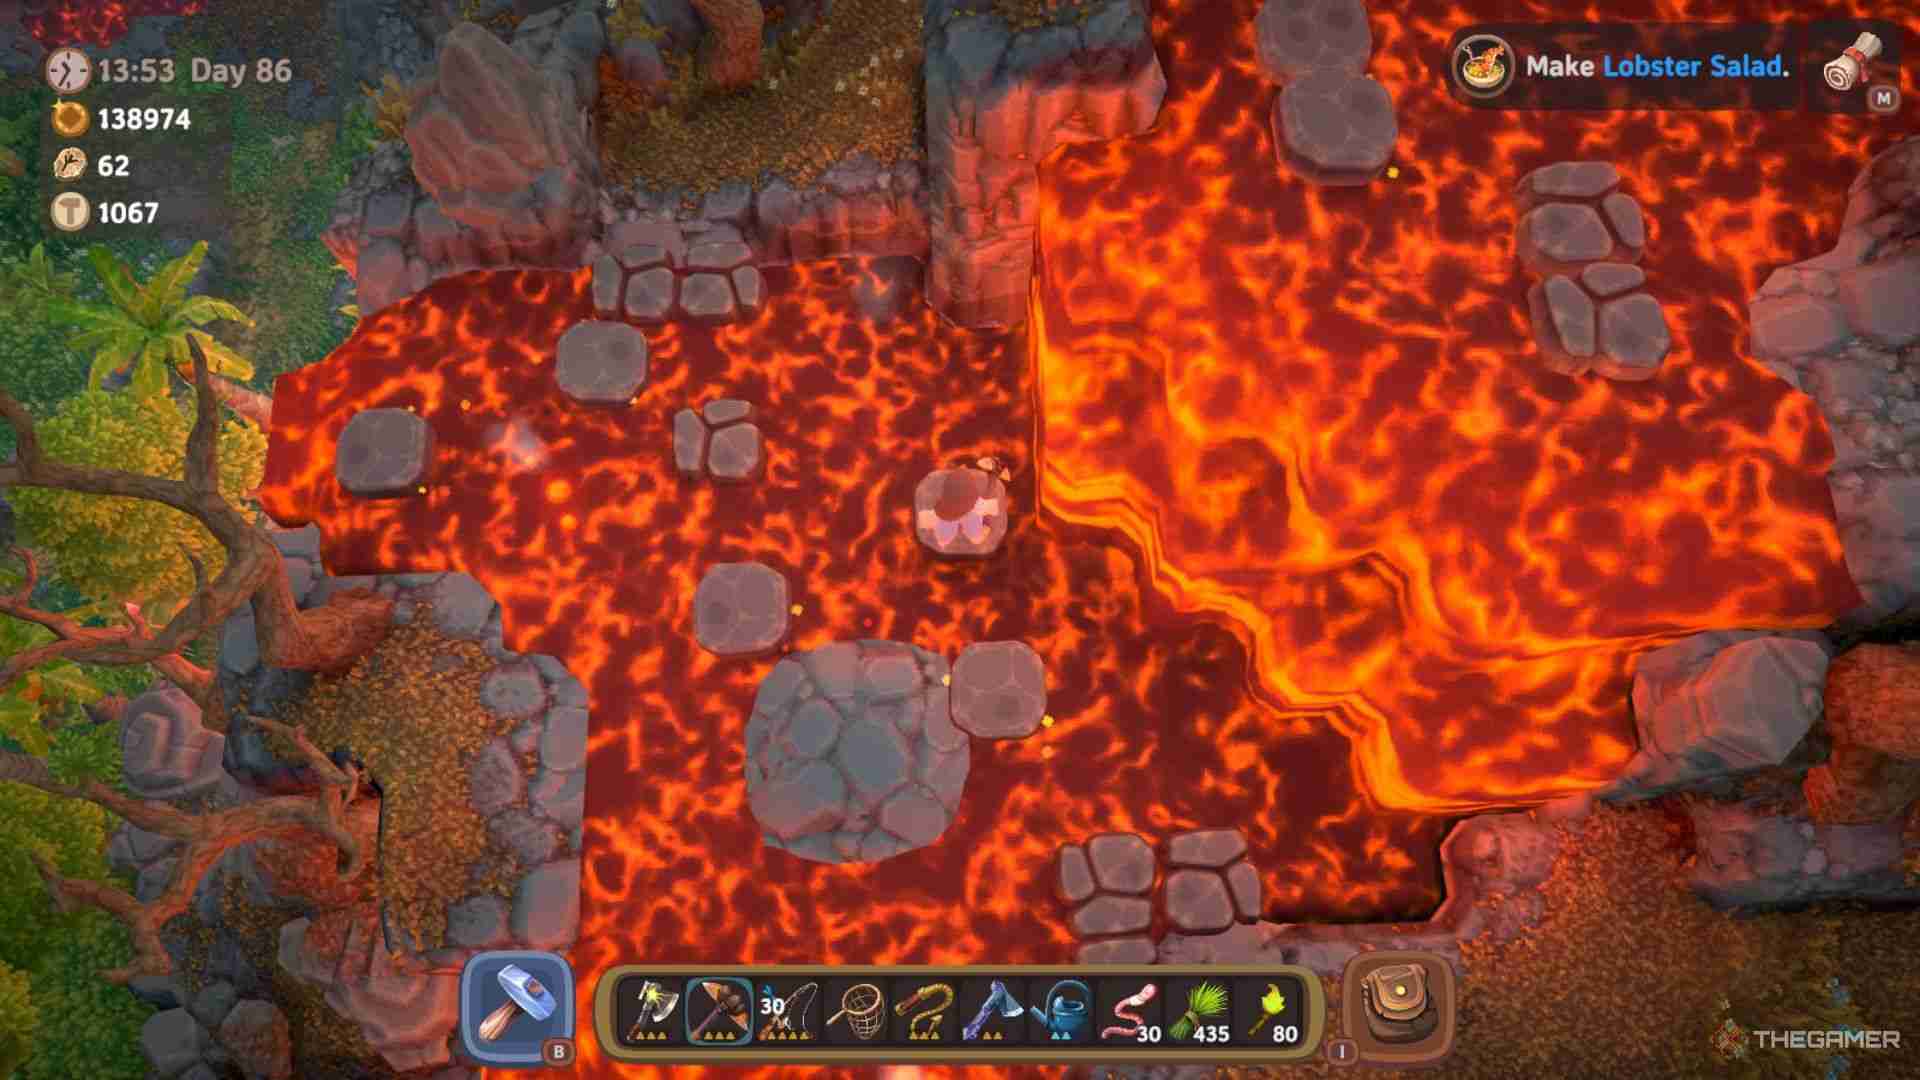
On the other side, you'll have the first shortcut ladder you can drop and two paths with lava lakes. Taking the lower one will lead you to a chest, but the one above will keep you on the path to the top.
Starting at this longer lava lake, you'll need to move between moving tiles, then cross a large section of cracked ones and time it so you get onto the tile at the end.
Head across the grass section, then cross the next section, which introduces the breakable boulders that make safe zones, and at the next crossing, you'll need to break a boulder while running back and forth over the cracked tiles that break.
For the rest of the trip, you'll be dealing with more lava lakes with breakable boulders for safe tiles, and a variety of moving tiles, many of which have a main path, and a secondary path that leads to small areas with chests.
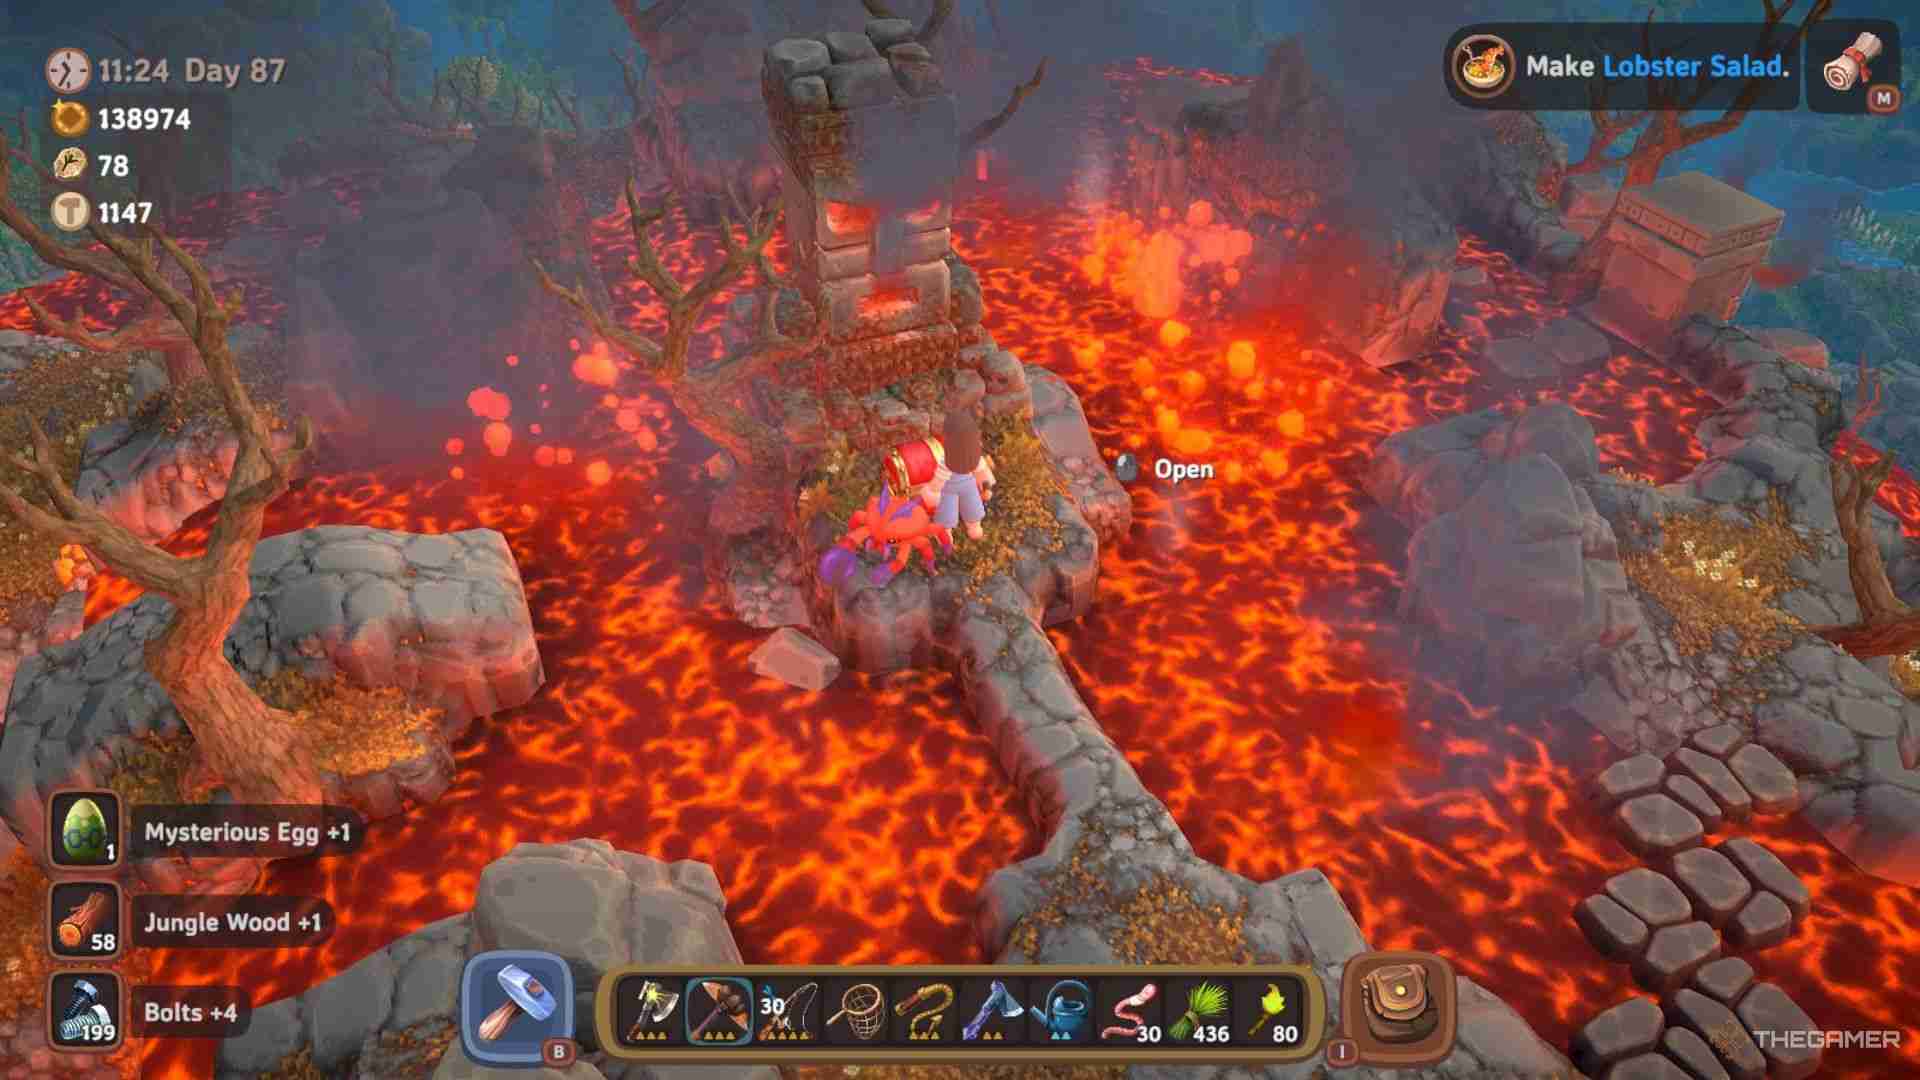
Make sure to keep unlocking the shortcuts as you make your way up, and at the very top, you'll find a large platform with an Orange Chest containing a Luma Egg.
Walk across the pathway to the island under the statue and open the Red Chest for the final house blueprint, the Castle.
Castle Material List
|
Castle Material |
How To Obtain |
|---|---|
| Cement x100 | Craft with Calcium, Sand, and Charcoal in a Kiln. |
| Box Of Nails x100 | Found in Treasure Piles and Treasure Chests in the Forest. |
| Scaffolding x125 | Purchased from the General Store for 2,000 Gold each. |
| Jungle Wood Plank x200 | Refine Jungle Wood in a Sawmill. |
| Jungle Stone Block x200 | Refine Jungle Stone in a Sawmill. |
| Volcanic Bar x100 | Smelt Volcanic Ore in an Ore Smelter. |
| Glass x100 | Smelt Sand in a Kiln. |
| Bolts x100 | Found in Treasure Piles and Treasure Chests in the Mountain. |
| Castle Permit | Purchase from the General Store for 100,000 Gold. |
The above is the detailed content of Luma Island: How To Get A House. For more information, please follow other related articles on the PHP Chinese website!

Hot AI Tools

Undresser.AI Undress
AI-powered app for creating realistic nude photos

AI Clothes Remover
Online AI tool for removing clothes from photos.

Undress AI Tool
Undress images for free

Clothoff.io
AI clothes remover

Video Face Swap
Swap faces in any video effortlessly with our completely free AI face swap tool!

Hot Article

Hot Tools

Notepad++7.3.1
Easy-to-use and free code editor

SublimeText3 Chinese version
Chinese version, very easy to use

Zend Studio 13.0.1
Powerful PHP integrated development environment

Dreamweaver CS6
Visual web development tools

SublimeText3 Mac version
God-level code editing software (SublimeText3)

Hot Topics
 1662
1662
 14
14
 1419
1419
 52
52
 1313
1313
 25
25
 1262
1262
 29
29
 1235
1235
 24
24
 Roblox: Grow A Garden - Complete Mutation Guide
Apr 18, 2025 am 01:10 AM
Maximize your profits in Roblox's Grow A Garden by understanding the lucrative world of crop mutations! These rare variations significantly boost your harvest's value. While you can't directly control mutations, knowing how they work provides a signi
 Roblox: Bubble Gum Simulator Infinity - How To Get And Use Royal Keys
Apr 16, 2025 am 11:05 AM
Royal Keys are some of the most valuable items you can find in Roblox's Bubble Gum Simulator Infinity. These rare tools allow you to open Royal Chests — limited-time loot containers packed with high-tier items, boosts, and even ultra-rare rewards. If
 Blue Prince: How To Get To The Basement
Apr 11, 2025 am 04:04 AM
Unlocking the Basement in Blue Prince: A Comprehensive Guide Finding the basement in Blue Prince is crucial for progressing to Room 46, but its location and access method aren't immediately obvious. This guide will walk you through accessing the base
 Mandragora: Whispers Of The Witch Tree - How To Unlock The Grappling Hook
Apr 18, 2025 am 12:53 AM
Mandragora's dungeons offer Metroidvania-style challenges, requiring players to revisit earlier areas with newly acquired tools. The grappling hook is a prime example, enabling rapid traversal of long distances. While this crucial tool is obtained r
 Nordhold: Fusion System, Explained
Apr 16, 2025 am 04:07 AM
Nordhold Tower Fusion Guide: Synergistic Tower Combinations for Enhanced Defense Mastering tower combinations in Nordhold is key to effective base defense. Certain towers synergize exceptionally well, creating powerful defensive strategies. This gui
 Best Classes & Specs to Play or Main in World of Warcraft 2025
Apr 08, 2025 am 10:59 AM
World of Warcraft Patch 11.1 Class Tier List: Conquer the Realm! Planning your World of Warcraft (2025) journey in Patch 11.1? After extensive testing and adjustments, several classes have emerged as top contenders. This guide highlights the best ch
 Blue Prince: Upgrade Disk Guide
Apr 12, 2025 am 11:34 AM
Upgrade Disks are some of the most powerful and valuable items you’ll find in Blue Prince. While they’re not needed to reach Room 46, they make your runs smoother, your puzzles easier, and your odds of survival higher. If you’re lucky enough to find
 Sephiria: 8 Beginner Tips
Apr 10, 2025 pm 10:08 PM
Sephiria: Adventures in the Pixel World Sephiria attracts players with its cute pixel style and smooth operation, but the difficulty of its dungeon adventures gradually increases as they go deeper. From unpredictable bosses to a wide variety of enemies, the game is full of challenges. However, the game's extensive equipment and weapon systems allow players to choose unique combat styles to cope with these challenges. In addition, mastering some tips and strategies will help to better explore this mysterious world. Master sprint and blocking skills Sephiria's core combat mechanics are similar to many roguelike hacking and slashing games. This means that sprint (or dodge) and blocking will be the most effective combat skills in the game. Always pay attention to enemies when sprinting


