 Mobile Game Tutorial
 Mobile Game Guide
 Dragon Age: The Veilguard - Through The Shadows Walkthrough
Dragon Age: The Veilguard - Through The Shadows Walkthrough
Through the Shadows is Bellara’s final companion quest in Dragon Age: The Veilguard. You follow Bellara through the Arlathan Forest in an attempt to stop Anaris’ ritual that endangers the entire region. The quest also concludes the storyline of Bellara’s brother, Cyrian. You must have completed Blood of Arlathan and spoken to Bellara during Hummingbird’s Lament to unlock this quest.
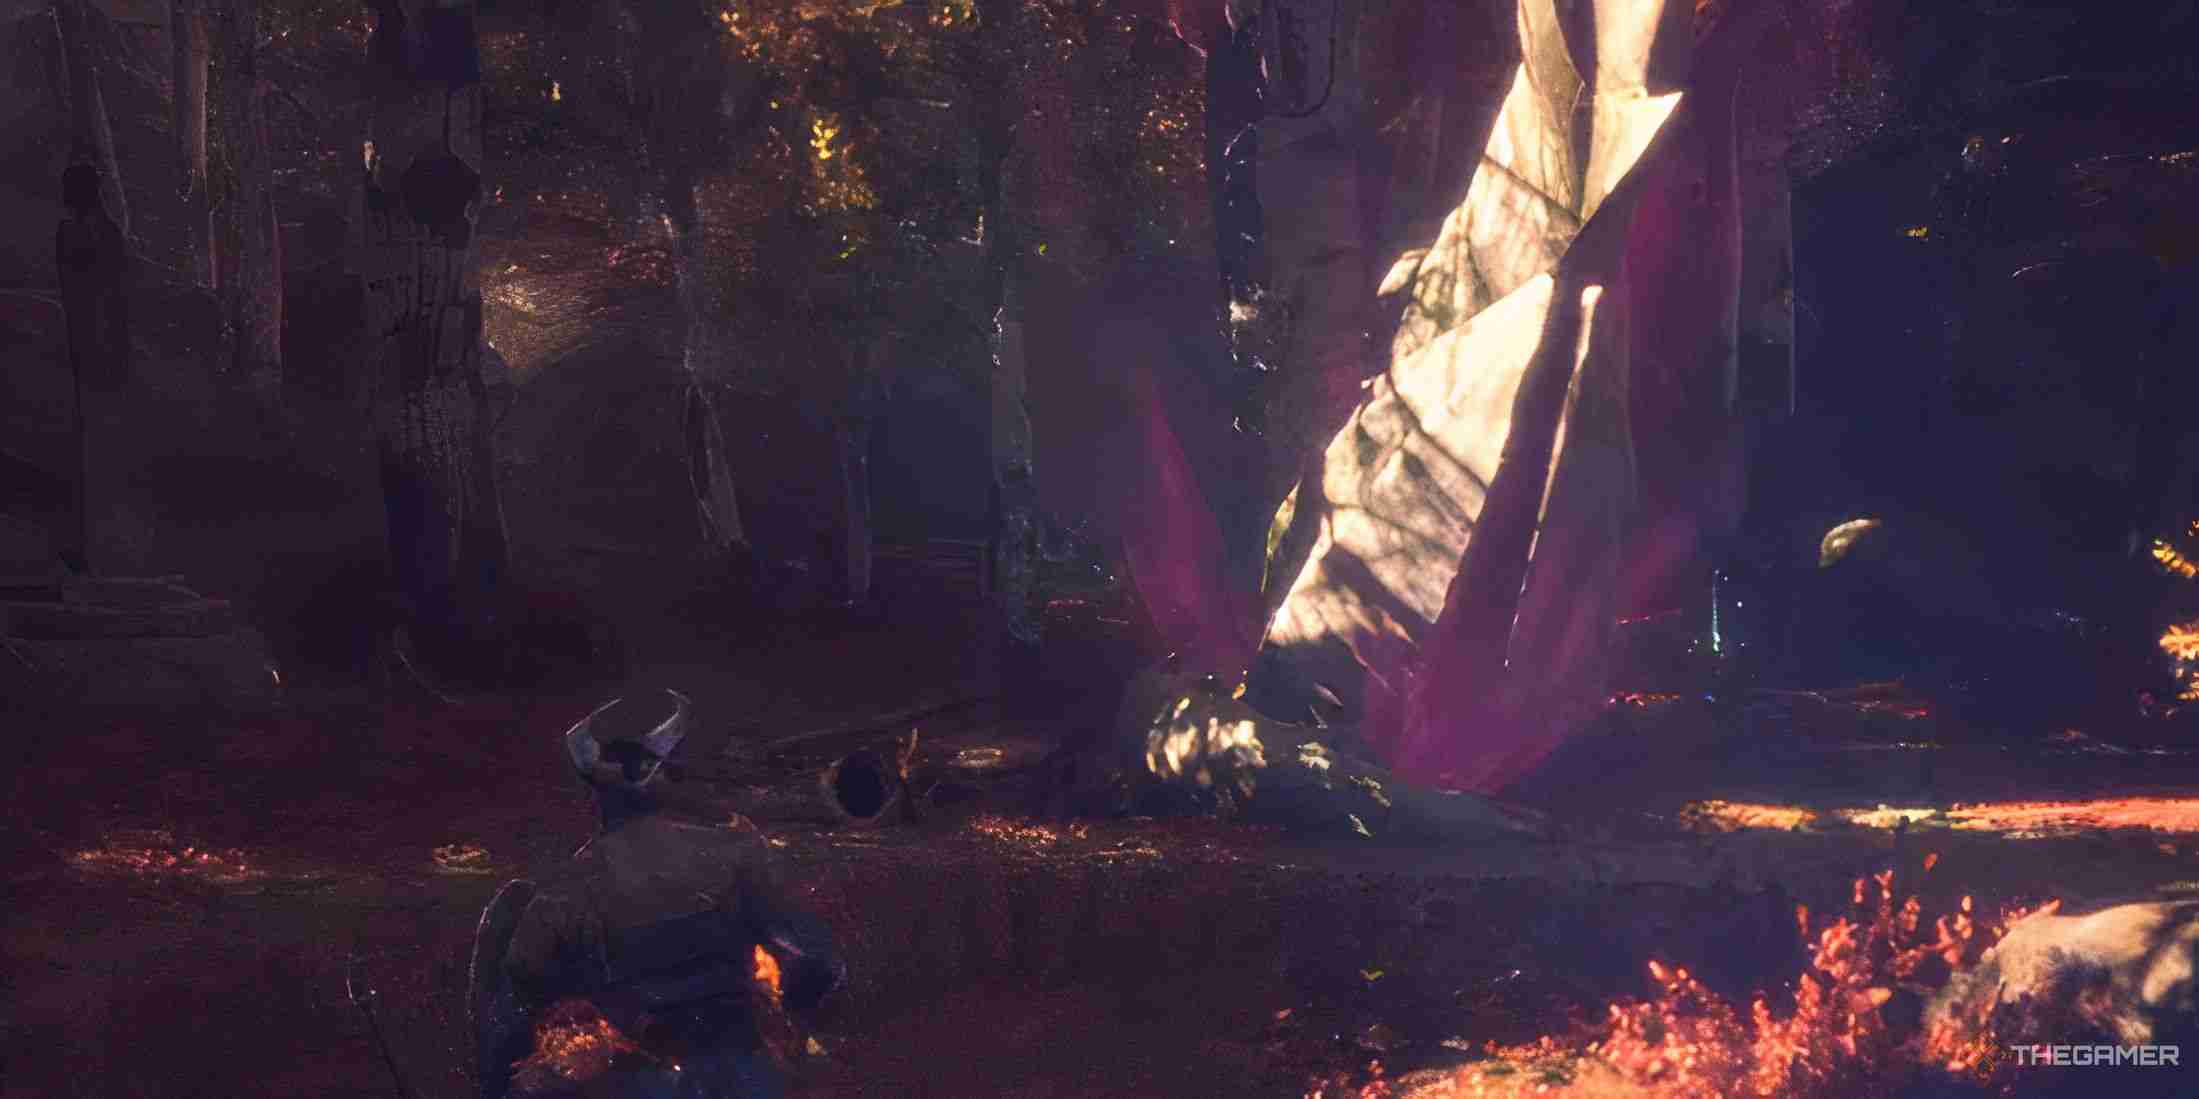
This guide will walk you through everything you need to know about completing Through the Shadows, finding all the collectibles along the way and banishing Anaris from this world once and for all.
Find The Ritual Site
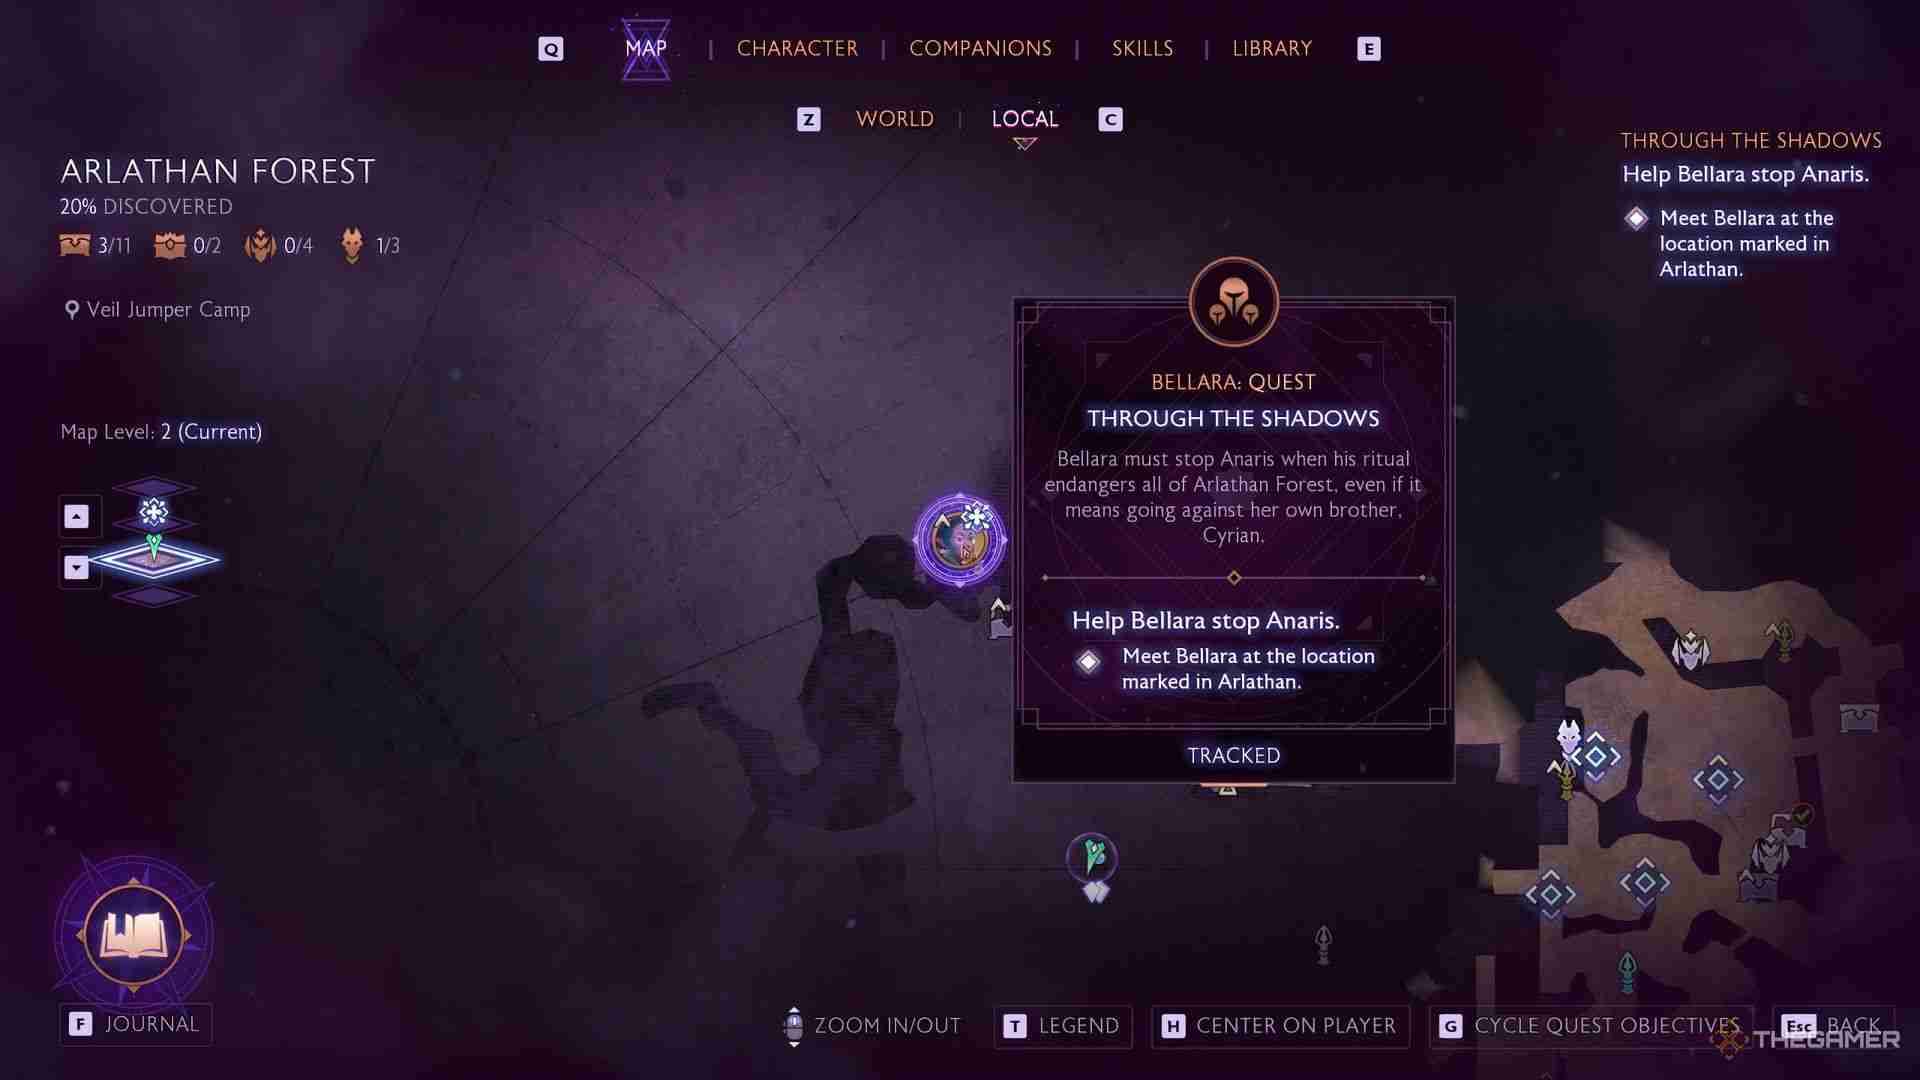
Begin by heading to the northwest section of the Arlathan Forest. There is a Fast Travel beacon nearby, which you can unlock during the Magic of the Ancients quest. Speak with Bellara to learn that the ritual has already started. Your dialogue choice has no implication here, so choose whatever suits Rook’s personality the most. Continue along the only path you can take, cross the bridge, and up a small hill.
Before heading up the stairs toward the objective marker, search the area on the left (with a large crystal in the middle) to collect a Memento, a Codex Entry, and a Grenade Belt.
Activate The Bridge
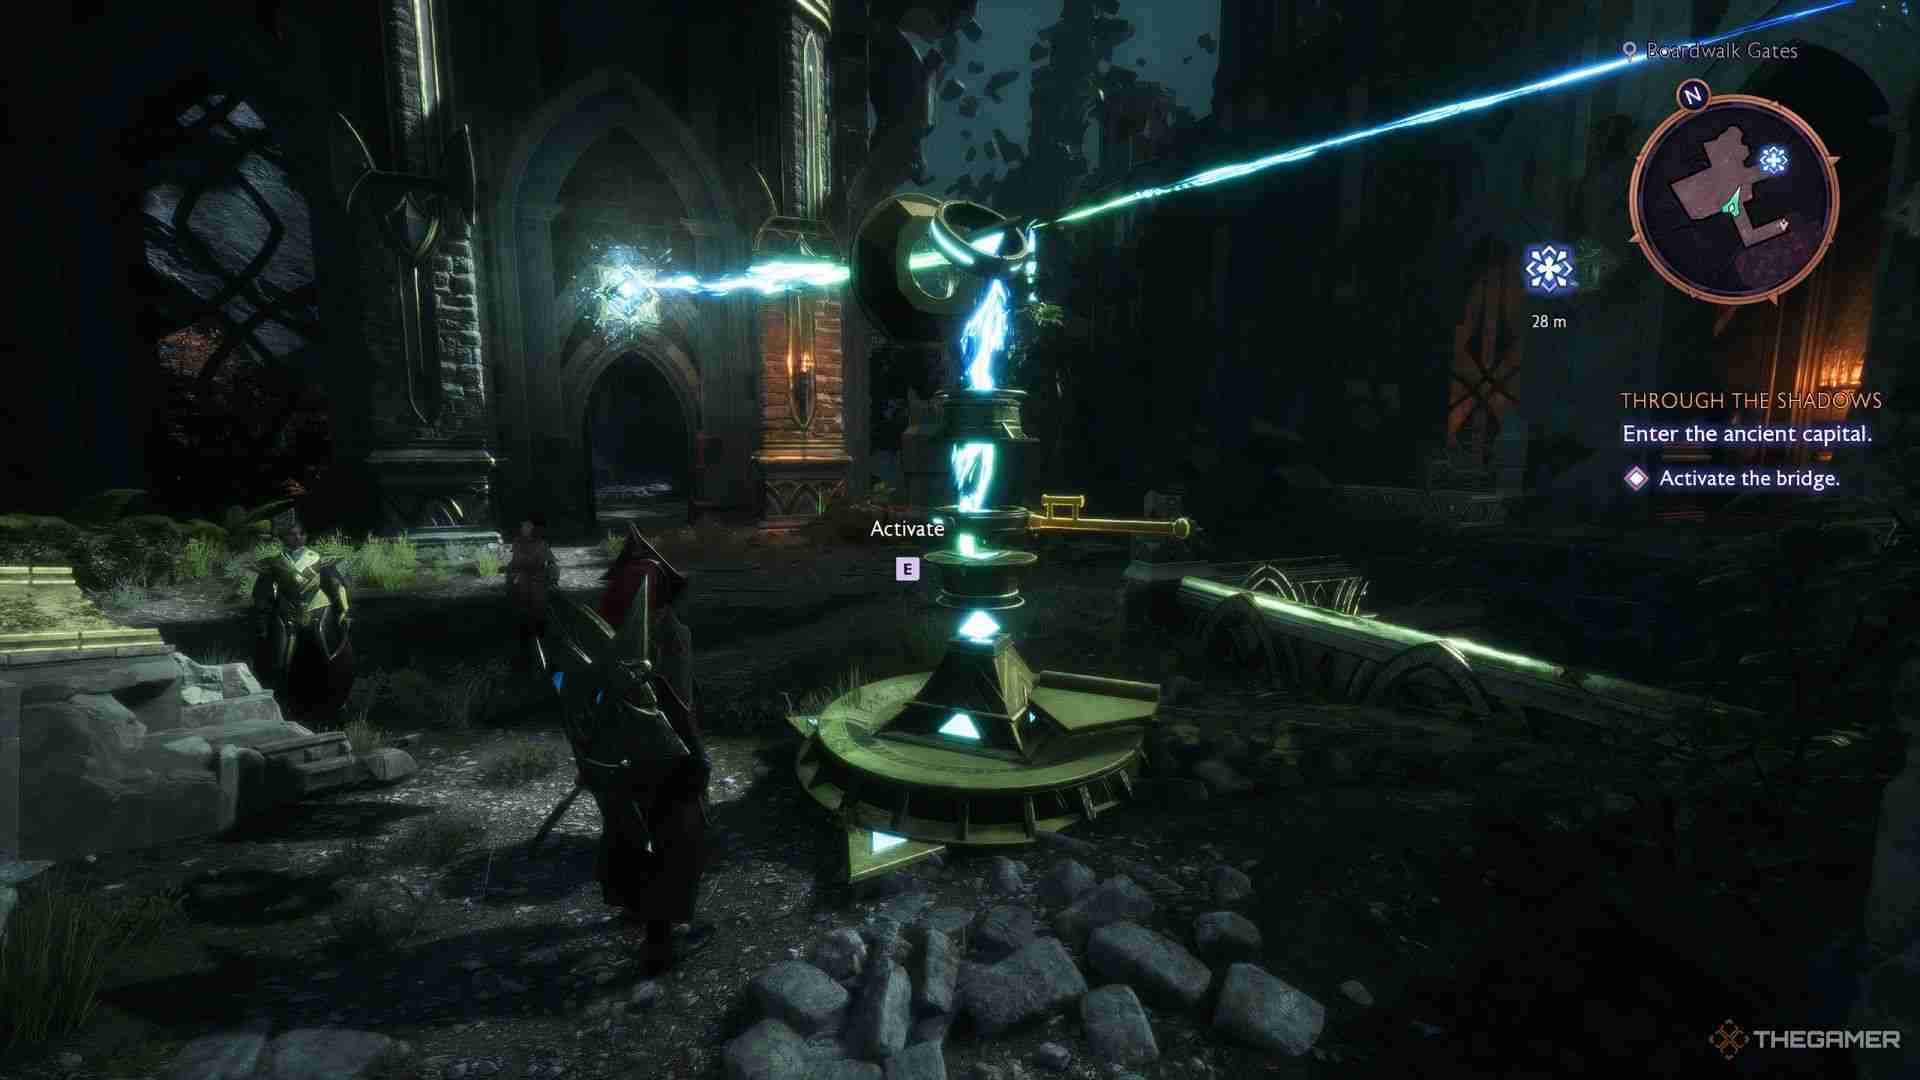
Go up the stairs to come across a puzzle involving crystal beams that must be redirected toward the main door. To solve the puzzle, redirect the beam directly above the northern door. This allows you to reach the second beam. Point it at the main door before jumping down. Now redirect the first beam toward the main door to build a bridge leading to the next area.
Delay The Ritual
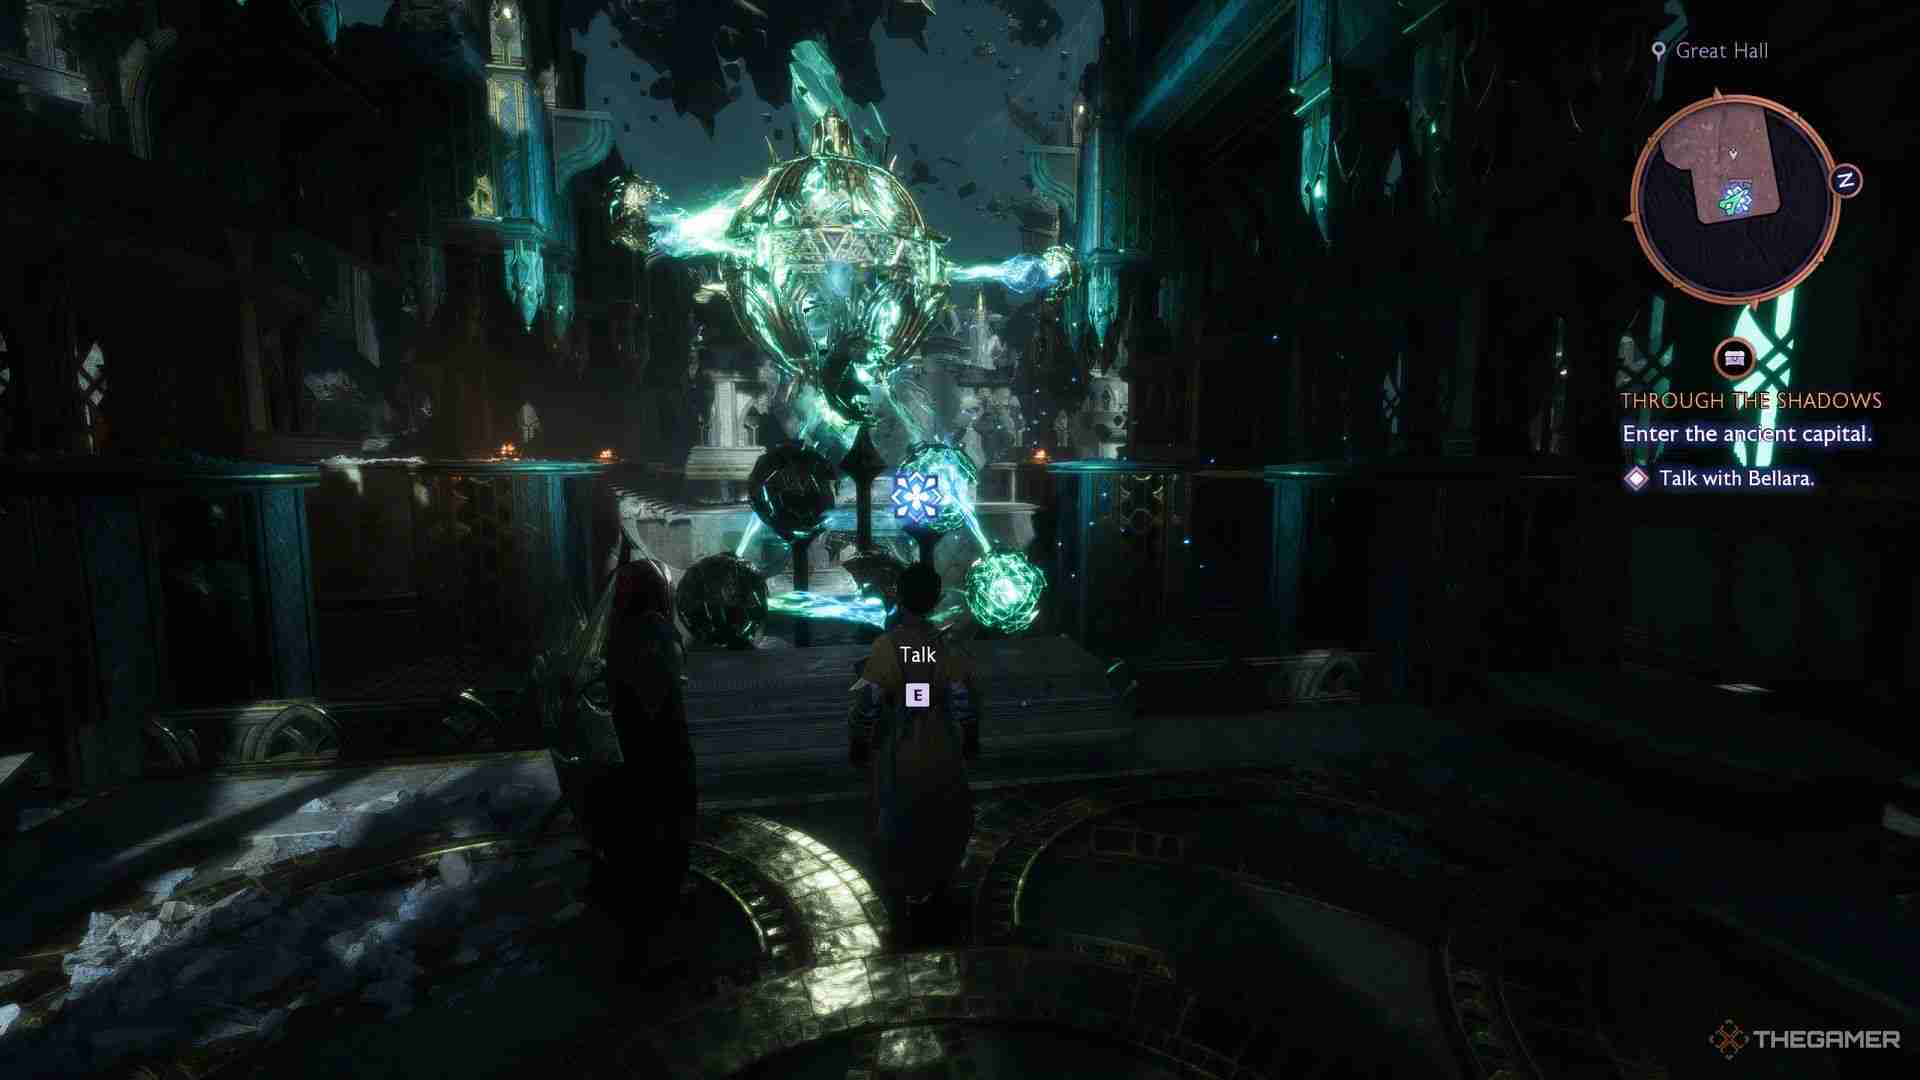
Cross the bridge to reach a new area with a large crystal in the center. Speak with Bellara to learn that the crystal is amplifying the magic and must be destroyed to delay the ritual. To do this, activate the mechanism on the farthest platform, destroy three amplifiers in the area, and fend off Anaris’ minions. You will need to do this a total of three times to open the path. Here is a complete list of enemies you will face in this area, alongside their weaknesses:
|
Enemy |
Vulnerable |
Resistant |
|---|---|---|
| Energy-Loaded Sentinels |
Lightning |
Frost |
| Rapid Fadestalker | ||
| Energy-Loaded Spellwight | ||
| Superior Shade |
Frost |
Necrotic |
| Greater Voltaic Shade | ||
| Orbiting Envy Demon | Lightning | Necrotic |
The area can get pretty overwhelming in a short span of time. This is why we recommend using Bellara's Time-Slow skill to reposition yourself when in a pinch.
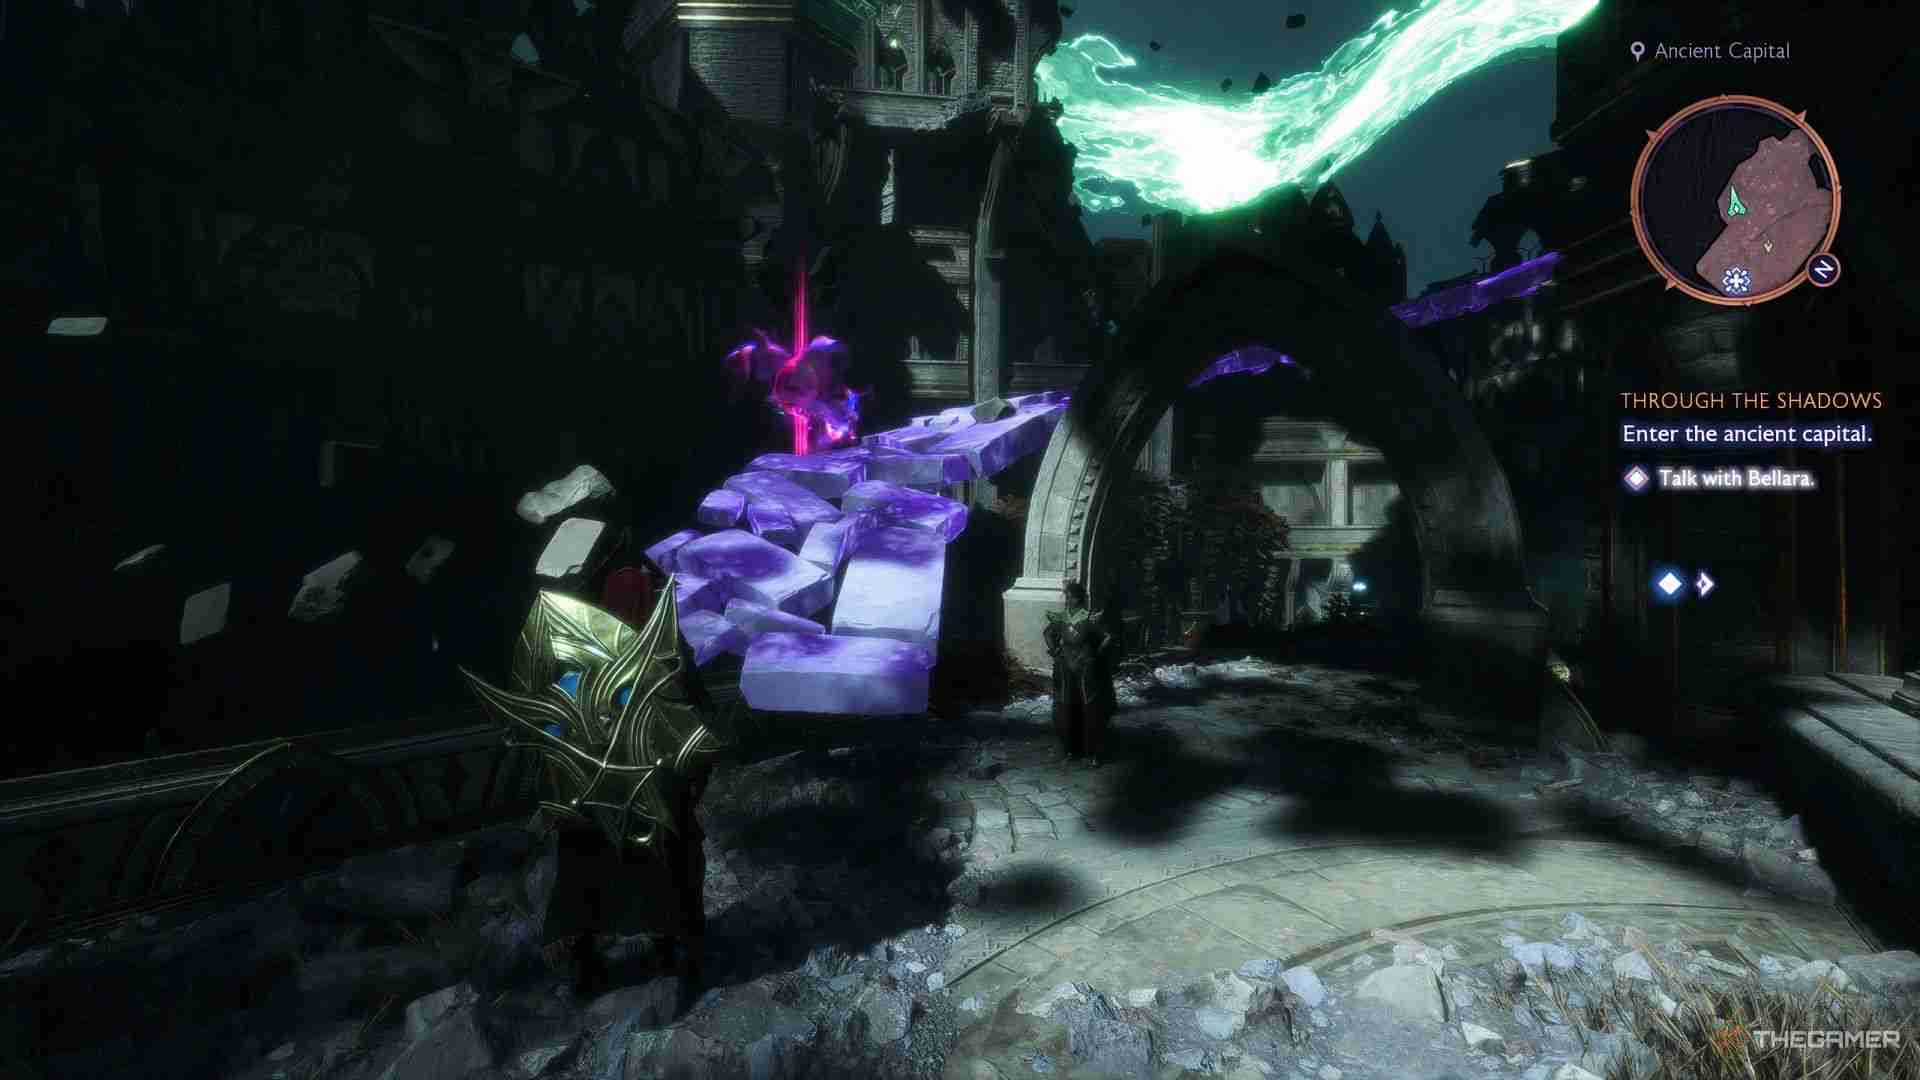
While facing the crystal from the entrance, head to your right (after crossing the walkway in the middle) to interact with the Spiteful Aura. This will create a temporary path with a Codex Entry at the end of it.
When you are ready, jump into the hole to find a chest with a shortbow for Harding. Continue to follow the path while defeating the Voltaic Shades hurling magic bolts at you from a distance. Once you are at the end, enter the portal to reach the barrier puzzle.
How To Solve The Barrier Puzzle
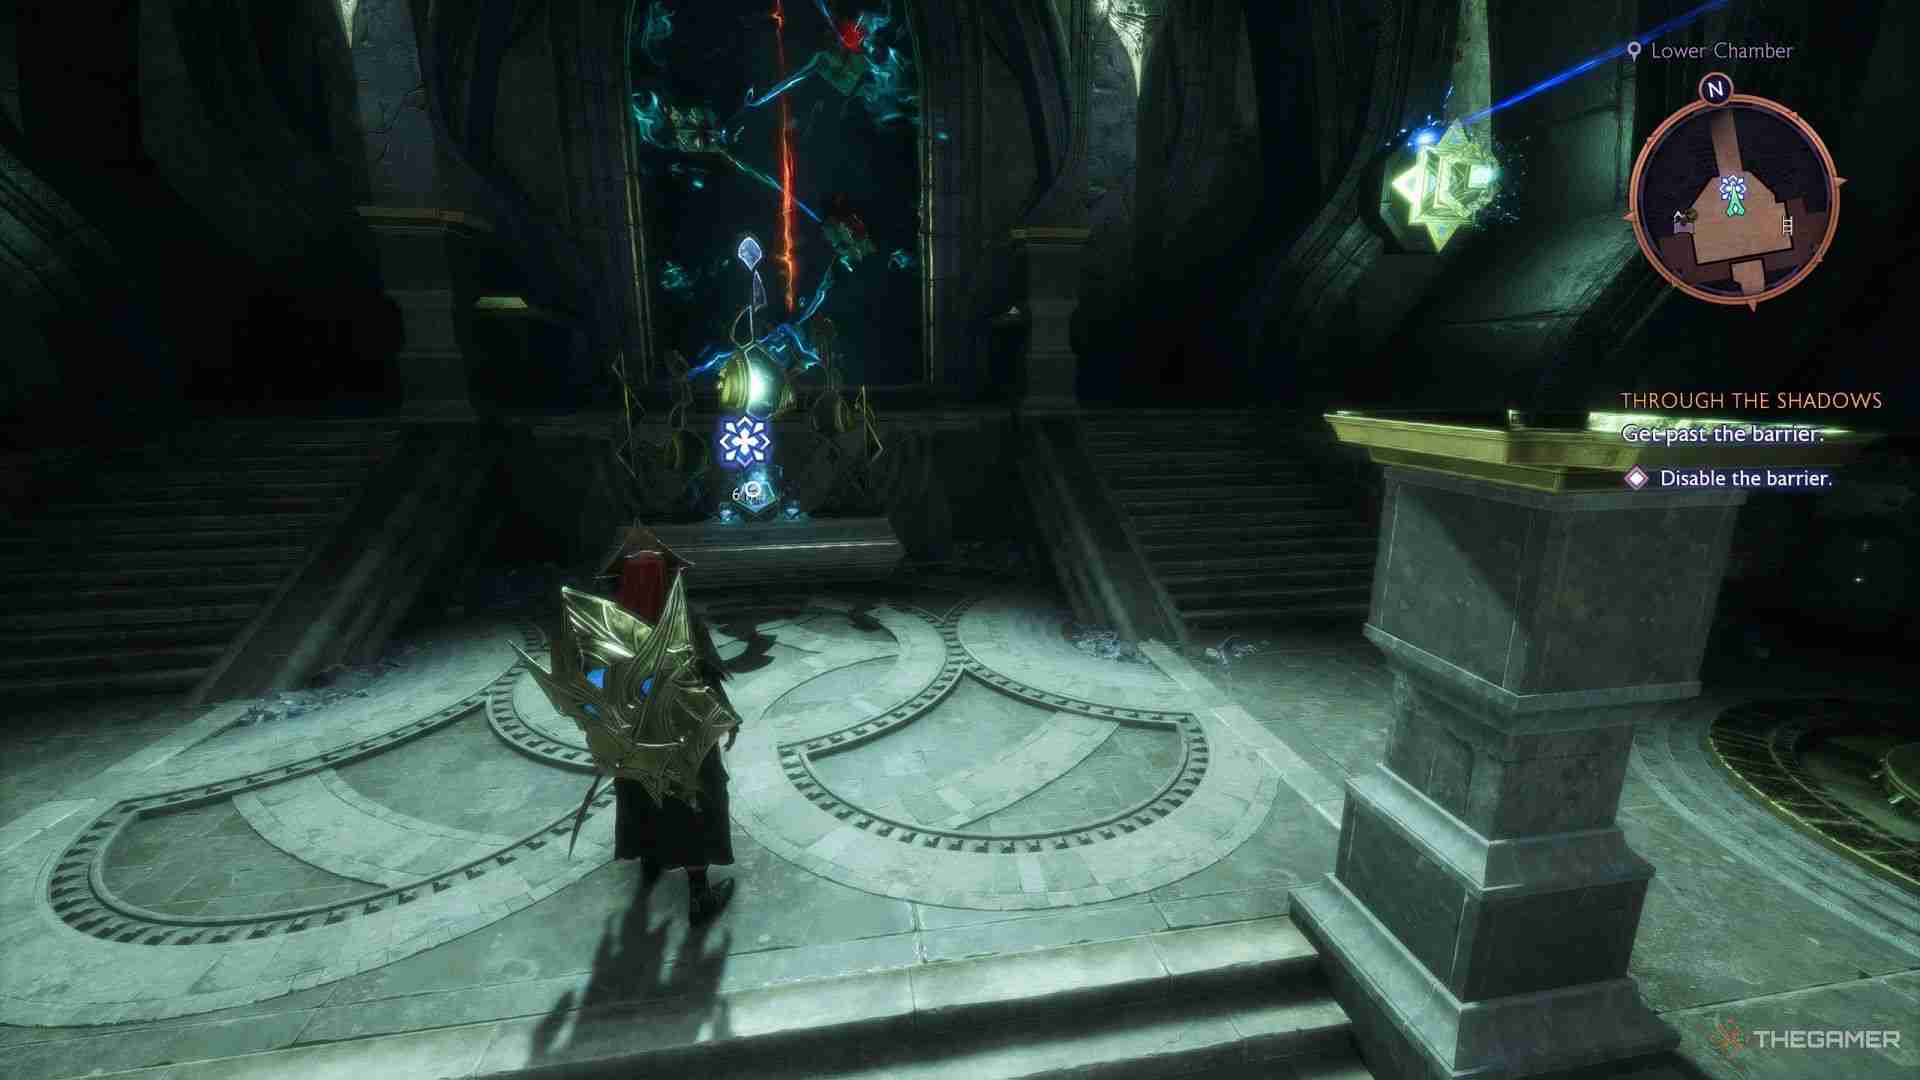
To remove the barrier, you will need to redirect five crystal beams towards different anchors. It may appear a bit complicated, but it is a fairly simple puzzle to solve. Here is how you can do it:
- Go up the stairs on the left, collect the Power Crystal near the chest, and climb the ladder. Find the Beam Generator and aim it at one of the energy nodes.
- Head back down to redirect the second Beam Generator (directly below the first one) at another node.
- Place the Power Crystal on the left Beam Generator (near the barrier where all the nodes are located) to activate it. Once done, point it at the node directly above the area’s entrance — behind all the statues. This will create a bridge at the top. Head up the ladder, across the bridge, and aim the beam at one of the nodes.
- Follow the path downstairs to find the fourth Beam Generator. Again, point it at one of the nodes.
- For the final one, return to the main room, take out the Power Crystal from the left Beam Generator, and place it on the right one. Aim the beam at the last node to remove the barrier.
Past the barrier, you will find a chest containing Medium Armor for Bellara.
How To Defeat Anaris
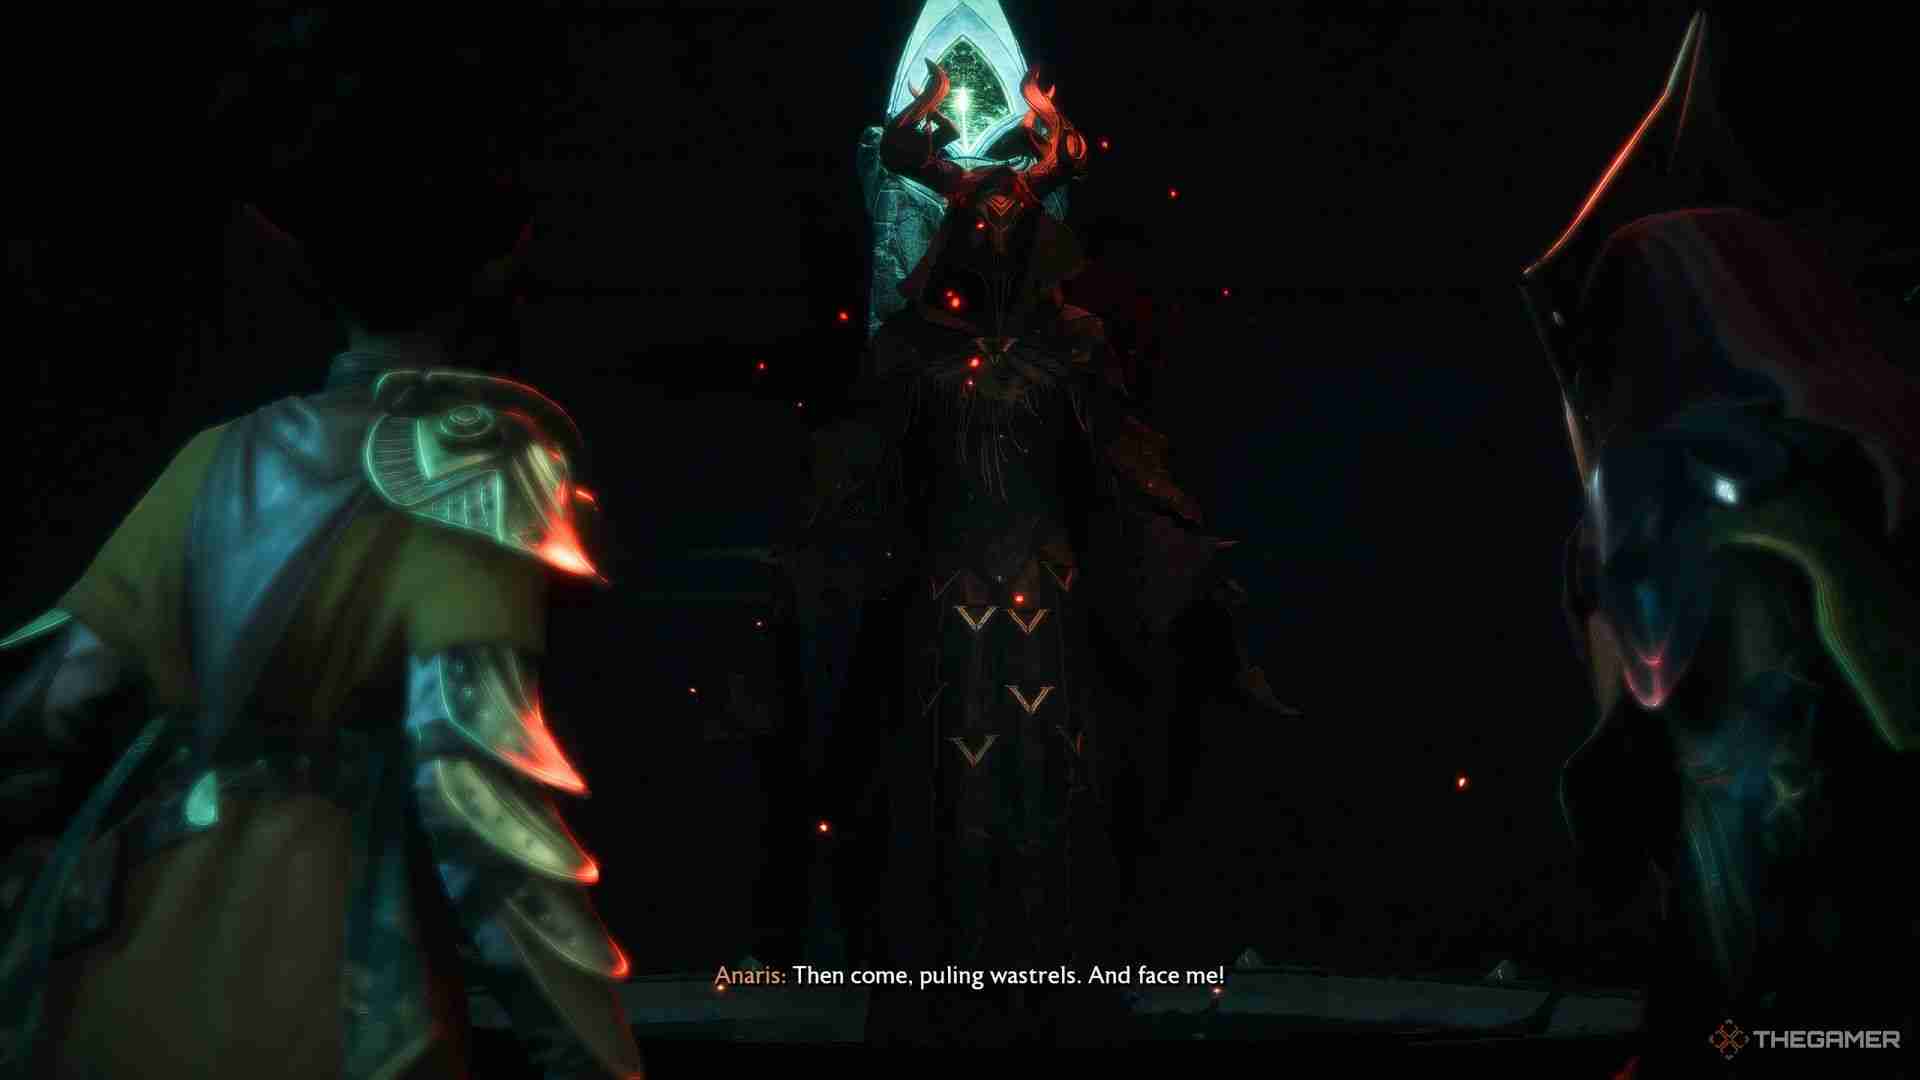
Continue to follow the path to reach Anaris. The first thing that you will notice is that he is protected by a barrier. To destroy the barrier, you will need to break three crystals (behind the pillars) using any ranged attack. While you are working on these crystals, Greater Shades and Voltaic Shades will continue to spawn in the area. We recommend dealing with them as a priority to give yourself some breathing room. Once you have cleared the room, break the last crystal to start the DPS phase.
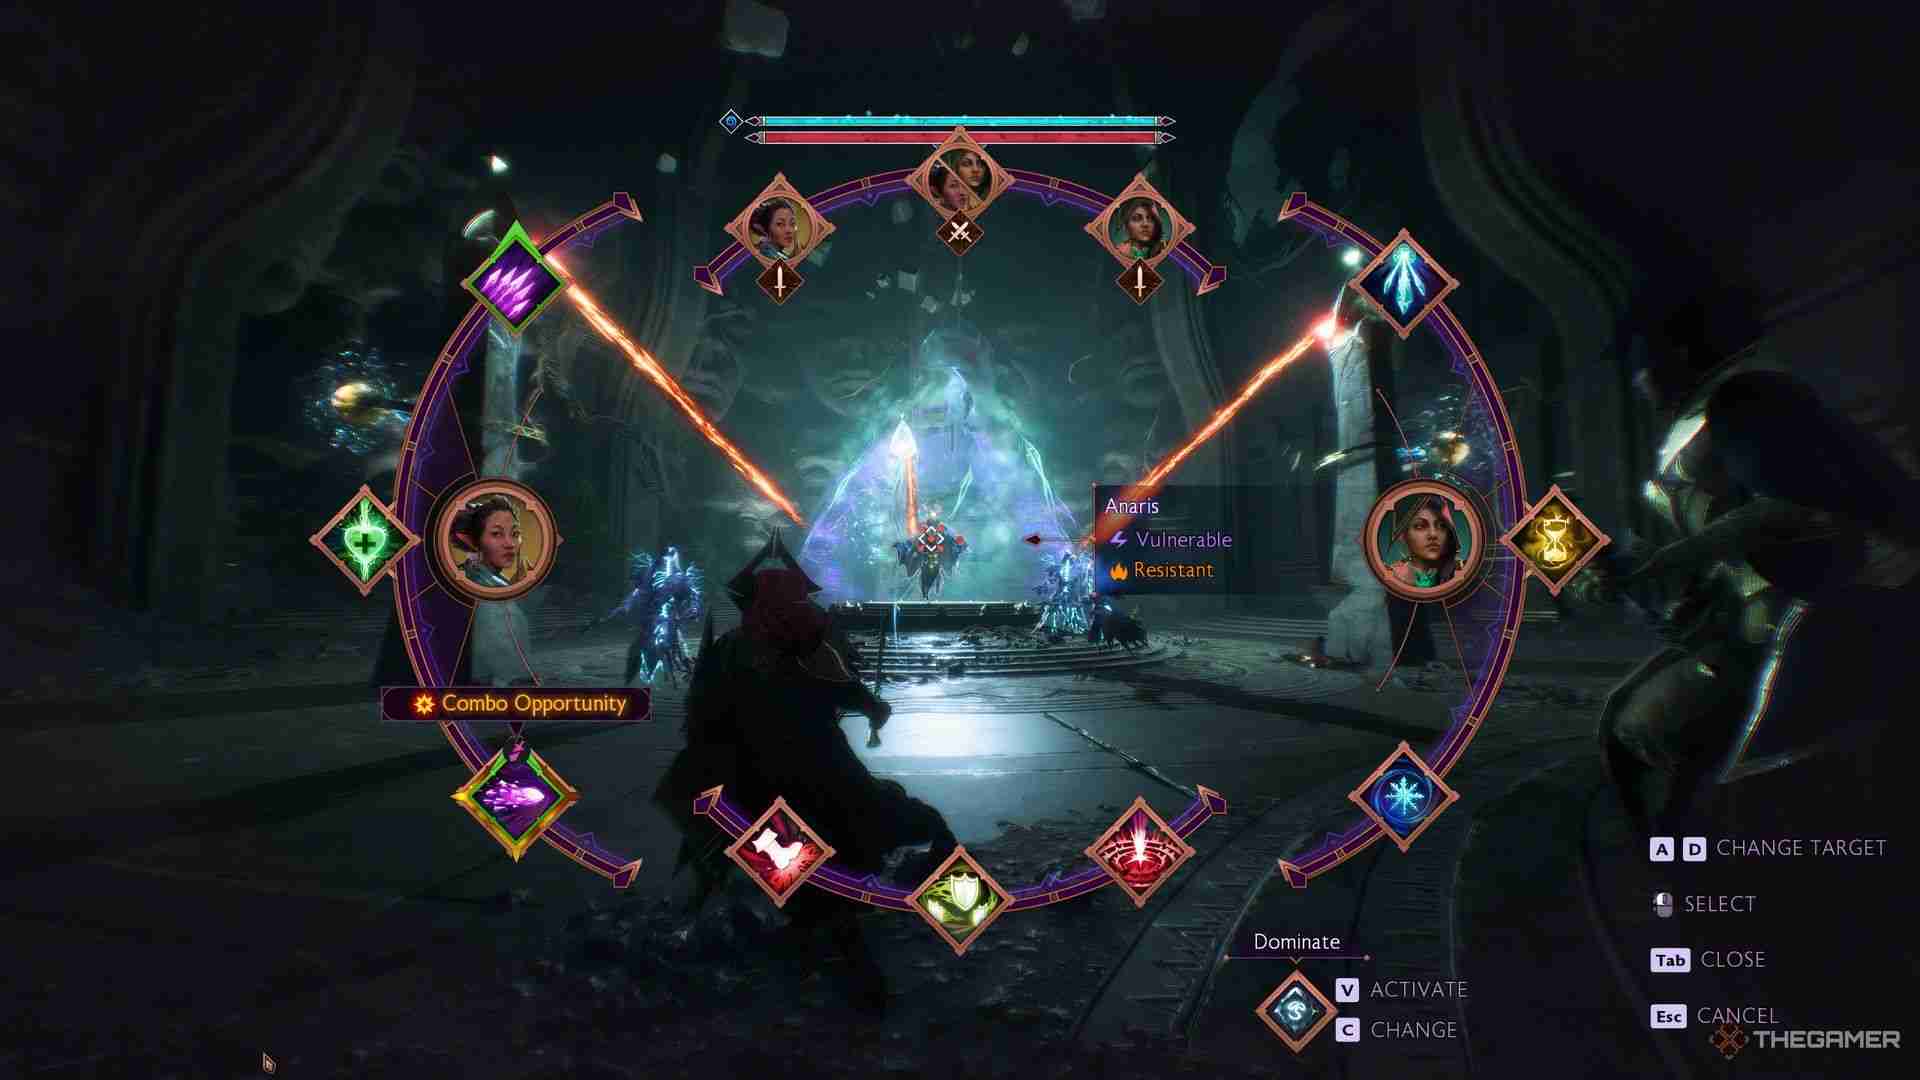
Anaris is weak against Lightning and strong against Fire. Whenever you see red circles on the ground, move away from the area to avoid falling meteors. He can also channel a frost beam that deals a good amount of damage. You should try to use the pillars in the area as cover. Continue to dish out damage until he is immune.
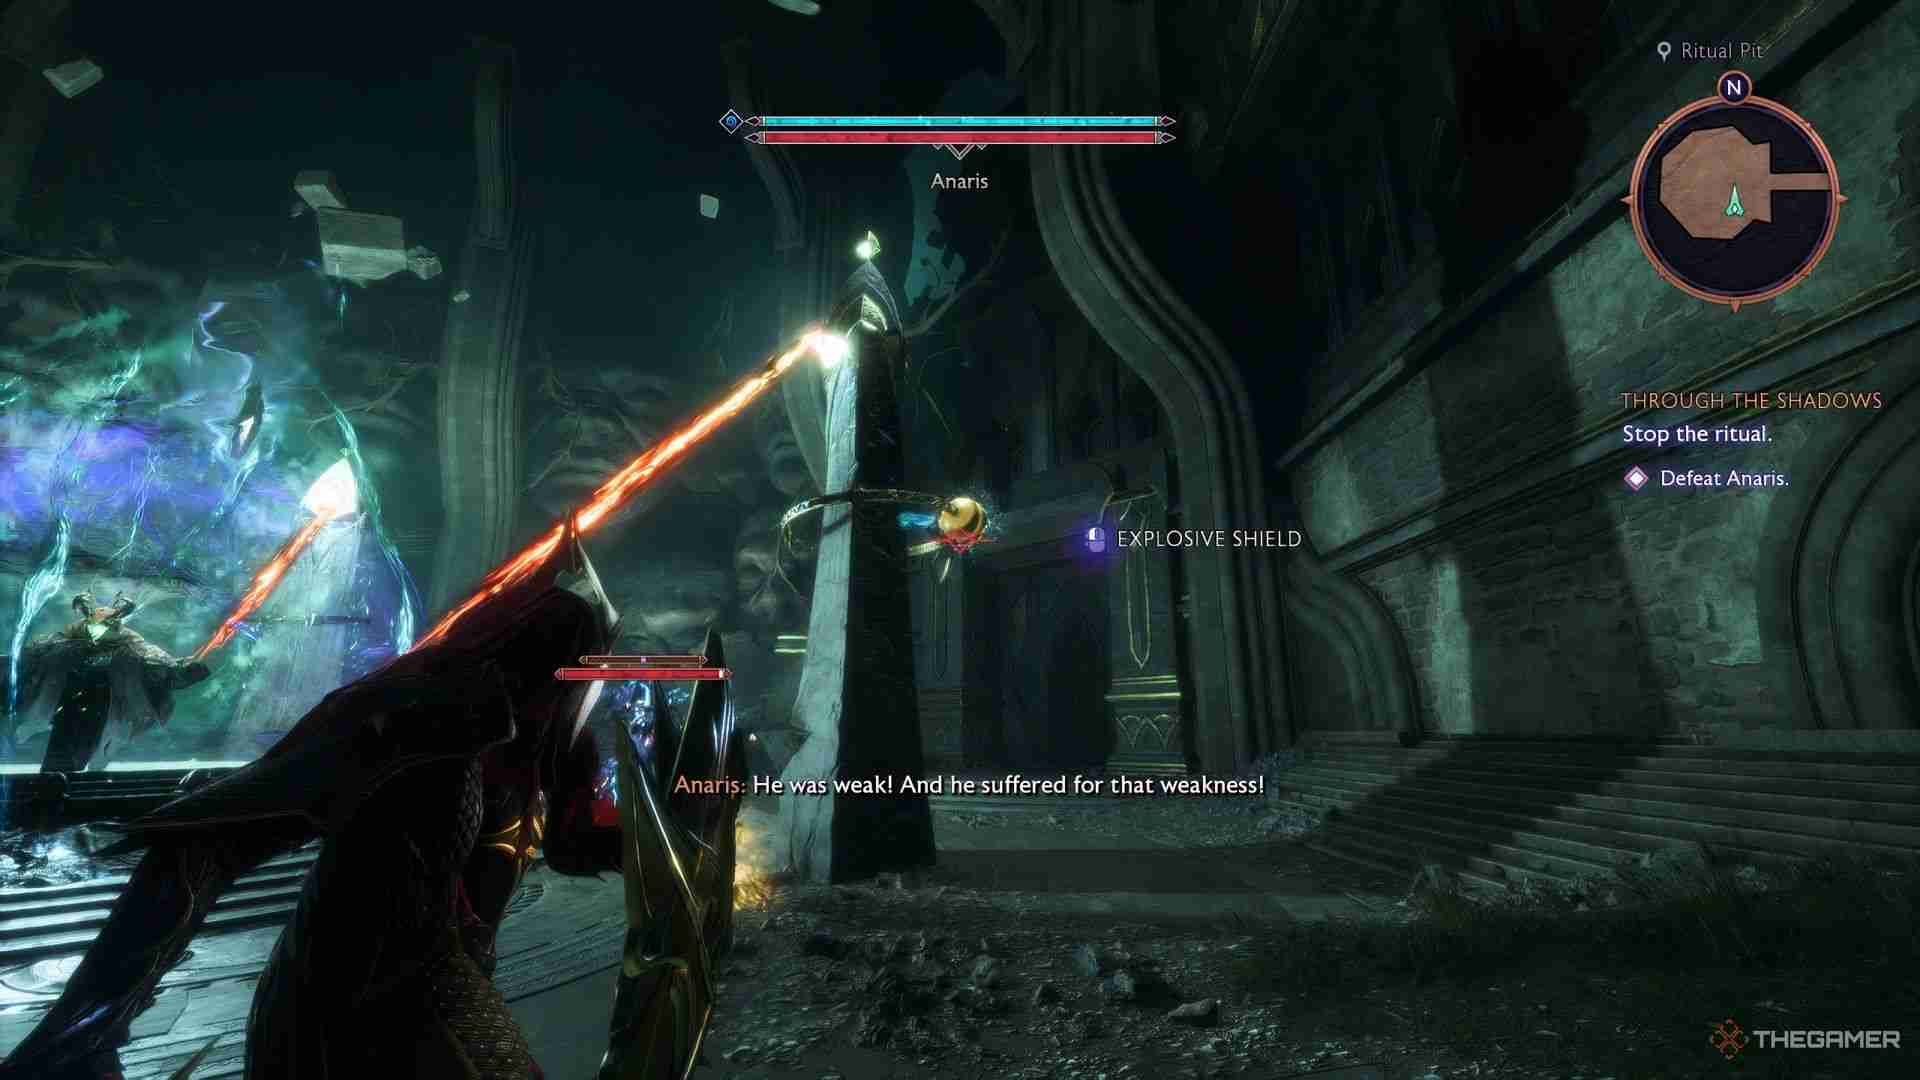
Repeat the same thing for the second phase: kill the Shades in the area, break all three crystals to remove the barrier, and damage Anaris. During this phase, the boss will leave explosions whenever he teleports. At around 33 percent HP, he will become immune for the last time.
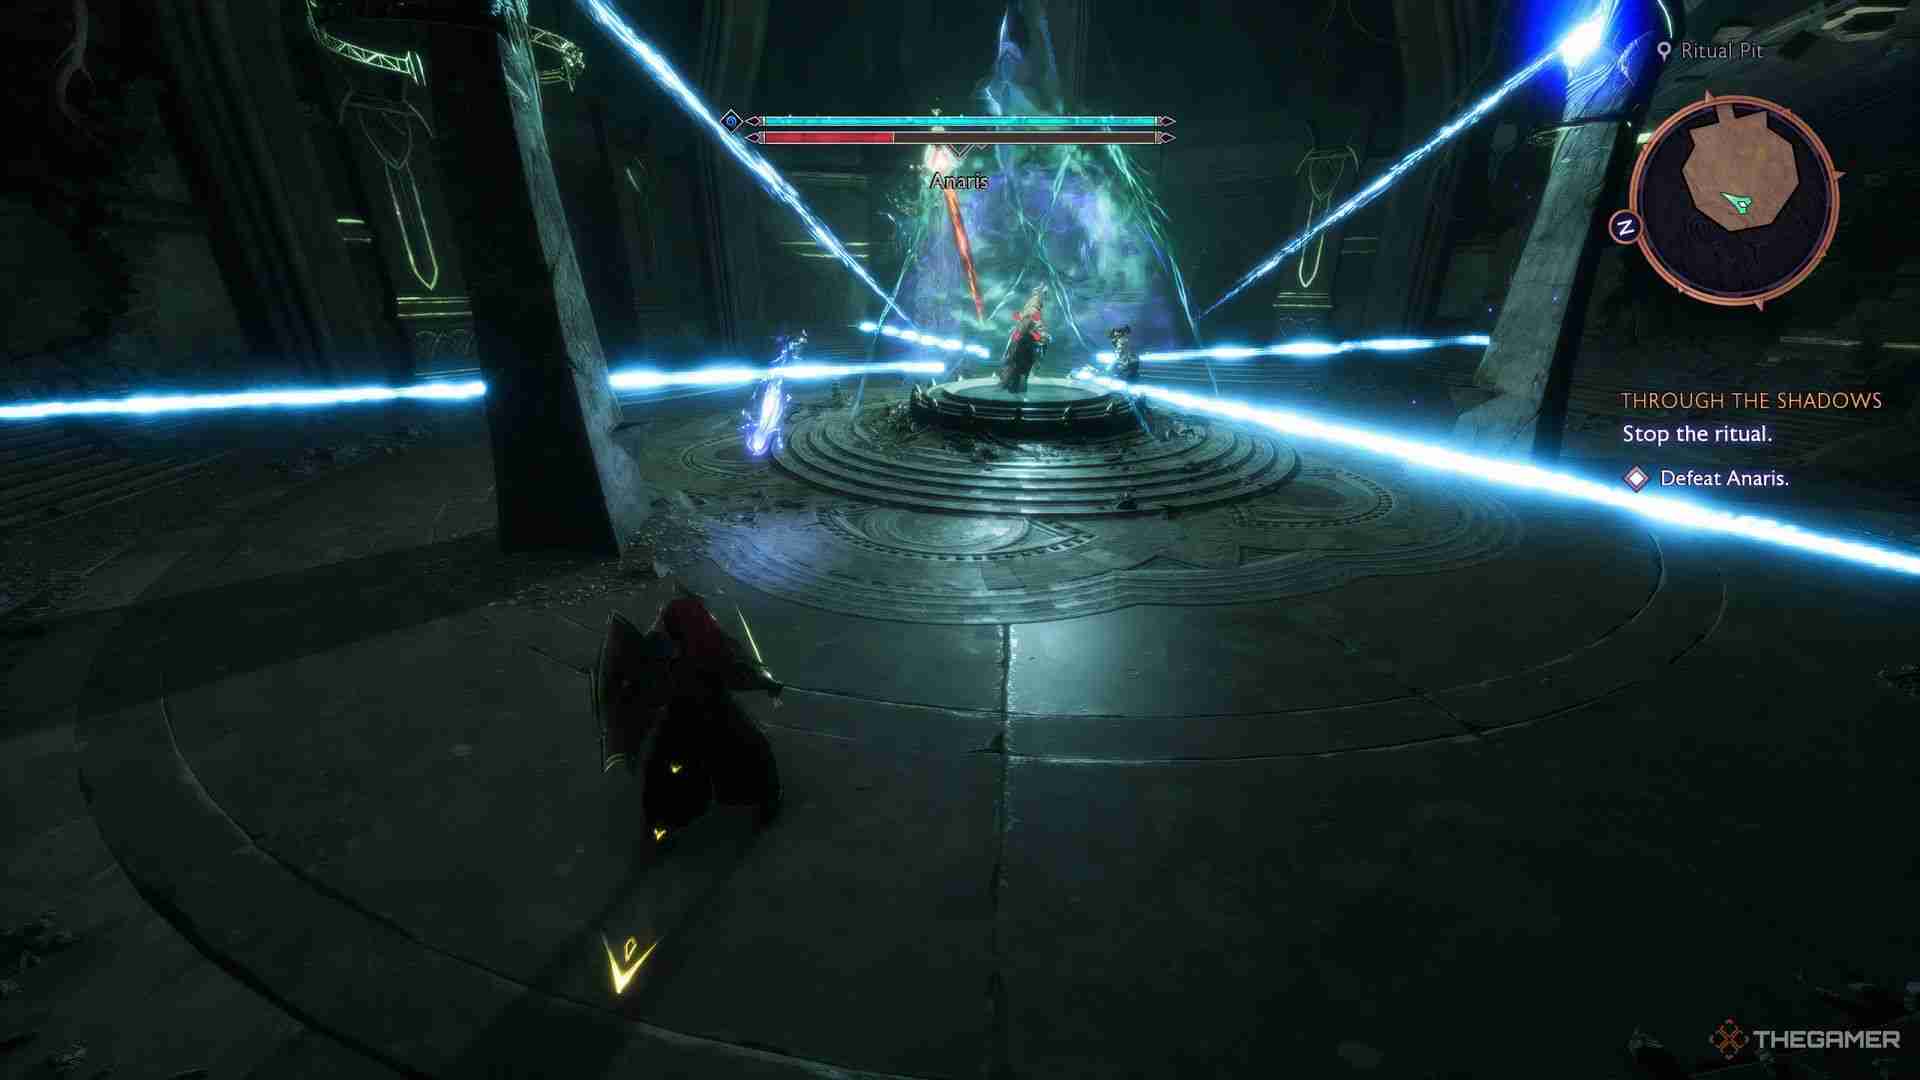
During the third phase, frost beams will begin to spin around Anaris, making it difficult to break the crystals. Again, deal with the Shades before working on the crystals. In this phase, he will also cast frost waves in your direction. They have a lot of travel-time, so it should not be hard to avoid them. Try to rely on your crowd-control as much as possible. Freeze, time-slow, etc. are incredibly powerful against him.
Rewards And What To Do With The Archive Spirit
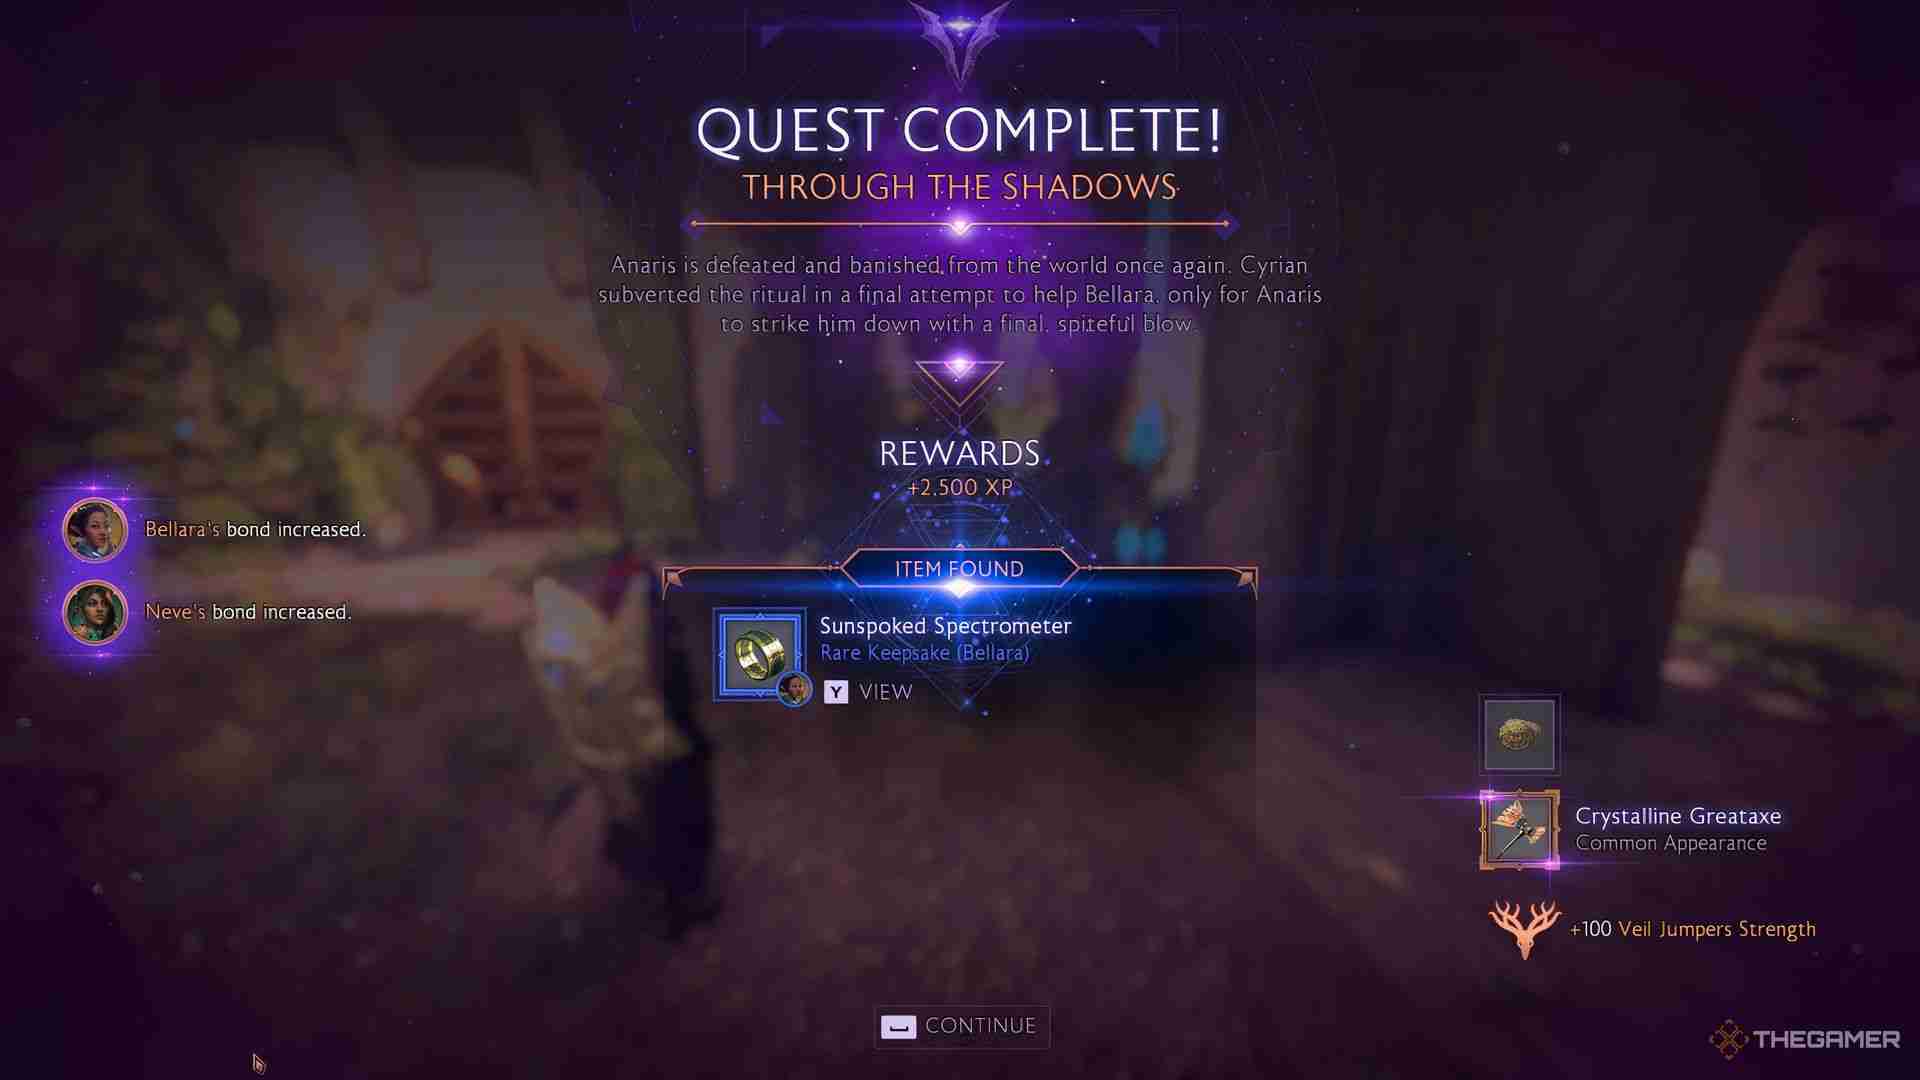
Defeat him to complete Through the Shadows, and get 2,500 XP, 400 Gold, 100 Veil Jumpers Strength, as well as a Keepsake for Bellara.
Also, do not forget to return to Bellara at The Lighthouse to decide the fate of the Archive Spirit. Here is everything you need to know:
Free The Spirit
She acquires the Chain Lightning skill, which boosts Shocked effects as well as her weapon damage. Aside from this, she also gets Reborn Leathers armor that increases Detonation damage.
Keep It
She gets the Lingering Strike skill, which allows her to easily spread Weakened and Shocked ailments. She also acquires the Archivist’s Mail armor that further boosts Sundered Detonations and vulnerability caused by Electric damage.

The above is the detailed content of Dragon Age: The Veilguard - Through The Shadows Walkthrough. For more information, please follow other related articles on the PHP Chinese website!

Hot AI Tools

Undresser.AI Undress
AI-powered app for creating realistic nude photos

AI Clothes Remover
Online AI tool for removing clothes from photos.

Undress AI Tool
Undress images for free

Clothoff.io
AI clothes remover

Video Face Swap
Swap faces in any video effortlessly with our completely free AI face swap tool!

Hot Article

Hot Tools

Notepad++7.3.1
Easy-to-use and free code editor

SublimeText3 Chinese version
Chinese version, very easy to use

Zend Studio 13.0.1
Powerful PHP integrated development environment

Dreamweaver CS6
Visual web development tools

SublimeText3 Mac version
God-level code editing software (SublimeText3)

Hot Topics
 1662
1662
 14
14
 1419
1419
 52
52
 1311
1311
 25
25
 1261
1261
 29
29
 1234
1234
 24
24
 Roblox: Dead Rails - How To Tame Wolves
Apr 07, 2025 am 06:05 AM
In the desolate landscapes of Roblox's Dead Rails, survival hinges on overcoming numerous threats. Undead hordes, vampires, and werewolves roam the wasteland, alongside the outlaws and wolves that predate the outbreak. However, a unique opportunity
 Strength Levels for Every Enemy & Monster in R.E.P.O.
Apr 07, 2025 am 10:45 AM
In R.E.P.O., some monsters are small enough to throw out easily, while others are as hard to shake like tanks unless you have strong powers—or stacked with a lot of powerful upgrades (because your life may depend on that). If you're tired of pressing the grab button and being crushed, this list will tell you how much power you need to lift, throw or slam them against every monster in the game, from a small goblin to a giant Trucci. Requires 4 power upgrades: animal Mind manipulator Squirter 9 power upgrades are required: Men with bow chef hunter Shadow Children 13 power upgrades are required: Clown (beam transmitter) Leader Robe monster Truci No need for strength (or
 Roblox: Grow A Garden - Complete Mutation Guide
Apr 18, 2025 am 01:10 AM
Maximize your profits in Roblox's Grow A Garden by understanding the lucrative world of crop mutations! These rare variations significantly boost your harvest's value. While you can't directly control mutations, knowing how they work provides a signi
 Roblox: Bubble Gum Simulator Infinity - How To Get And Use Royal Keys
Apr 16, 2025 am 11:05 AM
Royal Keys are some of the most valuable items you can find in Roblox's Bubble Gum Simulator Infinity. These rare tools allow you to open Royal Chests — limited-time loot containers packed with high-tier items, boosts, and even ultra-rare rewards. If
 Blue Prince: How To Get To The Basement
Apr 11, 2025 am 04:04 AM
Unlocking the Basement in Blue Prince: A Comprehensive Guide Finding the basement in Blue Prince is crucial for progressing to Room 46, but its location and access method aren't immediately obvious. This guide will walk you through accessing the base
 Mandragora: Whispers Of The Witch Tree - How To Unlock The Grappling Hook
Apr 18, 2025 am 12:53 AM
Mandragora's dungeons offer Metroidvania-style challenges, requiring players to revisit earlier areas with newly acquired tools. The grappling hook is a prime example, enabling rapid traversal of long distances. While this crucial tool is obtained r
 Nordhold: Fusion System, Explained
Apr 16, 2025 am 04:07 AM
Nordhold Tower Fusion Guide: Synergistic Tower Combinations for Enhanced Defense Mastering tower combinations in Nordhold is key to effective base defense. Certain towers synergize exceptionally well, creating powerful defensive strategies. This gui
 R.E.P.O. Public Lobbies Explained
Apr 07, 2025 am 09:40 AM
Want to experience the excitement of R.E.P.O. with strangers? Not yet possible! Currently, R.E.P.O. only supports multiplayer games through the Steam friend invitation system. The game does not yet support public matching, quick joining, or random teaming. The good news is that developers plan to launch a matching system soon! R.E.P.O.'s multiplayer mechanics You can only play with players on the Steam friend list. No public lobby – If you don’t have friends with the game, you need to find players through Discord, forums, or other social means. Since R.E.P.O. does not have a dedicated server, the host needs a stable network connection. If your host network connection is unstable, delays may occur


