How to Set Up a Node.js Web Server on Raspberry Pi
Setting up a Node.js web server on a Raspberry Pi: A step-by-step guide
A few years back, I acquired a Raspberry Pi Model B , and recently decided to transform it into a web server. This journey highlighted a key point: a Raspberry Pi functions as a miniature PC, requiring an operating system (OS). This contrasts with boards like Arduino, which execute programs directly without an OS.
Here’s how to build a Node.js web server on a Raspberry Pi from scratch:
- Install Raspberry Pi Imager:
This tool facilitates installing Raspberry Pi OS onto a microSD card. While alternatives like Debian or Ubuntu exist, Raspberry Pi OS is officially recommended for optimal performance.
- Install Raspberry Pi OS:
Launch Raspberry Pi Imager and configure these settings:
- Raspberry Pi Device: Select your model.
- Operating System: Choose the recommended OS.
- Storage: Specify your microSD card.

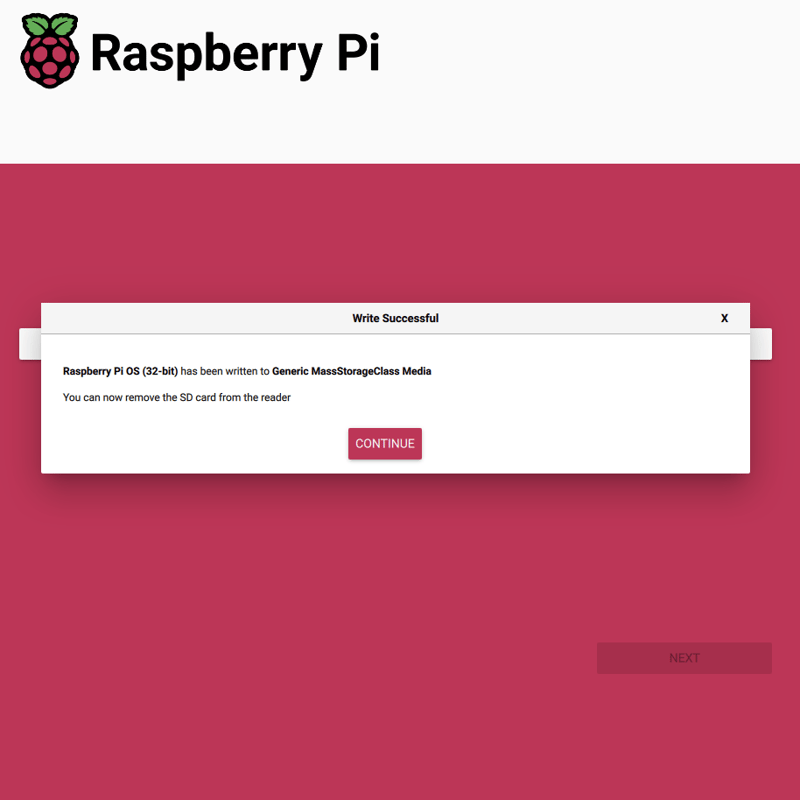
I used the default settings. Upon completion, you'll see a success message:

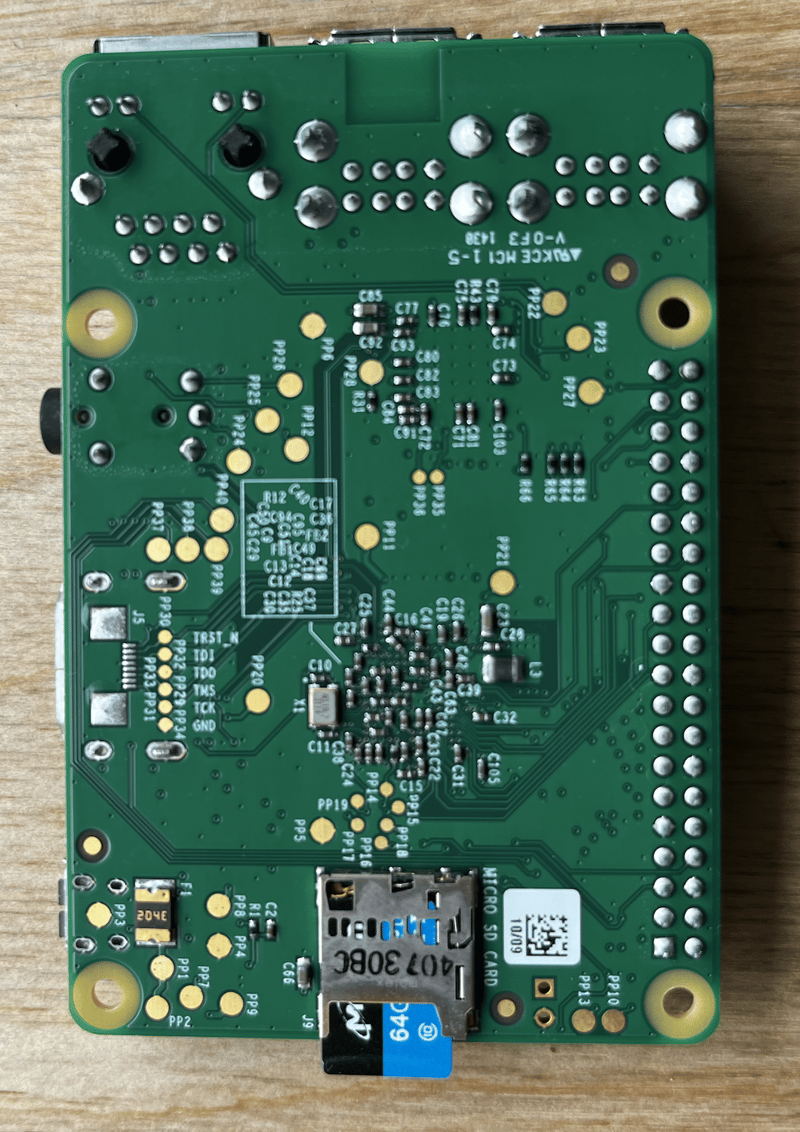
- Connect Peripherals: Insert the microSD card into your Raspberry Pi. Connect a mouse, keyboard, monitor, Ethernet cable, and power cable (power last is recommended).

Note the microSD card's location.

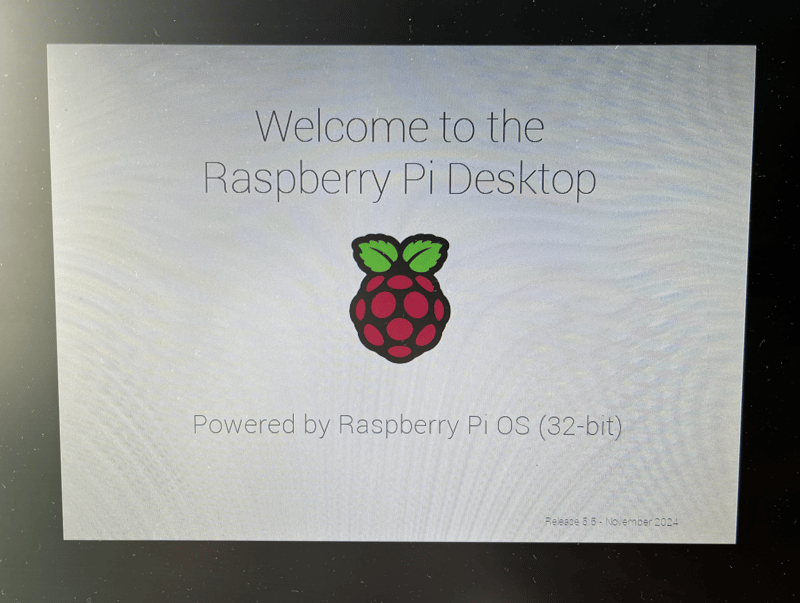
After booting, you'll see the desktop welcome screen:


Your Raspberry Pi OS is now ready.
- System Updates:
Open a terminal and run these commands:
sudo apt-get update -y
sudo apt-get dist-upgrade -y
- Install Node.js and npm:
sudo apt-get install nodejs -y
sudo apt-get install npm -y
Verify installation:
node -v
npm -v
- Install Express:
Express simplifies web server creation. I used the generator with default options:
sudo apt-get update -y
sudo apt-get dist-upgrade -y
- Install npm Packages:
sudo apt-get install nodejs -y
sudo apt-get install npm -y
- Run the Server:
node -v
npm -v
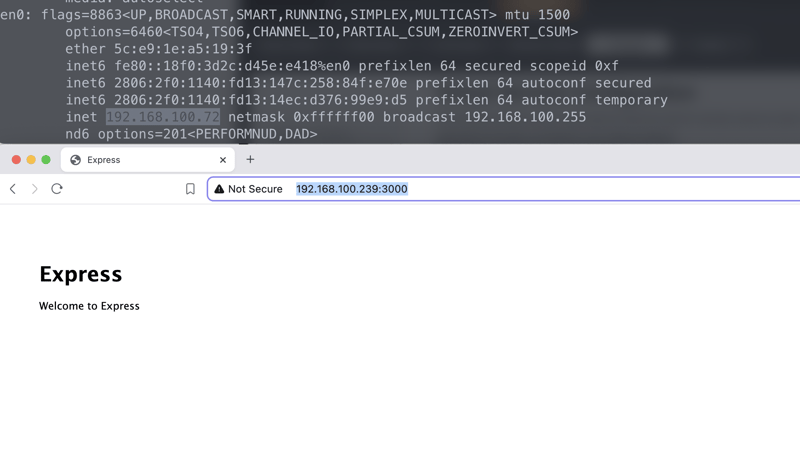
The server defaults to port 3000. Access it from another device using the Raspberry Pi's IP address (e.g., http://192.168.1.239:3000).

Your Express app is now network-accessible. Note that older models like the B might have slower processing times due to limited resources.
Conclusion:
The Raspberry Pi's versatility extends to IoT integration. While the B has limitations, newer models offer enhanced performance. The ability to run a Linux OS unlocks a wide range of package installations.
Extra:
Initially, I attempted Next.js, encountering a "JavaScript heap out of memory" error. Express proved a more suitable alternative for this older board. Remember resource constraints when choosing frameworks.
The above is the detailed content of How to Set Up a Node.js Web Server on Raspberry Pi. For more information, please follow other related articles on the PHP Chinese website!

Hot AI Tools

Undresser.AI Undress
AI-powered app for creating realistic nude photos

AI Clothes Remover
Online AI tool for removing clothes from photos.

Undress AI Tool
Undress images for free

Clothoff.io
AI clothes remover

Video Face Swap
Swap faces in any video effortlessly with our completely free AI face swap tool!

Hot Article

Hot Tools

Notepad++7.3.1
Easy-to-use and free code editor

SublimeText3 Chinese version
Chinese version, very easy to use

Zend Studio 13.0.1
Powerful PHP integrated development environment

Dreamweaver CS6
Visual web development tools

SublimeText3 Mac version
God-level code editing software (SublimeText3)

Hot Topics
 1664
1664
 14
14
 1423
1423
 52
52
 1317
1317
 25
25
 1268
1268
 29
29
 1242
1242
 24
24
 Demystifying JavaScript: What It Does and Why It Matters
Apr 09, 2025 am 12:07 AM
JavaScript is the cornerstone of modern web development, and its main functions include event-driven programming, dynamic content generation and asynchronous programming. 1) Event-driven programming allows web pages to change dynamically according to user operations. 2) Dynamic content generation allows page content to be adjusted according to conditions. 3) Asynchronous programming ensures that the user interface is not blocked. JavaScript is widely used in web interaction, single-page application and server-side development, greatly improving the flexibility of user experience and cross-platform development.
 The Evolution of JavaScript: Current Trends and Future Prospects
Apr 10, 2025 am 09:33 AM
The latest trends in JavaScript include the rise of TypeScript, the popularity of modern frameworks and libraries, and the application of WebAssembly. Future prospects cover more powerful type systems, the development of server-side JavaScript, the expansion of artificial intelligence and machine learning, and the potential of IoT and edge computing.
 JavaScript Engines: Comparing Implementations
Apr 13, 2025 am 12:05 AM
Different JavaScript engines have different effects when parsing and executing JavaScript code, because the implementation principles and optimization strategies of each engine differ. 1. Lexical analysis: convert source code into lexical unit. 2. Grammar analysis: Generate an abstract syntax tree. 3. Optimization and compilation: Generate machine code through the JIT compiler. 4. Execute: Run the machine code. V8 engine optimizes through instant compilation and hidden class, SpiderMonkey uses a type inference system, resulting in different performance performance on the same code.
 Python vs. JavaScript: The Learning Curve and Ease of Use
Apr 16, 2025 am 12:12 AM
Python is more suitable for beginners, with a smooth learning curve and concise syntax; JavaScript is suitable for front-end development, with a steep learning curve and flexible syntax. 1. Python syntax is intuitive and suitable for data science and back-end development. 2. JavaScript is flexible and widely used in front-end and server-side programming.
 JavaScript: Exploring the Versatility of a Web Language
Apr 11, 2025 am 12:01 AM
JavaScript is the core language of modern web development and is widely used for its diversity and flexibility. 1) Front-end development: build dynamic web pages and single-page applications through DOM operations and modern frameworks (such as React, Vue.js, Angular). 2) Server-side development: Node.js uses a non-blocking I/O model to handle high concurrency and real-time applications. 3) Mobile and desktop application development: cross-platform development is realized through ReactNative and Electron to improve development efficiency.
 How to Build a Multi-Tenant SaaS Application with Next.js (Frontend Integration)
Apr 11, 2025 am 08:22 AM
This article demonstrates frontend integration with a backend secured by Permit, building a functional EdTech SaaS application using Next.js. The frontend fetches user permissions to control UI visibility and ensures API requests adhere to role-base
 Building a Multi-Tenant SaaS Application with Next.js (Backend Integration)
Apr 11, 2025 am 08:23 AM
I built a functional multi-tenant SaaS application (an EdTech app) with your everyday tech tool and you can do the same. First, what’s a multi-tenant SaaS application? Multi-tenant SaaS applications let you serve multiple customers from a sing
 From C/C to JavaScript: How It All Works
Apr 14, 2025 am 12:05 AM
The shift from C/C to JavaScript requires adapting to dynamic typing, garbage collection and asynchronous programming. 1) C/C is a statically typed language that requires manual memory management, while JavaScript is dynamically typed and garbage collection is automatically processed. 2) C/C needs to be compiled into machine code, while JavaScript is an interpreted language. 3) JavaScript introduces concepts such as closures, prototype chains and Promise, which enhances flexibility and asynchronous programming capabilities.


