

How to install NVM on Mac for managing Node.js

Efficiently manage multiple Node.js versions: NVM installation guide for Mac system

Managing multiple Node.js versions simultaneously, especially when one project requires version 14 and the other requires version 16, it may feel like walking a tightrope. Believe me, I have a deep understanding - I once stayed up late to debug error messages for the project's requirements for the Node.js version. At this time, NVM (Node version manager) comes in handy.
Whether you are a developer running legacy projects, a developer trying the latest features, or a beginner who is learning Node.js for the first time, NVM ensures your productivity. You can think of it as your Node.js "time machine" that allows you to switch freely between different versions.
If you have similar problems, please let me take you to install NVM on your Mac system step by step. I will break all the steps down in great detail to make it easy for you to complete the installation.

Preparation before installing NVM
Before installing NVM, let's quickly review some preparations to ensure the installation process goes smoothly.
You need:
- Terminal: This is the preferred tool for running commands. In the latest macOS Sequoia and older versions, you can open the terminal by pressing Command Space, entering "Terminal", and then pressing Return.
- State Basics: Don't be scared by the word "basic". If you are able to enter a command and press Return, you are ready. I will guide you through everything step by step.
- Homebrew or MacPorts (optional): These are package managers for installing software such as NVM. You can think of them as an app store for your terminal. While optional in this guide, package managers like Homebrew can save a lot of time by automating downloads, installations, and updates. If you don't have a package manager installed, installing Homebrew on your Mac is a great option – it's simple, reliable, and much easier than manually downloading it.
Also, check out how to uninstall Node.js on your Mac.

Install NVM using curl or wget
The most popular and straightforward way to install NVM is to use curl (a common tool already installed on most Macs) or wget (another tool for downloading files). This is the way I tried first, as it looks fast and I'm eager to fix the Node.js issue in my project.
Note: curl and wget? Just use any available tools. curl is pre-installed on macOS, but you can install wget via Homebrew (brew install wget) if needed. If you are not sure which shell you are using, run echo $SHELL. Starting with macOS Catalina, Zsh is the default shell, so most users will edit ~/.zshrc.
Start from the terminal
Before we understand the installation process in depth, let's first understand the operation process of the terminal, especially for new users of macOS Sequoia. This is not difficult.
Operation steps:
- Press Command Space and enter "Terminal" to open it.
- Installing NVM:
- If you use curl, enter
curl -o- https://raw.githubusercontent.... | bash - If you use wget, enter
wget -qO- https://raw.githubusercontent.... | bash
- Add the following lines to your shell configuration file to ensure that NVM loads every time you open the terminal:
- For Zsh (the default value for newer macOS versions), enter
nano ~/.zshrc - For Bash (used in older macOS versions), enter
nano ~/.bash_profile
- Add the following lines to the file:
export NVM_DIR="$HOME/.nvm"
[ -s "$NVM_DIR/nvm.sh" ] && . "$NVM_DIR/nvm.sh"
Copy after loginCopy after loginCopy after loginCopy after login - Activate the update configuration file and enter
source ~/.zshrc(If you are using Bash, replace ~/.zshrc with ~/.bash_profile). - Check that NVM is installed correctly, enter
nvm --version.

Congratulations if you see the version number! You have successfully installed NVM.
Personal Experience: When I first installed NVM, I encountered a problem: the Xcode command line tool is missing. Quick solution: xcode-select --install. After running the curl command, adding NVM to my shell configuration file, and applying the changes with source ~/.zshrc, everything worked fine.

Install NVM using Homebrew
If you like to save time and simplify operations, Homebrew is your best choice when installing NVM. It's like the Swiss Army Knife of macOS tools - simple, reliable, and can handle all the tedious things for you. If you want to escape at the thought of copying messy scripts, Homebrew is your new best partner. It can complete tasks quickly and give you more valuable time.
I fell in love with it the first time I used Homebrew. It feels like finding a cheat code for your Mac. Trust me, once you try it, you’ll want to know how you survived without it before.
The following is how to install NVM using Homebrew:
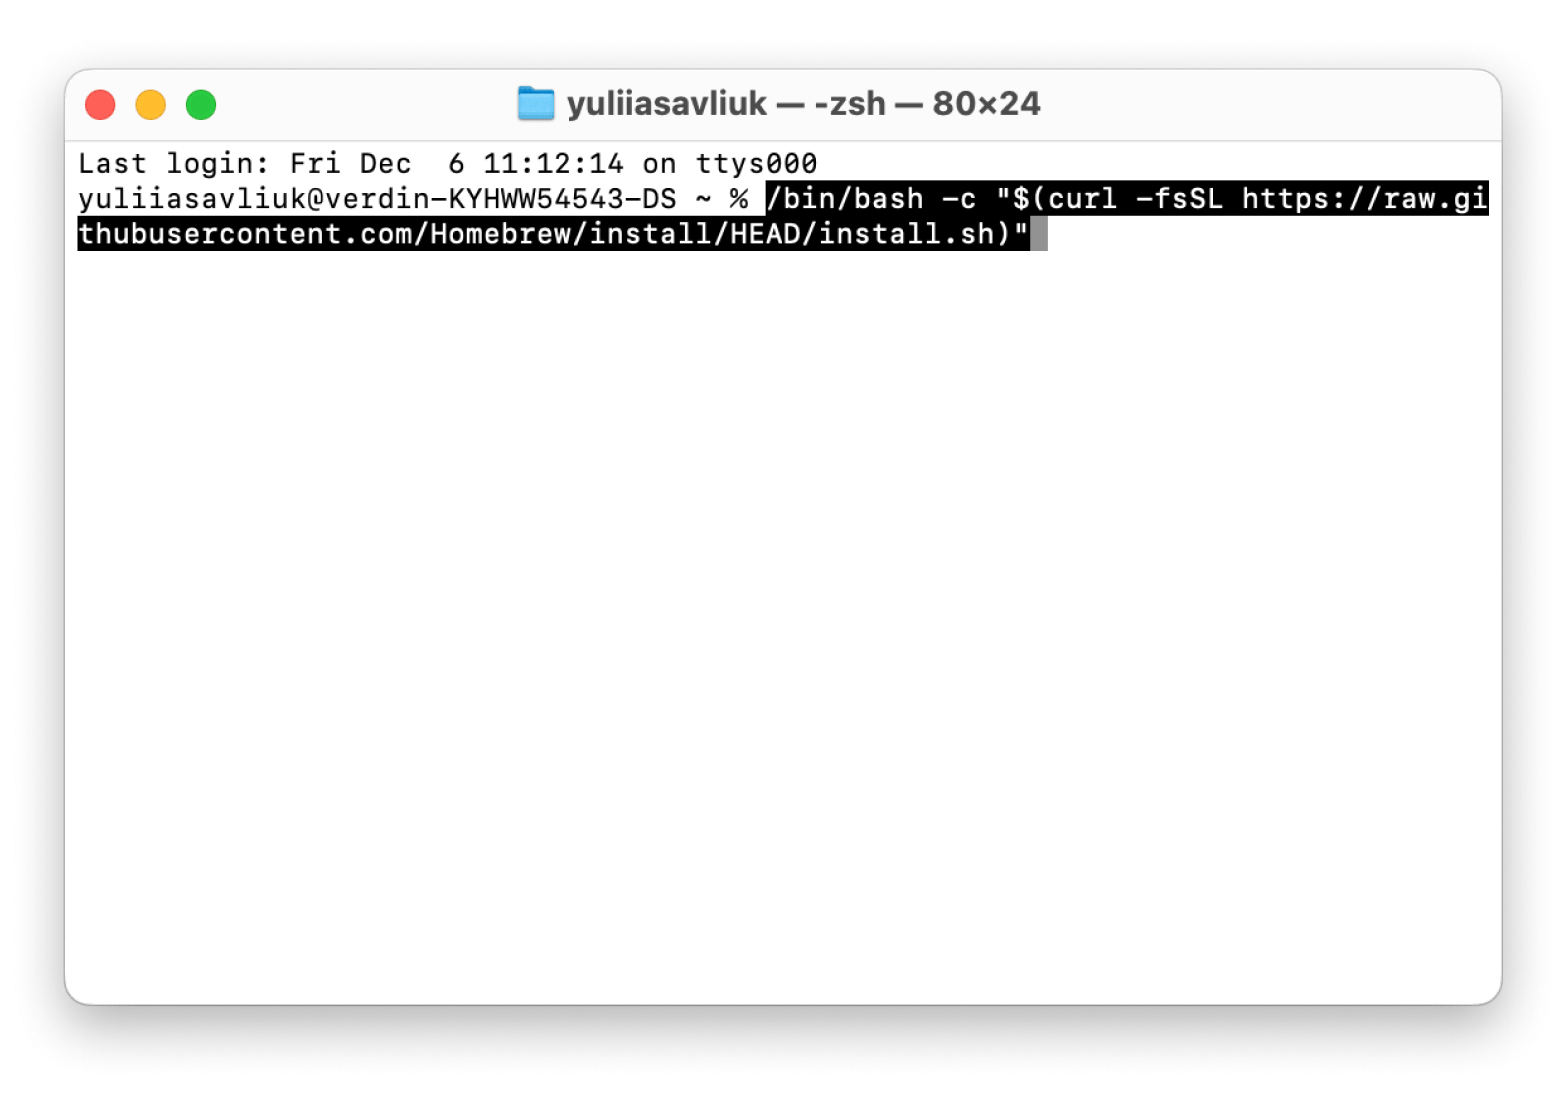
- Open the terminal and install Homebrew (if you have not installed it already), enter
/bin/bash -c "$(curl -fsSL https://raw.githubusercontent.com/Homebrew/install/HEAD/install.sh)". - Use Homebrew to install NVM, enter
brew install nvm. - Create an NVM directory and load NVM, enter
mkdir ~/.nvm export NVM_DIR="$HOME/.nvm" . "$(brew --prefix nvm)/nvm.sh". - Add the following lines to your shell configuration file to ensure that NVM loads every time you open the terminal:
- For Zsh (the default value for newer macOS versions), enter
nano ~/.zshrc - For Bash (used in older macOS versions), enter
nano ~/.bash_profile
- Add the following lines to the file:
export NVM_DIR="$HOME/.nvm"
[ -s "$NVM_DIR/nvm.sh" ] && . "$NVM_DIR/nvm.sh"
Copy after loginCopy after loginCopy after loginCopy after login - Activate the update configuration file and enter
source ~/.zshrc(If you are using Bash, replace ~/.zshrc with ~/.bash_profile). - Check that NVM is installed correctly, enter
nvm --version.
If the version number appears, congratulations - you have successfully installed NVM using Homebrew!
Install NVM using MacPorts
If you are familiar with MacPorts, it is also a good choice for installing NVM. It keeps things simple and relieves the pressure to manage software on your Mac. I've used it before on older macOS versions and while it's not the most beautiful tool, it's reliable and actually helps you with what you need to do. Sometimes, this is the most important thing.
The following is how to install NVM using MacPorts:
- Install and open MacPorts using a compatible version of macOS.
- Open the terminal and enter
sudo port install nvmto install NVM through MacPorts. - Load NVM by updating your shell configuration file. Add the following command to ~/.zshrc or ~/.bash_profile:
export NVM_DIR="$HOME/.nvm"
[ -s "$NVM_DIR/nvm.sh" ] && . "$NVM_DIR/nvm.sh"
Copy after loginCopy after loginCopy after loginCopy after login - Apply changes by running
source ~/.zshrc. - Use
nvm --versionto verify the installation.

If you see the version number, then you can start!
Install and manage multiple Node.js versions using NVM
This is where NVM really comes into play. I remember working on two projects at the same time (this is my basic situation) – one requires Node.js 14 for stability and the other requires Node.js 18 for the latest features. Without NVM, switching the version would be a nightmare and requires uninstalling, reinstalling, and praying that there will be no problems or anything missing during the process. Once I discovered NVM, it felt like I had taken off the burden on my shoulders.
The following is how to make Node.js version management easy:
- Install a specific version. Suppose you need Node.js 14. Just run
nvm install 14and NVM will download and set it up. It's as simple as grabbing a cup of coffee from your favorite cafe – no drama. - Switch between versions. Need to switch to Node.js 16? Just run
nvm use 16and you're done. I use this feature frequently when testing updates in a sandbox environment. - Set the default version. Tired of typing commands every time? Use
nvm alias default 14to set Node.js 14 as your preferred version. This way, it will load automatically when you open the terminal – perfect for long-term projects.
With NVM, you can quickly test, debug and run projects in different Node.js environments without any effort. I've saved countless hours (and avoided a lot of headaches) by letting NVM handle version management for me.
How to install NVM on Mac: Summary
It is much easier to manage Node.js on macOS using NVM. Whether you install it using curl, Homebrew, or MacPorts, the process is very simple and flexible. After installation, switching between Node.js versions takes only a few seconds, avoiding compatibility issues.

FAQ
How to know if NVM is installed on my Mac?
To check if NVM is installed on your Mac, run nvm --version in your terminal. If the version number is displayed, it means that NVM is installed.
How to install NVM on Zsh?
Install NVM on Zsh:
- Run the following command in the terminal to install NVM:
curl -o- https://raw.githubusercontent.... | bash. - Open your Zsh configuration file:
nano ~/.zshrc. - Add the following lines at the end of the file:
export NVM_DIR="$HOME/.nvm"
[ -s "$NVM_DIR/nvm.sh" ] && . "$NVM_DIR/nvm.sh"
Copy after loginCopy after loginCopy after loginCopy after login - Reload your Zsh configuration by running
source ~/.zshrc. - Can confirm that NVM is installed and works properly by entering
nvm --version.
How to set the path to NVM on Mac?
To set up the path to NVM on your Mac, add export NVM_DIR="$HOME/.nvm" [ -s "$NVM_DIR/nvm.sh" ] && . "$NVM_DIR/nvm.sh" to your shell configuration file and run source ~/.zshrc in your terminal.
Note that I cannot copy the command in the output in full since the full curl or wget command link is omitted from the original text. Please find the correct installation command link by yourself.
The above is the detailed content of How to install NVM on Mac for managing Node.js. For more information, please follow other related articles on the PHP Chinese website!

Hot AI Tools

Undresser.AI Undress
AI-powered app for creating realistic nude photos

AI Clothes Remover
Online AI tool for removing clothes from photos.

Undress AI Tool
Undress images for free

Clothoff.io
AI clothes remover

Video Face Swap
Swap faces in any video effortlessly with our completely free AI face swap tool!

Hot Article
Hot Tools

Notepad++7.3.1
Easy-to-use and free code editor

SublimeText3 Chinese version
Chinese version, very easy to use

Zend Studio 13.0.1
Powerful PHP integrated development environment

Dreamweaver CS6
Visual web development tools

SublimeText3 Mac version
God-level code editing software (SublimeText3)
Hot Topics


 Spotify on Apple Watch: How to use it in 2025
Apr 04, 2025 am 09:55 AM
Spotify on Apple Watch: How to use it in 2025
Apr 04, 2025 am 09:55 AM
With the support of Apple devices' interconnected ecosystem, managing and synchronizing your Apple devices has become a breeze. Unlock Mac with Apple Watch? Simple! (If you haven't set this unlocking method yet, you should really try it, it's very time-saving). Can you pay with Apple Watch without using iPhone? Apple can handle it easily! Today we will focus on how to download the Spotify playlist to an Apple Watch and play without an iPhone. Spoiler: This is possible. How to use Spotify on Apple Watch: A quick overview Let's dive into the key issues and their solutions directly. If this form helps you, that would be great! If you
 Floating screen recording: how to capture a specific app window on a Mac
Mar 28, 2025 am 09:16 AM
Floating screen recording: how to capture a specific app window on a Mac
Mar 28, 2025 am 09:16 AM
Mac Screen Recording: Easily capture windows, areas and drop-down menus The screenshot tool (Command Shift 5) that comes with Mac systems can record full screen or selected areas, but cannot record specific application windows separately. At this time, more powerful tools are needed to complete the task. This article will introduce several ways to help you record your Mac windows as easily as a professional. Record the application window separately Record a single window to avoid cluttered desktop backgrounds and create more professional and prominent images and videos. Here are some excellent screen recording applications: Function comparison Gifox CleanShot X Dropshare Record a specific window ✓ ✓ ✓


 Email is not syncing? How to refresh the Mail app on Mac
Apr 04, 2025 am 09:45 AM
Email is not syncing? How to refresh the Mail app on Mac
Apr 04, 2025 am 09:45 AM
Mac mail synchronization failed? Quick solution! Many Mac users rely on the included Mail app because it is simple and convenient. But even reliable software can have problems. One of the most common problems is that Mail cannot be synced, resulting in recent emails not being displayed. This article will guide you through email synchronization issues and provide some practical tips to prevent such issues. How to refresh the Mail app on your Mac Operation steps Click the envelope icon Open the Mail app > View > Show Tab Bar > Click the Envelope icon to refresh. Use shortcut keys or menu options Press Shift Command N. Or open the Mail app
 How to get rid of 'Your screen is being observed' error
Apr 05, 2025 am 10:19 AM
How to get rid of 'Your screen is being observed' error
Apr 05, 2025 am 10:19 AM
When you see the message "Your screen is being monitored", the first thing you think of is someone hacking into your computer. But that's not always the case. Let's try to find out if there are any issues that need you to worry about. Protect your Mac With Setapp, you don't need to worry about choosing a tool to protect your computer. You can quickly form your own suite of privacy and security software on Setapp. Free Trial Security Test What does "Your screen is being monitored" mean? There are many reasons why there is a Mac lock screen message that appears with “Your screen is being monitored”. You are sharing the screen with others You are recording the screen You are using AirPlay You are using some apps that try to access your screen Your computer is infected with evil
 How to show only active apps in Dock on Mac
Apr 09, 2025 am 11:44 AM
How to show only active apps in Dock on Mac
Apr 09, 2025 am 11:44 AM
Mac Dockbar Optimization Guide: Show only running applications The dock bar of your Mac is the core of the system, from which you can launch Finder, Trash, recently used apps, active apps, and bookmark apps, and even add folders such as Document and Downloads. By default, the Mac dock bar will display more than a dozen Apple-owned applications. Most users will add more applications, but rarely delete any applications, resulting in the dock bar being cluttered and difficult to use effectively. This article will introduce several ways to help you organize and clean up your Mac dock bar in just a few minutes. Method 1: Manually organize the dock bar You can manually remove unused applications and keep only commonly used applications. Remove the application: Right-click on the application

