

The Charge Blade is often considered one of the most complicated weapons in Monster Hunter Wilds. With its buffs that boost each part of the weapon, complex combos, Guard Points, and tactical flow, it's not hard to see why.

However, when mastered, the Charge Blade is easily one of the most versatile and powerful weapons you can wield, capable of denying monster attacks, inflicting status effects, dealing high burst damage, and a whole lot more. If you want to walk the path of the Charge Blade, we've got a build for you here.
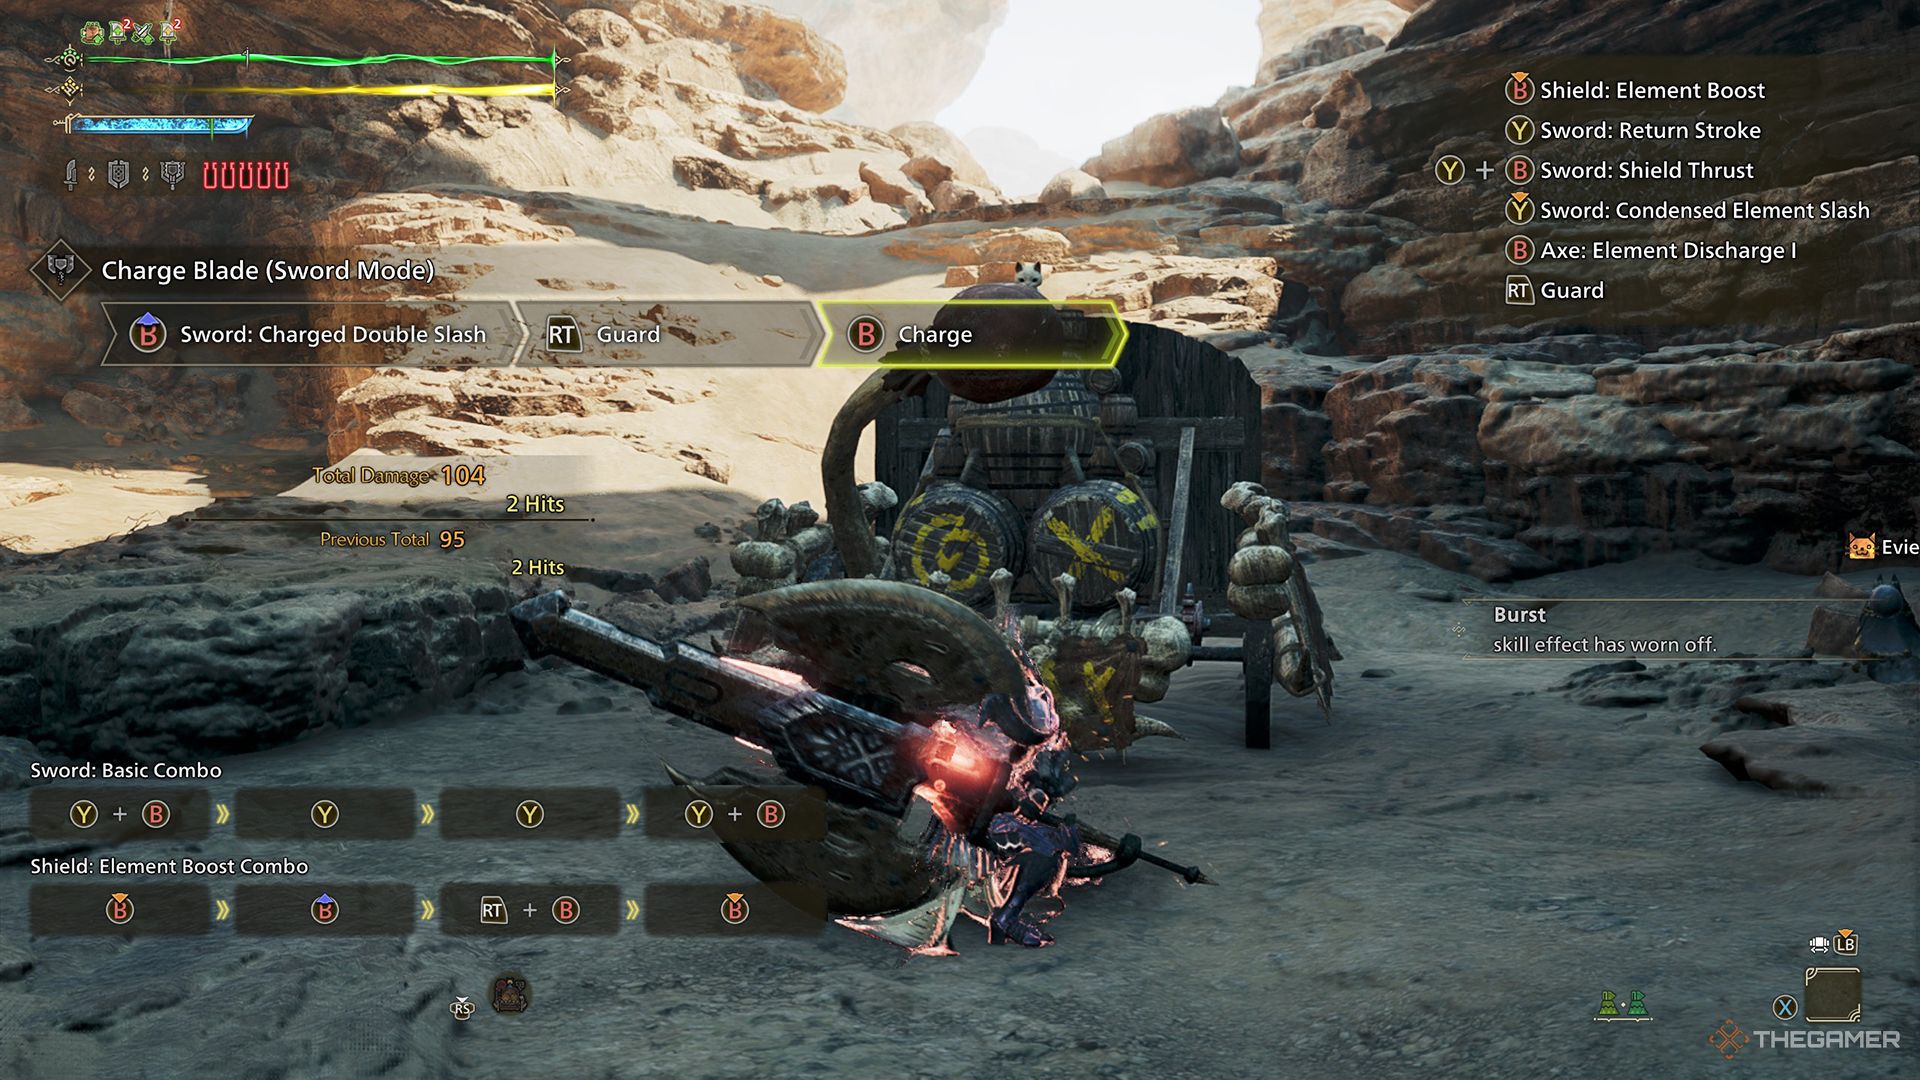
The Charge Blade is a complicated weapon with a fairly straightforward premise. In Sword and Shield mode, you charge up the weapon by attacking and filling Phials, then swap to Axe mode to spend the Phials on empowered attacks. This is the general flow of the weapon, but of course there are dozens of variations on this that add to its complexity.
Due to the weapon's innate complexity and versatility, there are a million different ways you can build around it, all with varying degrees of success. This is largely in part due to the different Phial types, which each have their own uses and applications.
The build outlined below is a standard one size fits all build that focuses on the Agitator skill, with a few levels in Burst. This build is meant to be customizable, allowing you to easily swap Charge Blades depending on your playstyle or target.
This build can also balance in the other way, using five levels of Burst and two of Agitator. This variation is more suited for use with Elemental Phials, but provides essentially the same skills and damage output. For a Burst-oriented build, swap the Arms for the Guardian Ebony alpha gloves, and the Talisman for the Exploiter Charm 2. Also, slot in a Chain Jewel in the level three Decoration slot.

|
Slot |
Piece |
Decorations |
|
|---|---|---|---|
|
Weapon |
 Hard Bone Strongarm Hard Bone Strongarm
|
Focus/KO Jewel 3 | |
|
Head |
 G Ebony Helm Beta G Ebony Helm Beta
|
Mighty Jewel 2 | |
|
Chest |
 Arkvulcan Mail Beta Arkvulcan Mail Beta
|
Challenger Jewel 3 | |
|
Arms |
 G Arkveld Vambraces Beta G Arkveld Vambraces Beta
|
Defense Jewel 1 | |
|
Waist |
 Arkvulcan Coil Beta Arkvulcan Coil Beta
|
Protection Jewel 1 | |
|
Legs |
 Dahaad Shardgreaves Beta Dahaad Shardgreaves Beta
|
Mighty Jewel 2 | |
|
Talisman |
Challenger Charm 2 | Mantle |
As mentioned above, there are a variety of viable weapons you can use, and these will work independently of the armor build. We've gone with the Hard Bone Strongarm
for its high attack, Impact Phials, and Load Shells weapon skill.
You could also use the  Leidenskraft
for Dragon damage,
Leidenskraft
for Dragon damage,  Bardichion Blade
for Fire damage,
Bardichion Blade
for Fire damage,  Valeroje-of-the-Waves
for Water damage, or custom Artian weapon (Chrono Gear) for any other damage type.
Valeroje-of-the-Waves
for Water damage, or custom Artian weapon (Chrono Gear) for any other damage type.
As for the armor, in the Head slot, we are using the Guardian Ebony Helm beta, which provides two levels of Burst and a level two Decoration slot, which we will slot in our first Mighty Jewel to gain a level of Maximum Might.
In the Chest slot, we have the Arkvulcan Mail beta, which pairs with the Arkvulcan Coil beta to provide the first set bonus of the Arkveld's Hunger skill. In the Chest armor's Decoration slots, we have one Challenger Jewel for more levels in Agitator, and a second Mighty Jewel.
In the Arms slot, we are using Guardian Arkveld Vambraces beta, which provides two levels of Weakness Exploit, an essential damage-boosting skill. These gloves also have three level one Decoration slots, which you can really slot any skills you want into. We have three Defense Jewels for Defense Boost.
You can swap out the glove Decorations for any others you want, such as Elemental Resistance, Recovery, Free Meal, or Divine Blessing.
As previously mentioned, in the Waist slot is the Arkvulcan Coil beta to provide the second piece needed for Arkveld's Hunger, as well as two additional levels of Weakness Exploit. Like the Gloves, you can put any two level one Decorations in this armor piece's slots. We have chosen two levels of Divine Blessing for added protection.
In the Legs slot, we are using Dahaad Shardgreaves beta, granting two levels of Agitator. In the level two Decoration slot, we have a third Mighty Jewel providing the final point in Maximum Might.
Finally, for the Talisman, we are using the Challenger Charm 2 for the last two points in Agitator. This skill makes up some of the highest gains to DPS for any weapon, making it an essential part of this build.
For your mantle, the Corrupted Mantle provides the highest damage boost, but the other three are safer options. Use whichever suits your playstyle best.

As we've mentioned above, the weapon and armor set for this build can work interchangeably with other variations; for example, using this build's armor set with a different Charge Blade (like the Leidenskraft or Bardichion Blade). Because of this, there are a number of different playstyles available.
In particular, this build emphasizes the Hard Bone Strongarm's Impact Phials, using them to stun the monster as much as possible. Meanwhile, a build using the Bardichion Blade would have a focus on dealing elemental damage with the entire weapon.
Because of this, it would be more beneficial to understand the key components of this build and put them into practice. The core of the armor skills of this build are Weakness Exploit, Agitator, and Maximum Might, each providing essential damage bonuses across a variety of situations.
Weakness Exploit will have you dealing even more damage to Wounds, which the Charge Blade is great at breaking. At level five Weakness Exploit, attacks against weak points have 30 percent increased Affinity, while hitting Wounds grants an extra 20 percent.
Agitator level five grants increased 20 attack and 15 percent more Affinity when the monster enrages, while Maximum Might increases Affinity by an additional 30 percent when Stamina is kept at full for three seconds. This means if Maximum Might is active and the monster is enraged, hitting a Wound has a 95 percent increased Affinity on your attack.
Hitting normal weak points (not Wounds) with Maximum Might and Agitator active will grant your attacks 75 percent increased Affinity.
Outside of these three major skills, we also have Burst, which grants a decent damage bonus as long as you keep hitting the monster, and Artillery, which increases the damage of your Impat Phials, making it easier to stun the monster.
As mentioned above, this build has five free level one Decoration slots that you can really do anything you want with. Defense Boost becomes more effective the more points you stack in it, but Divine Blessing has the potential to be better overall, so you may want to put three levels into that first. Alternatively, Elemental or status resistance may come in handy against certain monsters.
Overall, the strengths of this build are its versatility and customizability, just like the Charge Blade itself. Run your favorite Charge Blade and make personal adjustments to the build where necessary.

The above is the detailed content of Monster Hunter Wilds: Charge Blade Build Guide. For more information, please follow other related articles on the PHP Chinese website!


![[Web front-end] Node.js quick start](https://img.php.cn/upload/course/000/000/067/662b5d34ba7c0227.png)


