

This guide explains how to temporarily pause or permanently remove OneDrive from your Windows 11 system.
Pausing OneDrive Sync
To temporarily stop OneDrive from syncing, follow these steps:
Step 1. Access the system tray (usually located in the bottom-right corner of your screen, near the clock).

Step 2. Locate and right-click the OneDrive icon.

Step 3. Select "Settings" from the context menu.
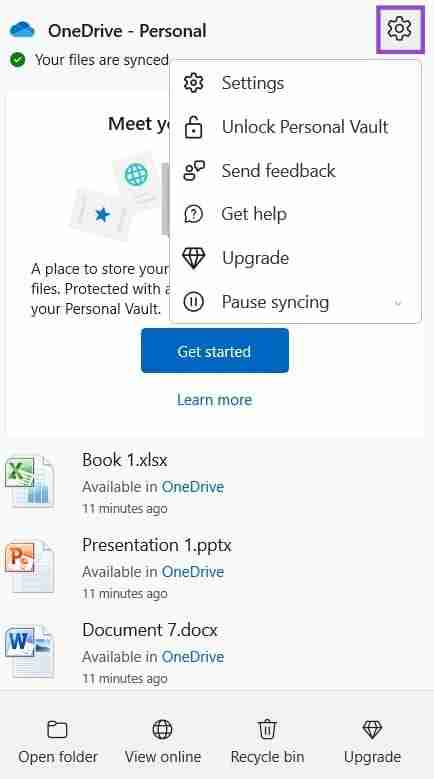
Step 4. Choose "Pause syncing," then confirm by clicking "Quit OneDrive." A confirmation prompt will appear.

Removing OneDrive
For a complete removal, use these instructions:
Step 1. Open the Windows Settings app (press the Windows key I).

Step 2. Navigate to "Apps" > "Apps & features."

Step 3. Locate "OneDrive" in the app list (use the search bar if needed).

Step 4. Click the three vertical dots next to OneDrive. Select "Uninstall" if available, and follow the prompts. If "Uninstall" is unavailable or greyed out, choose "Modify" to disable the app.
 A system restart may be required.
The above is the detailed content of How to Pause or Disable OneDrive in Windows 11. For more information, please follow other related articles on the PHP Chinese website!


![[Web front-end] Node.js quick start](https://img.php.cn/upload/course/000/000/067/662b5d34ba7c0227.png)


