Home > System Tutorial > MAC > Screenshot on Mac Not Working: What to Do & How to Fix This Issue?

Screenshot on Mac Not Working: What to Do & How to Fix This Issue?

Jennifer Aniston
Release: 2025-03-21 10:47:11
Original
699 people have browsed it

Mac screenshot function fails? Try resetting NVRAM! After shutting down, restart your Mac, and hold down the Command Option PR key while hearing the startup sound again.

Screenshot function is crucial for Mac users. Once it fails, it will inevitably make people feel at a loss. Mac screenshots are simple and convenient to operate, but even reliable Apple products may encounter system errors and failures.

Therefore, you may encounter the problem that the Mac screenshot feature is not working properly. Don't worry, the following fixes will help you solve the problem.

MacKeeper can easily remove annoying bugs, clean up messy files that take up storage space, and even optimize RAM to keep your Mac running optimally. What are you waiting for? Use MacKeeper to take care of your Mac!

Reasons for failed screenshots of Mac

Failed Mac screenshots may be caused by a variety of reasons: bugs, software failures, insufficient storage space or keyboard failures.

While it’s hard to determine the specific reason, luckily, it’s easy to fix – keep reading our guide.

Mac screenshot method

To enable Mac screenshots:

  1. Hold down Shift, Command and 3 keys simultaneously.
  2. Find your screenshot file on your desktop.

Screenshot on Mac Not Working: What to Do & How to Fix This Issue?

Now that you have reviewed the Mac screenshot method, let's see how to fix issues that may cause screenshot functionality to fail.

How to solve Mac screenshot failure

If there is a problem with your Mac screenshot function, the following quick and effective solutions should help you recover the screenshot function:

  1. Restart and update your Mac
  2. Check keyboard settings
  3. Reset NVRAM
  4. Check for system updates
  5. Scan for malware and viruses
  6. Check the screenshot save location
  7. Mobile preferences file
  8. Check Dropbox settings
  9. Using Grab Screenshot
  10. Use preview screenshot
  11. Check storage space
  12. Start in safe mode

1. Restart and update your Mac

If Mac screenshot problems are caused by system errors, the quickest and simplest solution is to restart and update the device.

How to restart Mac:

  1. Click the Apple icon in the upper left corner of the screen.
  2. In the drop-down menu, click Restart .

Screenshot on Mac Not Working: What to Do & How to Fix This Issue?

After restarting the device, try using the keyboard shortcut Command Shift 3 to see if the screenshot function is working properly.

After restarting your Mac, it is worth checking if the system has been updated. Sometimes, system updates may lead to benign system errors such as screenshots.

Mac software update method:

  1. Click the Apple icon in the upper left corner of the screen.
  2. Select System Settings and click General in the sidebar window.
  3. Click Software Update . This will prompt the Mac to check for updates.
  4. If an update is available, click Update now to download and install the latest software. After the download is complete, the Mac will automatically restart.

Screenshot on Mac Not Working: What to Do & How to Fix This Issue?

Screenshot on Mac Not Working: What to Do & How to Fix This Issue?

Screenshot on Mac Not Working: What to Do & How to Fix This Issue?

2. Check keyboard settings

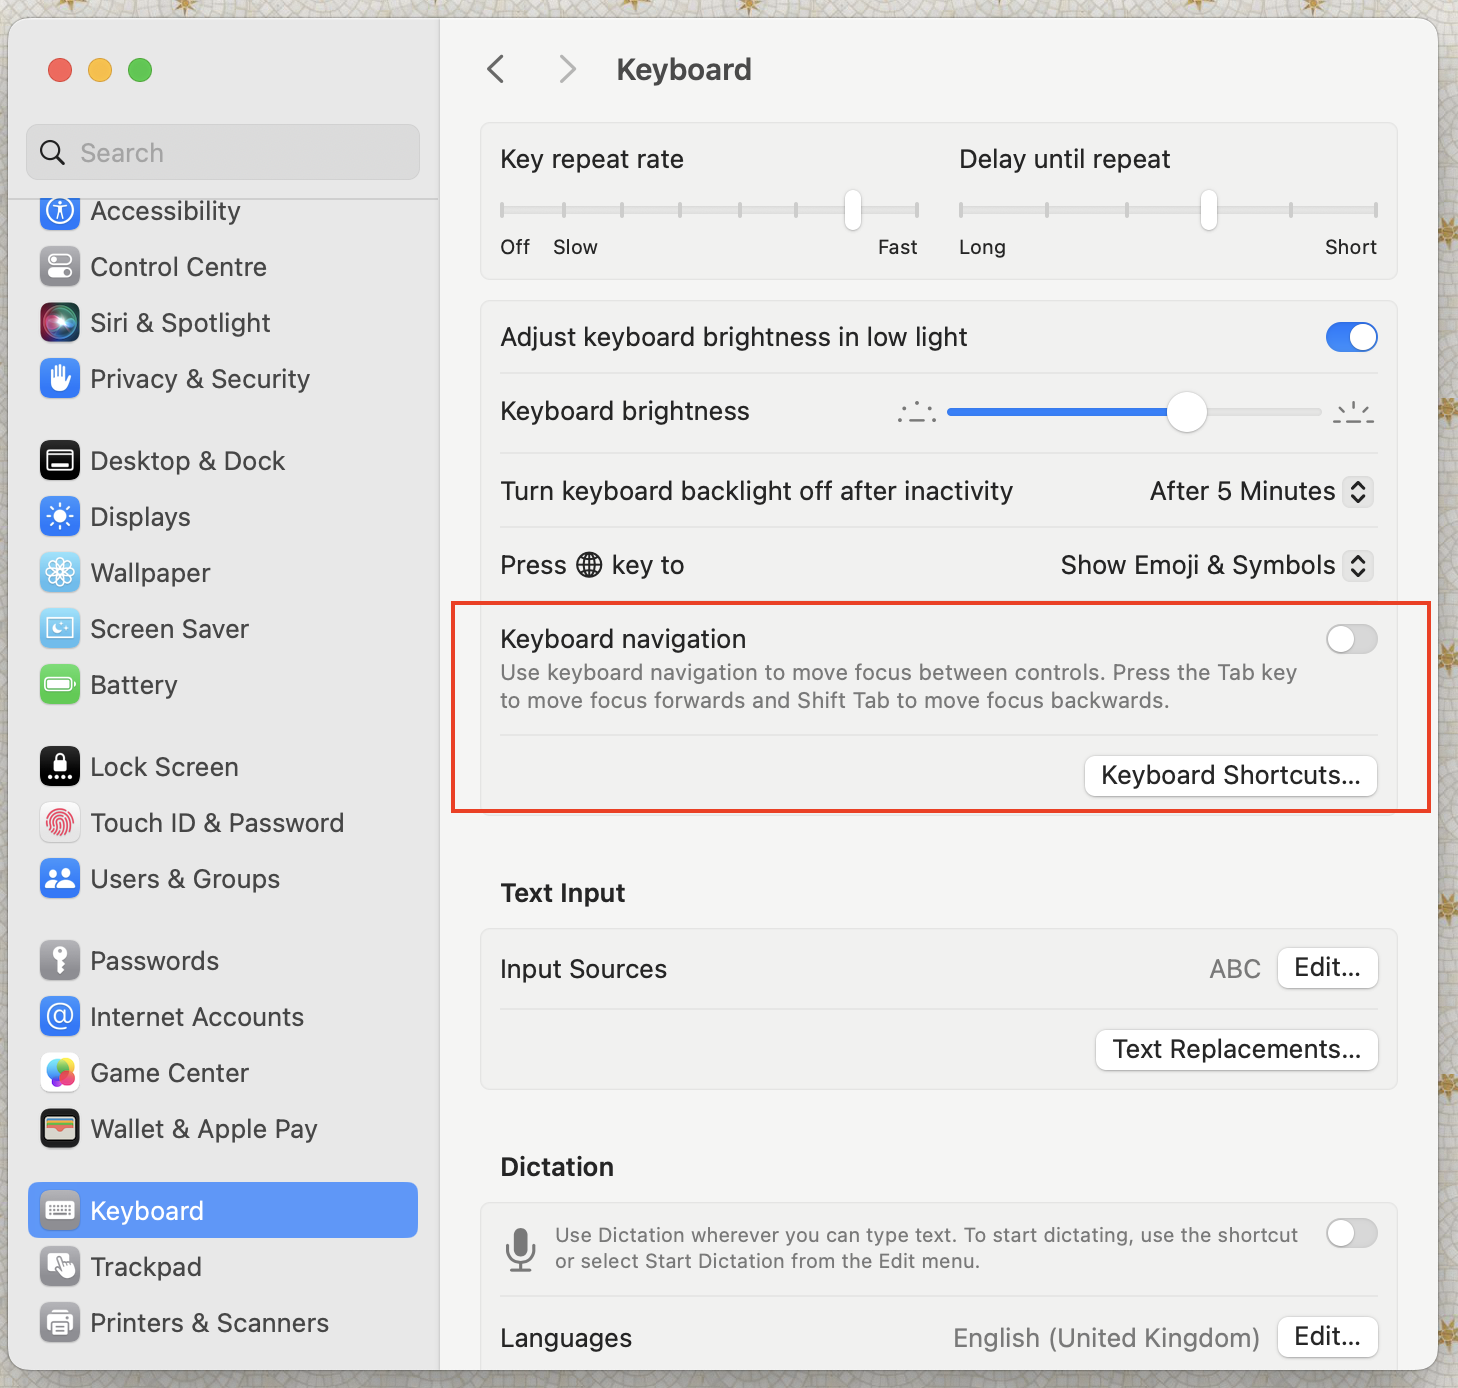
Checking Mac's keyboard settings is another solution to Mac screenshot problems. If the commonly used keyboard shortcuts do not work, they may have been changed. Fortunately, it's very simple to check:

  1. Click the main Apple menu in the upper left corner of the screen and select System Settings .
  2. Scroll down and tap on the keyboard (usually the third last option), then tap on the keyboard shortcut .
  3. Select Screenshot . Here you can select the screenshot option and view all the activity shortcuts for Mac screenshots. Any blank box means that the shortcut key is not enabled.

Screenshot on Mac Not Working: What to Do & How to Fix This Issue?

Screenshot on Mac Not Working: What to Do & How to Fix This Issue?

3. Reset NVRAM

NVRAM is a special type of memory in your computer that holds important details about settings, such as volume level, time zone, and screen size, even before the Mac boots up. Resetting NVRAM can solve many problems, including the problem that the Mac screenshot feature is not working properly.

How to reset NVRAM for Mac:

  1. Turn off the Mac.
  2. Then press and hold the Power button while holding the Command Option PR key on the keyboard for 20 seconds to restart the device.

Screenshot on Mac Not Working: What to Do & How to Fix This Issue?

Screenshot on Mac Not Working: What to Do & How to Fix This Issue?

4. Check for system updates

We've said it once, and we'll say it again - check if your Mac has system updates. Running older versions of macOS does more harm than good. Older macOS may no longer support certain applications, and delaying major system updates may lead to system problems such as screenshots.

Mac software update method:

  1. First click on the Apple menu in the upper left corner of the screen and select System Preferences . Then select General , and then select Software Update on the right.
  2. If you cannot find the system preferences in the Apple menu, you can directly select the system preferences . After entering, click Software Update .
  3. If an update is available, you will see an update or upgrade button. Click it to continue. It will notify you if your Mac has been updated to the latest version.
  4. Before the update starts installing, you need to enter your password – the password you used to log into your Mac.
  5. During the installation process, your Mac may restart several times, showing a progress bar or a blank screen. This is normal, so don't worry. If the installation fails, you will receive an error message telling you what is wrong.

Screenshot on Mac Not Working: What to Do & How to Fix This Issue?

Screenshot on Mac Not Working: What to Do & How to Fix This Issue?

Screenshot on Mac Not Working: What to Do & How to Fix This Issue?

5. Scan for malware and viruses

Although Macs are less susceptible to malware and viruses than other systems, malware is still becoming more and more complex. A strange system failure could be a sign that a virus infects a Mac. At this time, antivirus software such as MacKeeper came in handy:

  1. Download and start MacKeeper.
  2. Click Antivirus in the menu on the left side of the window.
  3. Click the Start Anti-Virus button to start MacKeeper's anti-virus scanner.
  4. Wait for the scan to complete and delete any threats found.

Screenshot on Mac Not Working: What to Do & How to Fix This Issue?

Screenshot on Mac Not Working: What to Do & How to Fix This Issue?

Screenshot on Mac Not Working: What to Do & How to Fix This Issue?

6. Check the screenshot save location

If your Mac is updated, has no malware, and keyboard shortcuts are enabled, the screenshots you took may be saved elsewhere on your Mac. By default, Mac screenshots are saved on the desktop, so you can easily find the file.

Screenshot on Mac Not Working: What to Do & How to Fix This Issue?

7. Move Preferences File

If your screenshot does not appear on the desktop, you can check and change the location as follows:

  1. Press Command Shift 5 key to open the screenshot application at the same time.
  2. Click Options .
  3. Here you can choose your preferred location.

Screenshot on Mac Not Working: What to Do & How to Fix This Issue?

That's it! After changing the location settings, the new screenshot will be saved there.

8. Check Dropbox settings

If you use Dropbox, your preferences may be set to automatically save screenshots to your Dropbox account.

Stop saving the screenshot to Dropbox:

  1. Click the Dropbox menu icon on the menu.
  2. Select the gear icon > Settings > Preferences > Backup .
  3. Uncheck Share screenshots with Dropbox .

Screenshot on Mac Not Working: What to Do & How to Fix This Issue?

Screenshot on Mac Not Working: What to Do & How to Fix This Issue?

9. Use Grab to take screenshots

If you've been using macOS for a while, you're probably familiar with the Grab app, a preinstalled app that previously allowed screenshots on your Mac. Unfortunately, it is no longer available. It is preinstalled on macOS until High Sierra (version 10.13), but is replaced by the screenshot tool in Mojave (version 10.14).

10. Use preview screenshots

The Grab app may disappear, but preview is another tool you can use if your Mac screenshot feature doesn't work:

  1. Open the preview app.
  2. Then go to File > Take Screenshots .
  3. Now, select the type of screenshot you want to take.

Screenshot on Mac Not Working: What to Do & How to Fix This Issue?

Screenshot on Mac Not Working: What to Do & How to Fix This Issue?

11. Check storage space

You may not realize that screenshots can easily take up storage space on your Mac. If your device starts to feel a little sluggish and has performance issues, it may be time to check how much available storage is left on your Mac:

  1. Click the main Apple menu and go to System Settings > General > Storage Spaces .
  2. Wait for your Mac to complete the calculation of storage space breakdown.
  3. Delete any unnecessary files and folders that cause Mac performance to degrade.

Screenshot on Mac Not Working: What to Do & How to Fix This Issue?

Screenshot on Mac Not Working: What to Do & How to Fix This Issue?

Cleaning up your MacBook's storage space can be a tedious task. A great way to speed up this process is to use dedicated cleaning tools, our personal favorite is MacKeeper. Its security cleaning tool is perfect for organizing cluttered files.

Screenshot on Mac Not Working: What to Do & How to Fix This Issue?

The app quickly and thoroughly scans your system, collecting all junk files and folders into one location so that you can organize your forgotten files and delete any files that take up your Mac space.

12. Start in Safe Mode

Enable safe mode on your Mac helps determine if a screenshot problem is caused by a software problem.

To enable Safe Mode on your Mac, you need:

  1. Turn off your Mac by going to main Apple and clicking Shutdown .
  2. Turn on your Mac again and continue to hold the power button until the "Load Startup Options" message appears.
  3. There will be two options on the screen, select your boot disk .
  4. Hold down the Shift key and click to continue in safe mode .

Screenshot on Mac Not Working: What to Do & How to Fix This Issue?

Screenshot on Mac Not Working: What to Do & How to Fix This Issue?

Screenshot on Mac Not Working: What to Do & How to Fix This Issue?

How to recover lost screenshots on Mac

If your screenshot feature is resolved, but you now lose the screenshot file, you don't need to panic. You can still use Finder, Time Machine, iCloud, or check the trash to recover lost screenshots.

Recover from Finder

If you may have moved your screenshots to another location, Finder can help you find them again. Here is how to operate:

  1. Start Finder .
  2. Type screenshot in the search box in the upper right corner.
  3. Check and see if your screenshot appears in the search results, move it to another location.

Screenshot on Mac Not Working: What to Do & How to Fix This Issue?

Screenshot on Mac Not Working: What to Do & How to Fix This Issue?

Recover from Time Machine

If you back up your data regularly, Time Machine will help you find any missing files. To recover data using Time Machine:

  1. Launch Time Machine by clicking the logo in the upper right corner of the menu or searching for Time Machine in Spotlight.
  2. Select the drive you want to recover.
  3. Browse the backup list to find a backup containing the screenshots you want to recover.
  4. Click Recover .

Screenshot on Mac Not Working: What to Do & How to Fix This Issue?

Screenshot on Mac Not Working: What to Do & How to Fix This Issue?

Screenshot on Mac Not Working: What to Do & How to Fix This Issue?

Recover from iCloud

You can recover files deleted from iCloud Drive or other applications on iCloud in the past 30 days on iCloud.com. To retrieve files from iCloud, follow these steps:

  1. Go to iCloud.com .
  2. Log in to your iCloud account and click Account Settings .
  3. Find the advanced settings in the lower left corner and click Recover File .
  4. Once the file appears, you can select the file you want or use the Select All check box.
  5. Click Recover and Finish . All recovered files are now available on your Mac's desktop.

Screenshot on Mac Not Working: What to Do & How to Fix This Issue?

Screenshot on Mac Not Working: What to Do & How to Fix This Issue?

Recovery from a trash can

Your Mac has a built-in feature called the Trash Can, where all deleted items are stored until you decide to delete them permanently. Here is how to find the recently deleted files:

  1. Open the trash can , usually located in the lower right corner of the screen.
  2. Find the item you recently deleted and select it.
  3. Right-click the selected item and click Put back . This restores the file to its original location.

Screenshot on Mac Not Working: What to Do & How to Fix This Issue?

Say goodbye to the Mac screenshot problem

The screenshot failure is very frustrating, but hopefully with the solutions we provide above, you don't have to wonder why your Mac can't take screenshots anymore. Also, you now know how to fix screenshot failures on your Mac.

If you want to save time, let MacKeeper's lookup and repair tools simplify the diagnostic process for you. It is designed to quickly identify and resolve any software issues or errors that may affect Mac performance. Whether you want to quickly check your Mac or want to get a deeper look at a specific problem, it is your quick and easy solution.

The above is the detailed content of Screenshot on Mac Not Working: What to Do & How to Fix This Issue?. For more information, please follow other related articles on the PHP Chinese website!

Statement of this Website
The content of this article is voluntarily contributed by netizens, and the copyright belongs to the original author. This site does not assume corresponding legal responsibility. If you find any content suspected of plagiarism or infringement, please contact admin@php.cn
Popular Tutorials
More>
Latest Downloads
More>
Web Effects
Website Source Code
Website Materials
Front End Template