
Master Outlook's Color Categories for Effortless Email Management! This guide shows you how to leverage color categories in the new Outlook (desktop and web) to conquer email overload. We'll cover creating, using, editing, and deleting categories, plus advanced techniques like filtering and searching.
Understanding Color Categories
Color categories are customizable labels you assign to emails, calendar events, and tasks. Each category has a distinct color, visually highlighting priority, context, or nature. Outlook offers default categories, but you can create your own. Importantly, these categories are private; others won't see them.

Accessing and Viewing Categories
There are three ways to access categories:


Creating New Categories
Creating custom categories is simple:


Using Categories
Assign categories to emails, calendar events, and tasks via right-click context menus or ribbon options. For tasks, use the right-side pane.


Editing, Clearing, and Deleting Categories
Edit category names and colors via the category management interface. Clear categories from items using the context menu's "Clear all categories" or by unchecking individual categories. Delete unwanted categories using the delete button.


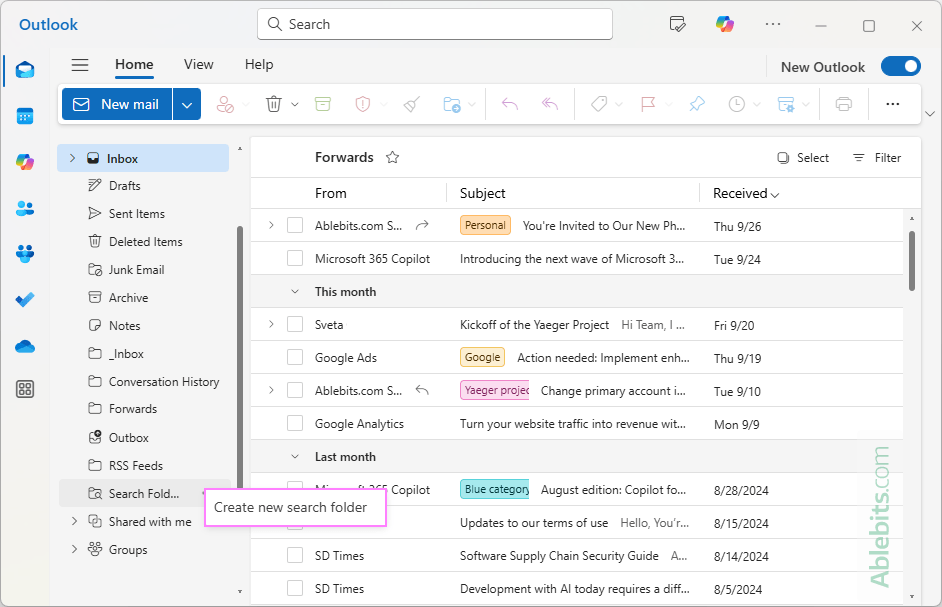
Filtering and Searching by Category
Click a category tag in your inbox to filter emails by that category (across all folders). To limit filtering to a specific folder, click the folder name. Use "Search Folders" to create a custom search folder based on specific categories.


Favoriting Categories
Favorite categories for quick access in the folder pane by clicking the star icon next to them in the category settings.


Tips for Effective Category Management
Mastering Outlook's color categories transforms email management from a chore into a streamlined, efficient process.
The above is the detailed content of Color categories in new Outlook: create, use, sort and filter. For more information, please follow other related articles on the PHP Chinese website!
 Bitcoin exchange
 c language const usage
 The most promising coin in 2024
 High-level language programming
 java basic data types
 what is adobe flash player
 The latest prices of the top ten virtual currencies
 How to recover files emptied from Recycle Bin
 What's going on when the ip address is unavailable?


![[Web front-end] Node.js quick start](https://img.php.cn/upload/course/000/000/067/662b5d34ba7c0227.png)


