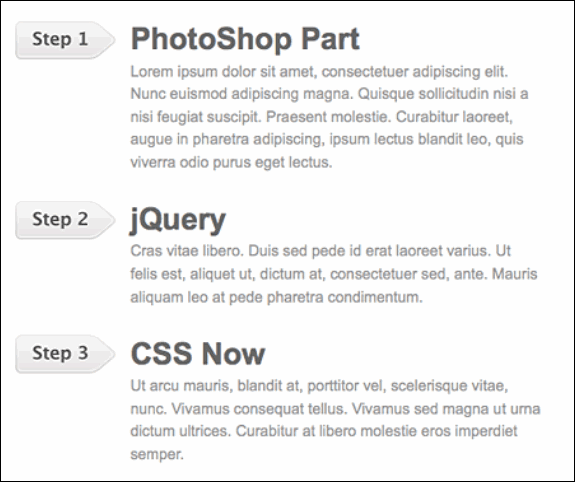
This tutorial will show you how to use jQuery to add consecutive CSS classes to generate a vivid list. The second example is how to use jQuery's prepend feature to add a comment count to the comment list.
You can take a look at the example first.
1a. Add jQuery code
Download jQuery and add jQuery code between the
tags as follows:
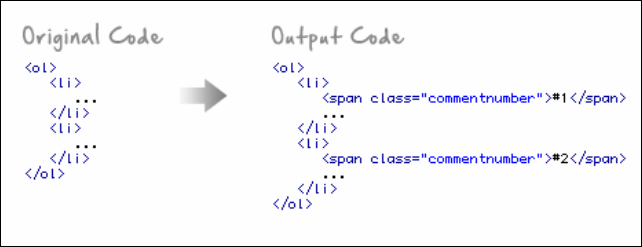
jQuery will output the html source code as follows:

1b.CSS coding
Use the background image to style the
element accordingly. (step1.png, step2.png, step3.png, etc.).
#step .item1 {
background: url( step1.png) no-repeat;
}
#step .item2 {
background: url(step2.png) no-repeat;
}
#step .item3 {
background: url(step3.png) no-repeat;
}

2a. Add continuous content
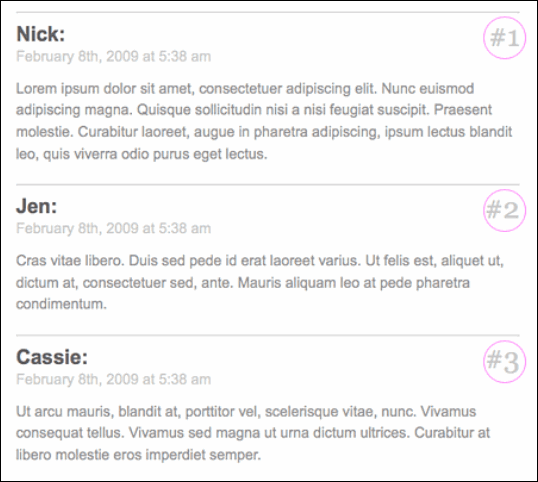
You can also use This technique adds ordered content using jQuery's prepend method. This method is used below to generate a counted message list.
will add a < for each ;span calss=”commentnumber”>count.

2b.CSS
Stylized:position:relative Use position: absolute puts .commentnumber in the upper right corner of the comment entry.
#commentlist li {
position: relative;
}
#commentlist .commentnumber {
position: absolute;
right: 0;
top: 8px;
}
2b.CSS
Stylized:position:relative Use position:absolute to place .commentnumber in the upper right corner of the message entry.
#commentlist li {
position: relative;
}
#commentlist .commentnumber {
position: absolute;
right: 0;
top: 8px;
}


