

Foreword
A few days ago, my friend had a free vps with 256M memory, and I decided to play with it. After some thought, I decided to use it to hang up the station. Then I saw that it was a CentOS6 system, and I decisively decided to use LNMP, which I had never played with before. Therefore, I looked for tutorials on Baidu and Google, and many of them had problems, resulting in countless system reinstallations and a lot of time wasted. Now let’s summarize the successful experience.
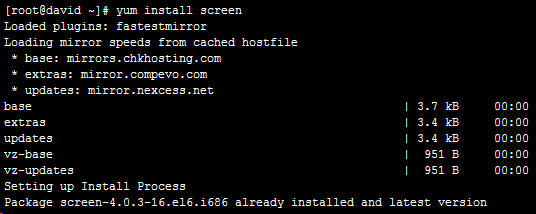
Install screen
Enter yum install screen
in the terminalAfter completion, enter screen -S lnmp
Why do you do this? The answer is simple, because it protects your remote connections so your work doesn't stop unexpectedly. It took me a long time to install LNMP, but XShell once disconnected inexplicably, which scared me to the point where I thought I had to start all over again. Fortunately, the screen was turned on at the beginning and the process was still there.
If your terminal is accidentally disconnected while working, you can enter screen –ls to view all screen sessions, then enter screen –r + codename to restore it.
Install LNMP
Enter the following code in the terminal
wget -c http://soft.vpser.net/lnmp/lnmp1.1-full.tar.gz && tar zxf lnmp1.1-full.tar.gz && cd lnmp1.1-full && ./centos.sh
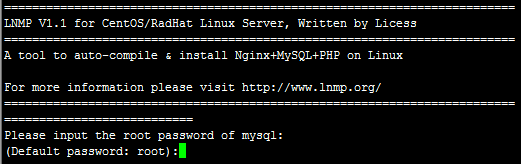
Install according to the prompts
MySQL password is required here
Then enter here to confirm whether to enable MySQL InnoDB

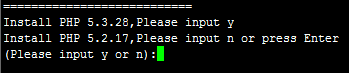
Select php version
Select mysql version
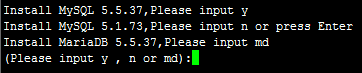
I personally recommend using the latest one
Long wait. . . . . It took me three hours. . . . .
Done
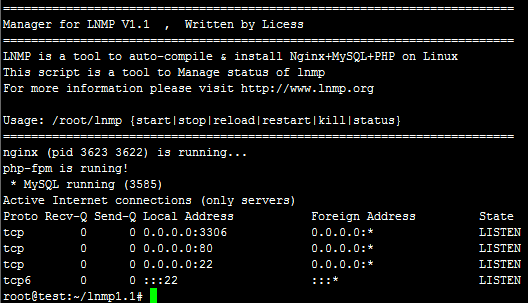
Configure site
Now that the environment is installed, how can I make it work?
Enter /root/vhost.sh
in the terminal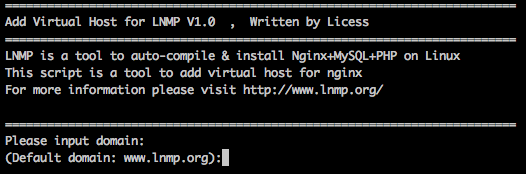
Enter the domain name to be bound here. Here, www.joycex.com and joycex.com are not the same domain name. It is recommended to enter them together here and separate the two domain names with a space.
If you accidentally typed something wrong, use Ctrl+Backspace to delete it. Do not Backspace directly (this will not delete it, but ^H will appear instead)
After pressing Enter, the following prompt will appear

If you need to add more domain names, there is no need to directly enter n and press Enter. If necessary, enter y and press Enter
The next step is to set the website directory location. Generally, there is no need to set it and just press Enter.
Here you choose whether to add pseudo-static rules. If you do not need pseudo-static rules, just enter n and press Enter. If you need to enter y and press Enter, then select pseudo-static or custom pseudo-static
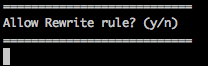
Select y and the following prompt will appear

There are already many things by default, you can directly enter the above names.
We install wordpress here, just enter wordpress directly.
Whether you choose to enable logs below
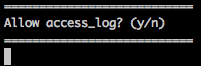
Generally useless choicesn
After the message: Press any key to start create virtul host... appears, press Enter again to confirm and the virtual host will be added automatically.
Install wordpress
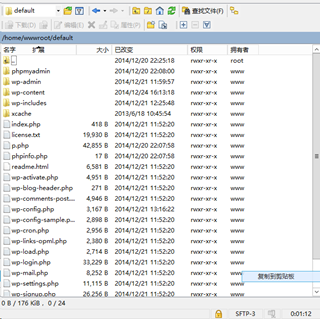
Since it is very inconvenient to operate with commands, it is recommended that you download it locally first, and then use SFTP software such as WinSCP to upload it to the website directory
First go to http://cn.wordpress.org/ to download wordpress

Upload using WinSCP
Enter http://domain name/wp-admin/install.php in the browser
Then you enter the classic installation interface of wordpress. The prompts are very simple and it is easy to install
It’s done in less than five minutes!


![[Web front-end] Node.js quick start](https://img.php.cn/upload/course/000/000/067/662b5d34ba7c0227.png)


