
 Backend Development
PHP Tutorial
CentOS 6 installs Nginx centos nginx starts centos6.5 nginx centos7 installs ngin
Backend Development
PHP Tutorial
CentOS 6 installs Nginx centos nginx starts centos6.5 nginx centos7 installs ngin
CentOS 6 installs Nginx centos nginx starts centos6.5 nginx centos7 installs ngin

1. Install dependent modules
. Download nginx-sticky plugin
	yum install gcc
	yum install g++
	yum install openssl openssl--devel
	yum install zlib zlib-devel
	yum install pcre pcre-devel
	yum -y install gcc-c++
2 , download
nginx
cd /usr/local
After that, enter the decompression directory:
wget http://nginx-sticky-module.googlecode.com/files/nginx-sticky-module-1.1.tar.gz
tar -xzvf nginx-sticky-module-1.1.tar.gz
ps:
If the above dependent modules cannot be found during installation, use --with-openssl=
--with-pcre
< ;zlib_dir>Specifies the dependent module directory. If it has been installed, the path here is the installation directory; if it has not been installed, this path is the compiled installation package path, and nginx will perform the default compilation and installation of the module.
After passing the above steps, use the whereis
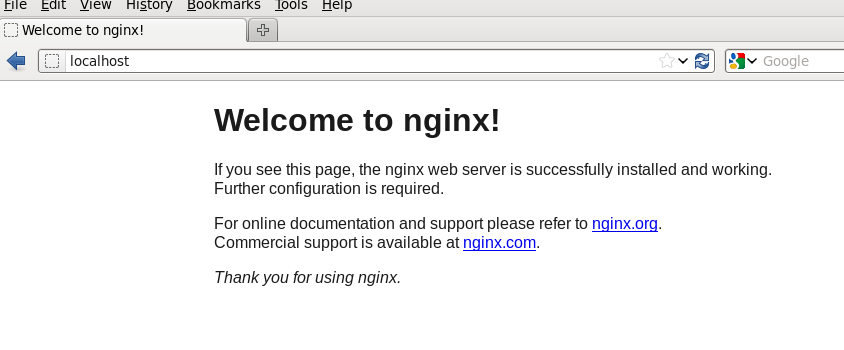
nginxcommand to view the nginx directory - it appears: nginx: /usr/local/nginx Open http://localhost in the browser :
ok,succeed!!!
Three, what can Nginx bring to my website? time :
. Server, at this time, the user's request will be processed by that application server. The choice of which application server will handle and respond to our user request falls on our load balancing device, so (ps: The picture below is just for implementation A model of load balancing, as well as other request and response processing models):
In addition, in addition to the role of request response as a selection, Nginx also has its own function in caching static resources. Advantages, so there is a technical combination of using Nginx to make up for the shortcomings of nodejs. At this time, our nginx server acts as a cache server.
The above introduces the installation of Nginx on CentOS 6, including centos and nginx. I hope it will be helpful to friends who are interested in PHP tutorials.

Hot AI Tools

Undresser.AI Undress
AI-powered app for creating realistic nude photos

AI Clothes Remover
Online AI tool for removing clothes from photos.

Undress AI Tool
Undress images for free

Clothoff.io
AI clothes remover

AI Hentai Generator
Generate AI Hentai for free.

Hot Article
Hot Tools

Notepad++7.3.1
Easy-to-use and free code editor

SublimeText3 Chinese version
Chinese version, very easy to use

Zend Studio 13.0.1
Powerful PHP integrated development environment

Dreamweaver CS6
Visual web development tools

SublimeText3 Mac version
God-level code editing software (SublimeText3)
Hot Topics


 How to allow external network access to tomcat server
Apr 21, 2024 am 07:22 AM
How to allow external network access to tomcat server
Apr 21, 2024 am 07:22 AM
To allow the Tomcat server to access the external network, you need to: modify the Tomcat configuration file to allow external connections. Add a firewall rule to allow access to the Tomcat server port. Create a DNS record pointing the domain name to the Tomcat server public IP. Optional: Use a reverse proxy to improve security and performance. Optional: Set up HTTPS for increased security.
 SCP usage tips-recursively exclude files
Apr 22, 2024 am 09:04 AM
SCP usage tips-recursively exclude files
Apr 22, 2024 am 09:04 AM
One can use the scp command to securely copy files between network hosts. It uses ssh for data transfer and authentication. Typical syntax is: scpfile1user@host:/path/to/dest/scp -r/path/to/source/user@host:/path/to/dest/scp exclude files I don't think you can when using scp command Filter or exclude files. However, there is a good workaround to exclude the file and copy it securely using ssh. This page explains how to filter or exclude files when copying directories recursively using scp. How to use rsync command to exclude files The syntax is: rsyncav-essh-
 How to deploy nodejs project to server
Apr 21, 2024 am 04:40 AM
How to deploy nodejs project to server
Apr 21, 2024 am 04:40 AM
Server deployment steps for a Node.js project: Prepare the deployment environment: obtain server access, install Node.js, set up a Git repository. Build the application: Use npm run build to generate deployable code and dependencies. Upload code to the server: via Git or File Transfer Protocol. Install dependencies: SSH into the server and use npm install to install application dependencies. Start the application: Use a command such as node index.js to start the application, or use a process manager such as pm2. Configure a reverse proxy (optional): Use a reverse proxy such as Nginx or Apache to route traffic to your application
 Welcome to nginx!How to solve it?
Apr 17, 2024 am 05:12 AM
Welcome to nginx!How to solve it?
Apr 17, 2024 am 05:12 AM
To solve the "Welcome to nginx!" error, you need to check the virtual host configuration, enable the virtual host, reload Nginx, if the virtual host configuration file cannot be found, create a default page and reload Nginx, then the error message will disappear and the website will be normal show.
 How to generate URL from html file
Apr 21, 2024 pm 12:57 PM
How to generate URL from html file
Apr 21, 2024 pm 12:57 PM
Converting an HTML file to a URL requires a web server, which involves the following steps: Obtain a web server. Set up a web server. Upload HTML file. Create a domain name. Route the request.
 How to open the linux terminal shortcut key
Apr 11, 2024 pm 06:33 PM
How to open the linux terminal shortcut key
Apr 11, 2024 pm 06:33 PM
Open Linux terminal shortcut key: Ctrl + Alt + T. Other methods include through the GUI or command line. You can also customize terminal shortcut keys.
 What are the classifications of linux systems?
Apr 12, 2024 pm 02:15 PM
What are the classifications of linux systems?
Apr 12, 2024 pm 02:15 PM
Linux systems can be divided into 6 categories according to their uses and characteristics: desktop distributions (Ubuntu), server distributions (RHEL), embedded systems (Yocto Project), mobile operating systems (Android), cloud computing platforms and special-purpose distributions ( Kali Linux, Puppy Linux).
 Build a Git server under CentOS
Apr 15, 2024 pm 07:13 PM
Build a Git server under CentOS
Apr 15, 2024 pm 07:13 PM
1. First, you need to install Git. You can use the yum source to install it online: [root@localhostDesktop]#yuminstall-ygit2. Create a git user to run the git service addusergit3. Initialize the git warehouse: Here we choose /data/git/learngit. git as our git repository [root@localhostgit]#gitinit--barelearngit.gitInitializedemptyGitrepositoryin/data/git/learngit.git/ execute the above command
