
This article introduces Zend Stuido installation
Please refer to PHP installation
http://www.cnblogs.com/azhe-style/p/php_new_env_build.html
1. Download
Baidu Zend Studio, what I downloaded is
http://downloads.zend.com/studio-eclipse/13.5.0/ZendStudio-13.5.0-win 32.win32.x86_64. exe
If the downloaded version is too new, you may not be able to find the corresponding cracking software. As of now, the official website is version 13.5.1
2. Installation
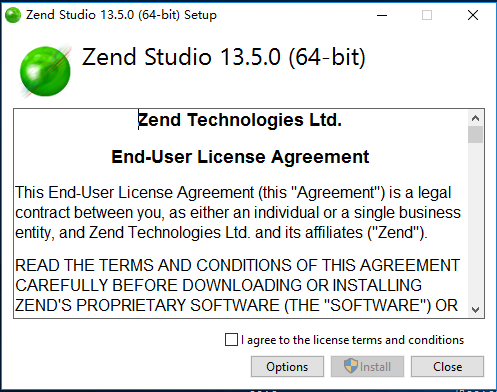
Click Options and select the installation directory (when installing software, usually the directory should not contain Chinese characters). After confirmation, agree to the statement and click Install to install
Open Zen Studio after installation is complete
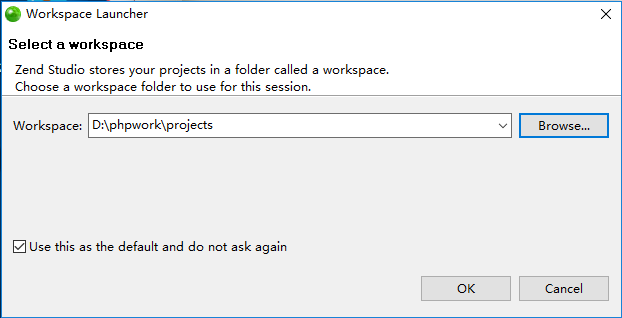
Working Directory Select the working path where Apache is installed.
Click OK
Now Zend Studio is inactive, close the software
Search Zend Studio 13.5.0 crack on Baidu and download the crack software. Unzip

Copy the jar package to the Zend Studio installation directory and replace the original files
My software installation directory is D:Program FilesZendZend Studio 13.5.0
To replace the jar file under D:Program FilesZendZend Studio 13.5.0plugins
Then reopen the software
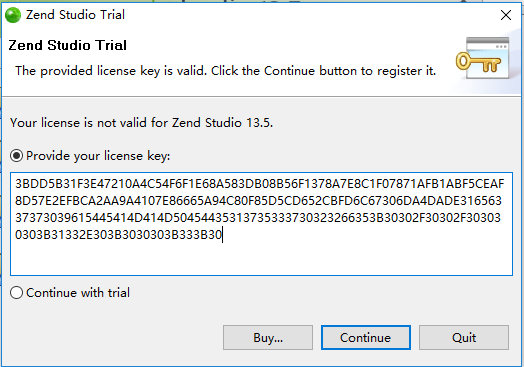
Copy the registration code into the dialog box, click Continue, and the activation is successful.
Click on the software’s Help-->About Zend Studio
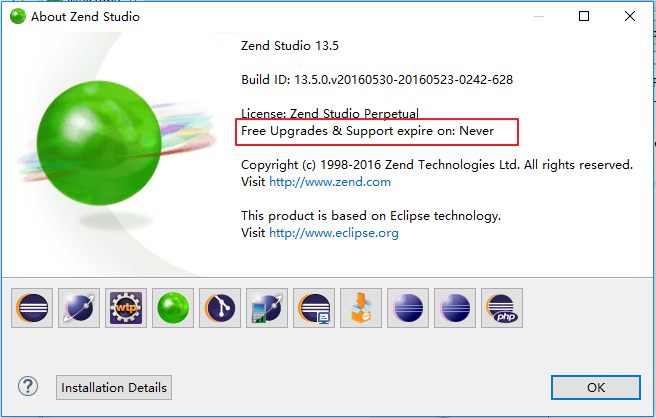
Free updates, the usage period is forever (Never)
Indicates activation is successful
3. Create Apache Server
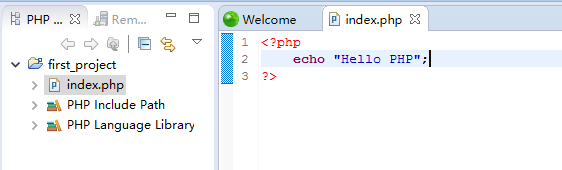
Create a new project, Local PHP Project
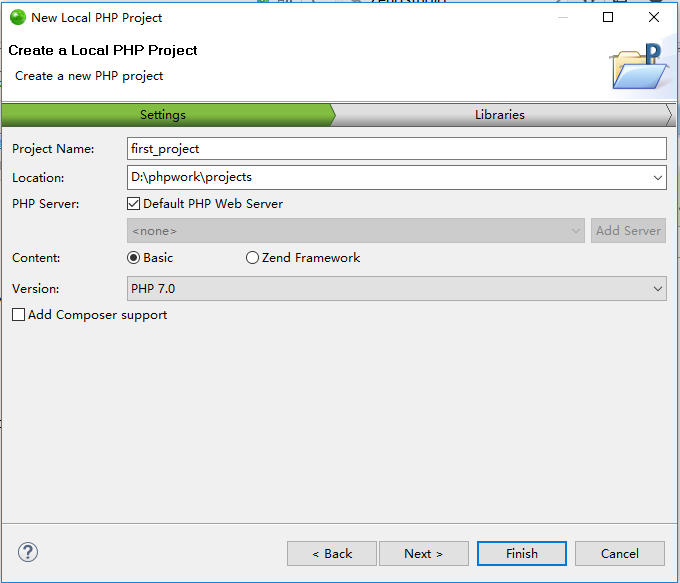
Click Finish
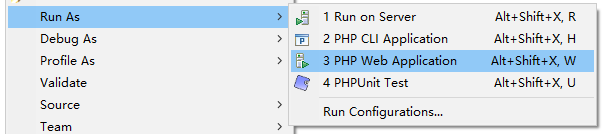
Next, right-click on index.php and select Run As-->Run Configurations
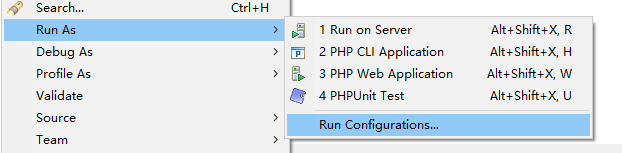
Double-click PHP Web Application to configure the PHP running environment
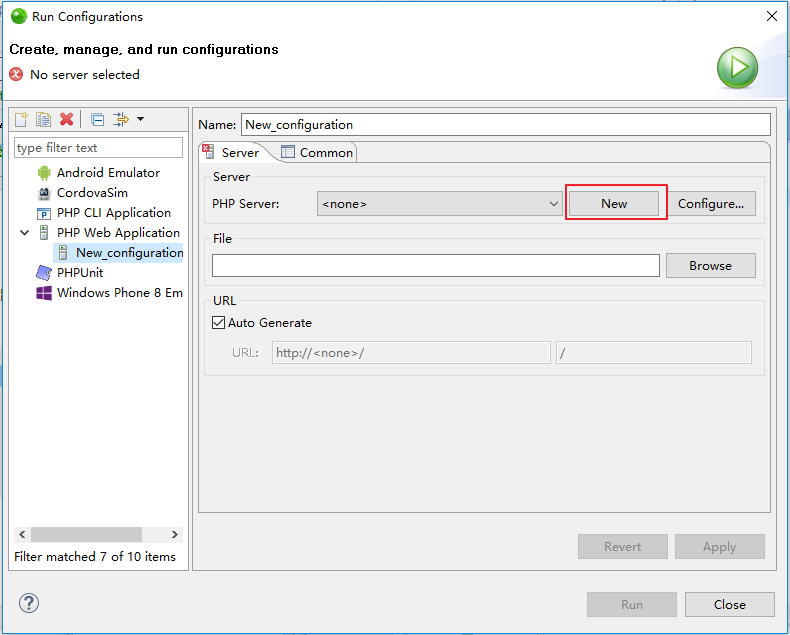
Click New to create a new server
Apache is installed in front. http://www.cnblogs.com/azhe-style/articles/apache_setup.html
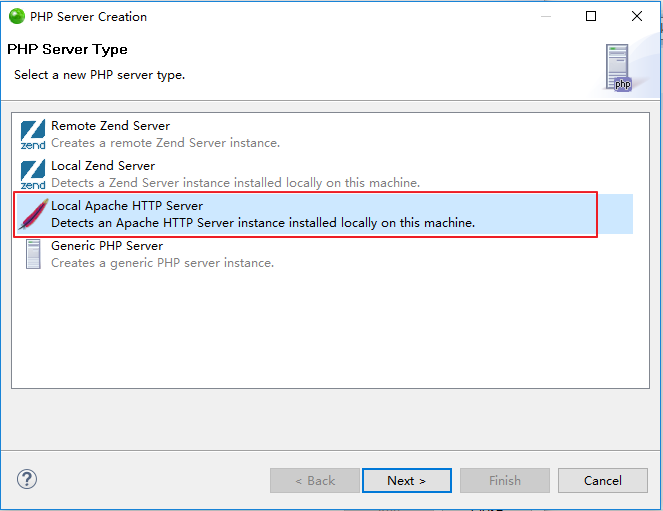
So, select Local Apache HTTP Server here
Click Next
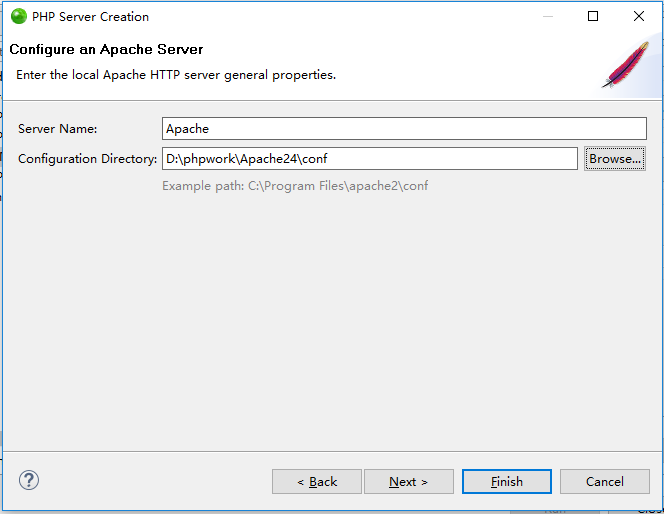 Choose a Server Name by yourself
Configuration Directory Select the conf directory of the previously installed Apache directory.
Click Next
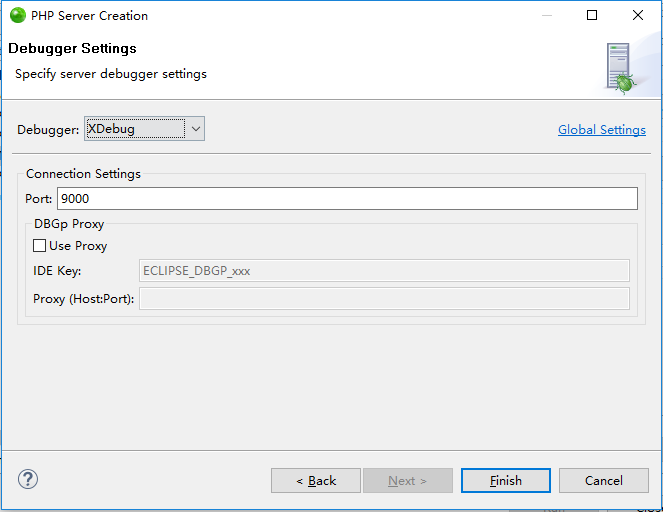
Choose as shown in the picture
Click Finish to complete the server configuration
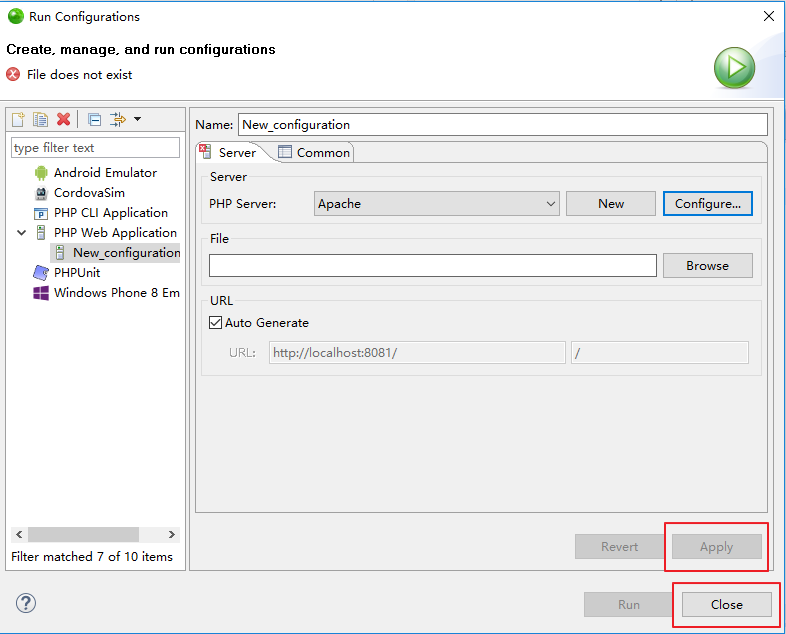
Click Apply, then click Close to complete the configuration
Right mouse click on index.php, Run As-->PHP Web Application
So the homepage is displayed in Zend Studio’s built-in browser


![[Web front-end] Node.js quick start](https://img.php.cn/upload/course/000/000/067/662b5d34ba7c0227.png)


