Android DrawerLayout implements drawer effect example code
Official website: https://developer.android.com/training/implementing-navigation/nav-drawer.html
Paste the main logic and layout files:
activity_main.xml
<?xml version="1.0" encoding="utf-8"?>
<android.support.v4.widget.DrawerLayout xmlns:android="http://schemas.android.com/apk/res/android"
  android:id="@+id/drawer_layout"
  android:layout_width="match_parent"
  android:layout_height="match_parent">
  <!-- content -->
  <FrameLayout
    android:id="@+id/drawer_container"
    android:layout_width="match_parent"
    android:layout_height="match_parent"/>
  <!-- Drawer-->
  <ListView
    android:id="@+id/drawer_menu"
    android:layout_width="240dp"
    android:layout_height="match_parent"
    android:background="#FFF0F0F0"
    android:layout_gravity="start"/>
  <!--
    android:choiceMode    选中状态 跟onItemClick没有冲突
        none       值为0,表示无选择模式;
        singleChoice   值为1,表示最多可以有一项被选中;
        multipleChoice  值为2,表示可以多项被选中。
    android:layout_gravity left或right left或start  right或end
      表示在抽屉里的效果是从左到右还是从右到左出现
  -->
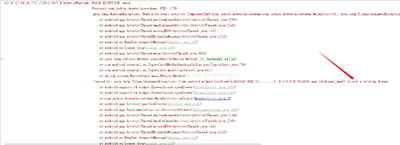
</android.support.v4.widget.DrawerLayout>Something to note here: the main content interface must be defined in front of the drawer. In addition, Android:layout_gravity="start" (from left to right) or android:layout_gravity="end" (from right to Left), this attribute must be defined, otherwise the following exception will occur:

MainActivity.java
package com.jackie.drawerlayoutdemo;
import android.os.Bundle;
import android.support.v4.widget.DrawerLayout;
import android.support.v7.app.AppCompatActivity;
import android.view.View;
import android.widget.AdapterView;
import android.widget.ArrayAdapter;
import android.widget.ListView;
import android.widget.TextView;
public class MainActivity extends AppCompatActivity {
  private String mTitle;
  private DrawerLayout mDrawerLayout;
  private ListView mDrawerMenu;
  @Override
  protected void onCreate(Bundle savedInstanceState) {
    super.onCreate(savedInstanceState);
    setContentView(R.layout.activity_main);
    initView();
    initData();
    //默认打开抽屉
    mDrawerLayout.openDrawer(mDrawerMenu);
  }
  private void initView() {
    mTitle = getResources().getString(R.string.app_name);
    mDrawerLayout = (DrawerLayout) findViewById(R.id.drawer_layout);
    mDrawerMenu = (ListView) findViewById(R.id.drawer_menu);
  }
  private void initData() {
    //数组定义在xml 文件中
    String[] items = getResources().getStringArray(R.array.left_drawer_items);
    ArrayAdapter<String> adapter = new ArrayAdapter<>(this, android.R.layout.simple_expandable_list_item_1);
    adapter.addAll(items);
    mDrawerMenu.setAdapter(adapter);
    mDrawerMenu.setSelection(0);
    //设置点击item事件
    mDrawerMenu.setOnItemClickListener(new AdapterView.OnItemClickListener() {
      @Override
      public void onItemClick(AdapterView<?> parent, View view, int position, long id) {
        mTitle = ((TextView) view).getText().toString();
        switchFragment();
        mDrawerLayout.closeDrawer(mDrawerMenu);
        mDrawerMenu.setSelection(position);
      }
    });
  }
  private void switchFragment() {
    getSupportFragmentManager().beginTransaction().replace(R.id.drawer_container, new ItemFragment(mTitle)).commit();
    getSupportActionBar().setTitle(mTitle);
  }
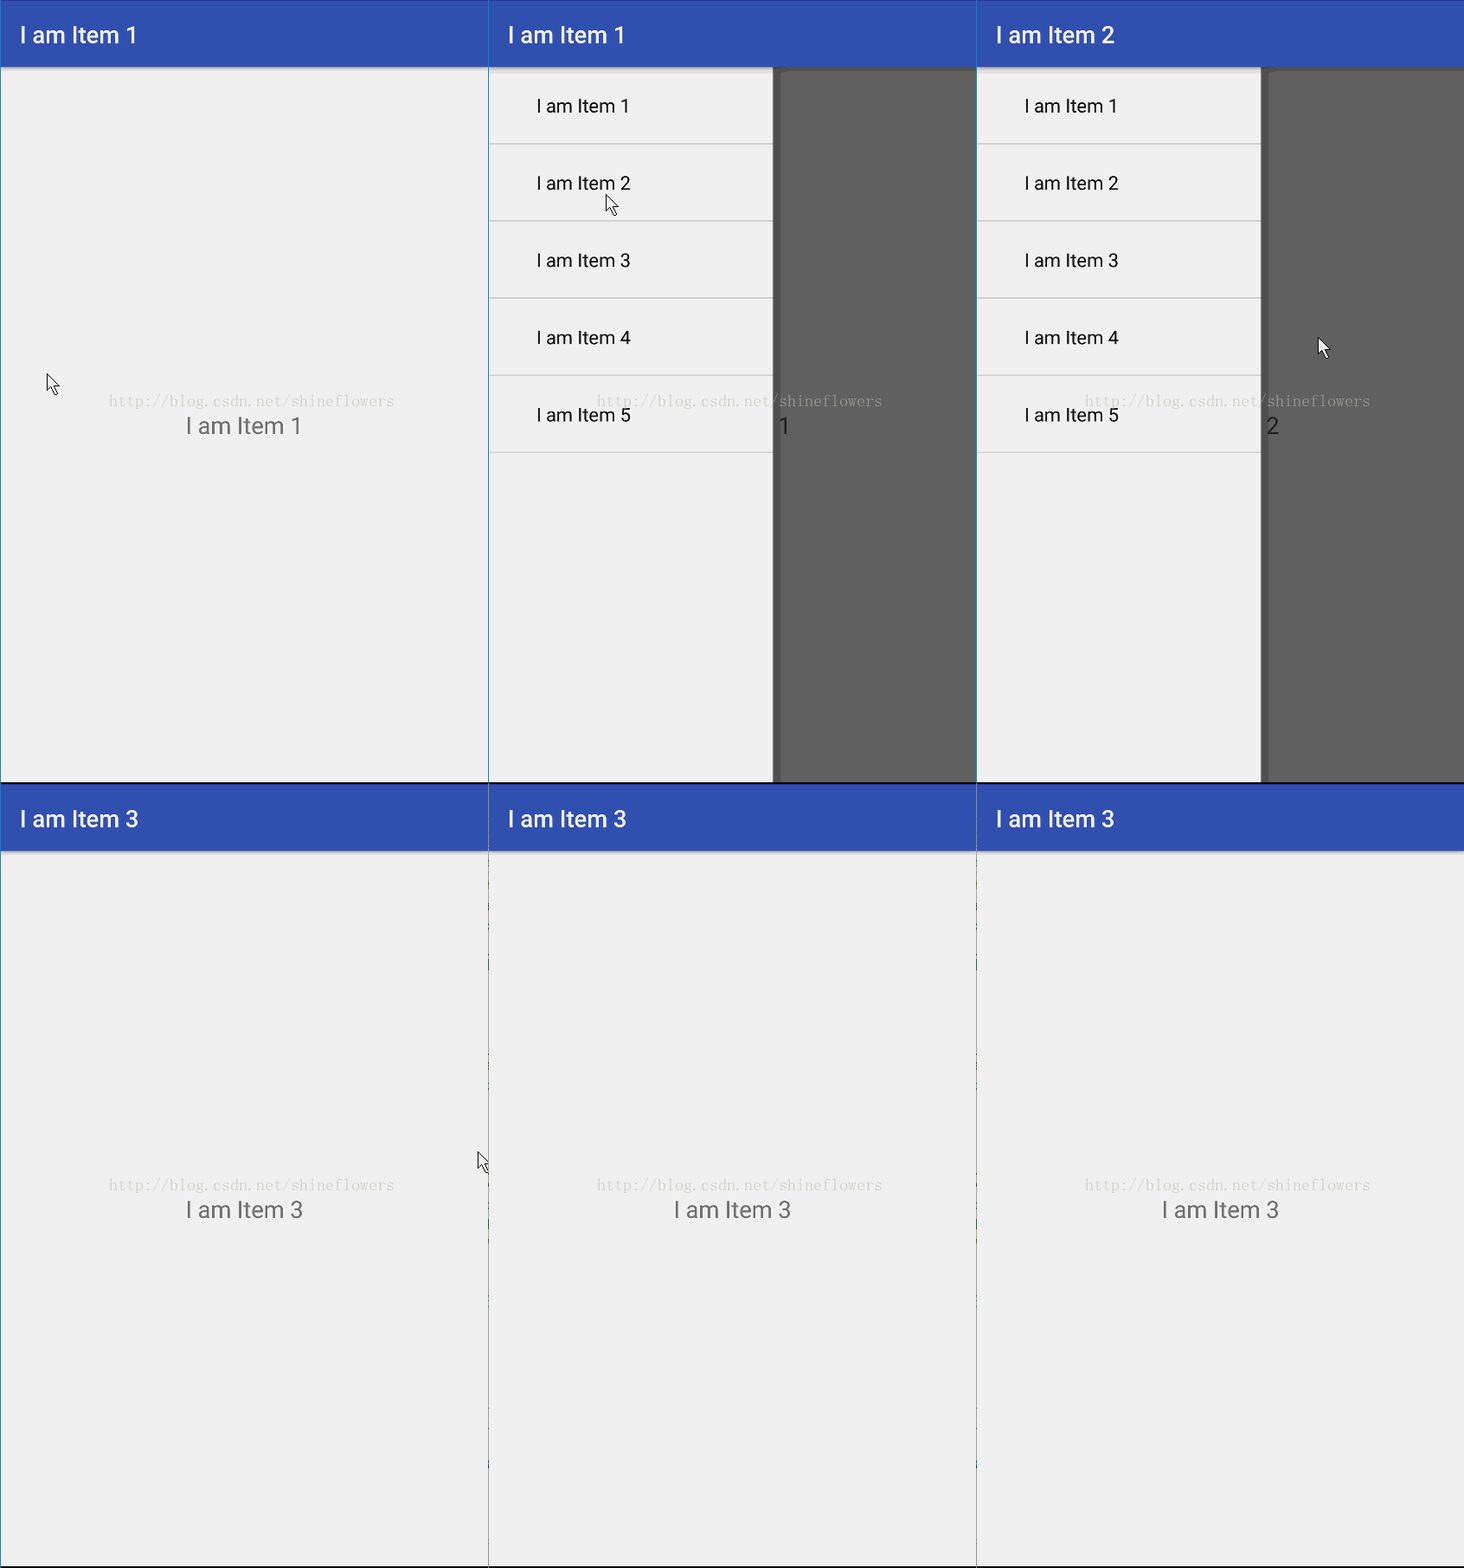
}The rendering is as follows:

The above is the example code of Android DrawerLayout that the editor introduces to you. I hope it will be helpful to you. If you have any questions, please leave me a message and the editor will promptly Reply to everyone. I would also like to thank you all for your support of the PHP Chinese website!
For more Android DrawerLayout implementation of drawer effect example code related articles, please pay attention to the PHP Chinese website!

Hot AI Tools

Undresser.AI Undress
AI-powered app for creating realistic nude photos

AI Clothes Remover
Online AI tool for removing clothes from photos.

Undress AI Tool
Undress images for free

Clothoff.io
AI clothes remover

AI Hentai Generator
Generate AI Hentai for free.

Hot Article

Hot Tools

Notepad++7.3.1
Easy-to-use and free code editor

SublimeText3 Chinese version
Chinese version, very easy to use

Zend Studio 13.0.1
Powerful PHP integrated development environment

Dreamweaver CS6
Visual web development tools

SublimeText3 Mac version
God-level code editing software (SublimeText3)

Hot Topics
 1377
1377
 52
52
 How does Java's classloading mechanism work, including different classloaders and their delegation models?
Mar 17, 2025 pm 05:35 PM
Java's classloading involves loading, linking, and initializing classes using a hierarchical system with Bootstrap, Extension, and Application classloaders. The parent delegation model ensures core classes are loaded first, affecting custom class loa
 How do I implement multi-level caching in Java applications using libraries like Caffeine or Guava Cache?
Mar 17, 2025 pm 05:44 PM
The article discusses implementing multi-level caching in Java using Caffeine and Guava Cache to enhance application performance. It covers setup, integration, and performance benefits, along with configuration and eviction policy management best pra
 How can I use JPA (Java Persistence API) for object-relational mapping with advanced features like caching and lazy loading?
Mar 17, 2025 pm 05:43 PM
The article discusses using JPA for object-relational mapping with advanced features like caching and lazy loading. It covers setup, entity mapping, and best practices for optimizing performance while highlighting potential pitfalls.[159 characters]
 How do I use Maven or Gradle for advanced Java project management, build automation, and dependency resolution?
Mar 17, 2025 pm 05:46 PM
The article discusses using Maven and Gradle for Java project management, build automation, and dependency resolution, comparing their approaches and optimization strategies.
 How do I create and use custom Java libraries (JAR files) with proper versioning and dependency management?
Mar 17, 2025 pm 05:45 PM
The article discusses creating and using custom Java libraries (JAR files) with proper versioning and dependency management, using tools like Maven and Gradle.


