PS Web Design Tutorial VIII - Designing Unusual Layouts in Photoshop
As a coder, my art foundation is weak. We can refer to some mature web PS tutorials to improve our design capabilities. To paraphrase a sentence, "If you are familiar with three hundred Tang poems, you can recite them even if you don't know how to compose them."
The tutorials in this series come from online PS tutorials, all from abroad, and all in English. I try to translate these excellent tutorials. Due to limited translation capabilities, the details of the translation still need to be worked out. I hope that the majority of netizens will give me some advice.
Agreement:
1. The software used in this article is the Photoshop CS5 version
2. The screenshots of the original tutorial are in English. I re-screened them based on the re-production. Chinese version of Figure
3. Some operations in the original text do not give parameters. I measured some parameters through repeated testing, which are displayed in red text. For some wrong parameters, the correct parameters are displayed directly in red text
For example: (90, 22, 231, 77) , indicating that the coordinates of the upper left corner of the rectangle are (90, 22) , width 231, height 77
For example: (90,22), indicating that the coordinates of the upper left corner of the rectangle are (90,22), the other two parameters of the rectangle have been specified in the tutorial
4. My own experience will be attached at the end of the tutorial. Some are optimizations of some steps in the tutorial, etc.
In this tutorial I will show you how to manipulate some simple shapes, to obtain a wonderful layout. As you have seen I am trying to create unusual layouts. I want to show you that it is possible to create also another type of layouts (not usual ones).
In this tutorial I will show you how to get clever with some simple shapes to get a wonderful layout. You've seen me try to create unusual layouts. I want to tell you that it is possible to also create another type of layout (not the usual one).
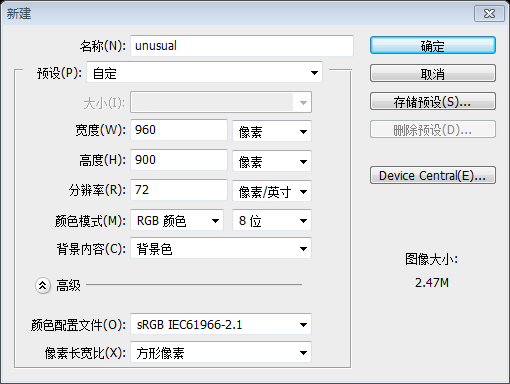
Start by creating a new document (CTRL+N) with the following size: 960 x 900 pixels, and with the background color #5c7a02.
Initially create New document (Ctrl+N), size: 960px*900px, background color: #5c7a02

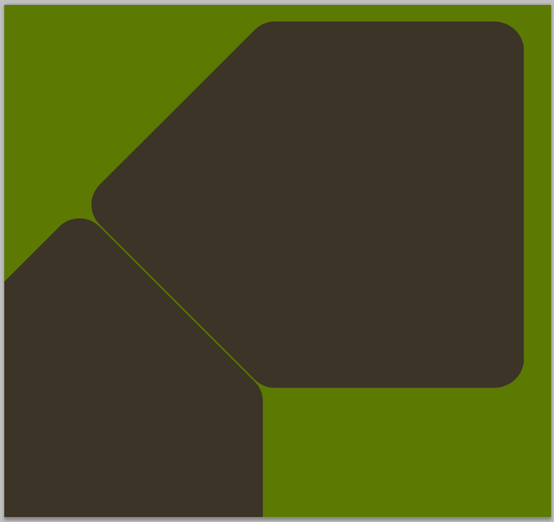
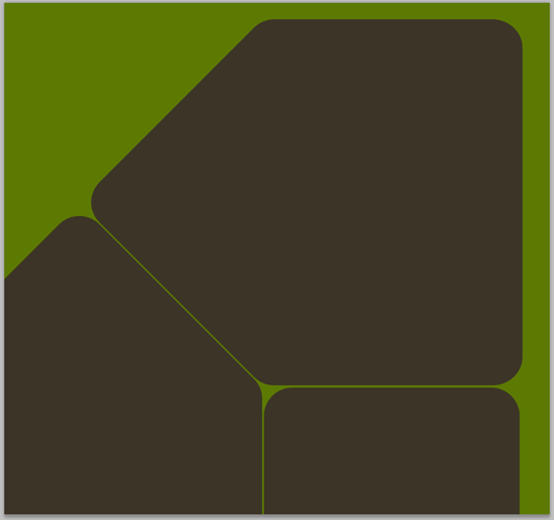
Create a rounded rectangle in the middle of the page and press Ctrl +T Free Transform, hold down the Shift key, and rotate the rounded rectangle. I haven't told you yet which color to use. I'm going to create some rounded rectangles in different colors because I'm going to show you how I lay out these rounded rectangles. Now I'm going to change the color of these rectangles to #3c3427. At the top of the page I'm going to add a rectangle, this time using the Rectangle Tool. I still use the color #3c3427 for this rectangle. In the lower right corner of the layout, I will add another rounded rectangle
I felt that the operation of the original tutorial was more cumbersome, so I changed it myself The steps are different, but the end result is the same.
Create a rounded rectangle (432, 29, 480, 644), color: #3c3427
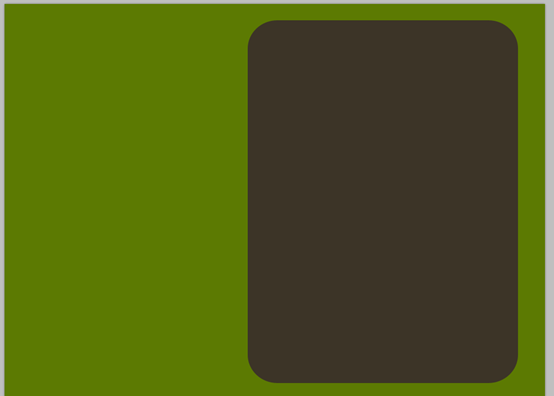
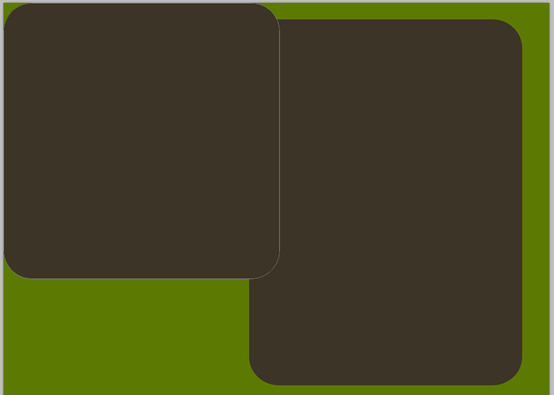
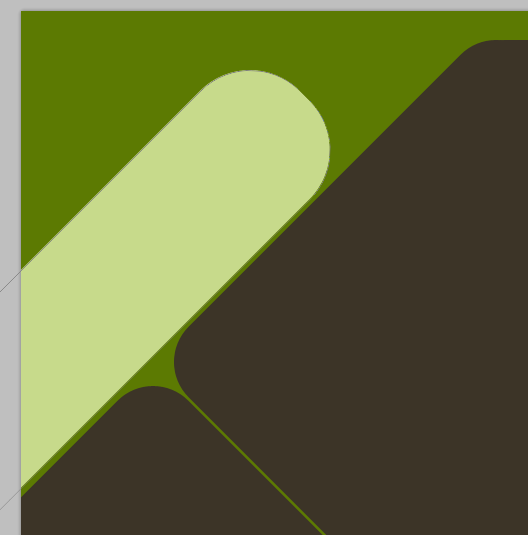
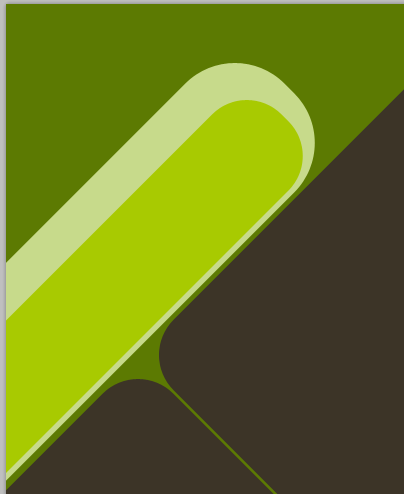
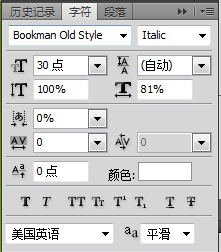
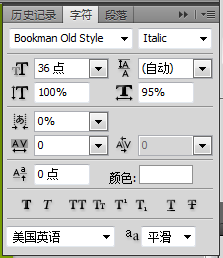
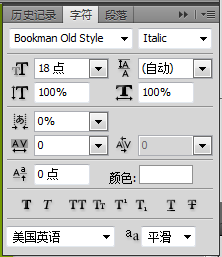
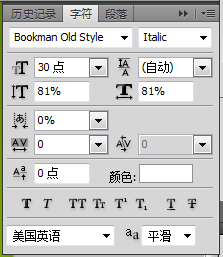
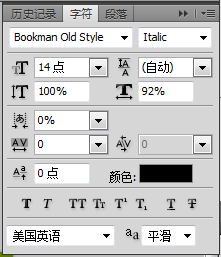
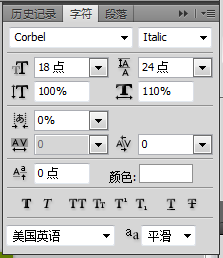
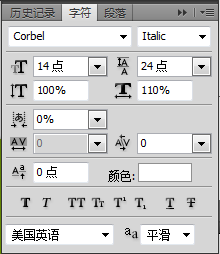
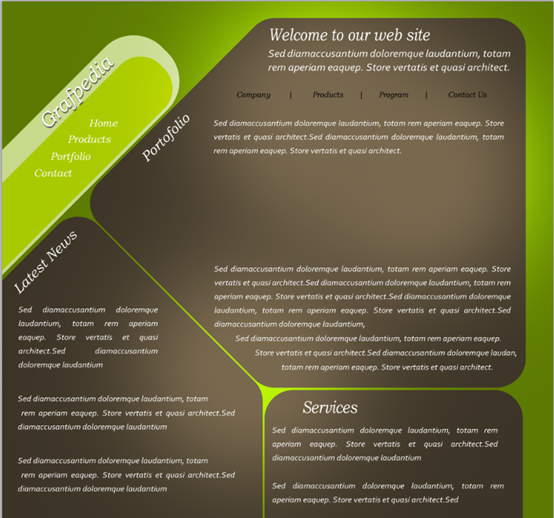
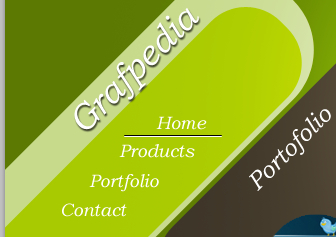
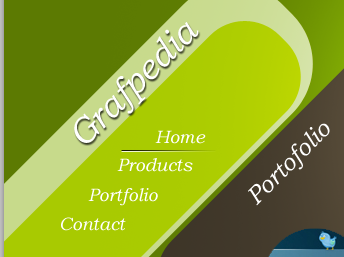
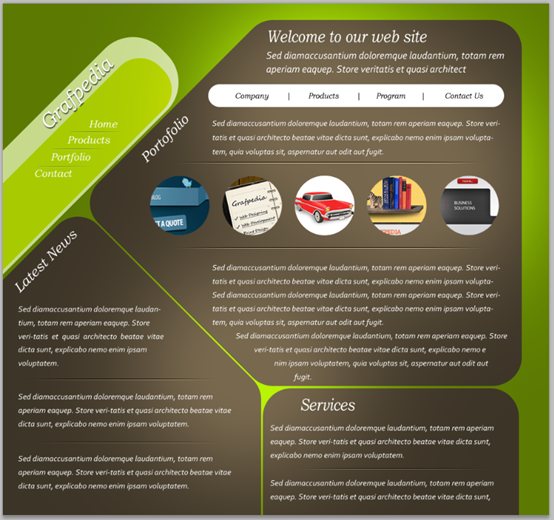
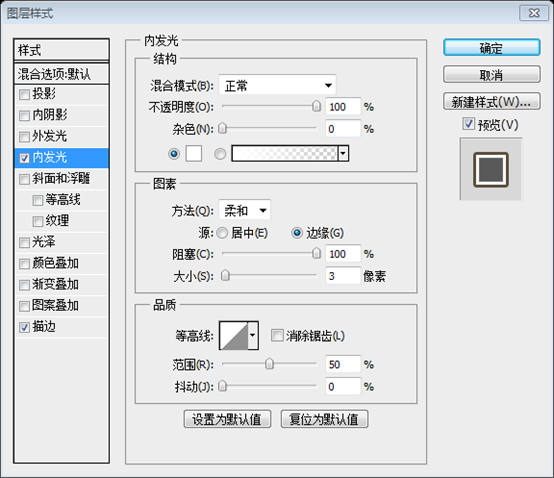
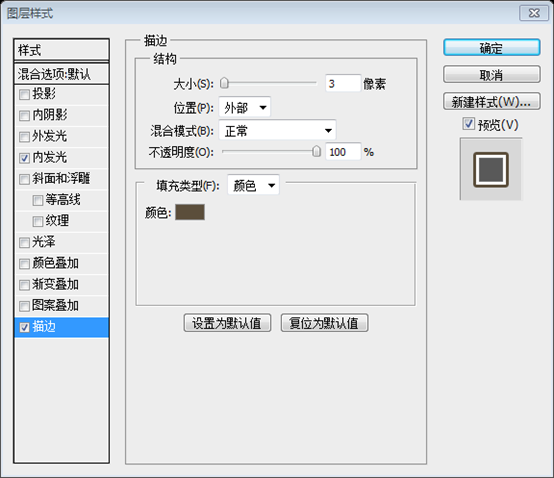
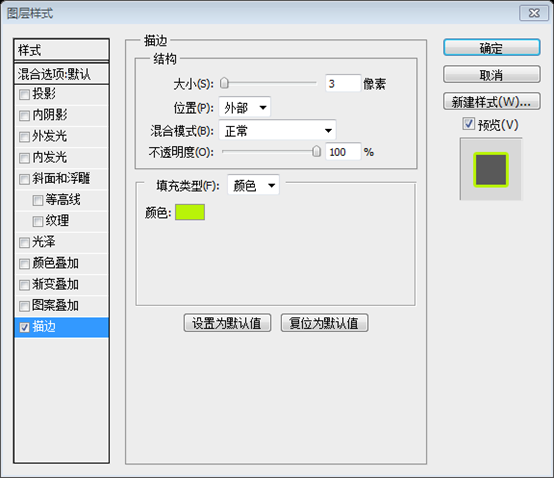
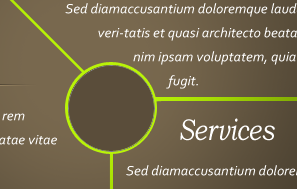
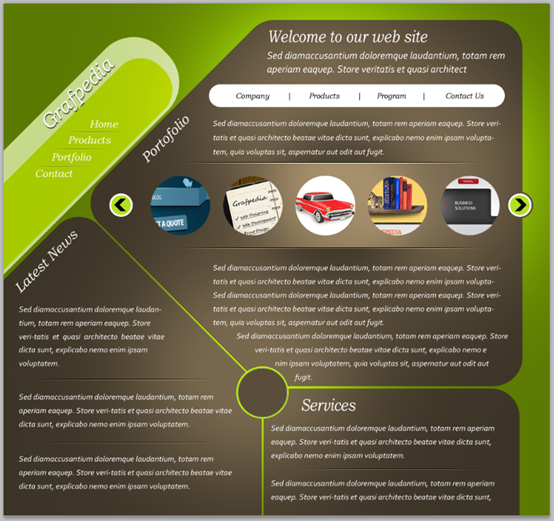
Press Ctrl+T again, free transformation, adjust the parameters to (153, 29, 644, 644), press Enter to confirm and exit free transformation Press Ctrl+G to merge the two rounded rectangles into one group. Copy the group, rotate it 90 degrees clockwise, and adjust the group to the appropriate position (-190, 375) Create a rounded rectangle (457, 677, 450, 500) in the lower right corner of the layout. The color is still #3c3427 Or make it according to your own ideas First Set the radius of the rounded rectangle to 70, and create a new rounded rectangle with a width of 970px and a height of 154px. Color: #c7da8b. Press Ctrl+T, rotate -45 degrees, and press Enter to confirm. Press Ctrl+T again, adjust the position of the rounded rectangle to (-428, 59) Copy the layer, press Ctrl+T, Resize to 70% of the original size and position it at (-216, 96). Change the color to #a8ca01 (the color is white, the brush size is 600px, the hardness: 10%), add some points(three points) on the layer. The top text Welcome to our web site and the bottom text Services are set with the following fonts For the title text Grafpedia in the green block on the left, use the following font settings and add a layer style The menu text Home, Products, Portfolio, and Contact in the green block on the left are set with the following text : The two columns of slanted text Portfolio and Latest News are set with the following text: The text of the menu bar on the right, Company, Products, Program, Contact Us, color: black. The text setting is as follows: The text setting of a paragraph of text under Welcome to our web site is as follows: The rest of the paragraph text is set as follows: The final result is as follows: Now I will add some images from my last tutorials in the middle part of my layout. I will cut some round images from my previous tutorials. I will add some pictures from previous tutorials in the middle of the page layout, I will cut some round images from my previous tutorials On the top of the website I will add another rounded shape. On the top of the website, add another rounded rectangle(361, 142, 524, 40), with a radius of 20px and a color of white I will select Line Tool, and with a thin line ( 1 pixel) I will create two lines between my text buttons Select the straight line tool and set the thickness to 1px, and create two straight lines between my text buttons(one black, one white) I will select both line layers in my layer palette, and then I will press on CTRL+E (to merge the layers into a single one). I will select Eraser Tool, and I will use a Soft Mechanical brush with a size between 200 and 300 pixels. Then I will delete the right part of the line. I will select the layers of these two lines, Press Ctrl+E (merge layers), select the eraser tool, select a soft-edged circle with a size between 200 and 300px (choosing 250 is more appropriate), I will delete the right half of the straight line I will delete also the left part, and I will make some duplicates after this layer. With Move Tool or with your arrow key I will move the duplicated layers to the bottom. I also want to delete the left half and then duplicate the layer. Use the move tool to move these layers to the appropriate position ##I will create a new layer right under my round images. I will select Brush Tool, and with a round soft brush, I will make a point over my layout in the following spot. Please set your foreground color to black. Create a new layer below the circle image. Select the Brush Tool, select a soft-edged circle tool, and add a large dot . Choose black as the foreground color. Select Rectangular Marquee Tool, and create a selection like mine. Box Your selection area is in the two lines made before Between the horizontal lines, select the previous black large dots layer and press Ctrl+I, or click: Image > Adjustments > Invert. Your layout will look like this: Press Ctrl+D to deselect, change the blending mode of the layer to Overlay, and the opacity to 40% This is the effect of my picture sliding bar Now I will add some round buttons I will add round buttons on the left and right sides(The left button adds inner glow Layer style, button on the right to add inner glow and stroke layer styles) Stroke color: #4e4c48 In the middle of my layout I will add also a round shape In the middle of my layout, add A circle (with stroke, fill color: #5a4d3a, stroke color: #b9f308) This is my final layout This is my final result 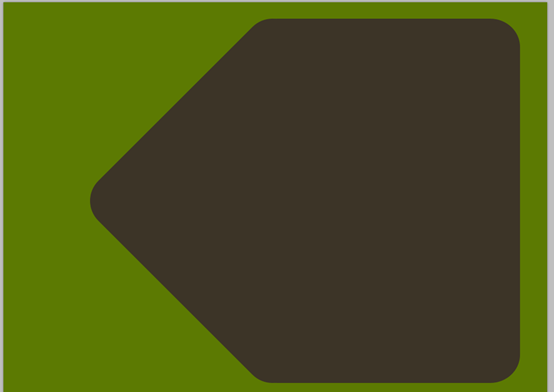
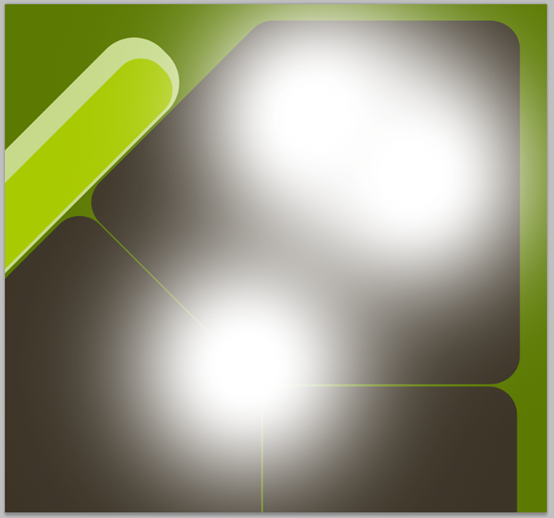
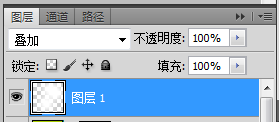
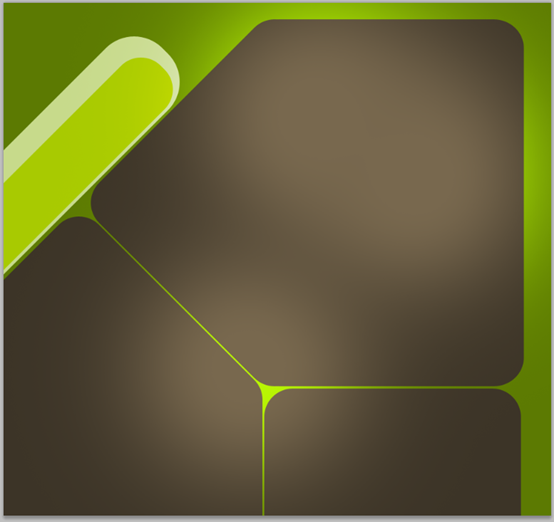


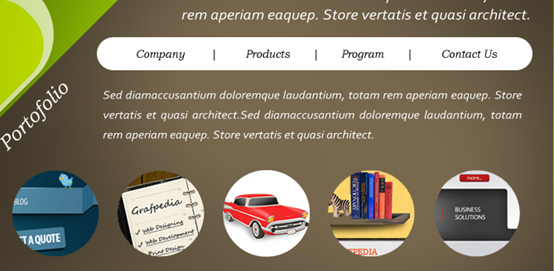

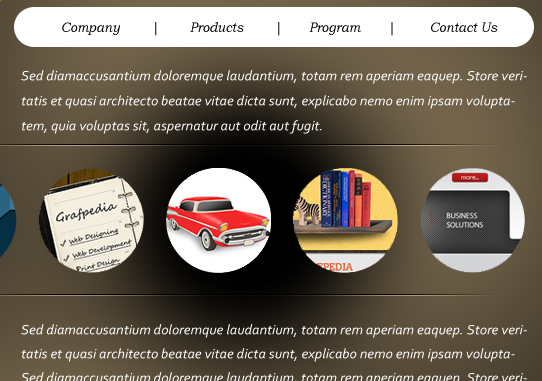
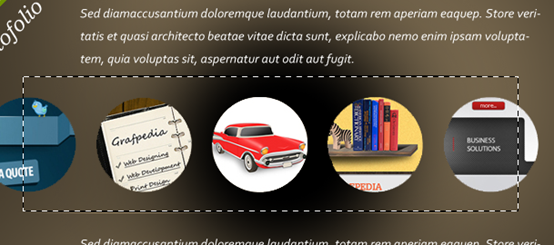 Your selection should be right between the horizontal lines you have placed a few steps ago. Now be sure you have the right layer selected (with the black brush drawing), and now press on CTRL+I, or go to Image > Adjustments > Invert. Your layout will look like this one.
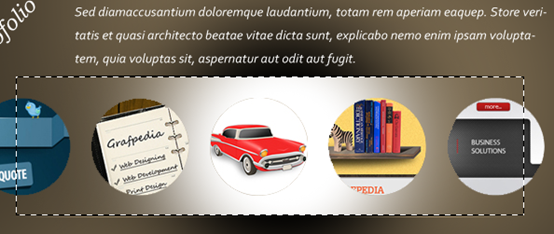 Press on CTRL+D if you have the selection still active, and now change the blending mode for this layer to Overlay, and you can also lower the opacity value to 40 %.
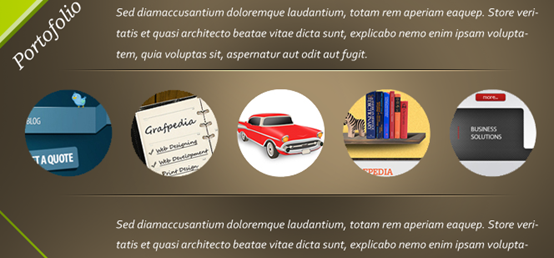
 This is how my simple slideshow will look like


Hot AI Tools

Undresser.AI Undress
AI-powered app for creating realistic nude photos

AI Clothes Remover
Online AI tool for removing clothes from photos.

Undress AI Tool
Undress images for free

Clothoff.io
AI clothes remover

AI Hentai Generator
Generate AI Hentai for free.

Hot Article

Hot Tools

Notepad++7.3.1
Easy-to-use and free code editor

SublimeText3 Chinese version
Chinese version, very easy to use

Zend Studio 13.0.1
Powerful PHP integrated development environment

Dreamweaver CS6
Visual web development tools

SublimeText3 Mac version
God-level code editing software (SublimeText3)

Hot Topics
 How do I use Photoshop for creating social media graphics?
Mar 18, 2025 pm 01:41 PM
The article details using Photoshop for social media graphics, covering setup, design tools, and optimization techniques. It emphasizes efficiency and quality in graphic creation.
 How do I prepare images for web use in Photoshop (file size, resolution, color space)?
Mar 13, 2025 pm 07:28 PM
Article discusses preparing images for web use in Photoshop, focusing on optimizing file size, resolution, and color space. Main issue is balancing image quality with quick loading times.
 How do I use Photoshop's Content-Aware Fill and Content-Aware Move tools effectively?
Mar 13, 2025 pm 07:35 PM
Article discusses using Photoshop's Content-Aware Fill and Move tools effectively, offering tips on selecting source areas, avoiding mistakes, and adjusting settings for optimal results.
 How do I use Photoshop's video editing capabilities?
Mar 18, 2025 pm 01:37 PM
The article explains how to use Photoshop for video editing, detailing steps to import, edit, and export videos, and highlighting key features like the Timeline panel, video layers, and effects.
 How do I prepare images for web using Photoshop (optimize file size, resolution)?
Mar 18, 2025 pm 01:35 PM
Article discusses optimizing images for web using Photoshop, focusing on file size and resolution. Main issue is balancing quality and load times.
 How do I calibrate my monitor for accurate color in Photoshop?
Mar 13, 2025 pm 07:31 PM
Article discusses calibrating monitors for accurate color in Photoshop, tools for calibration, effects of improper calibration, and recalibration frequency. Main issue is ensuring color accuracy.
 How do I create animated GIFs in Photoshop?
Mar 18, 2025 pm 01:38 PM
Article discusses creating and optimizing animated GIFs in Photoshop, including adding frames to existing GIFs. Main focus is on balancing quality and file size.
 How do I prepare images for print using Photoshop (resolution, color profiles)?
Mar 18, 2025 pm 01:36 PM
The article guides on preparing images for print in Photoshop, focusing on resolution, color profiles, and sharpness. It argues that 300 PPI and CMYK profiles are essential for quality prints.


