During the project development process, the file upload function needs to be implemented. Take this opportunity to learn it.
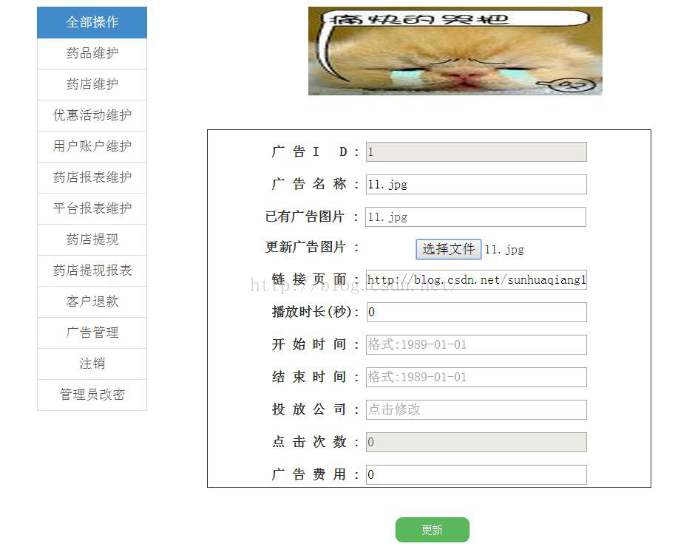
This feature can be supported using the existing input type "file" in HTML. As shown below:
Only display the specified file type when browsing
##
accept attribute list
1.accept= "application/msexcel"
<!doctype html>
<html>
<head>
<meta content="text/html; charset=UTF-8" http-equiv="Content-Type" />
<title>Image preview example</title>
<script type="text/javascript">
var loadImageFile = (function () {
if (window.FileReader) {
var oPreviewImg = null, oFReader = new window.FileReader(),
rFilter = /^(?:image\/bmp|image\/cis\-cod|image\/gif|image\/ief|image\/jpeg|image\/jpeg|image\/jpeg|image\/pipeg|image\/png|image\/svg\+xml|image\/tiff|image\
/x\-cmu\-raster|image\/x\-cmx|image\/x\-icon|image\/x\-portable\-anymap|image\/x\-portable\-bitmap|image\/x\-portable\-graymap|image\/x\-portable\-pixmap|image\
/x\-rgb|image\/x\-xbitmap|image\/x\-xpixmap|image\/x\-xwindowdump)$/i;

oFReader.onload = function (oFREvent) {
if (!oPreviewImg) {
var newPreview = document.getElementById("imagePreview");
oPreviewImg = new Image();
oPreviewImg.style.width = (newPreview.offsetWidth).toString() + "px";
oPreviewImg.style.height = (newPreview.offsetHeight).toString() + "px";
newPreview.appendChild(oPreviewImg);
}
oPreviewImg.src = oFREvent.target.result;
arr = oPreviewImg.src.toString().split(",");
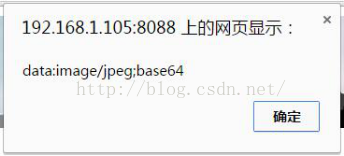
alert(arr[0]);
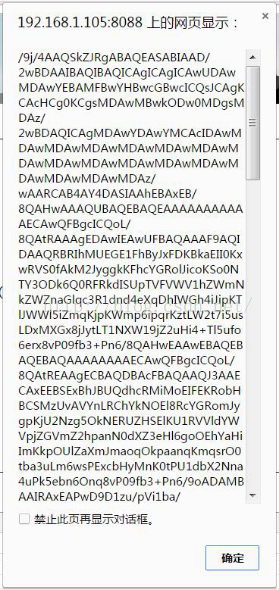
alert(arr[1]);
};

return function () {
var aFiles = document.getElementById("imageInput").files;
if (aFiles.length === 0) { return; }
if (!rFilter.test(aFiles[0].type)) { alert("You must select a valid image file!"); return; }
oFReader.readAsDataURL(aFiles[0]);
}
}
if (navigator.appName === "Microsoft Internet Explorer") {
return function () {
alert(document.getElementById("imageInput").value);
document.getElementById("imagePreview").filters.item("DXImageTransform.Microsoft.AlphaImageLoader").src = document.getElementById("imageInput").value;
}
}
})();
</script>
<style type="text/css">
#imagePreview {
width: 160px;
height: 120px;
filter: progid:DXImageTransform.Microsoft.AlphaImageLoader(sizingMethod=scale);
}
</style>
</head>
<body>
<p id="imagePreview">
</p>
<form name="uploadForm">
<p>
<input id="imageInput" type="file" name="myPhoto" onchange="loadImageFile();" /><br />
<input type="submit" value="Send" /></p>
</form>
</body>
</html>

<p style="padding-top: 15px">
<label for="pic">更新广告图片 :</label>
<!-- <a class="btn btn-warning btn-sm" id="choice" ng-click="doChoice()" style="font-size:14px;
color:red; font-family:微软雅黑; border-radius: 9px;">选择文件</a> -->
<input id="imageInput" type="file" accept="image/jpeg" 	    	onchange="loadImageFile();" />
<i id="img" hidden="hidden"></i>
<i id="imgName" hidden="hidden"></i>
</p>
arr = oPreviewImg.src.toString().split(",");
document.getElementById("img").innerHTML = arr[1];
document.getElementById("imgName").innerHTML = 	  	document.getElementById("imageInput").files[0].name;
//alert(document.getElementById("img").innerHTML);
//alert(document.getElementById("imageInput").files[0].name);// 获取   	图片名称(PS:瞬间感觉自己好聪明啊~~)
//alert(arr[0]);// 获取图片格式与编码方式
//alert(arr[1]);// 获取图片Base 64编码字节


I also tried to use the ng plug-in ng-file-upload (see reference 1), but it ended in failure. I really didn’t understand the code. Writing it after the source code had no effect, and the layout was wrong. I was also ashamed.
The next problem I have to break through is paging. I often don’t realize the knowledge I have just come into contact with.

The above is the content of JavaScript Advanced (8) JS to implement image preview and import server functions. For more related content, please pay attention to the PHP Chinese website (www.php .cn)!
Related articles:
Use HTML5 to easily implement image preview
javascript implements image preview and upload (compatible with IE) code sharing
 Which mobile phone models does Hongmeng OS 3.0 support?
 A memory that can exchange information directly with the CPU is a
 Dual graphics card notebook
 The role of index.html
 webstorm adjust font size
 webservice calling method
 Introduction to carriage return and line feed characters in java
 Learn C# from scratch
 How to apply for registration of email address


