From sass to PostCSS
I've been using Sass for years. But recently I wanted to use PostCSS and its cssnext plugin to try out handling styles. I love it now. Using future CSS features will be easier than using the tools I used before. My personal site is the best place to test new features.
The first step is to list my Sass usage Checklist. I need to know which features I'm using and be sure that new features have replacements in postCSS. Here are the features I'm using in this project:
Partial import )
variables
nesting
mixins )
Extend
placeholder classes
Color function (darken and rgba color functions)
Compression(compression)
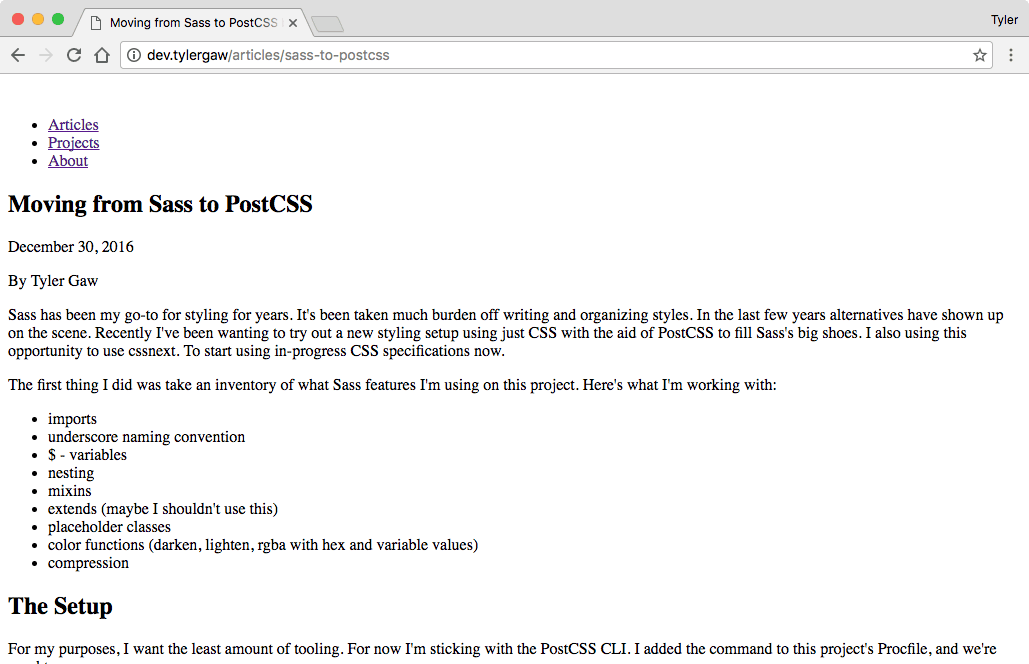
After switching to the new syntax I Some preparations are needed. The current directory structure of the project is the typical usage of Sass. I use underscores (_) to name files, and the file extension is scss. I use two folders to organize Sass files. The moudules folder is not straightforward to save. Sass files that generate CSS, such as variables, placeholder classes, and mixins. partials save Sass files that compile CSS.
This is the original file structure:
css/
  scss/
    modules/
      _module.scss
      ...
    partials/
      _partial.scss
      ...
    tylergaw.scss
Each Sass component Will be imported in tylergaw.scss.
@import "modules/setup";
@import "modules/reset";
@import "modules/fonts";
I reorganized and renamed the files. I first changed the suffix of all files from scss to css. I used a Bash script to do this, Rather than modifying them one by one.
`for f in *.scss; do git mv -- "$f" "${f%.scss}.css"; done;`The underscore in front is a habit of writing Sass, so I also removed it. I can't use the Bash command to complete it all at once, so I can only modify each one manually.
The last step is to move all CSS files to the modules folder and delete the partials folder. I think it is easier to understand to manage all CSS as modules than to split them according to modules/partials.
I started with PostCSS CLI and added a temporary build script command in package.json:
"scripts": {
  "postcss": "postcss -o public/css/tylergaw.css src/css/tylergaw.css"
}I compiled without changing any styles CSS:
`npm run postcss`
Works normally. No error is reported in the console, but there is no CSS style on the page.

The build process is available, the current task It is to get the style back.
I saw a lot of 404 messages in the Chrome console. This means that the first feature we lost is inline @import.tylergaw.css to introduce CSS through @import modules. The browser sees these and knows what it's going to do. The browser loads each module via an HTTP request. My build process only copies a separate CSS file, not each module. Because of this, browsing The compiler can't find them.
I could change the build process to make the default @import work, but that would be inefficient. I need a replacement for Sass-style inline @import.
postcss-import plugin can replace @import in Sass. After installing it through npm, I updated the build script code:
"scripts": {
  "postcss": "postcss -u postcss-import -o public/css/tylergaw.css src/css/tylergaw.css"
}Run npm run postcss again, single The CSS file contains all modules. The current page shows some styles. 
The @import function that displays inline in Sass is very powerful. It allows us to better organize styles. I am not sure whether this function will be natively supported in the future. We use this function It always requires one step of compilation, and it doesn't look bad.
I think the postcss-import plugin will become a main configuration of my PostCSS, and it should be the same for others. The plugin author's opinion is quoted below :
This plugin should probably be used as the first plugin of your list. This way, other plugins will work on the AST as if there were only a single file to process, and will probably work as you can expect.
[postcss-import]Copy after loginCopy after login
cssnext is a plug-in in PostCSS that compiles future CSS features into currently supported features. In particular, it is similar to Sass or Less Not a different language. It provides features from the ongoing CSS specification. Some features are already supported by browsers. Others are still in the initial stages of the specification.
I use cssnext to fill in the missing Sass features left behind The gap.
I learned about Autoprefixer before building this website. I used a custom Sass mixin to solve the problem of adding the required prefix. cssnext includes Autoprefixer , so I can remove this entire mixed macro module.
The next step is to change the Sass variable to a CSS custom property. For example, in _setup.scss, I write like this :
$grey: #1e1e1d;
$yellow: #ffad15;
$offwhite: #f8f8f8;
$darkerwhite: darken($offwhite, 15);
This is not all the Sass variables I use, but that’s basically it. The rest are in separate modules.
注意: 自定义属性和变量的区别.CSS自定义属性只在属性值有效,不能用于选择器,属性名或媒体查询.
新的setup.css:
:root {
  --white: #fff;
  --grey: #1e1e1d;
  --yellow: #ffad15;
  --offwhite: #f8f8f8;
  ...
}以下为使用示例:
a {
  color: var(--yellow);
}除了语法,CSS自定义属性和Sass变量工作方式是相同的.由于浏览器支持的限制,自定义属性值仍然需要编译.在上面的示例中,编译后的值为color: #ffad15.
在之前的例子中,我遗漏了一个变量:$darkerwhite: darken($offwhite, 15);.这是另一个我需要寻找替代的Sass特性.这里有一个规范草案提供CSS颜色函数.cssnex现在包含这些函数,这非常酷.下面是setup.css,其中darkerwhite自定义属性是通过颜色函数和阴影调节器来实现的.
:root {
  ...
  --offwhite: #f8f8f8;
  --darkerwhite: color(var(--offwhite) shade(20%));
  ...
}颜色函数提供了许多调节器.你可以在一个函数中使用多个调节器:
`background-color: color(#d32c3f shade(40%) alpha(40%));`
编译结果为:
`background-color: rgba(127, 26, 38, 0.4);`
再次重申,现在cssnext会将color()编译为16进制或rgba的色值.当颜色函数得到浏览器支持后,编译过程就没有必要了.颜色操作在运行时就可以发生.
嵌套是CSS预处理器不可或缺的特性.任何让人舒服的样式工具的必需品.Tab Atkins对CSS嵌套有一个正在进行中的规范,并且cssnext让它成为现实.
CSS的嵌套语法包含一个前置于内层的&,以下为sass片段:
.projects-list {
  ...

  li {
    & > p {...}
  }

  a {
    ...

    &:hover,
    &:focus {...}

    &::after {...}
  }

  @media (min-width: 640px) {...}
}对于CSS嵌套,我将它修改为以下形式:
.projects-list {
  ...

  & li {
    & > p {...}
  }

  & a {
    ...

    &:hover,
    &:focus {...}

    &::after {...}
  }

  @media (min-width: 640px) {...}
}基本的嵌套需要前置的&.伪类和选择器在Sass和CSS中是相同的.媒体查询不需要前置&.
另外值得注意的是@nest.正如文档中提到的,复杂的嵌套可能需要引入@nest来代替&.这个项目我还没有用到,或许将来用得到.
Sass中的@extend和占位类是我经常使用的两个特性。下面是Futura头部的样式示例:
%futura {
  font-family: 'futura-pt', helvetica, sans-serif;
}

%futura-heading {
  @extend %futura;
  font-weight: 700;
  line-height: 1.1;
  text-transform: uppercase;
}这是一个用例:
.my-heading {
  @extend %futura-heading;
}我在之前了解过CSS自定义属性的用法。这里有一个正在进行中的@apply规则的规范与之相关。@apply允许储存一系列的属性并且在选择器引用。我用@apply来代替Sass的extend.
回到setup.css来,我更新了Futura头部的属性:
:root {
  ...

  --franklin: {
    font-family: 'futura-pt', helvetica, sans-serif;
  };

  --franklin-heading: {
    @apply --franklin;
    font-weight: 700;
    line-height: 1.1;
    text-transform: uppercase;
  };
}这里是一个示例:
.my-heading {
  @apply --franklin-heading;
}@apply不是继承.在目前的cssnext中,@apply将属性和值直接复制到每条规则中.这是个小项目所以没问题.但是在大型的项目中,可能会导致样式冗余,项目非常臃肿.这种情况下最好还是使用通用类名来适用相似情况.
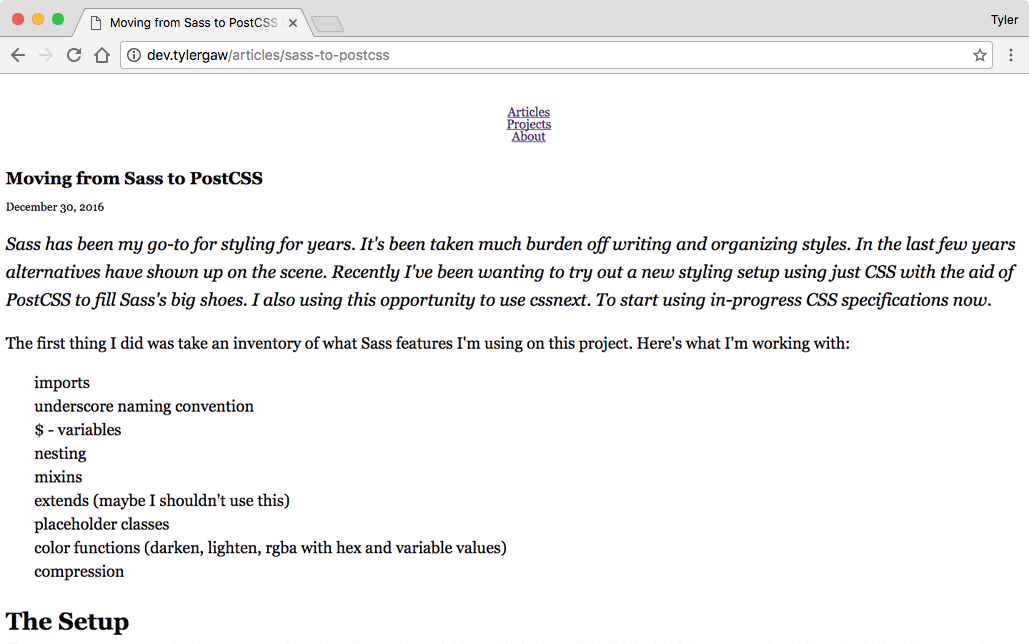
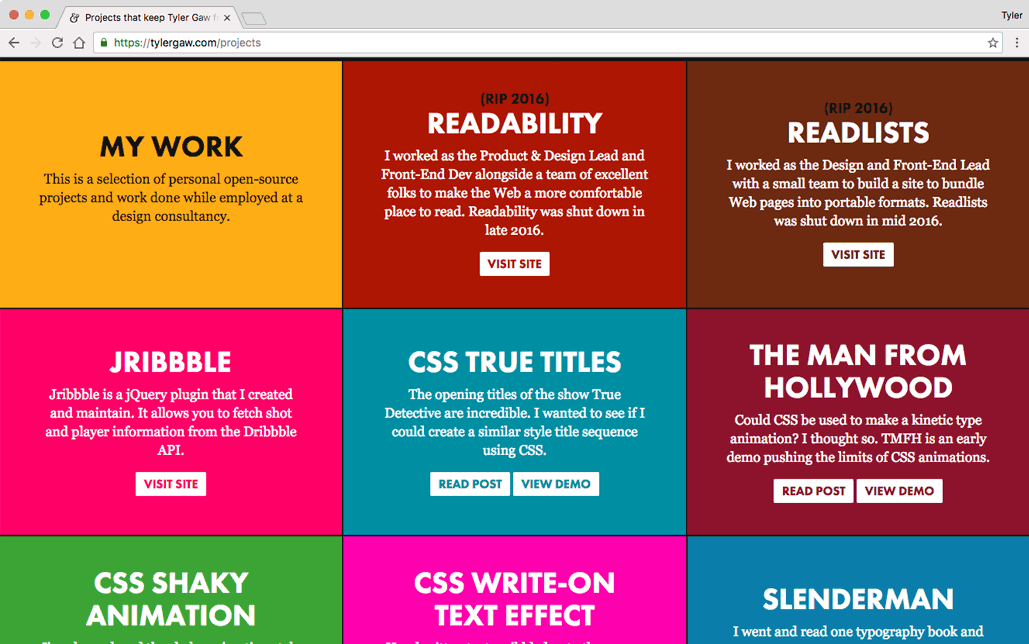
现在我的网站看起来和之前一样了.项目页是个例外.它的每个磁贴区域都有不同颜色.接下来我会解释怎么在没有Sass的情况下正确且高效的编写样式.

我用Sass的混合宏来让项目编写样式更简便.这个混合宏有一个磁贴颜色的参数.以下是这个project-block的混合宏.
@mixin project-block ($c) {
  background-color: $c;

  a {
    color: $c;

    &:hover {
      background-color: $c;
      color: $offwhite);
    }
  }
}下面是一个示例:
.p-jribbble {
  @include project-block(#ff0066);
}在写这篇文章的时候,我还没有在CSS找到能模拟这个功能的特性.自定义属性配合@apply不是函数,所以我们不能为它传递参数.在将来,自定义选择器可能会允许使用参数.在草案规范中有一个看起来很有前途的复杂示例.但我承认现在我还没完全明白它是怎么工作的.
这不意味着我运气不好.我写CSS的时间要长于Sass,但也没多久.我还用了另一个正进行中的规范特性,matches选择器.
下面是一个代替project-block混合宏的CSS示例:
.p-jribbble,
.p-jribbble a:matches(:hover, :focus) {
  background-color: var(--color-jrb);

  & a {
    color: var(--color-jrb);
  }
}颜色变量是早些在文件中:root作用域定义的.cssnext将以上CSS编译为:
.p-jribbble,
.p-jribbble a:hover,
.p-jribbble a:focus {
  background-color: #ff0066
}

.p-jribbble a,
.p-jribbble a:hover a,
.p-jribbble a:focus a {
  color: #ff0066;
}最后两个选择器...a a:hover和...a a:focus匹配不到任何元素.他们是不必要的.但是除了占用几比特的空间他们也没有任何影响.为了代码的可读性,我更倾向于a选择器的嵌套.
为了样式按顺序回归,我决定利用更多的PostCSS插件.我用css mqpacker来合并使用相同查询条件的媒体查询.我也用cssnano来优化代码.
这也是为什么我期待去使用PostCSS.使用Sass的时候我感觉困在当前的特性中.但因为PostCSS本质是一个插件集合在工作,更具拓展性.如果我有特殊需要,我可以自己来写一个插件.它的潜力令人兴奋.
在使用这个新工具工作了几天后,我完全投入进去了.从Sass转向新的CSS语法非常简单,并且是在五六年间我每个项目都用Sass编写的情况下.
我喜欢这个思想转变.cssnext对CSS的处理很像Babel对Javascript.它们都允许你去使用未来的特性来编写代码.
I've been using Sass for years. But recently I wanted to use PostCSS and its cssnext plug-in to try to deal with styles. I love that I will be able to use future CSS features now, and they are more powerful than the tools I have used before. Be easy. My personal site is the best place to try out new features.
The first step is to make a list of my Sass usage. I need to know which features I use and make sure that the new features are used. There are alternatives in postCSS. Here are the features I'm using on this project:
Partial import
Variables )
Nesting
Mixins
extend )
placeholder classes
color functions (darken and rgba color functions)
Compression
I need to make some preparations after switching to the new syntax. The directory structure of the project is now typical for Sass usage. I use underscores (_) to name files, and the file extension is scss. I use two folders to organize Sass files. The modules folder holds Sass files that do not directly generate CSS, such as variables, placeholder classes, and mixins. .partials saves the Sass file compiled into CSS.
This is the initial file structure:
css/
  scss/
    modules/
      _module.scss
      ...
    partials/
      _partial.scss
      ...
    tylergaw.scss
Each Sass component will be introduced in tylergaw.scss.
@import "modules/setup";
@import "modules/reset";
@import "modules/fonts";
I Reorganized and renamed the files. I first changed the suffix of all the files from scss to css. I used a Bash script to do this instead of modifying them one by one.
`for f in *.scss; do git mv -- "$f" "${f%.scss}.css"; done;`The underscore in front of It is a habit of writing Sass, so I also removed it. I can't use Bash commands to complete it all at once, so I can only modify each one manually.
The last step is to move all CSS files to the modules file folder and delete the partials folder. I think it is easier to understand to manage all CSS as modules than to split them according to modules/partials.
I use PostCSS CLI as To start, I added a temporary build script command in package.json:
"scripts": {
  "postcss": "postcss -o public/css/tylergaw.css src/css/tylergaw.css"
}I compiled the CSS without changing any styles:
`npm run postcss`
Works fine. The console does not An error is reported, but there is no CSS style on the page.

#The build process is available, and the current task is to get the style back.
In Chrome I see a lot of 404 messages in the console. This means that the first feature we are missing is inline @import.tylergaw.css to introduce CSS modules through @import. The browser sees this and knows what it is going to do. The browser Each module is loaded via an HTTP request. My build process only copies a separate CSS file, not each module. Because of this, the browser can't find them.
I can change the build process to make the default @import work, but that is very inefficient. I need a replacement for Sass style inline @import.
postcss-import plugin can be used instead @import in Sass, after installing it through npm, I updated the build script code:
"scripts": {
  "postcss": "postcss -u postcss-import -o public/css/tylergaw.css src/css/tylergaw.css"
}Run npm run postcss again, a single CSS file contains all modules. The current page shows part Styles.
The @import function that displays inline in Sass is very powerful. It allows us to better organize styles. I am not sure whether this function will be natively supported in the future. We use this function It always requires one step of compilation, and it doesn't look bad.
I think the postcss-import plugin will become a main configuration of my PostCSS, and it should be the same for others. The plugin author's opinion is quoted below :
This plugin should probably be used as the first plugin of your list. This way, other plugins will work on the AST as if there were only a single file to process, and will probably work as you can expect.
[postcss-import]Copy after loginCopy after login
cssnext is a plug-in in PostCSS that compiles future CSS features into currently supported features. In particular, it is similar to Sass or Less Not a different language. It provides features from the ongoing CSS specification. Some features are already supported by browsers. Others are still in the initial stages of the specification.
I use cssnext to fill in the missing Sass features left behind The gap.
I learned about Autoprefixer before building this website. I used a custom Sass mixin to solve the problem of adding the required prefix. cssnext includes Autoprefixer , so I can remove this entire mixed macro module.
The next step is to change the Sass variable to a CSS custom property. For example, in _setup.scss, I write like this :
$grey: #1e1e1d;
$yellow: #ffad15;
$offwhite: #f8f8f8;
$darkerwhite: darken($offwhite, 15);
This is not all the Sass variables I use, but these are the main ones. The rest are in separate modules.
Note: The difference between custom properties and variables. CSS customization Attributes are only valid in attribute values and cannot be used in selectors, attribute names or media queries.
New setup.css:
:root {
  --white: #fff;
  --grey: #1e1e1d;
  --yellow: #ffad15;
  --offwhite: #f8f8f8;
  ...
}以下为使用示例:
a {
  color: var(--yellow);
}除了语法,CSS自定义属性和Sass变量工作方式是相同的.由于浏览器支持的限制,自定义属性值仍然需要编译.在上面的示例中,编译后的值为color: #ffad15.
在之前的例子中,我遗漏了一个变量:$darkerwhite: darken($offwhite, 15);.这是另一个我需要寻找替代的Sass特性.这里有一个规范草案提供CSS颜色函数.cssnex现在包含这些函数,这非常酷.下面是setup.css,其中darkerwhite自定义属性是通过颜色函数和阴影调节器来实现的.
:root {
  ...
  --offwhite: #f8f8f8;
  --darkerwhite: color(var(--offwhite) shade(20%));
  ...
}颜色函数提供了许多调节器.你可以在一个函数中使用多个调节器:
`background-color: color(#d32c3f shade(40%) alpha(40%));`
编译结果为:
`background-color: rgba(127, 26, 38, 0.4);`
再次重申,现在cssnext会将color()编译为16进制或rgba的色值.当颜色函数得到浏览器支持后,编译过程就没有必要了.颜色操作在运行时就可以发生.
嵌套是CSS预处理器不可或缺的特性.任何让人舒服的样式工具的必需品.Tab Atkins对CSS嵌套有一个正在进行中的规范,并且cssnext让它成为现实.
CSS的嵌套语法包含一个前置于内层的&,以下为sass片段:
.projects-list {
  ...

  li {
    & > p {...}
  }

  a {
    ...

    &:hover,
    &:focus {...}

    &::after {...}
  }

  @media (min-width: 640px) {...}
}对于CSS嵌套,我将它修改为以下形式:
.projects-list {
  ...

  & li {
    & > p {...}
  }

  & a {
    ...

    &:hover,
    &:focus {...}

    &::after {...}
  }

  @media (min-width: 640px) {...}
}基本的嵌套需要前置的&.伪类和选择器在Sass和CSS中是相同的.媒体查询不需要前置&.
另外值得注意的是@nest.正如文档中提到的,复杂的嵌套可能需要引入@nest来代替&.这个项目我还没有用到,或许将来用得到.
Sass中的@extend和占位类是我经常使用的两个特性。下面是Futura头部的样式示例:
%futura {
  font-family: 'futura-pt', helvetica, sans-serif;
}

%futura-heading {
  @extend %futura;
  font-weight: 700;
  line-height: 1.1;
  text-transform: uppercase;
}这是一个用例:
.my-heading {
  @extend %futura-heading;
}我在之前了解过CSS自定义属性的用法。这里有一个正在进行中的@apply规则的规范与之相关。@apply允许储存一系列的属性并且在选择器引用。我用@apply来代替Sass的extend.
回到setup.css来,我更新了Futura头部的属性:
:root {
  ...

  --franklin: {
    font-family: 'futura-pt', helvetica, sans-serif;
  };

  --franklin-heading: {
    @apply --franklin;
    font-weight: 700;
    line-height: 1.1;
    text-transform: uppercase;
  };
}这里是一个示例:
.my-heading {
  @apply --franklin-heading;
}@apply不是继承.在目前的cssnext中,@apply将属性和值直接复制到每条规则中.这是个小项目所以没问题.但是在大型的项目中,可能会导致样式冗余,项目非常臃肿.这种情况下最好还是使用通用类名来适用相似情况.
现在我的网站看起来和之前一样了.项目页是个例外.它的每个磁贴区域都有不同颜色.接下来我会解释怎么在没有Sass的情况下正确且高效的编写样式.

我用Sass的混合宏来让项目编写样式更简便.这个混合宏有一个磁贴颜色的参数.以下是这个project-block的混合宏.
@mixin project-block ($c) {
  background-color: $c;

  a {
    color: $c;

    &:hover {
      background-color: $c;
      color: $offwhite);
    }
  }
}下面是一个示例:
.p-jribbble {
  @include project-block(#ff0066);
}在写这篇文章的时候,我还没有在CSS找到能模拟这个功能的特性.自定义属性配合@apply不是函数,所以我们不能为它传递参数.在将来,自定义选择器可能会允许使用参数.在草案规范中有一个看起来很有前途的复杂示例.但我承认现在我还没完全明白它是怎么工作的.
这不意味着我运气不好.我写CSS的时间要长于Sass,但也没多久.我还用了另一个正进行中的规范特性,matches选择器.
下面是一个代替project-block混合宏的CSS示例:
.p-jribbble,
.p-jribbble a:matches(:hover, :focus) {
  background-color: var(--color-jrb);

  & a {
    color: var(--color-jrb);
  }
}颜色变量是早些在文件中:root作用域定义的.cssnext将以上CSS编译为:
.p-jribbble,
.p-jribbble a:hover,
.p-jribbble a:focus {
  background-color: #ff0066
}

.p-jribbble a,
.p-jribbble a:hover a,
.p-jribbble a:focus a {
  color: #ff0066;
}最后两个选择器...a a:hover和...a a:focus匹配不到任何元素.他们是不必要的.但是除了占用几比特的空间他们也没有任何影响.为了代码的可读性,我更倾向于a选择器的嵌套.
为了样式按顺序回归,我决定利用更多的PostCSS插件.我用css mqpacker来合并使用相同查询条件的媒体查询.我也用cssnano来优化代码.
这也是为什么我期待去使用PostCSS.使用Sass的时候我感觉困在当前的特性中.但因为PostCSS本质是一个插件集合在工作,更具拓展性.如果我有特殊需要,我可以自己来写一个插件.它的潜力令人兴奋.
在使用这个新工具工作了几天后,我完全投入进去了.从Sass转向新的CSS语法非常简单,并且是在五六年间我每个项目都用Sass编写的情况下.
我喜欢这个思想转变.cssnext对CSS的处理很像Babel对Javascript.它们都允许你去使用未来的特性来编写代码.
更多从sass到PostCSS 相关文章请关注PHP中文网!
 The difference between PD fast charging and general fast charging
 How to share printer in win10
 WAN access settings
 java export excel
 Virtual mobile phone number to receive verification code
 The difference between lightweight application servers and cloud servers
 Complete collection of HTML tags
 The role of index


