How to cut out pictures with solid color background in PS
How to cut out a picture with a solid color background in PS? Cutting out images in PS is a very simple thing. If it is a solid color background, it is even easier. Let’s take a look at the tutorial on how to quickly cut out graphics on a solid color background in PS. Friends who need it can refer to it
As a drawing software, photoshop has strong image processing capabilities and the ability to combine multiple images. Before we perform image processing, preparing good image materials is the most basic preparation work. Among them, photoshop Cutout operation is the most basic material production technology. Let’s take a look at how to use Photoshop to cut out material pictures.
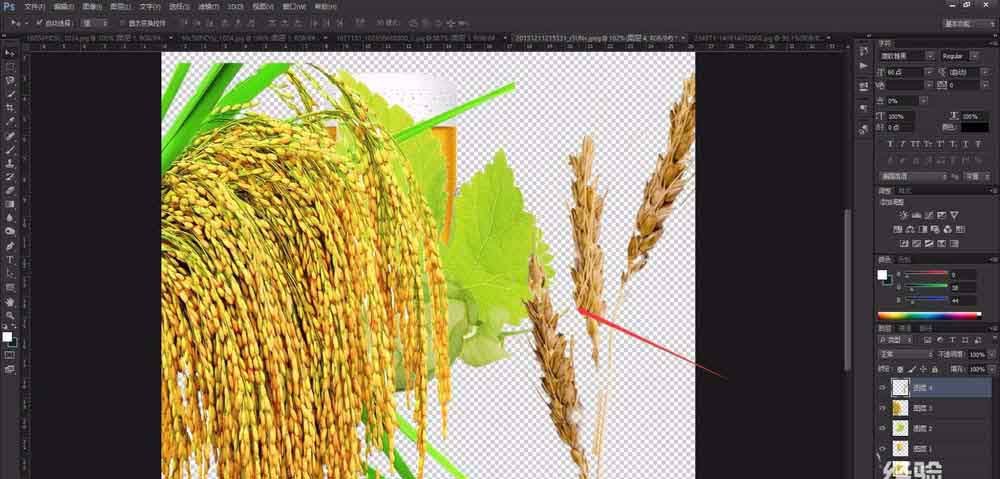
1. First, we open photoshop, enter the work page of photoshop, and use the shortcut key "Ctrl+O" or select "File - Open" in the menu bar above photoshop to open the image we need to process.
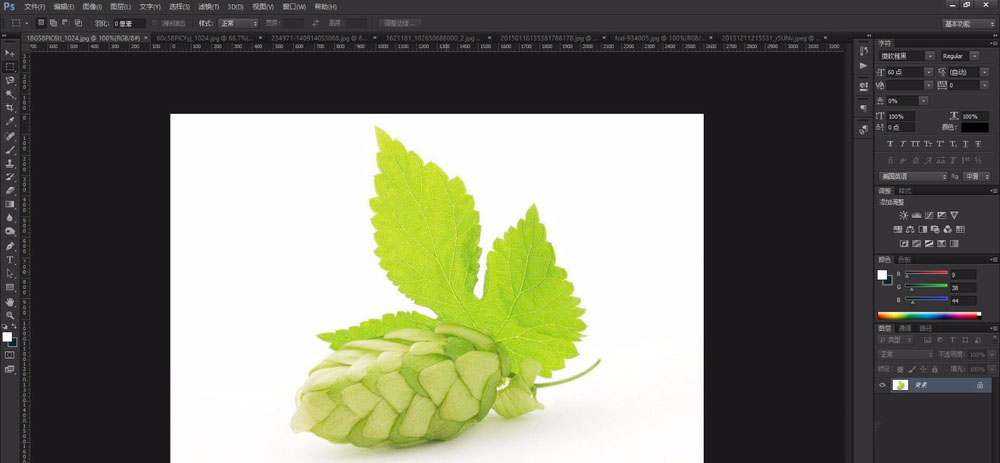
2. Then, in the toolbar on the left side of photoshop, select "Magic Wand Tool (shortcut key W)", select the Magic Wand Tool, It can help us quickly select the same color content in a certain area.
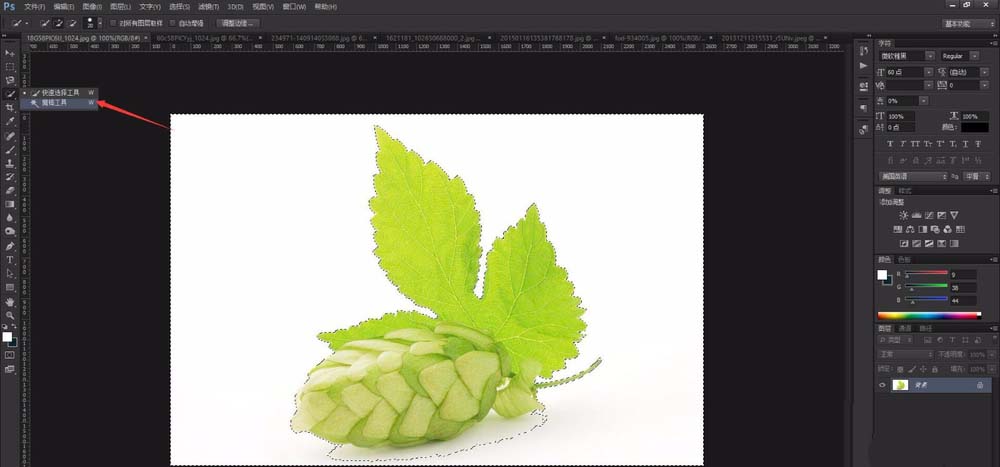
3. The magic wand tool in photoshop is a quick selection tool. We use the magic wand tool to click on an area with a more uniform tone, usually with the background as the The main area where the magic wand tool is used is to use the magic wand tool to click on the background area.
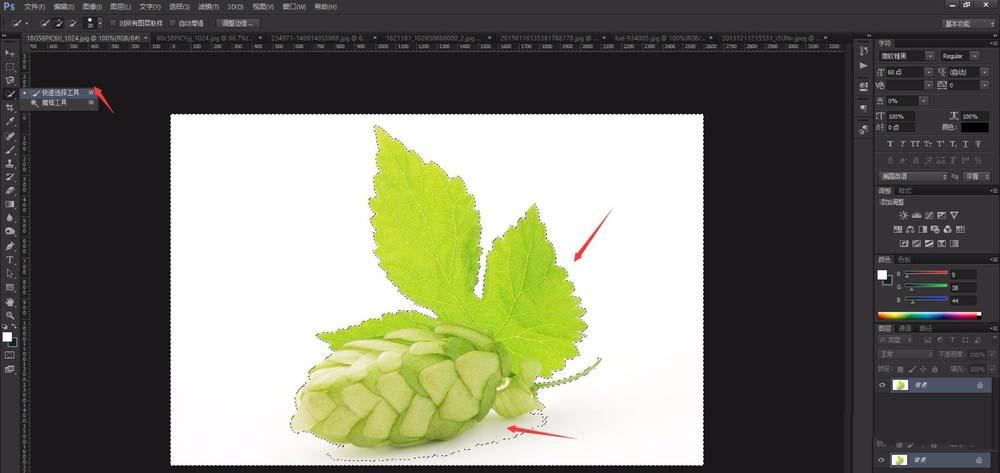
4. You can see that after clicking to select the background, will have a dotted line in the selection, and the area is the background we selected. Areas, and similar areas, the Magic Wand tool is more intelligent and is very suitable for processing pictures with more uniform colors.
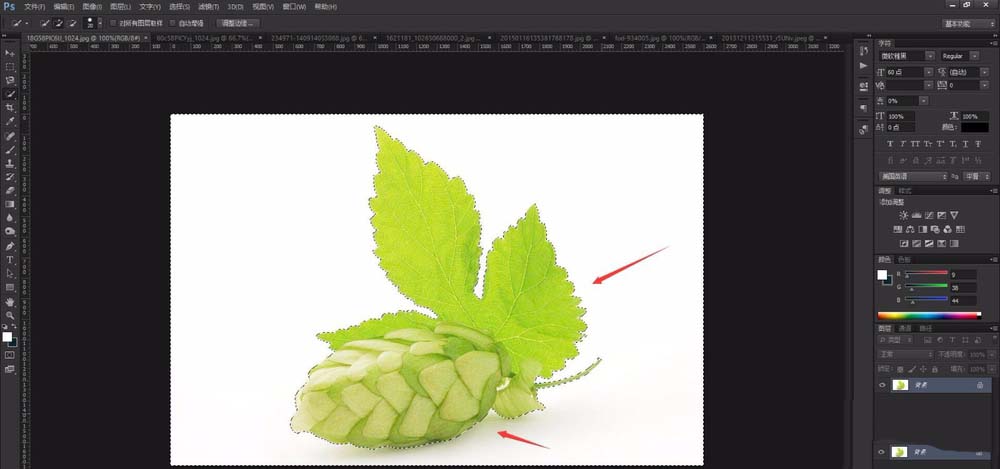
5. After confirming that the selection background is correct, we right-click the mouse and select "Select Reverse# in the menu bar that pops up in Photoshop. ##", you can adjust the selection from the background area to the main part except the background.
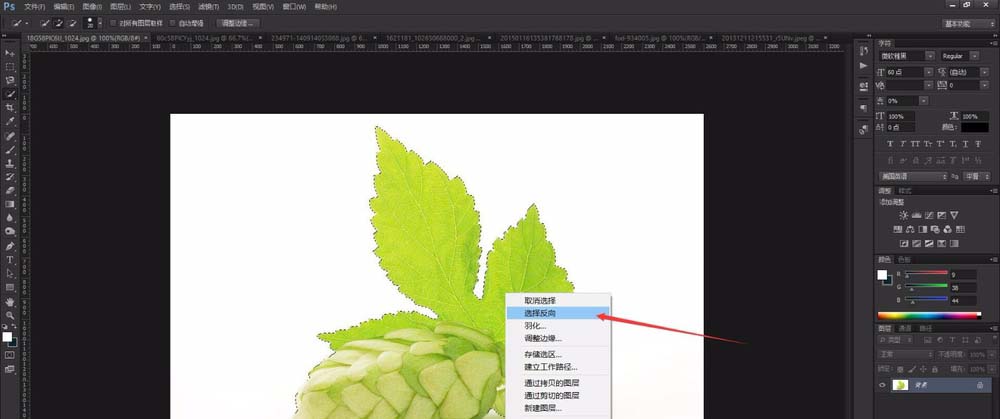
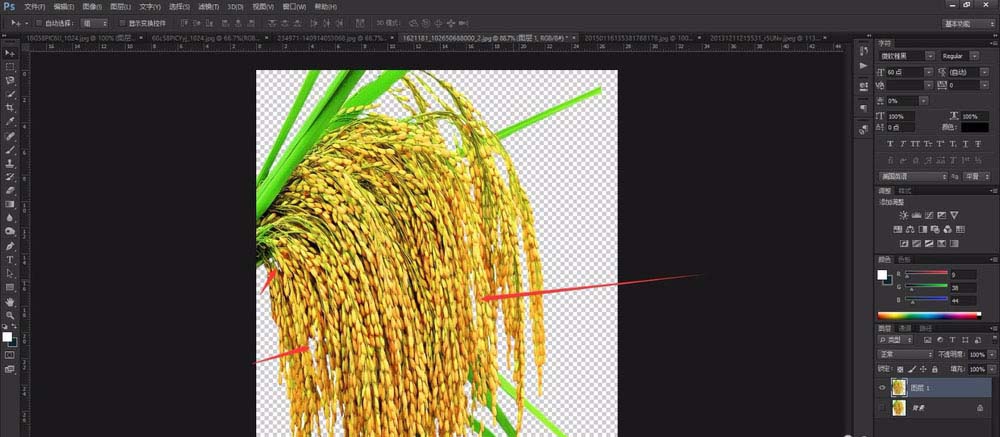
Ctrl+J" to select the area. Copy and create a new one to separate the frame selection area to facilitate our subsequent use.
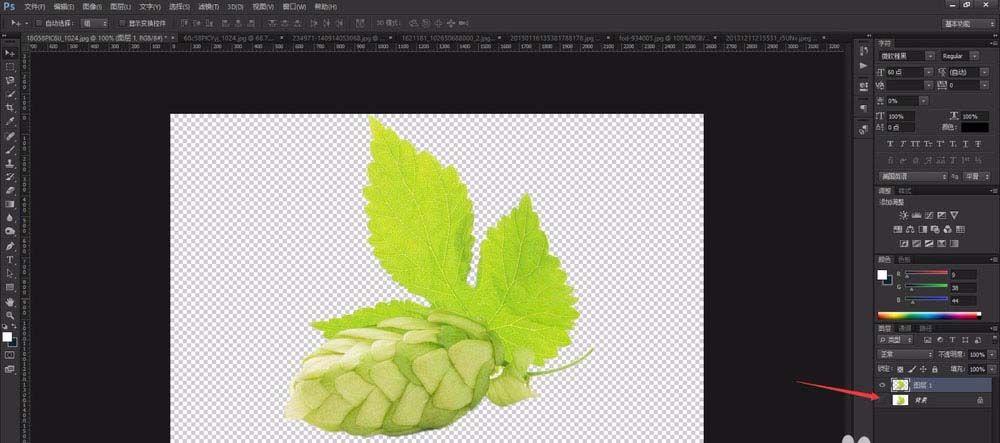
Magic Wand Tool" cannot intelligently select all of them. When we need to make additional modifications, select "Quick Selection Tool" to make certain fine-tuning.
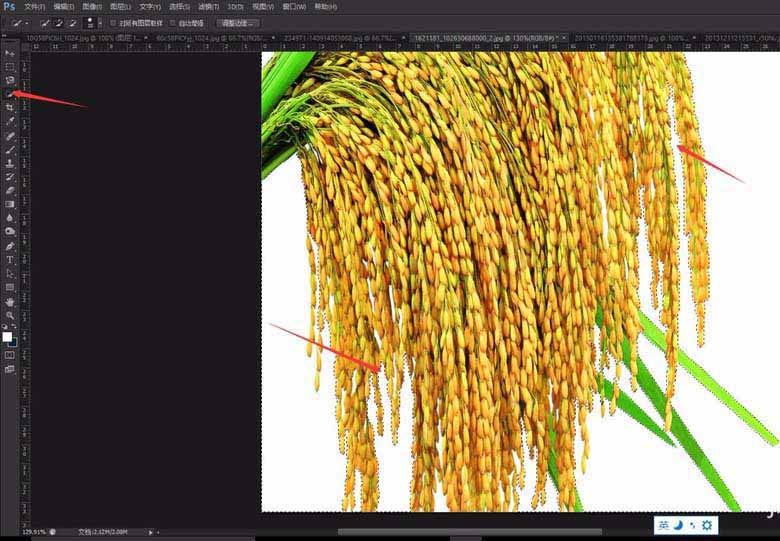
Using the ALT" key will remove the selected area.
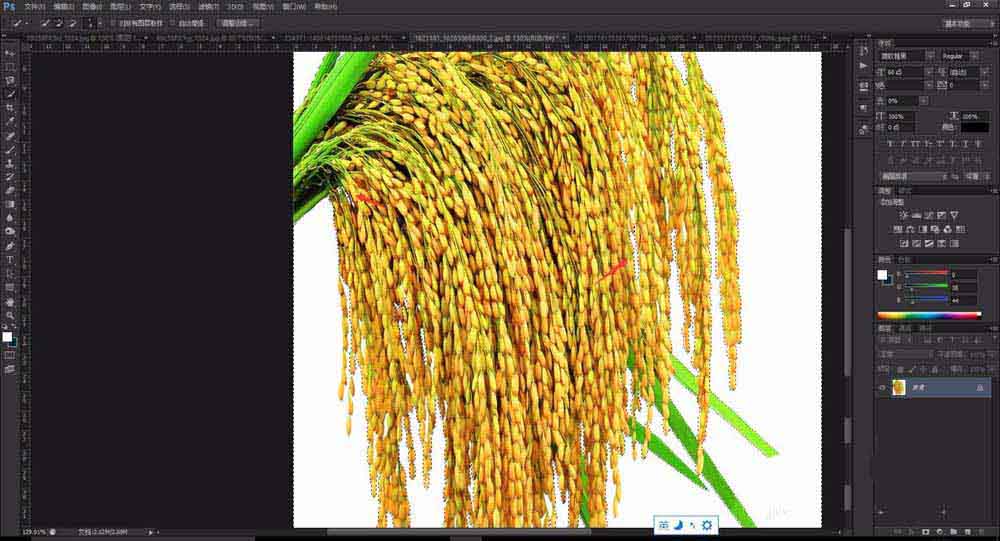
quick selection tool to select the unselected areas in the picture and remove the unnecessary areas. When selecting, try to select the entire background, and the main body can also be slightly selected, which will have little impact on later use.
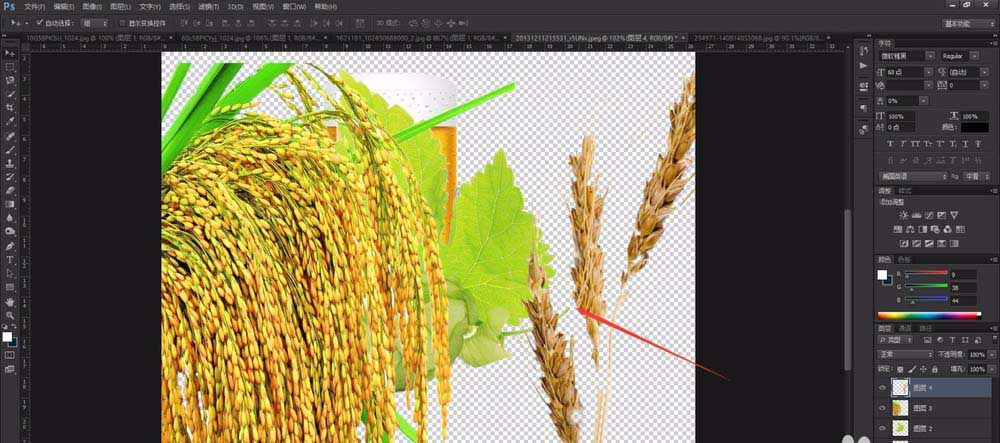
10. When we use photoshop to process a large number of materials, the cut-out materials can be placed in a workspace. This can avoid multiple files being opened at the same time and occupying memory. It can also be It is easier to find when using materials.
For more related articles on how to cut out pictures with solid color background in PS, please pay attention to the PHP Chinese website!

Hot AI Tools

Undresser.AI Undress
AI-powered app for creating realistic nude photos

AI Clothes Remover
Online AI tool for removing clothes from photos.

Undress AI Tool
Undress images for free

Clothoff.io
AI clothes remover

Video Face Swap
Swap faces in any video effortlessly with our completely free AI face swap tool!

Hot Article

Hot Tools

Notepad++7.3.1
Easy-to-use and free code editor

SublimeText3 Chinese version
Chinese version, very easy to use

Zend Studio 13.0.1
Powerful PHP integrated development environment

Dreamweaver CS6
Visual web development tools

SublimeText3 Mac version
God-level code editing software (SublimeText3)

Hot Topics
 1386
1386
 52
52
 How do you cut out a picture and put it in another picture in Meitu Xiuxiu? Meitu Xiu Xiu's tutorial on placing the cut picture on another picture!
Mar 15, 2024 pm 11:00 PM
1. How to cut out the beautiful picture Xiu Xiu and put it in another picture? Meitu Xiu Xiu’s tutorial on placing the cut picture on another picture! 1. Open the MeituXiuXiu app and click on the picture beautification function. 2. Open the photo album and select the picture you want to cut out. 3. Click the cutout button in the bottom navigation bar. 4. Select the area to cut out. 5. After cutting out the image, click the replace background icon. 6. Finally, click to import another picture, and the cut out picture can be placed on another picture.
 ps serial number cs5 permanently free 2020
Jul 13, 2023 am 10:06 AM
PS serial numbers cs5 permanent free 2020 include: 1. 1330-1384-7388-4265-2355-8589 (Chinese); 2. 1330-1409-7892-5799-0412-7680 (Chinese); 3. 1330-1616-1993 -8375-9492-6951 (Chinese); 4. 1330-1971-2669-5043-0398-7801 (Chinese), etc.
 How to put the cut out picture onto another picture in Xingtu? How to put the cut out picture on another picture!
Mar 15, 2024 pm 06:52 PM
1. How to put the cut out picture on another picture? How to put the cut out picture on another picture! 1. Open the Xingtu app, click Import, and import the picture you want to change. 2. Then click Import Picture under the picture and select the picture you want to cut out. 3. Then you can select an area to cut out, and you can also choose smart cutout for characters. 4. Adjust the size and position of the cut out picture. 5. Finally, click Merge Layers in the upper right corner to put the cut out picture on another picture.
 What to do if ps installation cannot write registry value error 160
Mar 22, 2023 pm 02:33 PM
Solution to error 160 when ps installation cannot write registry value: 1. Check whether there is 2345 software on the computer, and if so, uninstall the software; 2. Press "Win+R" and enter "Regedit" to open the system registry, and then Find "Photoshop.exe" and delete the Photoshop item.
 How to delete selected area in ps
Aug 07, 2023 pm 01:46 PM
Steps to delete the selected area in PS: 1. Open the picture you want to edit; 2. Use the appropriate tool to create a selection; 3. You can use a variety of methods to delete the content in the selection, use the "Delete" key, use the "Healing Brush Tool" , use "Content-Aware Fill", use the "Stamp Tool", etc.; 4. Use tools to repair any obvious traces or defects to make the picture look more natural; 5. After completing editing, click "File" > in the menu bar "Save" to save the editing results.
 Introduction to the process of extracting line drawings in PS
Apr 01, 2024 pm 12:51 PM
1. Open the software and import a piece of material, as shown in the picture below. 2. Then ctrl+shift+u to remove color. 3. Then press ctrl+J to copy the layer. 4. Then reverse ctrl+I, and then set the layer blending mode to Color Dodge. 5. Click Filter--Others--Minimum. 6. In the pop-up dialog box, set the radius to 2 and click OK. 7. Finally, you can see the line draft extracted.
 What should I do if the PS interface font is too small?
Dec 01, 2022 am 11:31 AM
How to fix the PS interface font that is too small: 1. Open PS, click the "Edit" button on the top menu bar of PS to expand the editing menu; 2. Click the "Preferences" button in the expanded editing menu, and then click "Interface. .." button; 3. In the interface settings, set the user interface font size to "Large", set the UI scaling to "200%" and save the settings, then restart PS to take effect.
 How to automate tasks using PowerShell
Feb 20, 2024 pm 01:51 PM
If you are an IT administrator or technology expert, you must be aware of the importance of automation. Especially for Windows users, Microsoft PowerShell is one of the best automation tools. Microsoft offers a variety of tools for your automation needs, without the need to install third-party applications. This guide will detail how to leverage PowerShell to automate tasks. What is a PowerShell script? If you have experience using PowerShell, you may have used commands to configure your operating system. A script is a collection of these commands in a .ps1 file. .ps1 files contain scripts executed by PowerShell, such as basic Get-Help


